Learn how to add a border to your uneven crochet blanket for a polished finish that disguises those charmingly quirky edges.
Got a crochet blanket with wonky edges? Don’t fret, you’re in a good place! Transform that unkempt wonder into a masterpiece by mastering the art of borders. We’ll unravel the mystery of turning those lopsided loops into loveable lines. Whether your crochet creation resembles a rebellious trapezoid or a laid-back parallelogram, our house of tricks—from evaluating those pesky edges to adding that final decorative flourish—has got you covered. Grab your yarn, our guide, and maybe a handful of snacks for this fun crochet adventure!
Key takeaways:
- Evaluate edges to identify imperfections.
- Choose matching yarn and appropriate hook size.
- Start with a solid foundation row using single crochet.
- Use increases on inner curves and decreases on outer curves.
- Finish with a decorative border and block the blanket.
Evaluate Uneven Edges
Inspect your blanket with the keen eye of a yarn detective. Identify the culprits: wavy lines, unwanted peaks, or odd bulges. Pinpoint them all as if they’re suspects in an unraveling mystery.
Lay the blanket on a flat surface, smoothing it out gently. This cozy specimen demands a good investigation. Use a ruler or measuring tape to compare edges. Are they siblings in appearance or distant relatives?
Take note of the areas with differences, jotting down any significant spots. This list will be your trusty roadmap.
Observe how the stitches behave. Loose areas playing it casual or some tight ones sticking together like overzealous friends? Knowing what you’re dealing with helps plan the next crochet adventure.
Being a detective with a hook, prepare to transform those rebel edges into a masterpiece worthy of display.
Choose Yarn and Hook
Matching your border yarn to the main blanket is like trying to pair socks fresh out of the dryer—sometimes it’s best to go for contrast, sometimes coordination. Consider these tips:
Select a yarn that matches the weight of your main blanket yarn. Mixing yarn weights is like trying to mix oil and water—it just won’t look quite right.
Keep the color wheel in mind. Complementary colors can add a splash of excitement, while similar shades create subtle elegance.
Your choice of hook should be cool, but not too cool. Going one size larger can help smooth out uneven stitches, but using a tiny hook will have you pulling so tight, you might turn your blanket into a doily. Yarn and hook together should feel like a comfortable handshake—friendly, but firm.
Plan Border Design
When it comes to deciding on a border, variety is the spice of life! A solid border can add elegance, while a frilly trim brings whimsy.
Consider a simple shell pattern for sophistication. It’s easy on the eye and adds uniformity.
For a playful touch, think of a picot edge. It’s like dressing your blanket in tiny pom-poms.
Try to complement the blanket’s original design. A mismatched border can be like wearing socks with sandals—bold, but not always advisable.
Remember, the border isn’t just decor. It’s a hardworking mediator between uneven edges. Keep an eye on the overall stitch pattern. A busy blanket might prefer a quieter border to avoid visual chaos.
Crack jokes with Cat stitches or zigzag with a Chevron design. The world, and the border, is your oyster!
Start With a Foundation Row
Grab your crochet hook like a wizard wielding a wand. Your foundation row is the magic spell that begins to tame the wild, uneven edges.
Start in a corner where it’s easiest to spot the starting point. This will be your HQ for conquering edge chaos.
Use single crochet stitches for the foundation row, as they are sturdy and provide a solid base. Think of them as the brick wall to your edge-crocheting fortress.
Ensure each stitch is evenly spaced. Imagine you’re organizing a parade, and stitches are perfectly spaced marchers.
Check if the edges are even as you progress. If you’ve got waves, just breathe. Don’t fret over small bumps; it’s not the ocean.
Once all the edges are crocheted, you’ll notice an automatic improvement. Collect high-fives from anyone nearby.
Align Edges Using Single Crochet
Grab your hook and yarn—it’s time to smooth things out! This part of the process is all about bringing unity to jagged edges with the simple yet mighty single crochet.
First, identify the high and low points along the edge. Much like a seesaw, your goal is balance.
Use single crochet to fill in low areas. This adds height where it’s needed without dwarfing the surrounding stitches.
For high spots, maintain tension with consistent stitches to prevent any mountainous protrusions threatening to turn your blanket into a quirky landscape.
Keep your rows straight by inserting your hook into the same spot on each row’s edge, turning chaos into coherence one stitch at a time.
Through these carefully placed stitches, expect a much neater edge, smoothing those bumpy landmines and ensuring you don’t accidentally crochet a skyline instead.
Use Increases for Inner Curves
Curves can be as tricky as a cat on a hot tin roof. When dealing with inner curves, increases are your new best pals. Here’s how to charm those curves:
Balance is key. Systems that thrive on a stitch-for-every-stitch rule might go wonky here. Instead, sprinkle in a few extra stitches as you go along, exactly like adding chocolate chips to a cookie batter.
Visualize your curve. Too many increases make the edge ripple like a potato chip, and nobody wants that. Aim for just enough increases to keep it smooth.
Use strategic placement. Place the increases at strategic points instead of bunching them up like pigeons on a powerline. This makes smoothing those sneaky dips much easier.
Remember, experimentation leads to mastery in curve management. Adjust and adapt, and soon those curves will be less of a tangled tale and more of a harmonious journey.
Decrease On Outer Curves
When tackling those pesky outer curves, keeping things neat and tidy is key. Overzealous stitches can lead to ruffles that even the fanciest peacock would envy.
Here’s how to keep it under control:
– Identify Bulging Stitches: These are the stitch equivalents of unruly children in a classroom, demanding extra attention.
– Strategic Stitches: Use the crochet version of crowd control. Skip a stitch here and there to smooth out those expanding edges.
– Patience, Friend: Go slowly and check your progress. This isn’t a race; it’s an artistic journey to blanket beauty.
Remember, outer curves are like wild horses — a little taming and they settle gloriously.
Double-Check Stitch Counts
Accuracy in stitching is crucial to keep your border tidy and free from waves that would make the ocean jealous.
- Count stitches as if they were sheep. It’s relaxing and helps to avoid surprise shortages or surpluses.
- Match stitch counts on opposite sides for symmetry. Imbalance isn’t just for acrobats.
- With multi-sided blankets, ensure each section has the same—or at least logical—number of stitches.
- Did you just add or lose a stitch somewhere? Fix it promptly or it might keep you up at night.
- Note discrepancies after a one-sided stare-off and make sneaky adjustments to get everything on track.
Keep the calculation precise and your border will be the picture of perfection!
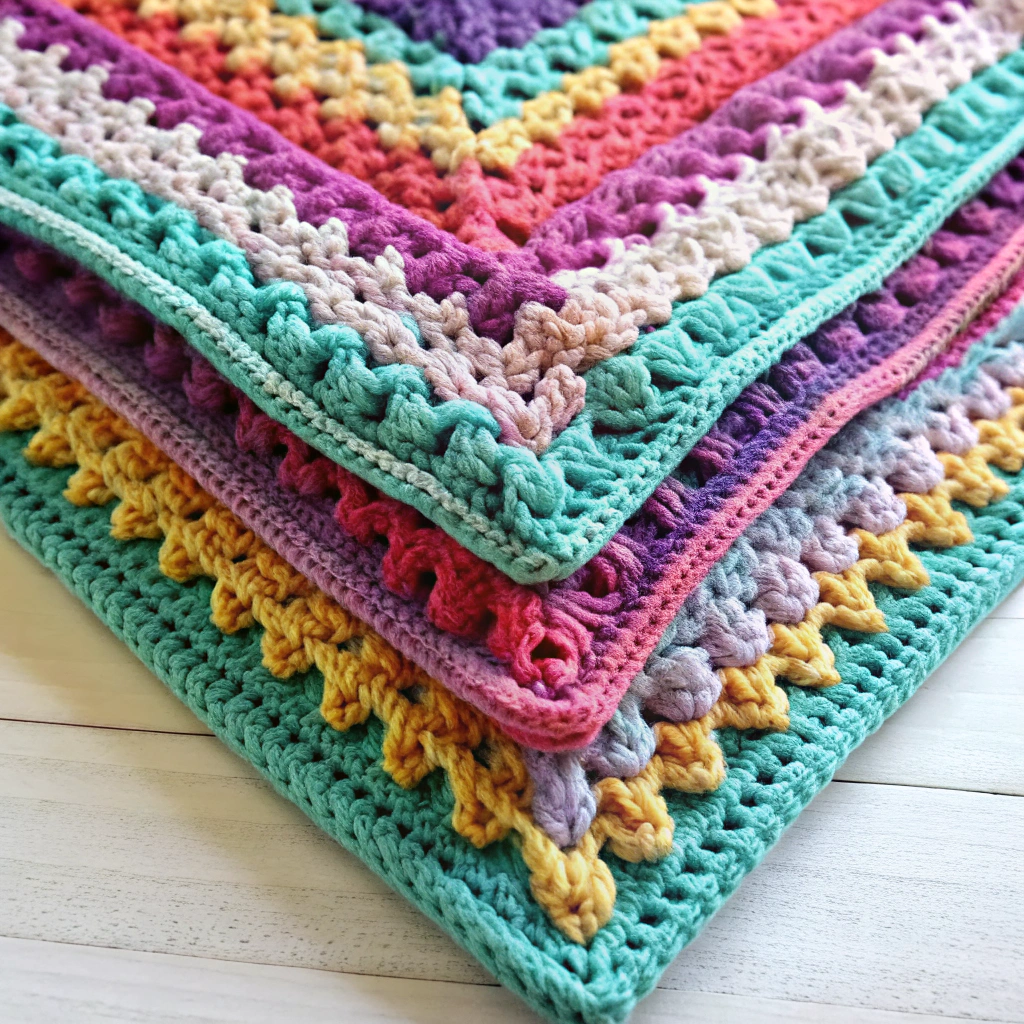
Finish With Decorative Border
Congrats on leveling up your blanket! The pièce de résistance is a decorative border that unifies your masterpiece. Choose a stitch that complements your creation’s style. The choices are vast: try shells, picots, or maybe a playful scallop. Just don’t let that scallop turn into seafood stew!
Experiment with color to add contrast or continuity. You could use the same yarn for cohesion or a fun splash for personality—like polka-dot socks at a formal event.
Pay attention to tension; you don’t want your edges waving like they’re at a parade. Maintain a consistent stitch count per side to avoid turning your rectangle into a trapezoid targeting local art galleries.
As you finish, weave in any loose ends with gusto. Fray is the enemy, and you are the crochet superhero, cape optional.
Block the Completed Blanket
It’s time to transform that uneven crocodile into a sleek alligator. Blocking is your magic wand.
First, give your blanket a gentle wash or a light spritz. Lay it flat on a clean surface, and grab those anti-ninja weapons—T-pins. Use them to persuade your crochet masterpiece into the shape of your dreams. Encourage those rebellious ripples and curves to align with a few strategic stretches.
Adjust as needed. Stand back, admire, and let it dry. Voilà, a straightened spectacle ready to grace any couch with pride!


