Understanding how to thread yarn through a needle can dramatically simplify your knitting and crocheting projects because it is the stepping stone to creating beautiful DIY yarn crafts.
Threading yarn through a needle can be a tricky task, especially for beginners. But don’t worry, it’s actually a simple process once you understand the steps.
In this article, we’ll walk you through an easy, step-by-step guide on how to put yarn through a needle. Whether you’re preparing for knitting, crocheting, or any other yarn craft, mastering this skill is essential.
We’ll cover everything from choosing the right needle and yarn, to tips for making the threading process smoother. Let’s dive into the details and get your yarn crafts off to a great start.
Key takeaways:
- Choose the right needle for your yarn.
- Prepare the needle by cleaning and checking for damage.
- Follow proper methods to thread the yarn through the needle.
- Overcome common difficulties with the right tools and techniques.
- Maintain your yarn and needles for optimal performance.
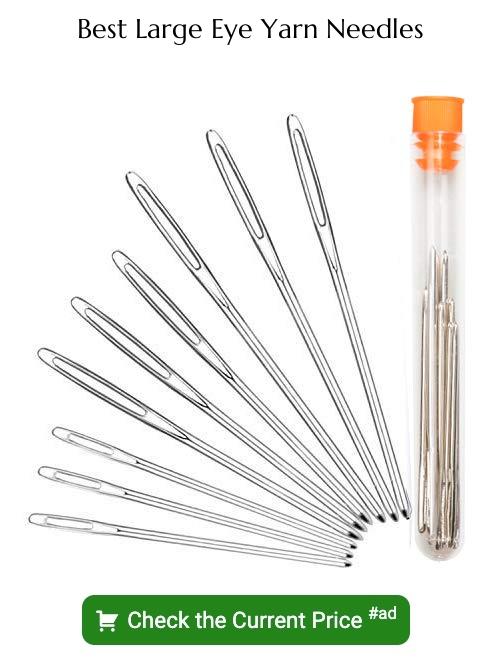
Selecting the Right Needle for Your Yarn
Choosing the correct needle for your specific type of yarn will dramatically affect your overall project. A needle that is too large for your yarn will create loose, loopy stitches, while one that is too small can result in tight, cramped stitches.
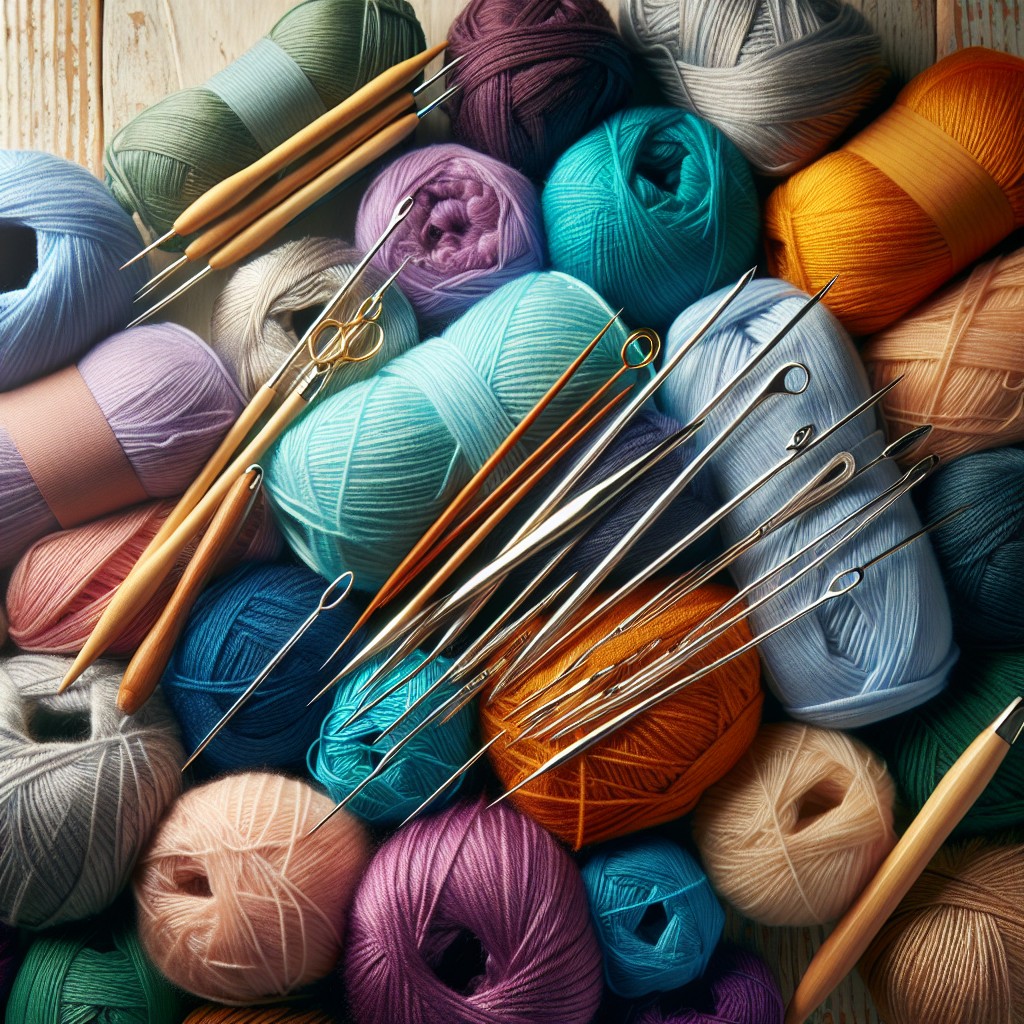
Cotton, silk or synthetic yarns often work better with a slicker needle, as these tend to slide more smoothly. Rougher, wool-like yarns, on the other hand, might need a blunter needle to prevent splitting the fibers.
Needle materials also play a pivotal role; metal needles are generally smoother and allow quicker knitting whereas wooden or bamboo needles offer a better grip for slipperier yarns. Thus, understanding your yarn type and obtaining a compatible needle is an integral step in superb crafting.
Preparing the Needle for the Yarn
To set up your needle, you’ll first want to examine it and ensure it’s in good condition. Look for any damages or rough edges that may snag the yarn. A smooth needle is ideal to prevent any unnecessary damage to your yarn.
The eye of the needle needs to be large enough for your particular yarn to fit through. Using a threading tool can be beneficial for thicker yarns. It’s fundamental to make sure that the needle is clean and dry before you start threading to avoid any potential dirt or moisture influencing your work.
If the needle has been stored for a while, wipe it with a clean, dry cloth to remove any dust or residue. Now that your needle is inspected and cleaned, you’re ready to proceed with threading.
Proper Methods to Thread a Needle With Yarn
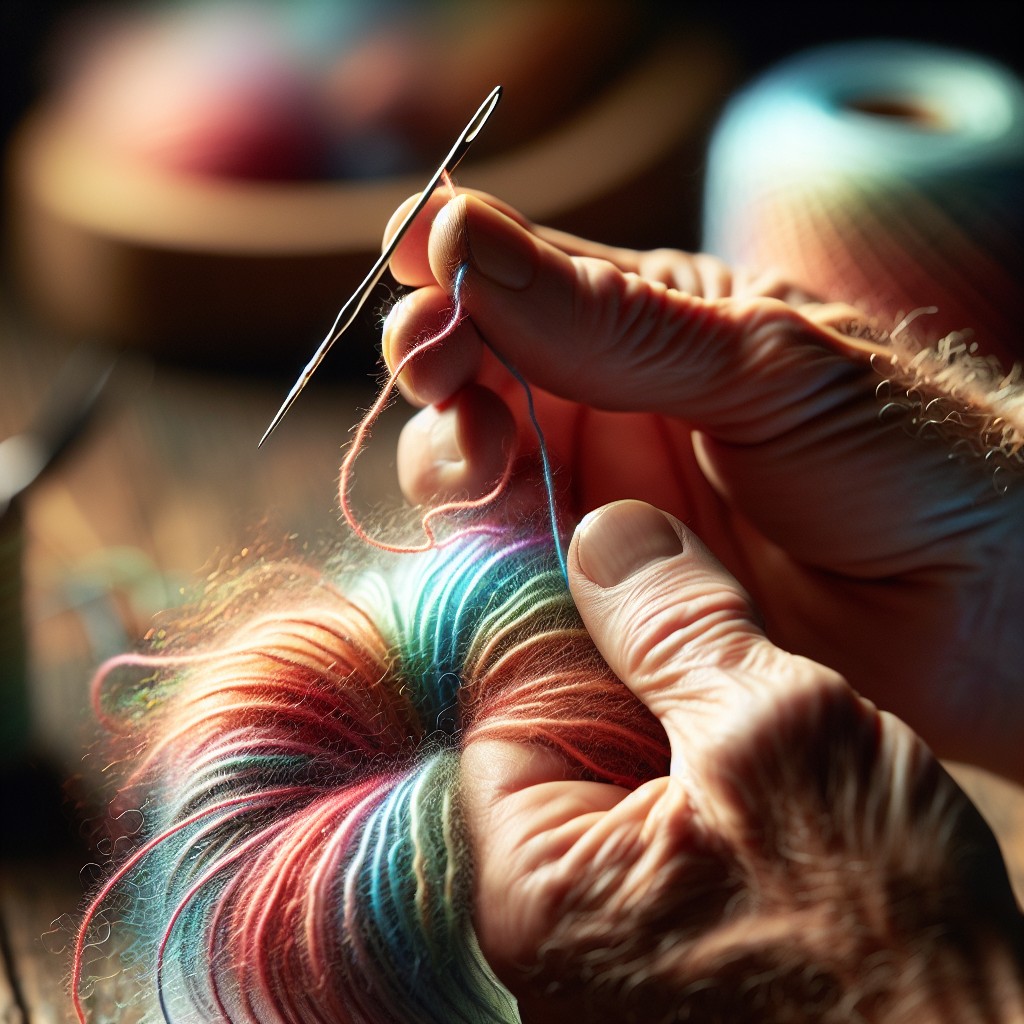
First, you should take about an arm’s length of yarn and cut it from the skein with a sharp pair of scissors. Take great care in ensuring that the cut is clean, as any fuzz or split ends can complicate the threading process.
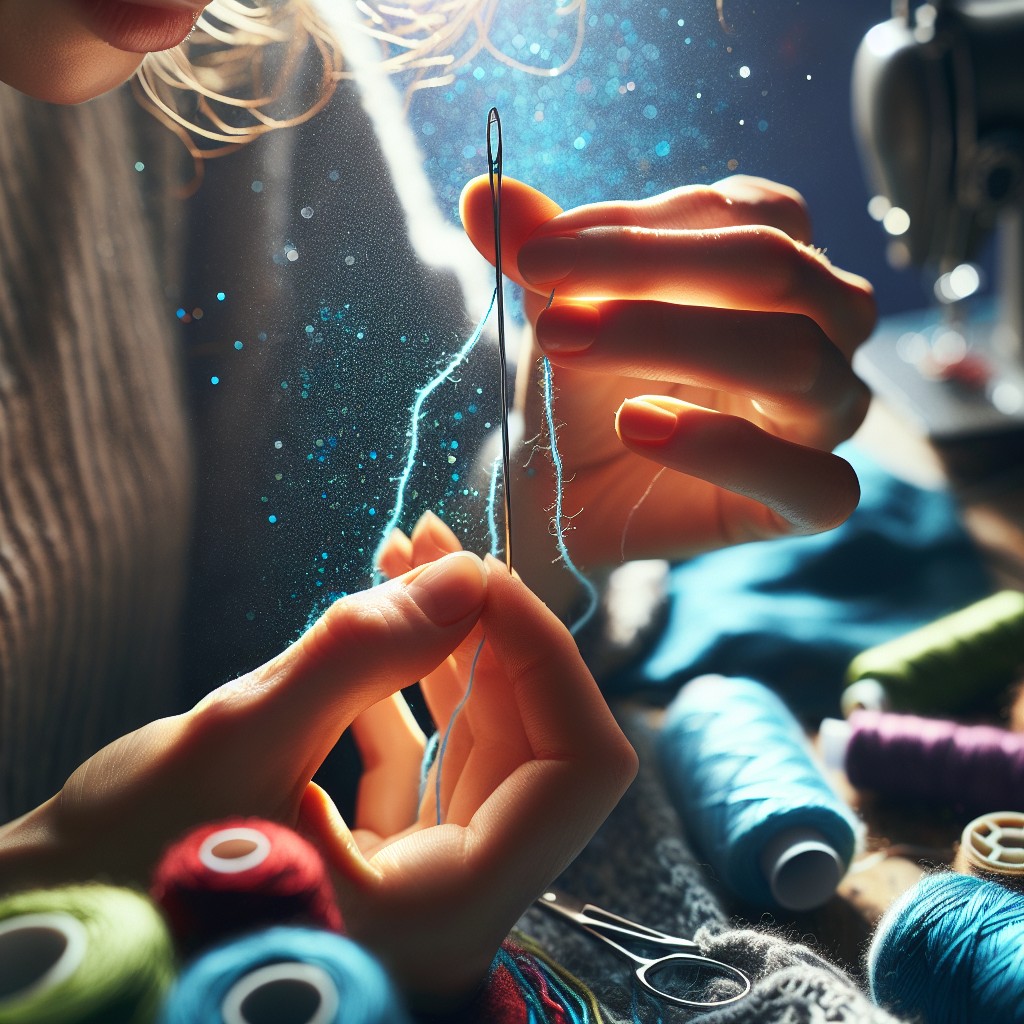
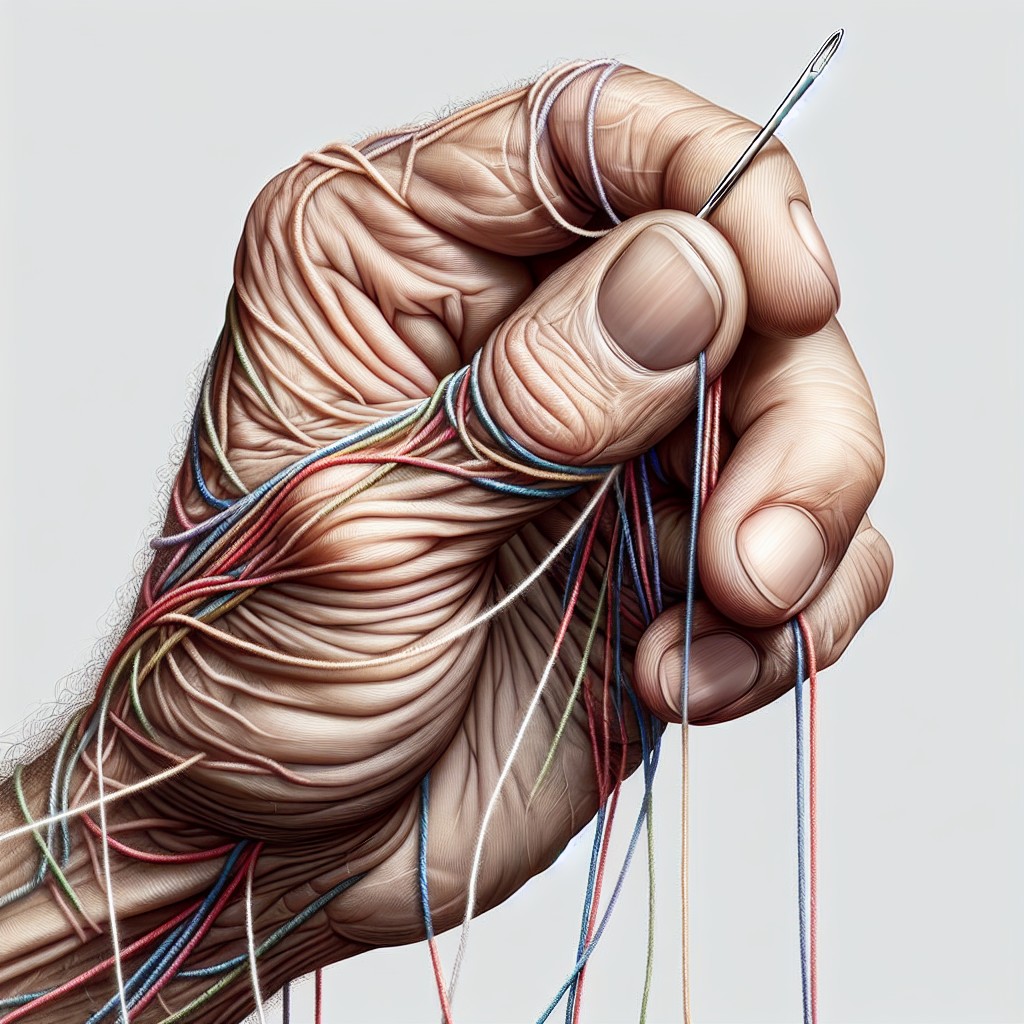
Next, hold the yarn’s end between your thumb and index finger. You need to flatten it as much as possible to get it through the eye of the needle smoothly. Some find it helpful to wet the yarn end slightly to make it easier to manipulate.
Now, carefully push the compressed yarn end through the needle’s eye. For larger, wooly yarns, you might find it helpful to twist the yarn end tightly before attempting to thread it. The tighter the yarn is wound, the easier it will be to push through the needle.
Last, ensure that a few inches of yarn have gone through the needle’s eye. Pull the rest of the yarn through until you reach the halfway point. This will give you two strands of yarn to work with and doubles the strength of your stitches.
In some cases, particularly with stubborn, thicker yarns, a needle threader can be indispensable. This simple and affordable tool pushes a loop of thin wire through the needle’s eye. You can thread the yarn through this wire loop, then pull it back through the eye of the needle, effectively threading the needle with minimal effort.
Remember, patience is key here. Even veteran crafters encounter difficulties threading a needle with yarn. Stay persistent and keep trying different techniques, soon you’ll find what works best for you.
Common Difficulties While Putting Yarn Through a Needle
Fraying of yarn is a common issue that many crafters encounter when attempting to thread a needle. Often, using a dull needle or a gentle as opposed to a forceful technique can contribute to this problem.
Another difficulty is threading thick yarn through a small needle eye. This might result in the yarn splitting or even breaking.
Additionally, some might struggle with holding and manipulating a tiny needle, specifically individuals with reduced mobility or manual dexterity due to conditions like arthritis or carpal tunnel syndrome.
Understanding these challenges can help in overcoming them and making the threading process smoother and more efficient.
Solutions to Common Problems in Threading a Needle With Yarn
Start by addressing the issue of yarn fraying. This often happens when dealing with loosely spun or fluffy yarns. Using a needle threader can easily solve this; it’s a small and inexpensive tool ideal for threading both yarn and thicker threads.
Another common challenge is the yarn not fitting through the needle’s eye. This could mean that the needle’s eye is too small for the chosen yarn. Instead of struggling, opt for a needle with a larger eye. Remember, the choice of needle size is important for the project’s outcome.
Moreover, poor lighting can make threading difficult. Ensure to work in a well-lit area to clearly see the needle and yarn and make threading more manageable.
Finally, unsteady hands or poor vision may also contribute to threading difficulties. In such cases, specialized threading tools, like automatic needle threaders, are incredibly helpful.
You can quickly overcome most difficulties with the right tools, needle choice, and working conditions.
Maintaining Your Yarn and Needles
Taking diligent care of both your yarn and needles ensures longevity and optimal performance. First, always keep your needles clean. Dirt or residue can snag or damage your yarn. Wipe them after each use and store in a dry place.
For preserving your yarn, it’s essential to guard it from elements and pests. Keep it in a cool, dry area, preferably in a sealed container to protect from moisture and insects.
You might prefer storing needles and yarn separately to prevent any possible damage. Do remember to keep your yarn stash free from direct sunlight to avoid fading, especially for dyed yarns.
Rolling freshly bought yarn into balls or skeins prevents tangles and makes it easier to thread through your needle when you begin a new project.
It’s always a good idea to keep your needles and yarn organized separately by size and type. This way, it becomes easier for you to find the exact needle or yarn you need for your next project.
Remember, a little maintenance goes a long way in ensuring smoother and more enjoyable crafting sessions.
What to Do After You Have Put the Yarn Through a Needle
Having successfully threaded the needle, it’s now time to secure your yarn to prevent it from slipping out and to set yourself up for seamless crafting. Here’s what to do:
1. Make an Anchor Knot: Create an anchor knot at the opposite end of the yarn. This knot will act as a stopper, preventing the yarn from slipping out as you work. Ensure the knot is large enough to secure the yarn.
2. Leave Some Yarn Tail: Leaving a generous amount of yarn as a tail will allow you to grip the yarn as you begin your craft and provide extra security against unravelling.
3. Check the Thread: Pull the yarn gently to make sure it moves through the eye of the needle smoothly. If it catches or tugs, it may be that the yarn is too thick for your chosen needle.
4. Hold it Right: Properly holding your needle is crucial. Guide the needle with your dominant hand while your other hand controls the yarn and the fabric.
5. Begin Your Craft: In stitching crafts, typically you’ll begin from the back of the fabric. In knitting, you can now work the first stitch.
Let’s maintain your equipment well to ensure these steps remain effortless during your crafting journey.
FAQ
What techniques can be employed to thread bulky yarn through a needle?
To thread bulky yarn through a needle, use a needle threader, enlarge the eye of the needle with a nail file, or fold a thin piece of paper or dental floss around the yarn and thread this through the needle.
Are there any tools designed to help thread yarn through a needle?
Yes, needle threaders are tools designed to help thread yarn through a needle.
How can one prevent fraying while threading a needle with yarn?
To prevent fraying while threading a needle with yarn, one can dip the ends of the yarn in a bit of wax or use a special threading tool.


