Learn how to use a blocking board for crochet to keep your projects neat, tidy, and perfectly shaped.
Ready to transform your crochet creation from a slightly lumpy labor of love into a pro-looking, polished piece? Enter the magical world of blocking boards! With the right materials like a sturdy board, rust-proof pins, a trusty spray bottle, and—brace yourself—a bit of patience, your crochet masterpieces will go from “meh” to marvelous. Dive in to discover the types of boards, setup secrets, and pinning techniques that will elevate your crochet game!
Key takeaways:
- Blocking transforms homemade to handmade masterpiece.
- Materials: board, rust-proof pins, spray bottle, patience.
- Types: foam mats, wooden boards, lace blocking kits.
- Setup: flat surface, stable board, align edges, pin.
- Pins: insert at angle, start with corners, space evenly.
Understanding the Importance of Blocking
Blocking is a game-changer in crochet. It smooths out wrinkles and evens out stitches, making your project look polished and professional. Think of it as giving your crochet a spa day!
Dreaming of straight edges? Blocking helps. Want those lacy patterns to stand out? Blocking works wonders. And if you’re tired of your projects looking like they’ve been through a tornado, you guessed it, blocking to the rescue.
In short, blocking transforms your hard work from “homemade” to “handmade masterpiece.”
Materials Needed
A good blocking job starts with the right materials. You’ll need a blocking board, of course. They come in all shapes and sizes, often with a grid pattern to keep your work perfectly aligned.
Next, you’ll need rust-proof pins. Trust me, you don’t want unsightly rust spots ruining your masterpiece. T-pins work like a charm and give a firm hold.
A spray bottle filled with water or a damp cloth. You’ll use these to moisten your project just enough to set the stitches without turning it into a soggy mess.
Optional but handy: a tape measure or ruler. Precision is key. We want square squares and no wonky edges.
And finally, a little patience. Blocking isn’t a race; it’s a gentle nudge towards yarn perfection.
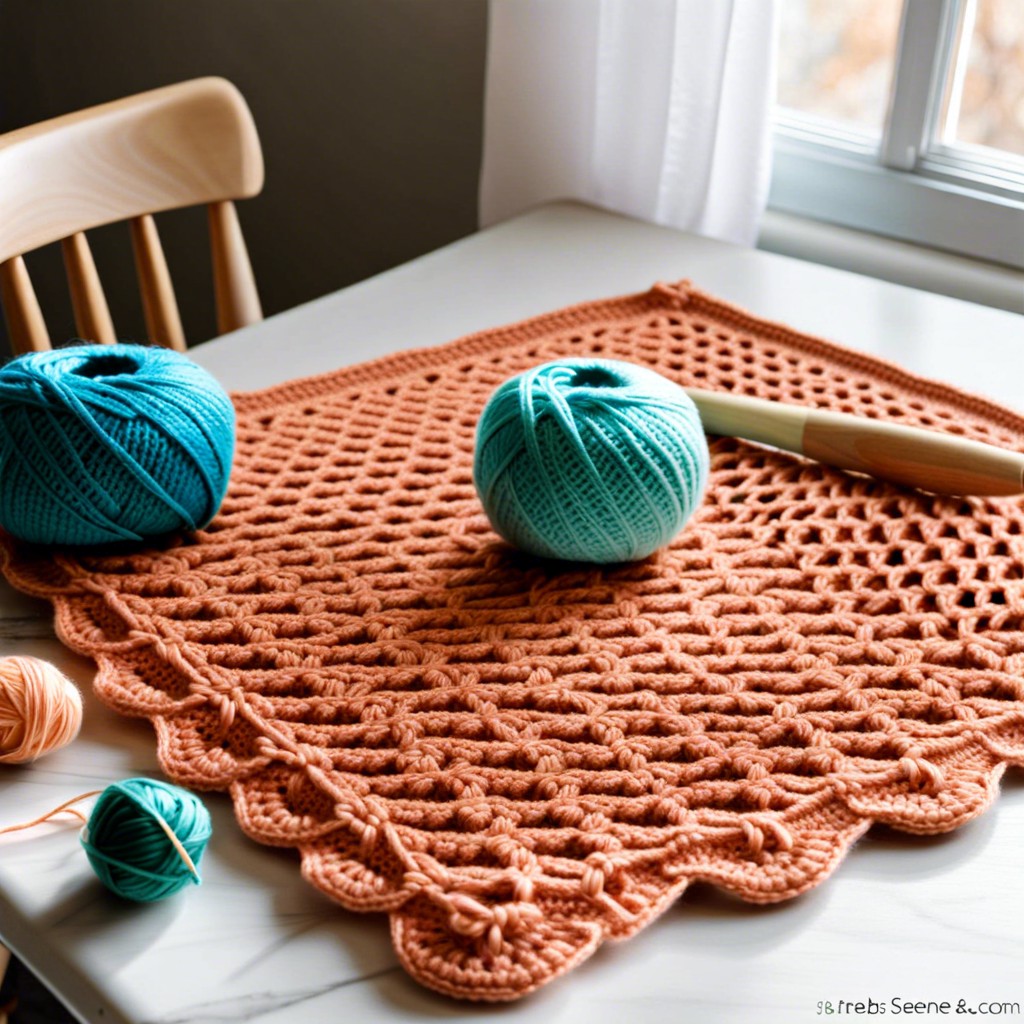
Types of Blocking Boards
Let’s dive into the colorful world of blocking boards! They come in various shapes, sizes, and materials. Imagine picking a movie on a cozy night – you need the right fit for the occasion.
First up, we have foam mats. Affordable and versatile, they often look like giant jigsaw puzzle pieces. Perfect for larger projects, just piece them together to form your desired shape and size. They’re like the Swiss Army knife of blocking boards!
Next, meet the wooden boards. Sturdy and reliable, these are the ones you can trust with your life… or at least your most delicate shawl. They usually come pre-marked with a grid for precision.
Finally, let’s not forget about lace blocking kits. These might include adjustable rods or wires. Think of them as the mac-daddies of precision, made specifically for those intricate lace creations you worked so hard on.
No matter what your blocking needs are, there’s a board out there to make your projects look sharp and professional. Choose wisely and let the magic unfold!
Setting Up Your Blocking Board
Find a flat surface where you can comfortably work. This is where the magic happens, not under the bed where you’ve hidden all your unfinished projects. Ideally, the spot should be away from inquisitive cats and curious toddlers.
Place the blocking board on your chosen surface. Make sure it’s stable; a wobbly setup can lead to wonky crochet squares, which nobody has time for.
Lay out your dampened crochet piece on the board. Gently stretch it to the desired dimensions. This is no stretch-out-and-relax yoga, but rather precise stretching!
Use measurement guides on the board to align edges. Many boards have a grid pattern that helps keep things square, like an obsessive-compulsive crochet fairy.
When things look just right, you’re ready to start pinning. Don’t worry, it’s not as prickly as it sounds.
Using Pins Correctly
T-pins and rust-proof pins are your best buddies here. They keep your stitches in place just like a faithful friend holding your yarn for an extra loop.
Insert pins at a slight angle. Think of them as tiny anchors for your masterpiece. Straight in, and they might wiggle free. Nobody wants a wiggle-free disaster.
Pin the corners first. It’s like pitching a tent: corners, then the rest. Keeps everything nice and square, or circular if you’re up to something fancy.
Space evenly. Imagine the pins are having a socially-distanced party. Too close, they get cranky; too far, they lose the plot.
Avoid over-pinning. Sure, the more the merrier, but don’t go overboard. Your piece needs breathing room too.
Check fabric tension. Your crochet piece should be taut but not strained. It’s like fitting into your favorite jeans, snug but not suffocating.
Happy pinning!
Dry Blocking Method
Dry blocking may sound like a fancy spa treatment for your yarn, but it’s simple and highly effective. Your project should be clean and dry before beginning. Lay it flat on the blocking board and gently shape it to the desired dimensions.
- Here’s where the magic pins come into play:
- Pin the corners first to anchor them down.
- Add more pins along the edges to secure the shape.
Keep the project in place for at least 24 hours. Voilà! No water required, just a little patience. This method is great for projects that merely need a touch of straightening without the fuss of dampness. No need to drown your yarn; let it breathe and find its form naturally.
Maintenance and Care of Blocking Tools
Always keep your blocking tools in top shape. Trust me, they’ll thank you by ensuring your projects look fabulous every single time!
First, after every use, make sure to dry off your pins. That tiny bit of moisture left on them can lead to rust, and no one wants rusty pins poking their delicate crochet work. Lay them on a towel and let them air dry completely before storing them.
Second, store your blocking board flat. Warped boards are like banana-shaped nightmares for crafters. Keeping them flat ensures they maintain their shape and function properly for years to come.
Third, keep your board clean. Every few uses, give it a gentle wipe with a damp cloth to remove any stray fibers, dust, or rogue cat hair. Ensure it’s dry before putting it away.
Lastly, invest in a cover or pouch for your board and pins. Keeping your tools protected from accidental damage or curious pets can save a lot of headaches down the road.
There you have it—a happy blocking board is a crafter’s secret weapon!


