Discover the steps to use a crochet needle efficiently and unravel the fun in crafting beautiful yarn creations.
So, you’ve found yourself on a wild, yarn-filled adventure, wondering just how to wield that elusive crochet hook like a pro. Spoiler alert: it’s more than just poking a stick through loops! From the anatomy of your trusty crochet hook to dazzling array of basic stitches, we’ve got it all covered. Whether you’re wrangling with yarn tension or trying not to leave your crochet hook in Timbuktu, this handy guide will have you chaining, hooking, and maybe even grinning in no time. Get ready to dive into the wonderful world of crochet hooks—don’t worry, we brought the stitches!
Key takeaways:
- Understand crochet hook anatomy: handle, shaft, hook.
- Choose materials and ergonomic handles that suit you.
- Use the right hook size for your project.
- Master proper grip: pencil or knife, your choice!
- Check tension regularly for consistent stitches.
Crochet Hook Anatomy
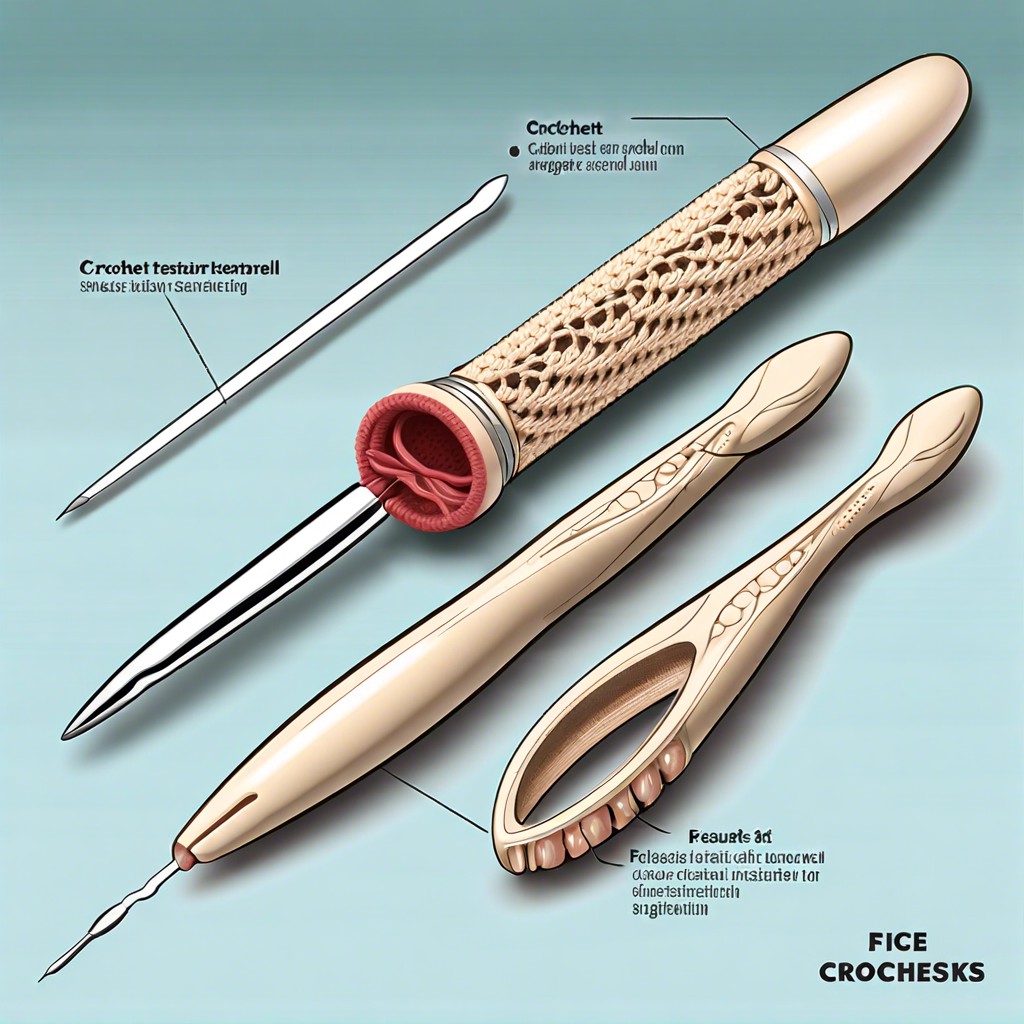
The crochet hook has three main parts: the handle, the shaft, and the hook. The handle is where you hold the hook. It can be ergonomic, rubbery, or just plain, but it’s your crochet buddy!
The shaft is the long middle part where the magic happens. This is where you measure your stitches, and its diameter determines your stitch size. Think of it as the VIP section of your hook.
The hook part is the sneaky tip that grabs the yarn. It looks like a tiny shepherd’s crook. This little guy can be pointy or rounded, depending on the brand. Just make sure it doesn’t poke you!
Each part has a specific role, but together they form the dream team of any crochet project. No cape required!
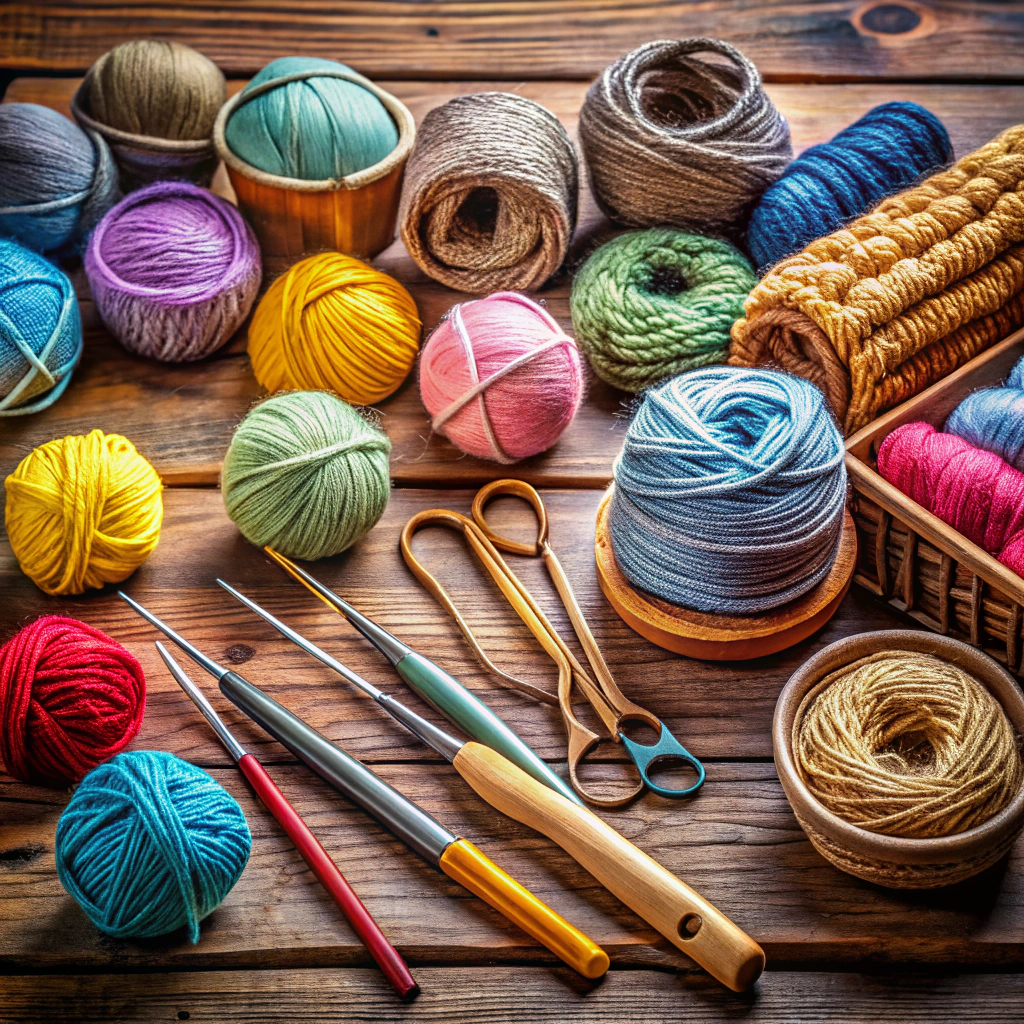
Materials and Handles
Hooks come in a variety of materials and handle styles, each offering its own charm and quirks. Aluminum hooks are lightweight and smooth, making for quick and efficient stitching. Plastic hooks provide a budget-friendly option, though they might lack the durability of metal ones. Wooden hooks, especially those crafted from luxurious materials like bamboo, add a touch of elegance but may require extra care to maintain.
For those who crochet for hours on end (hello, late-night binge sessions), ergonomic handles are a lifesaver. These fancy handles, which often feature cushiony grips, help fend off the dreaded crochet claw. Some even come in jazzy colors and patterns to bring a splash of joy to your crafting. Handles can also vary in length and thickness, so finding the perfect fit for your hand can make the world of difference. Explore, experiment, and find the hook that feels like an extension of your own hand. It’s like choosing a magic wand, minus the Hogwarts letter.
Hook Size
The size of your hook matters more than your morning coffee. It affects the size of your stitches and the overall feel of your project.
- Hook sizes come in a bewildering array of numbers and letters. Think of it as hook hieroglyphics!
- Larger hooks, like 10mm, create big, open stitches. Perfect for that chunky blanket fantasy.
- Smaller hooks, like 2.25mm, make tiny, tight stitches. Ideal for those delicate lace projects that make you look fancy.
- Metric, US, and UK sizes may vary. One hook, three names. Fun, right?
- Always check your pattern for the recommended hook size. It’s like following a treasure map without the pirates.
- Don’t have the exact size? Swatch it out. A small practice piece can save you from a large, frogged mess later.
Hook Types
There are various crochet hooks, each designed to make your yarn adventures more thrilling. Here’s the scoop:
Inline hooks have a head that aligns perfectly with the shaft. Think of them as the disciplined soldiers of the hook world; neat and precise.
Tapered hooks, on the other hand, possess a head that narrows and rounds. They’re the free spirits, offering a smoother glide through your stitches.
Ergonomic hooks come with cushioned handles. They’re like the luxury spa treatment for your hands, reducing strain during your epic crocheting marathons.
And don’t forget about Tunisian hooks which look like knitting needles. They’re the double agents, blending knitting and crocheting into one fabulous hybrid craft.
Bamboo and wooden hooks provide a warm, natural touch and are favored by those wanting an artisanal vibe.
With these hook types, you’re ready to tackle any crochet challenge.
How To Hold A Crochet Hook
There are two main ways to hold your crochet hook: the pencil grip and the knife grip. Both are perfectly fine, and which one you choose is up to you. It’s all about what feels most comfortable.
In the pencil grip, you hold the hook just like you would a pencil. Your thumb and forefinger pinch the thumb rest, and the handle rests against your hand.
With the knife grip, imagine you’re, well, wielding a kitchen knife. Your hand covers the hook handle with your thumb on top and fingers curled around the bottom.
Try both grips. Test them with a few stitches. One may feel like the comfy slipper you’ve been searching for. Your hand’s comfort is key to avoiding cramps and keeping the crochet fun rolling. Also, remember to relax your shoulders. No need to crochet like you’re diffusing a bomb!
Basic Crochet Stitches
Single crochet, the bread and butter of crochet stitches, is the foundation of many patterns. Start by inserting your hook into the stitch, yarn over, and pull up a loop. Yarn over again, pull through both loops. Voilà!
Half double crochet steps it up a notch. Yarn over first before inserting the hook. Pull up a loop, yarn over again, then pull through all three loops. It’s like single crochet but with slightly more flair.
Double crochet will make you feel like a pro. Yarn over, insert the hook, pull up a loop. Yarn over again, pull through two loops, yarn over one last time and pull through the final two loops. Boom, so fancy!
Remember, practice makes perfect. Or at least a wearable scarf.
Working Yarn Over the Hook
Wrap the yarn around your hook, and you’ll be crocheting in no time. Here’s the lowdown on working yarn over the hook:
Let the hook swoop under the yarn from back to front. This is termed “yarning over.”
Lightly tug the yarn with your non-dominant hand to keep things snug but not strangling your hook.
With yarn looping over the hook, guide it through loops in your stitches. Think of it as threading spaghetti through alphabet soup.
Repeat as needed for each stitch, keeping movements fluid and relaxed to avoid hand cramps. It’s like a dance but without the embarrassing footwork.
If the yarn slips off the hook, it’s not you, it’s the hook. Adjust your grip or tension, and you’ll be back in the game faster than you can say “crochet fanatic.”
Managing Tension
Tension is all about control—keeping your stitches even and your project less like a rollercoaster. Think of it like walking a well-trained dog: keep the leash too tight, and both of you are unhappy; too loose, and chaos ensues.
First, practice makes manageable. The more you crochet, the more you’ll get a feel for consistent tension. It’s all in the wrist movement—smooth and steady wins the race.
Experiment with your grip. Some folks hold their yarn like they’re pinching a delicate flower, others with the fierce determination of holding onto a winning lottery ticket. Try out different methods and see what suits your style.
Pay attention to your yarn feed. How the yarn flows from the skein can impact tension. If it’s pulling too hard, consider using a yarn bowl or guide. If it’s tangling, take a deep breath and untangle that skein mess.
Check as you go. Don’t wait until your scarf looks like a mountain range to realize there’s an issue. Consistently check your gauge to ensure you’re on track.
Relax! Stress can turn your crochet into an unintentional armor. Keep a relaxed, comfortable environment to make sure your stitches stay zen.
Implement these concepts, and your crochet projects will look effortlessly fabulous, rather than resembling Fido’s chew toy.
Switching Hook Sizes
There comes a time in every crocheter’s life when switching hook sizes becomes necessary. Whether your project instructions demand it or your stitches are so tight they’re threatening to become a black hole, here’s what you need to know:
First, remember that bigger hooks yield looser stitches and smaller hooks create tighter ones. Changing the hook size can affect the drape of your fabric. Want a comfy, drapey scarf? Go big. Craving a sturdy basket? Go small.
Second, check your gauge. Before diving into that cozy sweater, make a gauge swatch with your new hook size. It’s like a mini dress rehearsal.
Switching hooks mid-project? Stop and do it at the beginning of a row. This way, stitch changes will be less noticeable. It’s like a costume change – do it backstage, not in the middle of the main act.
Finally, keep notes. Jot down which hook sizes you’ve used and where. Future you will thank past you for the detective work.
Common Mistakes and Fixes
Ah, the thrill of crochet, where even the tiniest error can transform a scarf into something resembling modern art. Let’s unravel some common crochet conundrums and how to fix them.
First up, the infamous too-tight stitch. If your yarn looks like it’s on a diet, loosen your grip. Ease up. Think more yoga-style relaxation, less Hulk-smash tension.
Next, the erratic stitch count. Like misbehaving children, stitches often wander off. Count every few rows, and use stitch markers. Yes, they’re like tiny leashes for your yarn.
Then there’s the unexpected twist. A twisted chain can make your work resemble a Möbius strip. Keep an eye on that foundation chain and ensure it stays flat. It’s a foundation, not a twisty roller coaster.
Finally, don’t forget the sneaky split yarn. If your hook catches just part of the yarn, that stitch may look frayed. Be vigilant, and always draw your hook through all strands for a clean, crisp stitch.
Who knew yarn had such a personality? Yet, with a bit of patience and these tips, your crochet projects will go from frumpy to fabulous in no time.