Unravel the art of efficiently winding your yarn without a swift because mastering this skill can revolutionize your knitting and crocheting projects.
Winding yarn without a swift is a straightforward process that you can easily accomplish in just a few steps. This article will provide you with a detailed guide on how to successfully wind your yarn without the need for a swift, ensuring a smooth and tangle-free experience.
Whether you’re preparing for a knitting project or organizing your yarn stash, this guide will offer practical, easy-to-follow instructions. Stay tuned to discover the full process, including the tools you’ll need, step-by-step instructions, and helpful tips to make your yarn winding experience as efficient and enjoyable as possible.
Key takeaways:
- Understanding a ball winder and its components.
- Steps to wind yarn without a swift.
- Detailed instructions for manual yarn winding.
- Common mistakes to avoid while winding yarn.
- Benefits of winding yarn without a swift.
Understanding What a Ball Winder Is
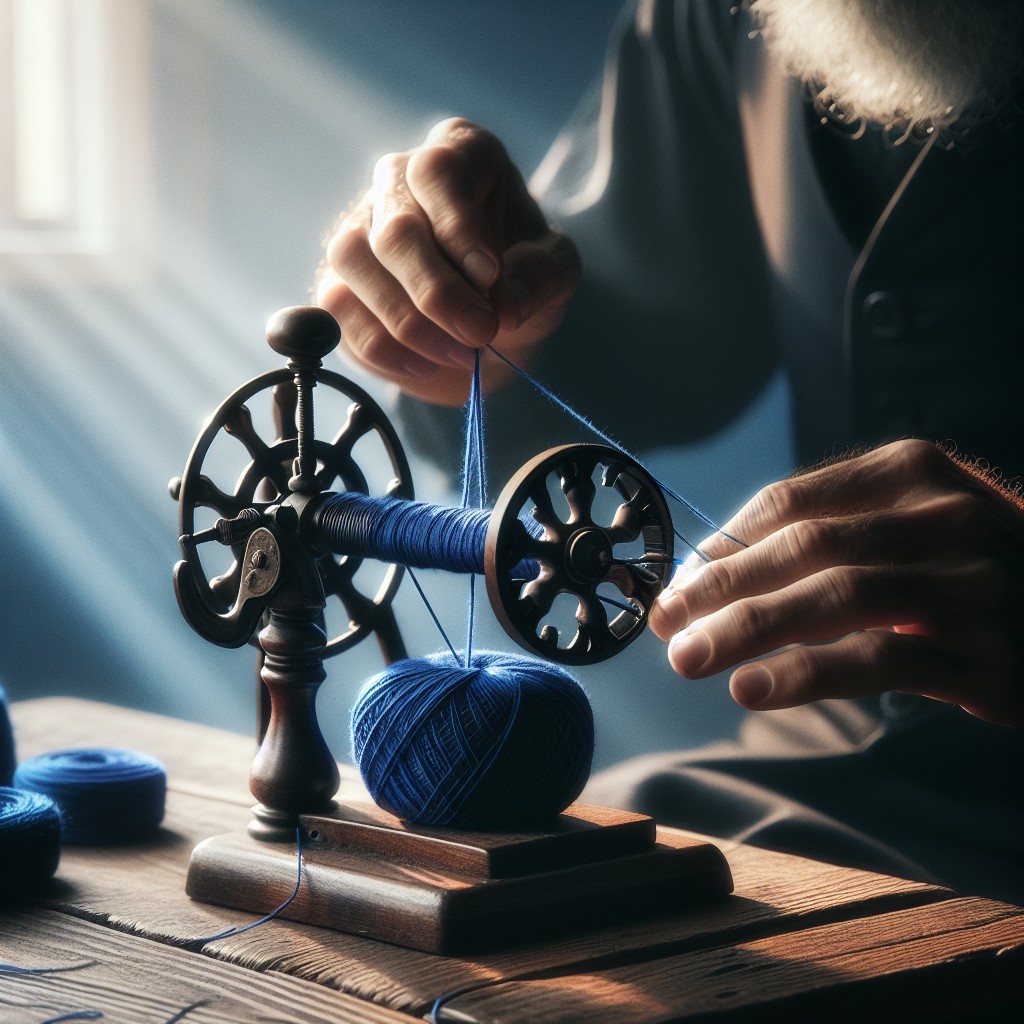
A ball winder, an essential tool for knitters and crocheters, helps transform skeins or hanks of yarn into neat, manageable “cakes”. These cakes can smoothly dispense yarn from the center, maintaining even tension and minimizing any untidy tangles or knots.
The component parts of a ball winder are the yarn guide, the winding handle, and the spindle – it’s simple but highly effective. Converting hanks or skeins into cakes makes the yarn easier to store and use, and it’s a satisfying process too, adding to the joys of yarn crafting.
Note that while a swift often accompanies a ball winder, it’s not essential. Stay tuned to explore how to use a ball winder without a swift.
Methods to Use a Ball Winder Without a Swift

Using a ball winder without a swift requires little more than a sturdy chair, the ball winder and, of course, your yarn. It’s critical to keep the tension consistent, which can be challenging without a swift.
1. Stabilize the Chair: Tilt a sturdy chair backwards against a table or wall. This allows the yarn to run freely and not tangle.
2. Setup the Yarn: Layout the skein of yarn over the back of the chair. Ensure it’s spread evenly to avoid knots and tangles.
3. Connect to the Ball Winder: Hold the end of the yarn and feed it through the guide on the ball winder.
4. Start Winding: Begin winding slowly, ensuring the yarn comes off the chair evenly. Gradually increase speed, while continuously checking for any snagging or excess tension.
Remember, the aim here is a neat, knot-free ball of yarn, not speed. Patience is your ally in this process, allowing you to create a beautiful, ready-to-use yarn ball without the swift.
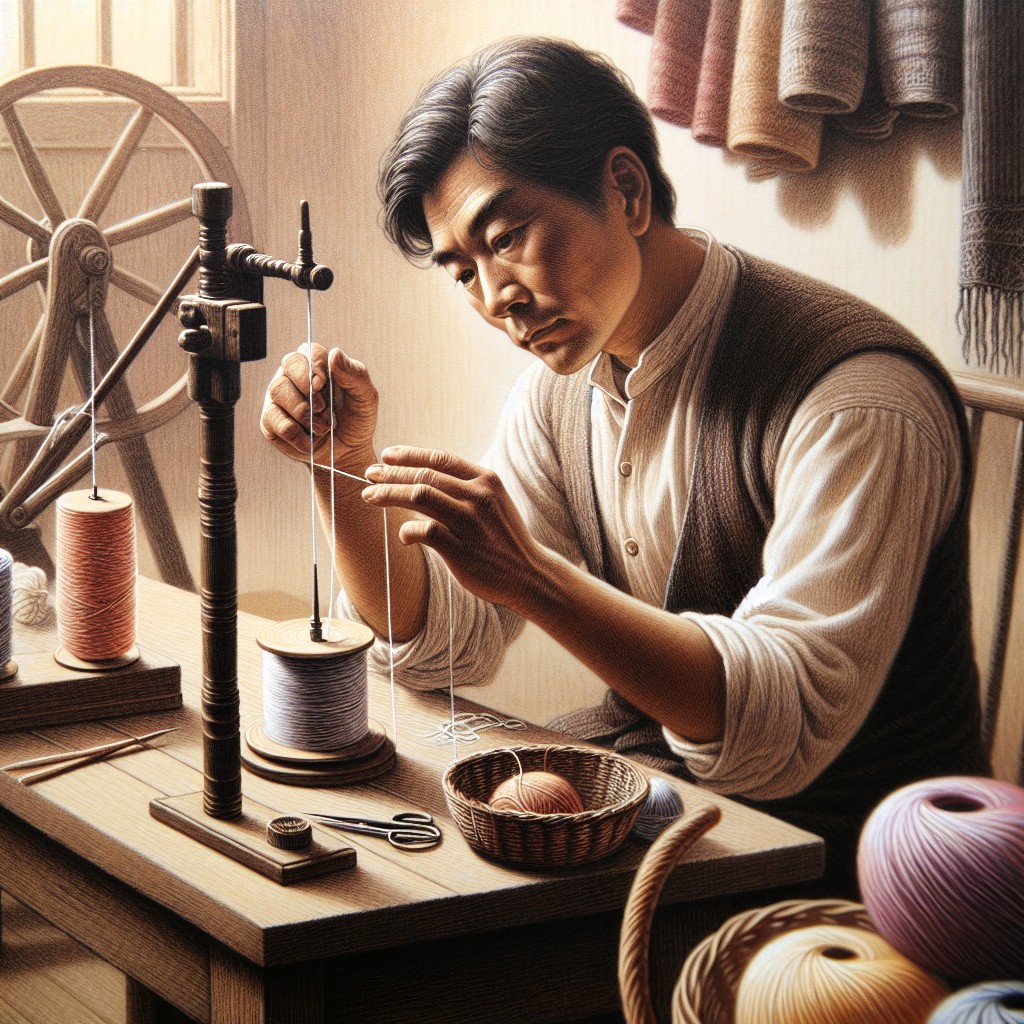
Detailed Steps On How to Wind Yarn Without a Swift

1. Start by finding a suitable object to wrap your yarn around. It can be anything from an empty toilet roll, a book, or even your arm. Ensure that it’s big enough to hold the yarn and is easily movable.
2. Secure one end of the yarn to your chosen object. You could tie a knot, use a piece of tape, or just hold it in place with your hand.
3. Start wrapping the yarn around the object from one end to the other, working steadily and carefully. Make sure to keep the yarn tension consistent to avoid any tangles or knots.
4. As you continue to wrap, rotate the object occasionally to prevent the yarn from bunching up in one spot.
5. Once you’ve finished winding the yarn, carefully slide it off the object. You should have a nicely wound ball of yarn that’s ready for your next project.
6. At this point, you could secure the end of the yarn with a small piece of tape or a loose knot to prevent it from unraveling.
Remember, the technique requires a bit of patience and practice, but it’s a great way to manage your yarn without needing a swift. Make it an enjoyable part of your crafting process.
Common Mistakes to Avoid When Winding Yarn Without a Swift
Avoiding tension is key; winding your yarn too tightly can result in stretched threads, ultimately resulting in irregularly sized stitches. Always ensure you’re winding gently to maintain the yarn’s original tension.
Also, it’s crucial to keep your skein tangle-free. Letting the skein roll around as you wind can rapidly turn your yarn into a frustrating knot. Make sure the skein is well-anchored while winding; this could involve placing it on a stationary object or enlisting the help of a friend.
Furthermore, do not rush the process. Winding too quickly may cause the yarn to become tangled or the ball to fall apart, making your task more complicated.
Lastly, take breaks if you’re winding a large skein. Spending too long on a repetitive task can lead to stress or strain on your hands, which could impact your ability to crochet or knit afterwards. Give your hands regular rests to avoid this.
Benefits of Winding Yarn Without a Swift

There are several motivators that might push crafters to wind yarn manually rather than using a swift. First and foremost, it’s significantly more cost-effective. Majority of the yarn enthusiasts find it quite resourceful to avoid investing in swifts, considering their occasional use and the alternative methods that can do their job quite efficiently.
Additionally, winding yarn manually offers an opportunity to deeply connect with the material. This process enables you to feel the texture and elasticity of the yarn, fundamental characteristics that heavily influence the outcome of your project.
Another notable advantage is the aspect of portability. Compact winding tools or just using your hands make it easy to wind yarn wherever you are – whether on a train journey, at a park or during a short break at work. This leads to more crafting time and flexibility, not being limited by the availability of larger tools such as a swift.
The manual winding method also allows for customizing the ball size based on the need of your project. As the control is in your hands, you can create a smaller ball for a minor patchwork or a larger one for a full-sized project.
To top it off, winding yarn without a swift can be a meditative, calming process and a mindful form of creativity.
So, while swifts can certainly speed up the process and save time, winding yarn without one has its own set of numerous benefits, adding value to your crafting experience. It definitely offers a feasible option for all yarn craft enthusiasts.
Troubleshooting Issues While Winding Yarn Without a Swift
Even amid careful winding, problems may pop up. So let’s tackle some potential issues.
1. Yarn Tangling: This could occur if the loose end gets entangled during the winding process. To rectify it, gently untangle the snarl and resume the process.
2. Loose or Tight Winding: The tension should be just right – not too taut or too slack. A too tightly wound ball puts excessive stretch on the yarn, and a loosely wound one may result in knots and tangles.
3. Inconsistent Yarn Balls: For uniform balls, ensure to move your hand back and forth across the width of the yarn ball during winding, avoiding concentrating in one spot.
4. Yarn Slipping Off the Ball: This can be avoided by holding the initial end in place until the yarn ball is large enough to hold it on its own.
Remember, successful winding without a swift takes practice and patience. Should a problem arise, don’t panic. Just unwind, untangle, and go again. And with every misstep, you’re bound to learn a useful tip or two that will help you in the long run.
Maintaining Your Yarn and Tools for Efficient Winding Without a Swift
Preserving the quality of both your yarn and tools leads to an efficient yarn winding. Adhere to the following tips:
- Store Yarn Properly: Keep it in cool, dry places, away from direct sunlight, to prevent fading and degradation. Using mothballs is recommended to protect against insects.
- Avoid Tangles: Always store leftover yarn in center-pull balls or use yarn ends keepers to avoid it getting tangled.
- Cleanliness Check: Ensure your Ball Winder is clean before use. Dust or grime can affect its operation or even damage your yarn.
- Regular Lubrication: Add lubrication regularly to the Ball Winder’s moving parts to maintain smoothness in operation.
- Tension Adjustment: Keep an eye on the tension of the yarn while winding. High tension can stretch the yarn and impact its quality.
By maintaining these practices, the process of winding yarn without swift will be more efficient and free from frustration.
FAQ
How do you wind yarn from skein to ball?
To wind yarn from a skein to a ball, begin by wrapping the yarn around two or three fingers multiple times, then remove it, turn sideways, and wind it around the middle, repeating this process by changing direction every few wraps until a ball forms.
What are the different methods for hand-winding a ball of yarn?
Hand-winding a ball of yarn can be achieved through methods such as the butterfly wrap for small amounts, the Nostepinne method for larger quantities, or simply using your fingers and creating a center-pull ball for instant use in projects.
How can household items be utilized for winding yarn?
Household items such as a kitchen mixer, chair, or flip-flop can be creatively adapted as a swift to help with the task of winding yarn.
What are the common problems when winding yarn and how can they be avoided?
Common problems when winding yarn include tangling, tension issues, and yarn breakage, which can be avoided through proper care, using a yarn swift and winder, and maintaining consistency in tension.


