Learn how to write a crochet pattern with clear instructions, precise terminology, and handy tips for making your designs stand out.
Ready to spill the beans and finally unveil that crochet pattern that’s been dancing in your head? Perfect! Crafting your own crochet pattern might sound like wizardry, but it’s more like spellbinding fun. This guide is your magic wand, loaded with everything from understanding existing patterns and nailing those cryptic abbreviations to testing your design like a pro. Stick around, because we’re diving into the yarny depths together, ensuring your pattern is as clear as a cozy winter morning.
Key takeaways:
- Study existing patterns for structure and conventions.
- Use standard crochet abbreviations for clarity and brevity.
- Define design clearly with yarn, colors, and measurements.
- Crochet a sample to test and perfect your design.
- Write step-by-step instructions with skill level indication.
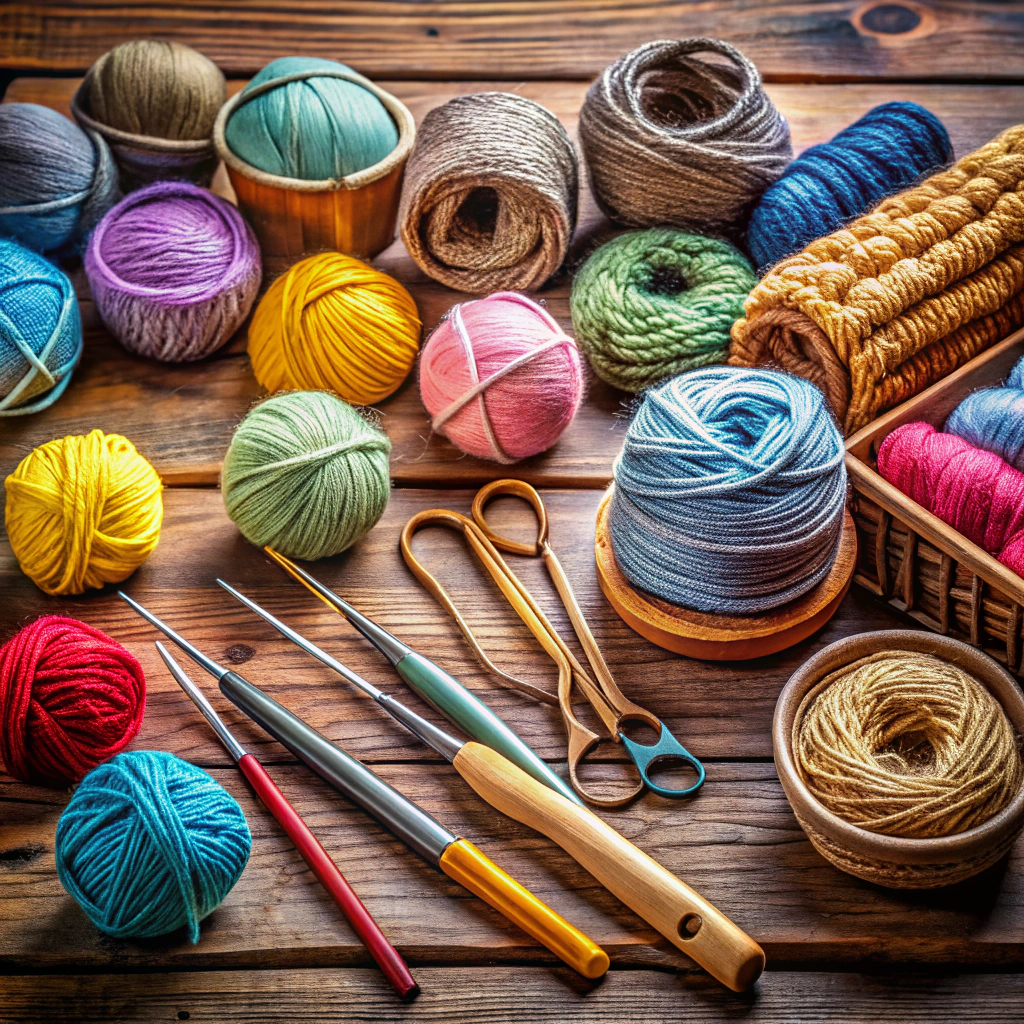
Study Existing Patterns
Grab a cozy spot and dive into a few crochet patterns. Notice how they’re structured. It’s like dissecting a crochet frog in yarn biology class. Fun, right? Pay attention to the format and flow. Look at how instructions are laid out, especially in complex designs.
Spot patterns in the wild, and take note of the abbreviations and terminology used. Have a little giggle at the peculiar names (who knew DC doesn’t stand for Detective Comics?). Familiarizing yourself with these conventions will make your pattern writing sound pro-level.
Lastly, don’t forget to check out the special stitch sections or tips provided. These nuggets of wisdom can be a goldmine for creating your unique pattern style. Happy dissecting!
Use Standard Crochet Abbreviations
Standard crochet abbreviations are the secret language of crochet patterns, allowing you to convey complex instructions in a compact form. Think of it as crochet shorthand that keeps your pattern tidy and professional.
- SC for single crochet, DC for double crochet, HDC for half double crochet – these little abbreviations pack a punch.
- You want your readers to focus on creating, not deciphering. Using familiar abbreviations ensures they won’t be lost in translation.
- Online resources and crochet books often have a handy list of these abbreviations. Keep one by your side like a trusty sidekick.
- Save space and avoid spelling out instructions like “yarn over” every single time. YO is here to save the day.
Seeing a pattern with these abbreviations is like cracking a secret code, giving a sense of belonging to the crafty club.
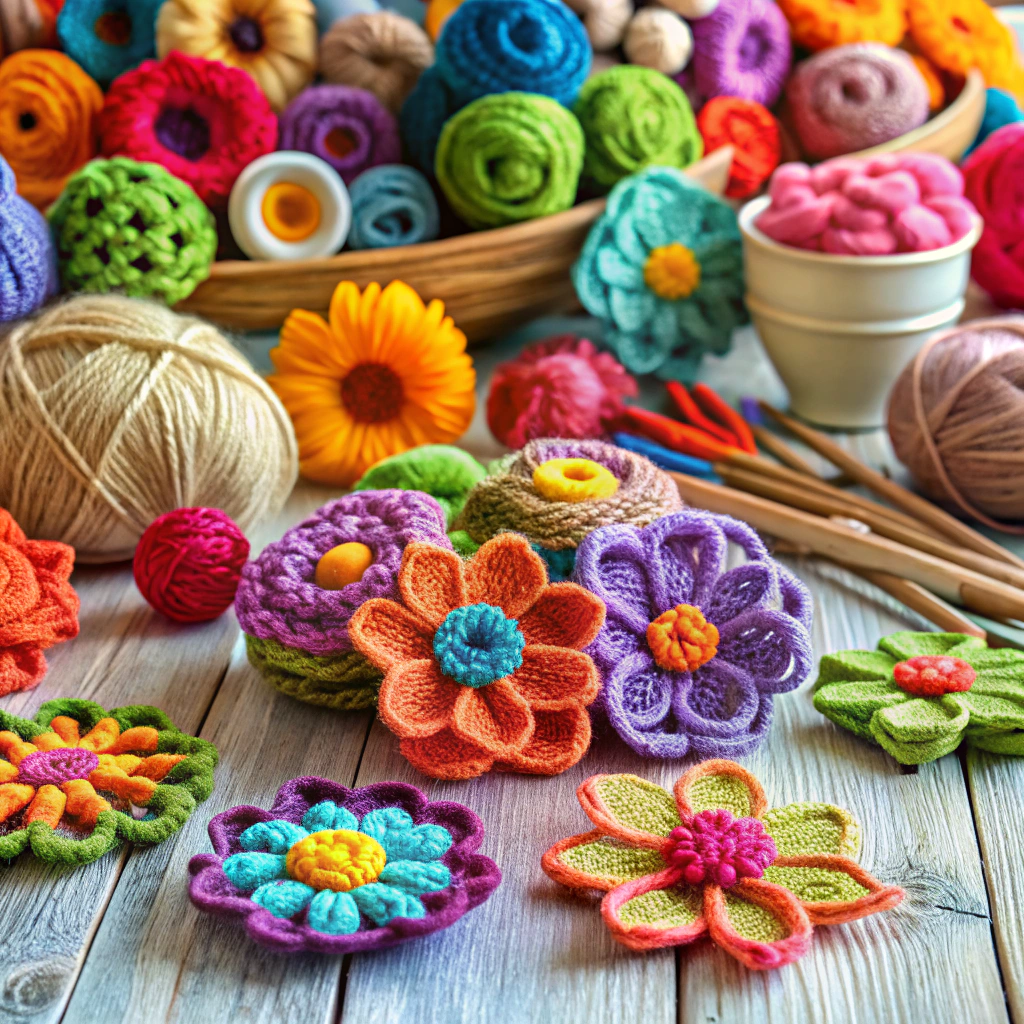
Define Your Design Clearly
Know exactly what you want to create. This isn’t the time for vague ideas. Sketch it out or use some software if you’re fancy like that.
Choose yarn and hook size wisely—chunky yarn for that cozy blanket, or perhaps fine thread for intricate lace.
Pick colors that pop or elegantly blend, depending on your vibe. Neons for the bold, pastels for the soft-hearted.
Include measurements. Size matters when your scarf goes from neck-wrap to mummy-costume real quick.
Think about special stitches. Throw in the popcorn stitch if you want extra texture, or keep it simple with single crochets.
Consider the finish. Will it have fringe, tassels, or perhaps a jaunty little pom-pom? Because why not?
Crochet a Sample
Whip out your hook and yarn; it’s time to see if your fantastical idea actually works!
Create a complete sample of your design. This is your chance to catch those sneaky mistakes before anyone else does.
As you crochet, take detailed notes. Jot down the hook size, yarn type, and stitch counts. Watch for spots where things get tricky and simplify where possible. If you find yourself cursing under your breath, your future pattern readers probably will too.
Measure everything. Dimensions are crucial.
Take photos of each stage. Visual learners will thank you.
Consider making the sample more than once. Different yarns can yield surprises—sometimes delightful, sometimes not-so-delightful. It’s like a yarn-based reality show.
A solid, tested sample is what stands between you and a mess of confused crocheters. Happy stitching!
Write Instructions Step-by-Step
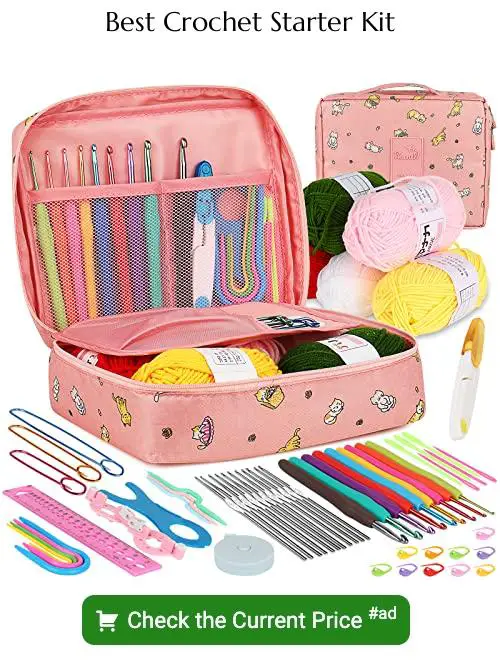
Begin with the foundation. State the materials and tools needed—everything down to the last stitch marker.
Break the pattern into manageable chunks. Each row or round should be clearly defined.
Use abbreviations, but ensure you spell them out the first time. For example, “sc” for single crochet.
Include stitch counts at the end of each row or round to help users keep track. It’s like a GPS for yarn!
Describe special stitches in a dedicated section. Make tricky turns easy to navigate.
Add notes for clarity. Mention things like color changes, stitch tension, or tricky parts. Future crocheters will thank you.
Use a consistent format to keep confusion at bay. Like your GPS, it needs to be steady and reliable.
Finally, inject a bit of personality; a wink and a nudge can make the journey more enjoyable. A playful note here and there can keep spirits high through those difficult rows.
Indicate Skill Level
Don’t leave your crocheters like a deer caught in the headlights! Clearly marking the skill level can save some serious frustration. Here’s how to make it easy-peasy:
First, categorize your masterpiece. Generally, patterns fall into one of four categories: Beginner, Easy, Intermediate, and Advanced. Think of it like leveling up in a video game, but without the boss fights.
For Beginners, keep it simple: basic stitches, minimal shaping, and nothing too fancy. Think of it like teaching someone to ride a bike with training wheels.
Easy patterns can include a bit more spice, like basic increases and decreases, but nothing that requires a secret decoder ring.
Intermediate designs can involve pattern repeats, more complicated shapes, and stitch variations. Imagine someone who can ride a bike and pop a wheelie.
Advanced ones? Sky’s the limit. Intricate patterns, complex shaping, and techniques that would make a wizard proud.
Mention the skill level right at the top of your pattern, maybe even in bold, so folks can’t miss it. Trust me, future you will thank present you.
Proofread and Edit
First, give your pattern a good once-over. Did you miss a stitch? Did you accidentally turn a scarf into a sweater? Double-check that every detail matches your intention.
Next, read it out loud. This can help you catch awkward phrasing or confusing instructions. If you stumble, your readers will too.
Hand it over to a friend or a crochet buddy. Fresh eyes spot things you might miss. Plus, they can let you know if there’s a step that makes absolutely no sense.
Finally, don’t be afraid to take a break. Step away from your pattern for a day or two, then come back to it. You’d be amazed at what a little distance can reveal.
Editing may not be the most fun part, but your future crochet fans will thank you!