Learn how to yarn over in crochet and add a versatile technique to your crafting toolkit.
Ready to master the mystical yarn over in crochet? It’s about to get loopy—literally! With yarn over, or “yo” as the cool kids call it, you’ll add that essential extra loop to elevate your crochet game. Grab your crochet hook, a bit of yarn, scissors, and don’t forget your sense of humor. Stick around, and in a few quick steps, you’ll be looping like a pro. Let’s dive in!
Key takeaways:
- Yarn over adds an extra loop on your hook.
- Yarn over is abbreviated as “yo” in crochet patterns.
- You’ll need a crochet hook, yarn, scissors, patience, and humor.
- Wrap the yarn over the hook and insert the hook into the next stitch.
- Practice makes perfect! Happy crocheting!
Definition of a Crochet Yarn Over
It’s a simple yet magical little maneuver. You take the working yarn and wrap it over your crochet hook. Voila! You’ve made a yarn over.
This yarn maneuver creates the extra loop needed to form different stitches. Think of it as the foundational handshake in the world of crochet stitches.
- Added Loops: Every yarn over adds an extra loop on your hook.
- Versatile: Crucial for many stitches, from basic to fancy.
- Simple Gesture: Just involves wrapping the yarn over the hook from front to back. Easy-peasy.
So, it’s not just looping yarn; it’s creating the building blocks for every stitch to come, whether it’s a basic single crochet or a super elaborate shell stitch.
Abbreviation for Yarn Over in Crochet
Yarn over is often abbreviated as “yo” in crochet patterns. It’s like the cool shorthand of the crochet world. Blink and you might miss it.
- Seeing “yo” in a crochet pattern means:
- Wrap the yarn around your hook (like giving it a snug little hug).
- It’s usually followed by instructions on what to do next (don’t worry, you’re not left hanging).
Patterns are often written in a language of their own, but “yo” is one of the simplest codes to crack. If you master this tiny abbreviation, you are already a step ahead in decoding crochet hieroglyphics.
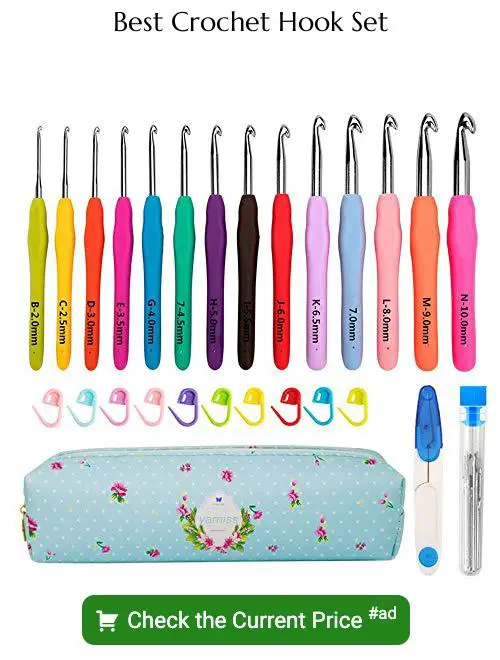
Materials Needed to Crochet a Yarn Over
Picture this: you, your favorite cozy chair, and a simple list of essentials to get you in the yarn over groove. Nothing too fancy—just the basics to keep your crochet game smooth and frustration-free. Here’s what you’ll need:
Grab yourself a trusty crochet hook. You don’t need to look for the magic wand of crochet hooks; any decent one that feels comfortable in your hand will do. Size can vary depending on your yarn, but let’s not stress over that now.
Next up, some yarn. Again, no need to raid a dragon’s treasure hoard for the fanciest yarn ever spun. A simple, medium-weight yarn is perfect for practice. Think of it like your well-loved, slightly coffee-stained book—reliable and easy to work with.
A pair of scissors. You’ll eventually need them to snip yarn, but who knows, they might also come in handy for opening your crochet-obsessed online shopping sprees.
Lastly, patience and a dash of humor. Let’s face it, starting out, your yarn might behave like a rebellious teenager. Just remember, deep breaths and a sense of humor can untangle almost any knot.
How to Make a Yarn Over in Crochet
Step 1: Hold your crochet hook like a magic wand—channel your inner wizard! Position your hook under the yarn, which should be comfortably resting over your left index finger (for right-handed folks). Now flick that yarn over the hook with a graceful, swooping motion. It’s like the yarn and hook are about to dance. Watch them twirl!
Step 2: With the yarn cozily looped over your hook, it’s time to continue. If you’re making a double crochet, for instance, insert the hook into the next stitch, yarn over again, then pull through. Your yarned-over loop is like a faithful sidekick—always ready to help complete the stitch and make your work look fab. Just don’t let it get tangled in its own enthusiasm!
Keep in mind, the more you practice, the less your yarns will plot against you. Happy crocheting!
Step 1: Yarn Over Hook
Begin by holding your hook in one hand and your yarn in the other. You’ll need to wrap the yarn around the hook in a very particular way to achieve the yarn over. It’s almost like your hook and the yarn are having an elegant dance.
Start with the yarn behind the hook. Swing that yarn partner over the hook from back to front. Essentially, the yarn should be resting on the hook like it’s taking a nap after a long day of stitching.
Ensure the yarn is snug but not too tight. Think of it like Goldilocks—just right. This will give the resulting stitch a nice, even appearance.
Finally, keep an eye on your grip. You want to maintain a steady, relaxed hold to ensure smooth maneuvering. Remember, the hook does the heavy lifting; your hands just guide the process.
Step 2: Continue With the Stitch
With your yarn over snugly around the hook, you’re ready to keep the crochet train chugging along!
- If you’re working a basic stitch like a single crochet, you’ll insert your hook into the designated stitch or space, pull through a loop, giving you two loops on your hook.
- For a double crochet, after your yarn over, pop that hook into the stitch, pull through a loop until there are three loops hanging out on the hook.
- Next, yarn over again and pull through two loops. You’ve got it! Then another yarn over, pulling through the remaining two loops.
It’s like the hook is having a dance party – swirling and twirling through loops! Each stitch type will have its rhythm, but the yarn over is the superstar move. Keep calm and crochet on!


