Want to know the fantastic ways to join granny squares seamlessly?
Joining granny squares can be just as fun and creative as stitching them up! Whether you crave a neat, seamless connection or a bold, textured border, this guide has you covered. From single crochet to zig zag braids, discover five fantastic joining methods that’ll make your granny squares shout with style. Get ready to pop some stitches and bring your projects together like a pro!
Key takeaways:
- Single Crochet Method: Seam squares together with single crochet stitches.
- Slip Stitch Method: Join squares with slip stitches for an invisible seam.
- Invisible Seam Method: Use a yarn needle to join squares with top loops.
- Reverse Single Crochet Method: Create a twisted rope-like edge with reverse single crochet.
- Zig Zag Braid Method: Add decorative zig zag braids for a fun textured join.
Single Crochet Method
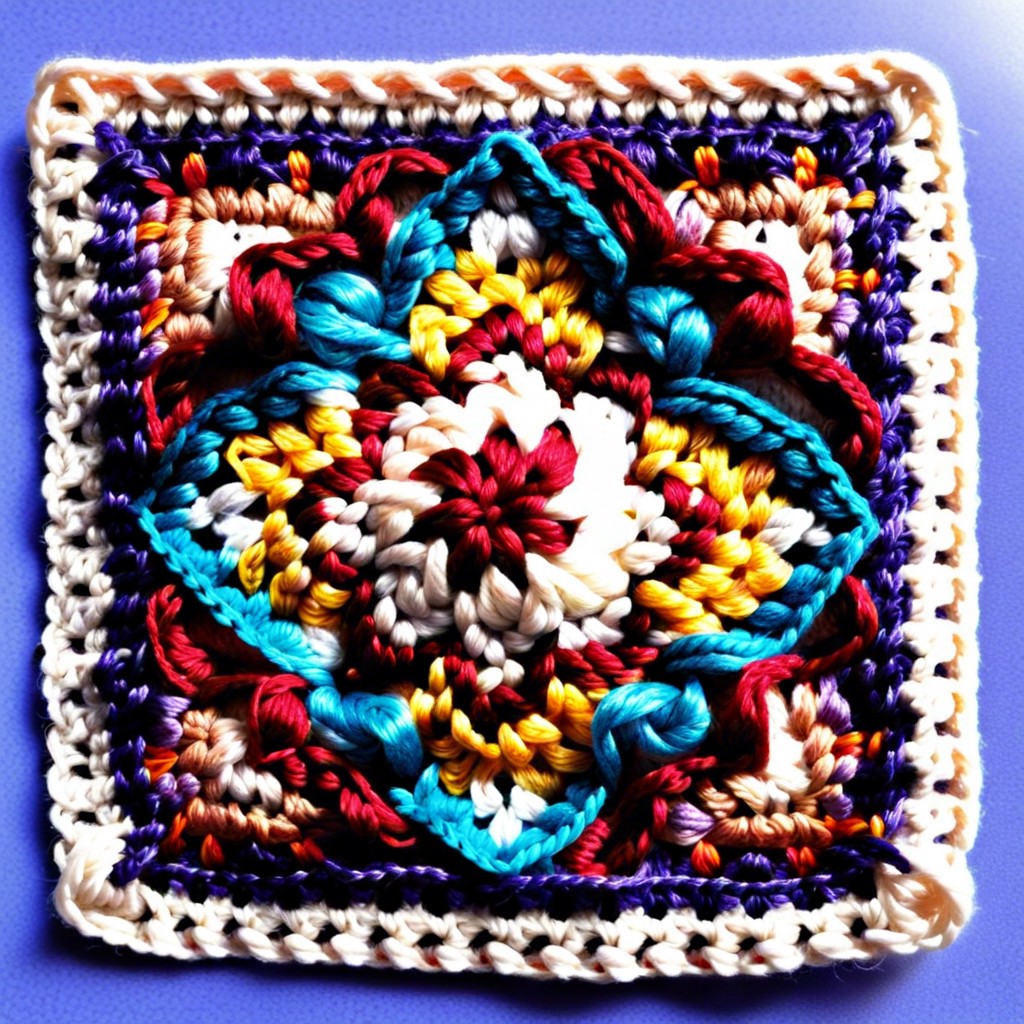
Grab your yarn and hook because we’re diving right into it. For this method, you’ll need to place your granny squares with their right sides facing each other. Start by inserting the hook through the corners of both squares.
Pull the yarn through, making sure you’ve got a loop on your hook. Next, yarn over and pull through both loops on the hook. That’s the single crochet! Just repeat this magic along the edge. Remember to keep your stitches consistent – no one likes a wobbly blanket edge.
For visual folks, imagine you’re sewing but with yarn. Each stitch gives a neat, slightly raised seam, adding both sturdiness and a nifty texture.
Go all the way down the line, corner to corner. Chain one at the end for a secure finish before snipping the yarn. Voila! The satisfaction of a clean join might just make you do a happy dance.
Slip Stitch Method
Ready for a seamless, stylish join? The Slip Stitch method might just become your new BFF in the world of granny squares!
First, place two squares together with the right sides facing each other. This makes sure the pretty sides get all the attention they deserve.
Next, insert your hook through the outer loops of both squares, carefully catching just the edge to keep things delicate. This way, you’ll create a neat, almost invisible seam.
Yarn over, pull through both loops on the hook, and voilà – first slip stitch complete! Continue this through all the stitches along the edge. Keep your tension even but not too tight; you don’t want your granny squares to suffocate!
Once you’ve reached the end, fasten off and weave in any loose ends. Your granny squares are now happily united. Why not give them a celebratory shake?
Simple, effective, and with minimal fuss. That’s how slip stitching rolls.
Invisible Seam Method
To create an invisible seam, you’ll need a yarn needle, matching yarn, and a bit of patience. Start by placing your granny squares right sides together. Thread your needle with a length of yarn, tying a knot at the end.
Insert the needle under the top loops of the stitches you want to join, moving from the back to the front. Pull through gently. Repeat this process, weaving in and out, always under the top loops of both squares.
Keep your tension even, but not too tight. You’re aiming for a seamless look, not a tug-of-war championship.
When you reach the end, secure the yarn with a knot and weave in the ends. Voilà, your seam will be practically invisible! Blend your squares into one, like a crafty ninja, sneaking them together with stealth and finesse.
Reverse Single Crochet Method
Next up, let’s get adventurous with a bit of reverse single crochet action. Sounds wild, right? It’s basically single crochet—backward.
First things first, you’ll be working in the opposite direction. Instead of going left to right (sorry, lefties), you go right to left. It can feel like trying to pat your head and rub your belly at the same time, but hey, it’s a party trick!
Insert your hook into the space, yarn over, pull up a loop, yarn over again, and pull through both loops. Rinse and repeat. It’s oddly satisfying.
This method creates a lovely, twisted rope-like edge. Super sturdy. Works wonders for a textured look, making your project pop!
It’s also great for hiding those pesky color changes. So, not only functional, but fashionable. Plus, who doesn’t love channeling their inner craft ninja?
Zig Zag Braid Method
Nothing quite spices up your granny squares like the zig zag braid! This method creates a decorative, textured join that’s as fun to look at as it is to create. Here’s the scoop:
First, make a foundation chain along one edge of the first square. Think of this as laying the track for the yarn train. Next, single crochet into the chain, adding some loops for the future zig zags.
When ready to add another square, single crochet across its edge while incorporating the loops from the first square. This is where the magic happens – the two squares will start to braid together, forming that playful zig zag.
Keep your tension even, or you may end up with a lopsided braid that resembles more of a squiggly worm than a sleek zig zag. Don’t worry, practice makes perfect, and a little imperfection adds character!
Lastly, for an extra polished look, give your edges a light blocking. It’ll help even out and define the braids.
Joining-As-You-Go (JAYGO)
Here comes the crochet magic trick you never knew you needed! With this method, weave squares together as you crochet, eliminating the need for those daunting piles of squares awaiting assembly.
Start by completing your first square as usual. For the next square, crochet up to the edge where they will join. Now, instead of chaining straight away, slip stitch into a corner of the first square. Continue joining along the edges, alternating between your square in progress and the completed one.
While working this method, edges align magically with slip stitches or single crochets. It’s the ultimate multitasking maneuver—like watching your favorite show while crocheting. Less sewing, more showing off!
- Remember these points:
- Place the right sides together.
- Slip stitch or single crochet along the edges.
- Consistently match up the corners.
The JAYGO method lends delight as squares mingle with ease while you crochet. Effortless and efficient, just the way yarn crafting should be.
Flat Braid Join
This method adds a beautiful, lace-like finish that’s as fancy as a hat on a cat.
- Start by crocheting a chain.
- Slip stitch into the space between the granny squares.
- Chain again, slip stitch into the next space.
Repeat this dance across the squares. This creates a braided effect that links your squares together with flair, resembling a vintage doily or a knight’s chainmail. The key to nailing this technique is keeping your tension consistent. Looser stitches can make the join look more like a fishing net than an elegant braid.
If you mess up, no big deal, just consider it a “design feature”!
