Learn how to crochet a mesh stitch with simple steps in this how-to article.
Ready to dive into the breezy world of mesh stitch crochet? You’re in the right spot! This guide has it all: from your yarn and hook VIPs, to the A-Z of stitches, and even a backstage pass to common hiccups with superstar fixes. We’ll also sprinkle in some variations, beginner tips, snazzy project ideas, and the all-important finishing touches. Hook up your yarn, it’s going to be a fabulous ride!
Key takeaways:
- Use light or medium-weight yarn for mesh.
- Larger hook sizes create airy effects.
- Basic stitches: chain, double crochet, slip stitch.
- Explore variations for unique mesh designs.
- Perfect for bags, scarves, cover-ups, and home décor.
Materials Needed
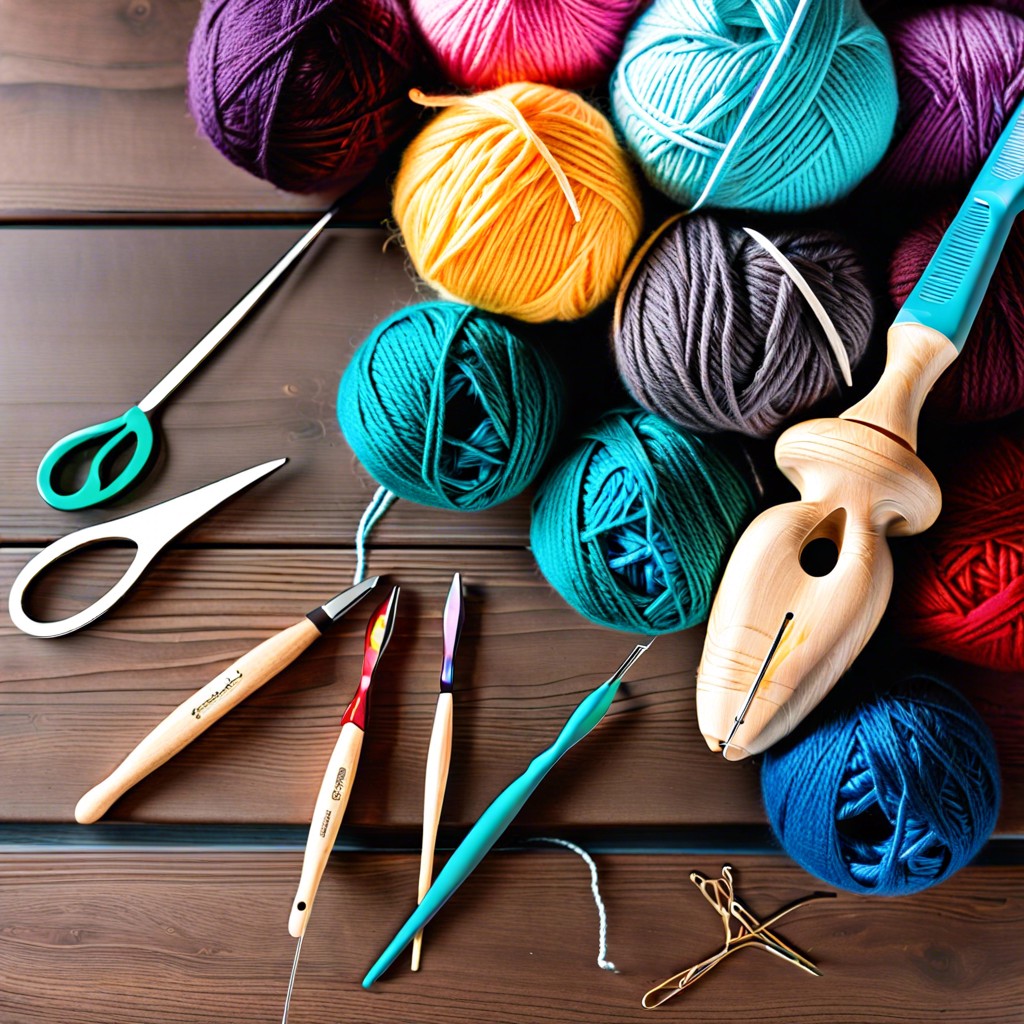
Time to gather your goodies! First up, yarn. Go for a light or medium-weight yarn like DK or worsted. These weights show off the mesh pattern oh-so-well.
Next, grab a crochet hook. Check your yarn label for the recommended size, but usually, a hook size from 4mm to 5.5mm works splendidly.
Stitch markers are lifesavers. Pop them into your first and last stitches of each row to keep your place.
Lastly, a tapestry needle for weaving in those inevitable loose ends.
And that’s it! Not too much, right? Let’s get crocheting!
Yarn and Hook Selection
Selecting the right yarn and hook can make all the difference. Here are some tips to guide you:
Think light and airy. Cotton or lightweight acrylic yarns work wonderfully for mesh stitch. They give your project that breezy look.
Hook size matters. A larger hook than recommended on the yarn label helps create the open, lacy effect of mesh stitch.
Balance is key. Avoid going too heavy with bulky yarns—they’ll make your mesh look more like a fisherman’s net than a delicate piece of crochet art.
Experiment with color. Mesh stitch can look spectacular in gradient or variegated yarns, adding visual interest without extra effort.
Trust the swatch. Make a small sample to ensure your hook and yarn combo gives you that just-right drape.
Basic Crochet Stitches Required
You’ll need a few basic crochet skills to tackle mesh stitch, but don’t worry; they’re beginner-friendly:
First up is the good ol’ chain stitch (ch). It’s like the warm-up stretch before a workout. You’ll use it a lot in mesh stitch patterns, forming the backbone of your project.
Next, meet the double crochet (dc). Think of it as the bread and butter of crochet. It’s a bit taller than a single crochet, adding some height to your mesh without stretching your patience.
Finally, you’ll encounter the slip stitch (sl st). It’s the ninja of crochet stitches, sneaking in to join parts together without adding bulk. Perfect for those seamless transitions.
Mastering these few stitches will open up a world of mesh goodness, so grab your hook and let’s get those hands moving.
Abbreviations
In the crochet world, abbreviations are like a secret code that makes patterns concise and readable. Deciphering these codes is key to mastering the mesh stitch. Here are some common abbreviations you’ll encounter:
- ch: Chain. The foundation of many crochet projects, including mesh stitch.
- sc: Single crochet. A basic stitch, quick and versatile.
- dc: Double crochet. Taller than single crochet, adds height and texture.
- sp: Space. Usually refers to chain spaces you create between stitches.
- st: Stitch. Refers to any individual stitch.
Once you get the hang of these abbreviations, you’ll read patterns faster than a jackrabbit on espresso. They’re the shorthand of crochet, making your stitching life easier and patterns less wordy. Ready, set, stitch!
Step-by-step Tutorial
Start with a slip knot, then chain in multiples of two. If you’re feeling fancy, you can chain your favorite lucky number—go wild, rebel.
For the first row, skip the first four chains from the hook. These skipped chains count as your first double crochet and a chain space. Now, double crochet into the fifth chain.
Chain one, skip one chain, and double crochet into the next. Sounds like a dance move, right? Chain one again, skip to my lou, and double crochet into the next chain along. Continue this groove across the row.
When you reach the end, turn your work. For the second row, chain four (because we like consistency—it’s comforting). Double crochet into that very first chain one space from the previous row.
Chain one, then double crochet into the next chain one space. Just keep repeating: chain one, double crochet into the chain one space, until you’ve reached the end of the row.
Repeat the second row until you’re satisfied or until you’ve run out of Netflix episodes—whichever comes first.
Keep your tension even and enjoy the rhythm of the mesh stitch.
Common Mistakes and Fixes
Hey, we’ve all been there. One minute you’re mastering the mesh stitch like a pro, the next minute you’re wondering how you ended up in a yarn apocalypse. Here are some quick rescue missions:
Uneven stitches? It might be tricky tension. Hold your hook and yarn like you’re cradling a baby bird, not wrestling an alligator.
Gaps where there shouldn’t be gaps? You’ve possibly skipped a chain or two. Count carefully – it’s crochet, not a game of hopscotch.
Curls forming on the edges? Oh, that’s a sign you’ve gotten too stitch-happy or maybe not happy enough. Double-check your stitch count at the end of each row. Crochet should be relaxing, not a rollercoaster.
And if you find yourself with a weirdly tight or loose row stuck in the middle, you might’ve changed your hook in mid-crochet marathon. Remember, consistency is key – save the wild experiments for your next project.
Is your crochet turning into an amorphous blob? Frogging might sound like a dance move, but it’s time to rip it out and start over. Breathe deeply; it’s part of the journey.
Variations of Mesh Stitch
Feeling adventurous? Let’s dive into some playful twists on the classic mesh stitch.
First up, there’s the diamond mesh. It’s like your usual mesh stitch but on a caffeine high. Instead of chains and single crochets, you’ll alternate chains and double crochets. Voila, diamonds!
Next, the offset mesh. Think of it as the mischievous sibling. Start rows with half the mesh, which creates a staggered effect. It adds a bit of jazz without being complicated.
Ever heard of open mesh? Imagine regular mesh but with double the openness. Use double or treble crochets for those chain spaces. It’s airy, breezy, and perfect for lightweight projects.
Lastly, there’s filet mesh. Picture a grid. You combine solid blocks with mesh stitches to form patterns or images. It’s like drawing with yarn. Get creative and crochet a heart, star, or even your pet’s silhouette!
Keep experimenting. The mesh stitch has more personalities than a chameleon!
Project Ideas Using Mesh Stitch
Bags. Lightweight, breathable, and on-trend – perfect for summer market strolls. Make them pop with bold colored yarns or keep it chill with neutral tones.
Scarves. Elegant yet breezy. Mesh stitch makes for a sophisticated accessory that adds flair without weighing you down.
Cover-ups. Perfect for the beach or poolside! Quick to crochet and oh-so-stylish, these make fantastic gifts.
Blankets. A bit unconventional, but fabulous for layering. Use chunky yarn for a cozy vibe or stick with lighter weight for a more delicate touch.
Home Décor. Table runners, curtains, or even decorative pillow covers. Mesh stitch adds a touch of handmade charm to any room.
Think outside the yarn basket! Mesh stitch is versatile, easy to manipulate, and always ready for a new adventure.
Tips for Beginners
Start with practicing your chain stitches. The mesh stitch often begins with a foundation chain, so get cozy with it. It’s like the warm-up before the crochet marathon.
Keep that tension relaxed. Mesh stitch is all about keeping things airy. Too tight, and you’ve got fabric. Too loose, and it’s, well, more like a fishing net. Find that sweet spot.
Count your stitches. Like counting sheep, but less likely to put you to sleep. Keeping track helps avoid those gaping holes where you don’t want them.
Use stitch markers. Think bread crumbs through the crochet forest. Helps you remember where you started and avoid getting lost mid-row.
Don’t be afraid to redo a row. Frogging (ripping out stitches—rip it, rip it) is part of the journey. Even seasoned pros do it.
Experiment with different yarns. Some yarns just want to be mesh. Others, not so much. Play around and see what works best for the airy texture you crave.
Take breaks. Or risk becoming a yarn zombie. Stretch those fingers, rest those eyes. Your mesh stitch will thank you.
Finishing Touches and Weaving in Ends
You’ll want to make sure your mesh stitch masterpiece looks neat and professional, so let’s get those loose ends tied up, literally!
To weave in ends, grab your trusty yarn needle. Thread the yarn through the needle’s eye and weave it through the back of your stitches. Move in a zigzag pattern to make it extra secure. Snip any excess yarn, but be cautious—nobody likes a too-close trim that unravels everything.
If you’re feeling fancy, consider blocking your piece. It’s like giving your crochet a day at the spa. Lay it flat, dampen it slightly, and shape it to perfection. Then let it dry. Voilà! Your work is now ready to impress.


