Learn how to master the “sc inc” crochet technique to smoothly increase your stitches and add shape to your projects.
Ready to sprinkle a little crochet magic into your next project? Look no further—our guide to the single crochet increase (sc inc) has everything you need. From simple step-by-step instructions to pro tips on invisible increases, we’ve got you covered. Prepare your yarn and hook, because it’s time to up your crochet game with mesmerizing ease!
Key takeaways:
- Single crochet increase shapes projects magically.
- Steps: insert hook, yarn over, pull through, repeat.
- Materials needed: yarn, hook, tapestry needle.
- Tools: crochet hook, yarn, scissors, stitch markers.
- Invisible sc increase: back loop, front loop technique.
Single Crochet Increase
A single crochet increase is your trusty sidekick when it comes to shaping your crochet projects. It simply means making two single crochets into one stitch instead of just one. Simple, right?
Need some clarity? Here’s a roadmap:
First, insert your hook into the stitch where you want the increase.
Next, yarn over and pull through the stitch – you should have two loops on your hook now.
Then, yarn over again and pull through both loops on your hook. Ta-da! You’ve made one single crochet.
But wait, you’re not done yet.
Repeat the same steps in the same stitch. Voilà, an increase!
With this technique, you can shape everything from dainty little baby booties to grand afghan masterpieces. And just like that, crocheting becomes a bit more magical!
How to Single Crochet Increase
To craft this stitch, you’ll need a yarn, a hook, and a pinch of patience. Here’s a quick guide:
First, insert the hook into the designated stitch. Not the stitch right next door, the exact one. Yarn over, pulling through a loop. This part’s a breeze – basic single crochet so far.
Now, normally, you’d move on to the next stitch. But nope, not this time. Yarn over again, plunge back into the same stitch. Deja vu? Precisely! Pull through another loop.
Yarn over one more time, (yes, you’re almost done) and pull through all loops on the hook. Voilà! You’ve just increased your stitches faster than a rabbit on a treadmill.
This technique works by adding an extra stitch in the same spot, creating a little extra wiggle room for your masterpiece.
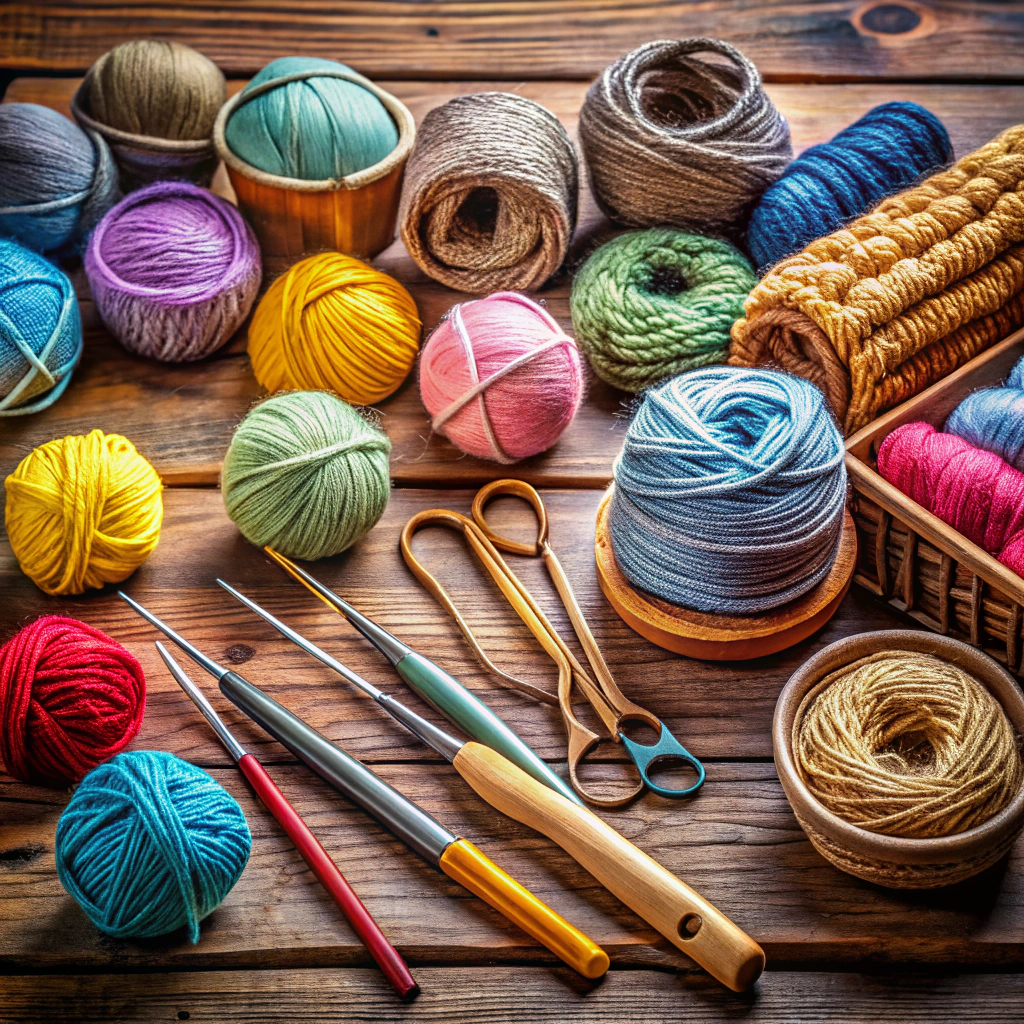
Materials
Grab your yarn, hook, and a comfy seat! You need the essentials for this crochet adventure.
First, choose your yarn. Any weight works, but beginners might prefer medium-weight yarn for better stitch visibility.
Next, select a crochet hook that matches your yarn. Check the yarn label for recommendations if unsure. Accurate hook size ensures crispy, clean stitches.
Lastly, get a tapestry needle. It’s perfect for weaving in ends, ensuring your masterpiece doesn’t unravel.
That’s it. Gather these few items, and you’re armed for some fun crochet increasing!
Tools
For this stitch, you won’t need a spaceship full of gadgets, just the basics will do!
A trusty crochet hook is your primary tool. Make sure it’s the right size for your yarn; usually, the yarn label will clue you in. Too big, and you’ll have a lacy look. Too small, and it’s a workout for your hands!
Yarn, obviously, in your favorite color or the one that’s on sale—no judgment here.
Scissors for snipping yarn when you’re done increasing your stitches like a pro.
Stitch markers can be helpful to mark the spot where you start increasing, especially if you’re mid-project and get distracted by, say, a squirrel.
Yep, that’s really it! Keep it simple, and you’ll be creating beautifully increased single crochets in no time.
Instructions
Let’s dive right into it.
- Start with the basics. Insert your hook into the specified stitch.
- Yarn over and pull through the loop. You should have two loops on your hook.
- Yarn over again, and pull through both loops. You’ve just completed a single crochet.
- Now, here’s the trick. Insert your hook back into the same stitch you just worked into.
- Repeat steps 2 and 3. Yarn over, pull through the loop, yarn over, and pull through both loops.
Magic! You’ve turned one stitch into two. Double the fun, double the stitches. This technique is fantastic when you need to expand your work without creating noticeable gaps.
Invisible Single Crochet Increase
This magical technique lives up to its name, making your increases nearly disappear. When you need a smoother look, it’s your go-to move.
It’s simple:
Work your single crochet into the back loop of the stitch instead of both loops.
Then, pop another single crochet into the same stitch, but this time use just the front loop.
By splitting the action like this, you avoid creating that telltale bump, blending your work seamlessly.
Perfect for amigurumi or any project where the devil is in the invisible details.
Common Questions About Increasing in Crochet
- Why do I need to increase stitches?
- Adding stitches helps shape your project. Think hats, sweaters, or anything not flat as a pancake.
- Where should I place increases?
- Often at the beginning and end of rows or rounds. Or, in the middle for shaping magic.
- How many stitches do I increase?
- Always check your pattern. It might say “sc inc” in every stitch or every other stitch. Following the pattern is like following a treasure map—don’t miss the X marks the spot!
- Why does my increase look lumpy?
- Relax those hands! Tension matters. Tight stitches can make bumps feel like mountains.
- What if I mess up?
- Relax. It happens to everyone. Just unravel a bit and try again. Crocheting is like life: mistakes are just new design opportunities.