Learn how to create the delightful scallop crochet stitch with easy-to-follow steps and tips for a beautiful textured pattern.
Looking to create waves of wonder with your crochet? Dive into the dazzling world of the scallop crochet stitch! From choosing the perfect hook size to mastering those tricky pattern abbreviations, we’ve got the full scoop on creating even and stunning scallops. Buckle up, because smooth sailing through single and double crochet stitches awaits. Ready to conquer common hiccups and achieve scallop perfection? Let’s get stitchin’!
Key takeaways:
- Choose hook size carefully for perfect scallops.
- Learn essential crochet pattern abbreviations for fluency.
- Master single and double crochet stitches for success.
- Follow beginning row instructions for even scallops.
- Watch out for common scallop crocheting issues.
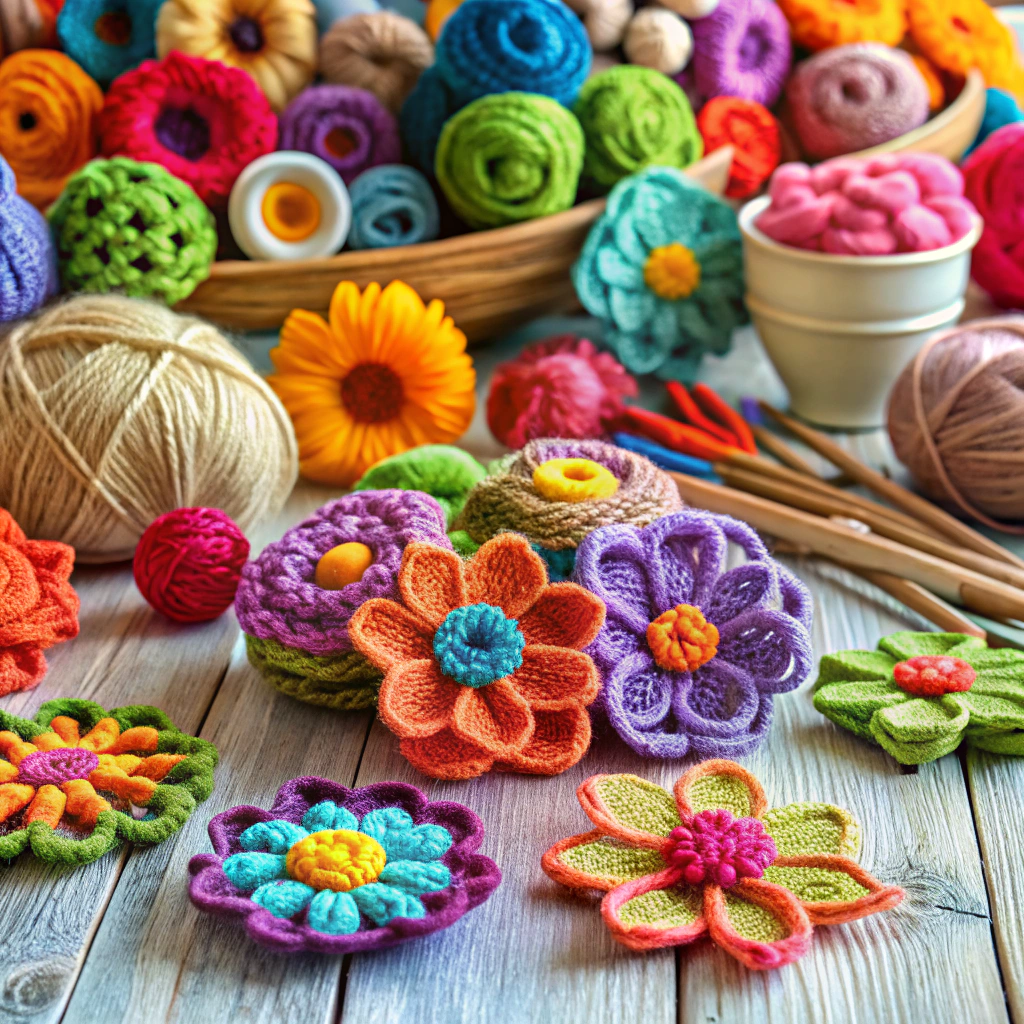
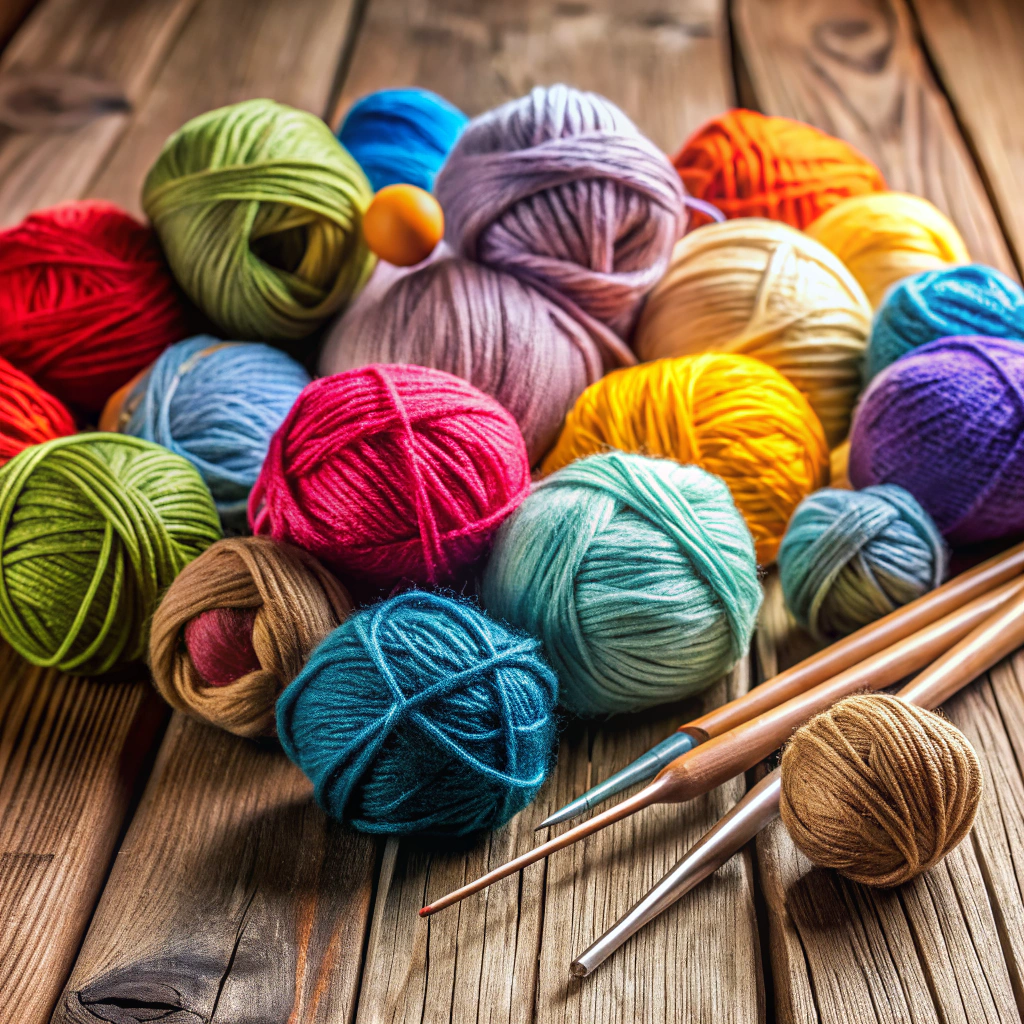
Materials Needed
You’ll need a ball of your favorite yarn. I recommend a medium-weight yarn for beginners. It’s easier to handle and shows the stitches clearly.
Next up, grab a crochet hook. For medium-weight yarn, a size H/8 (5 mm) crochet hook usually works like a charm. But hey, feel free to raid your hook collection and experiment.
A pair of sharp scissors is also essential for snipping ends. And don’t forget a yarn needle. This little tool will help you weave in loose ends like a pro.
Lastly, keep a tape measure handy. Gauge might sound like a scary word, but it’s just a fancy way of checking your stitch size.
Voilà, you’re all set.
Crochet Hook Size
Choosing the right hook size is crucial to achieving the perfect scallop crochet stitch. Too big, and your scallops will look like they’ve been on a giant growth hormone. Too small, and they’ll end up tighter than a miser’s wallet.
A common choice for scallop stitches falls between sizes G/6 (4.0mm) and H/8 (5.0mm), but don’t get hung up on the numbers. Different yarns might call for different hooks. Here’s a cheat sheet:
- For lighter weight yarns (think sport or DK), stick with smaller hooks like G/6.
- Medium weight yarns (worsted) play nice with H/8 hooks.
- Chunky yarns? Time to bring out the big boys, like I/9 (5.5mm).
Remember, always do a gauge test if you’re following a precise pattern. Just a small sample. It’ll save you from a lot of crochet cussing later.
So, grab your hook, and let the scallop fun begin. Henceforth, hooks will be your magic wands. The right size = crochet magic.
Pattern Abbreviations
Common crochet abbreviations make following patterns a breeze, even if they sometimes look like alphabet soup. Here’s a rundown:
Sc: Single crochet. This little stitch is the bread and butter of crochet. Think of it as the base note in your crochet symphony.
Dc: Double crochet. Twice as tall as the single crochet, this stitch is perfect for speeding things up. It’s like a ninja—swift and effective.
Ch: Chain. The foundation chain links everything together. It’s like your crochet’s backbone, so treat it well.
Sl st: Slip stitch. The stitch equivalent of a high-five. It’s quick, easy, and keeps everything connected smoothly.
Yo: Yarn over. This is just wrapping your yarn over the hook, but it’s got a fancy name. Roll with it.
Rep: Repeat. You’ll see this a lot. It’s just the pattern’s way of telling you, “Do it again, champ!”
St(s): Stitch(es). Abbreviations can be stingy with letters. Just remember, it’s stitches we’re talking about.
These abbreviations are the crochet world’s shorthand. Master them, and you’re well on your way to fluent crochet.
Basic Stitches (Single Crochet, Double Crochet)
Let’s get cozy with the building blocks of the scallop stitch! First up, we have the humble single crochet. A true staple in the crochet world, it’s simple and reliable. Insert your hook into the stitch, yarn over, and pull up a loop. Yarn over again, and pull through both loops on your hook. Voilà, a single crochet!
Now, let’s turn up the drama with the double crochet. This stitch adds height and flair. Yarn over first, then insert your hook into the stitch. Yarn over again, pull up a loop (you should have three loops on your hook now). Yarn over, pull through two loops, yarn over once more, and pull through the last two loops. Look at that—you’ve doubled the fun!
These stitches may sound basic, but they are the unsung heroes of crochet patterns everywhere. Get comfy with them—they’re your new best friends.
Beginning Row Instructions
Start with your foundation chain, typically a multiple of 6 plus 1 for your turning chain. This ensures your scallops will be evenly spaced and not look like they’ve had too much coffee.
In the first row, work a single crochet stitch into the second chain from the hook. This little stitch is your unsung hero, providing structure and support.
Next, skip two chains. It’s not personal; those chains will get their time to shine later.
Now, into the next chain, work five double crochet stitches. Think of it as a mini celebration; this is where the magic starts to happen.
After your celebration, calm things down with another skip of two chains. Yes, it’s okay to be a little selective.
Finish off the sequence with a single crochet into the next chain. This locks down your mini party, keeping everything in check.
Repeat this pattern to the end of the row. When you reach the final chain, work one single crochet to anchor everything in place. Perfect timing to pat yourself on the back.
Repeating the Pattern
Once you’ve mastered the initial row, it’s all about maintaining that rhythm. Keep an eye on your stitch count to ensure those lovely scallops stay neat and even.
Make sure every row starts and ends correctly to avoid any slanting mishaps. Think of it like a dance—smooth and consistent.
- Here’s the rhythm:
- Space it out: Each scallop takes up a specific number of stitches, so counting is key.
- Mind the gaps: Ensure the spaces between scallops are uniform.
- Consistency is king: Try to keep your tension steady; loose scallops are like floppy pancakes.
That’s it! Keep repeating the pattern, and soon you’ll have a wave of beautiful scallops. Happy crocheting!
Troubleshooting Common Issues
Ever feel like your scallops are more hiccup than wave? Fear not, crochet navigator!
First, count those stitches. Missing or adding extras messes with your scallop’s groove. Like dancing without rhythm.
Hole-y moley! Driving your hook into the wrong spot can create accidental gaps. Aim for the right chain or stitch, and your fabric stays stronger.
Lopsided scallops? Check your tension. Yarn too tight? Loosen that grip a smidge. Too loose? Reign it in a tad.
Ends curling up? It’s not a magic trick; it’s just over-tightening those turning chains. Be gentle as you start each row.
Splitting yarn can also lead to gnarly-looking stitches. Use a hook with a smooth throat to glide through yarn strands seamlessly.
Fix these common mishaps, and your scallops will be ready to make waves!