Discover what amigurumi is—learn the essentials of this charming Japanese crochet technique and how you can create your own adorable toys.
If you’ve ever stumbled upon adorable crocheted critters and wondered what magical world they came from, welcome to the enchanting realm of amigurumi! Born in Japan, this delightful craft combines simple stitches, clever techniques, and the right materials to bring cute stuffed animals and whimsical figures to life. Whether you’re curious about the materials, stitches, or how these charming pieces come together, you’re in the right spot. Dive in, and let’s unravel the secrets of amigurumi together with a hearty sprinkle of fun and creativity!
Key takeaways:
- Amigurumi is Japanese for crocheted stuffed toys.
- Basic stitches include single crochet and chain stitch.
- Use cotton or acrylic yarn for best results.
- Safety eyes and embroidery add charm to creations.
- Popular patterns include animals, food, and seasonal themes.
Definition and Origin
Amigurumi finds its roots in Japan. The term combines two Japanese words: “ami,” meaning crochet or knit, and “nuigurumi,” meaning stuffed doll. So, it’s basically a fancy way to say “adorable tiny yarn critters.”
Unlike your grandma’s doilies, amigurumi creatures demand a quirky, playful spirit. Imagine your favorite cartoon jumping out of the TV screen, except, well, it’s squishy and made of yarn.
Typically, these delights come to life in the form of animals, but the sky’s the limit. Unicorns? Done. Tiny sushi rolls? Why not. That quirky silent gnome you always wanted as a sidekick? Say no more.
Intriguingly, the art form exploded in popularity during the early 2000s, riding the wave of Japan’s kawaii (cute) culture straight into the hearts of crafters worldwide. And now, it’s a global obsession. Cool, right?
Materials Needed
To get started with amigurumi, you’ll need just a few simple materials. First, grab some yarn – cotton or acrylic works great. Thinner yarn means smaller, more detailed creations, while thicker yarn gives you larger, chunkier pieces.
Next, you’ll need a crochet hook. The size of the hook should correspond to the yarn’s weight. The yarn label usually provides a handy recommendation, but the fun part is experimenting to find what works best for you.
Stuffing is essential to give your amigurumi its shape. Polyester fiberfill is popular for its fluffiness, but fabric scraps can do the trick, too, if you’re feeling thrifty.
And don’t forget the trusty tapestry needle. This tool helps you weave in ends and stitch pieces together with precision. You’ll also need some stitch markers to keep track of your rounds, quite like breadcrumbs in a crochet forest.
Plastic safety eyes add personality and charm, but embroidery floss can create equally delightful facial features. A stitch of imagination, and you’ve got yourself an adorable amigurumi friend in the making!
Basic Stitches
You’ll mostly use single crochet stitches for the little creatures of amigurumi. Basic but mighty, these stitches are the backbone. You’ll need to know:
- Chain Stitch: Start every project with a strong foundation. It’s like the first pancake—essential, but not always perfect.
- Single Crochet (sc): The bread and butter. Simple loops that form the body.
- Increase (inc): Adding an extra stitch in the same space. It’s growth without the growing pains.
- Decrease (dec): Combining two stitches into one. Like tidying up yarn real estate.
These fundamental stitches help create the rounded shapes that define amigurumi. Grab your hooks and get comfy.
Common Techniques
Magic ring, invisible decrease, and surface crochet—oh my! Mastering these spells, err, techniques, is essential to conjuring that adorable amigurumi charm.
First up, the magic ring. This nifty trick lets you start your crochet in the round with an adjustable, practically invisible center. No gaping holes here, folks.
Invisible decrease is your next secret weapon. It minimizes bulk, giving your amigurumi a smooth, seamless finish. Trust me, these little critters need all the help they can get to look cute and not creepy.
On to surface crochet. This technique adds details like facial expressions or stripes without disrupting the piece’s structure. It’s like giving your plushie a quick tattoo—painless and stylish.
Kinda like a crochet ninja, you’ll want to move stealthily but with precision. Happy hooking!
Choosing the Right Yarn
Selecting yarn for your amigurumi project can feel like choosing a flavor at an ice cream shop—exciting but slightly overwhelming. The right yarn can make all the difference.
Opt for worsted weight yarn. It’s like the Goldilocks of yarns: not too thick, not too thin, but just right.
Go for cotton or acrylic yarns. Cotton gives your creation a smooth, defined look, while acrylic offers a broader palette of colors and is easier to care for.
Steer clear of fuzzy or textured yarns. They can be a nightmare when it comes time to count stitches. Plus, you don’t want your adorable creature looking like it went through the dryer with a cat.
Check for colorfastness. A quick rub with a damp cloth can prevent future heartbreak—no one wants a soggy, rainbow-colored mess.
Finally, remember dye lots. Yarn batches can have slight color variations, so grab enough at the start to ensure a consistent look.
Happy yarn hunting!
Assembling Pieces
Start with good lighting and a clear workspace. Begin by sewing the smaller pieces onto the larger body parts. Think of it like a puzzle, only woolier.
Use a tapestry needle for strength. No one wants floppy bunny ears. Secure each piece with a whip stitch or a mattress stitch. These stitches create a clean and sturdy seam.
Position the pieces first before sewing. Pins can help keep things in place, preventing the creation of a cross-eyed unicorn.
Stuffing should be added gradually as you assemble. No one likes a lumpy teddy bear. Keep it even and smooth for that cuddle-ready look.
Adding Features
To really bring your amigurumi to life, you’ll want to add some features. Start with safety eyes; these little plastic pieces snap right into place and give your creations a charming sparkle. If you’re feeling crafty, embroider the eyes instead. This gives a softer, more handmade touch and avoids any potential choking hazards for young children.
Don’t forget about noses and mouths. A simple stitch can create an adorable smile. Experiment with different embroidery floss colors to give personality to your amigurumi.
Sometimes a blush of color on the cheeks can add warmth. Lightly dab on some fabric paint or use colored chalk. Just a smidge will do; you don’t want your plush friend looking sunburned!
Finally, consider accessories. Tiny scarves, hats, or even mini spectacles can elevate your amigurumi from cute to downright irresistible. Each added detail creates a character with its own unique personality. Enjoy experimenting and see where your creativity takes you!
Differences From Regular Crochet
Unlike traditional crochet, where the focus is often on creating flat pieces like blankets or garments, amigurumi is all about crafting 3D stuffed figures. These little treasures break from the usual with their spherical shapes and an emphasis on tight, even stitches. If regular crochet is the sensible cousin, amigurumi is the quirky sibling—always ready to bring a smile.
First off, the hook size matters. You’ll use a smaller hook to get those stitches close and personal, tightening the fabric to prevent stuffing from leaking out like a broken piñata.
Next up, the stitches are as basic as they get. Single crochets rule the kingdom here, though you might encounter increases and decreases. No need to fear the mighty double crochet—this is a simple life.
Finally, think tiny. Amigurumi projects are generally smaller. We’re talking pocket-sized pals or palm-sized critters. No need for sprawling living-room-afghan ambitions.
Tips for Beginners
Start with simple patterns. Jumping into an intricate dragon right away might make you wish you’d stuck to knitting scarves. Pick something easy, like a ball with eyes. You’ll thank yourself later.
Use stitch markers. These handy little gadgets are lifesavers, especially when you’re counting rows and stitches. One second of marking can save you hours of unraveling.
Stuff firmly but not too much. You’re making a plush friend, not a weightlifting champion. Overstuffing can create gaps in stitches or distort shapes.
Invest in good stuffing and safety eyes. If your adorable little creature is going to sit on display, it deserves the best. Plus, nobody wants lumpy-looking limbs or missing peepers.
Don’t rush. Think of it as a meditative process. There’s no crochet police timing your speed. Enjoy the journey, stitch by stitch.
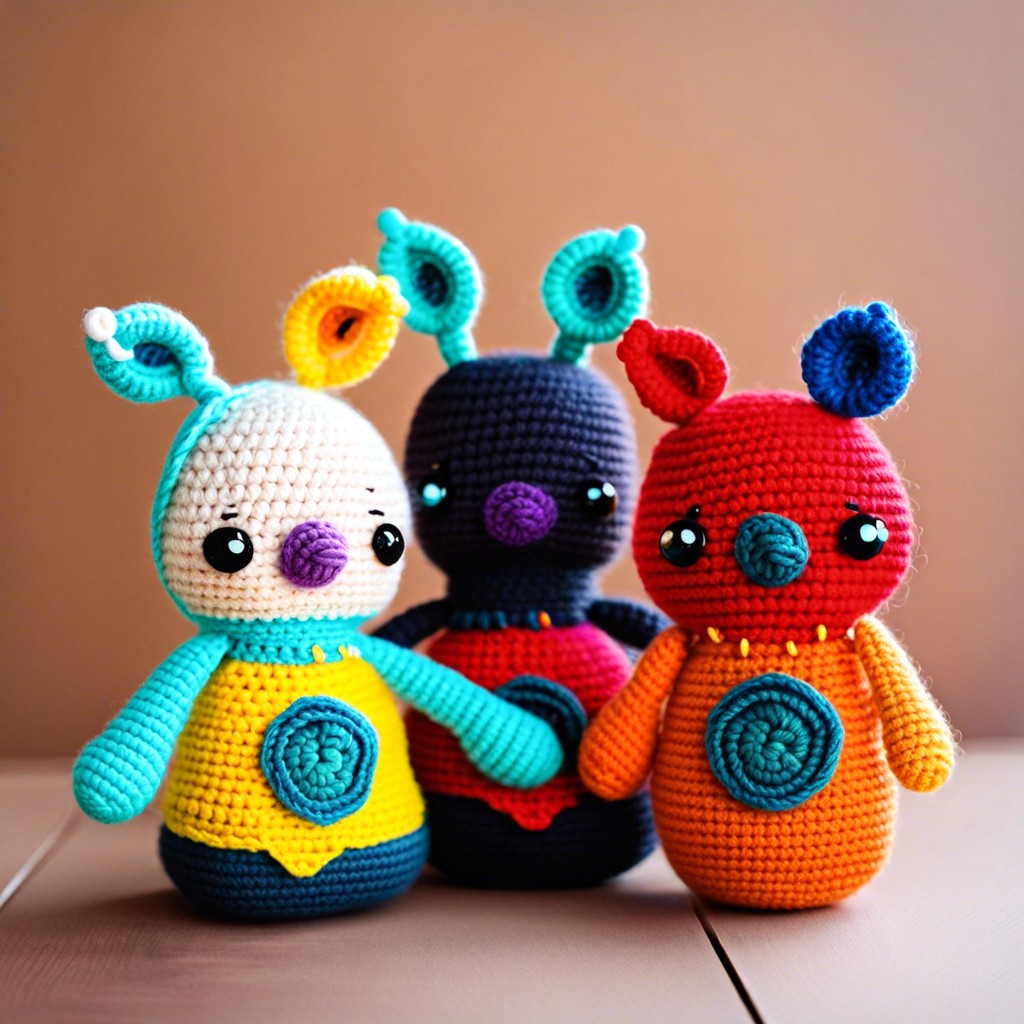
Popular Patterns
Thinking of jumping on the bandwagon? Classic animal shapes like bears, rabbits, and cats are evergreen favorites. They’ve got paws, ears, and those button eyes that make you go “aww”. Marvelous monsters and quirky characters from popular TV shows also make fantastic amigurumi subjects.
Seasonal items are another hit. Pumpkins in fall, snowmen for winter, and even little heart-shaped critters for Valentine’s Day. Talk about spreading the handmade love!
Then there’s the food-themed ones – crochet donuts, anyone? You might not be able to eat them, but they sure look delicious. Gotta be careful not to accidentally snack on your yarn stash!
If you’re feeling adventurous, mix and match. Ever seen a cat in a donut floatie? Now’s your chance to create one!


