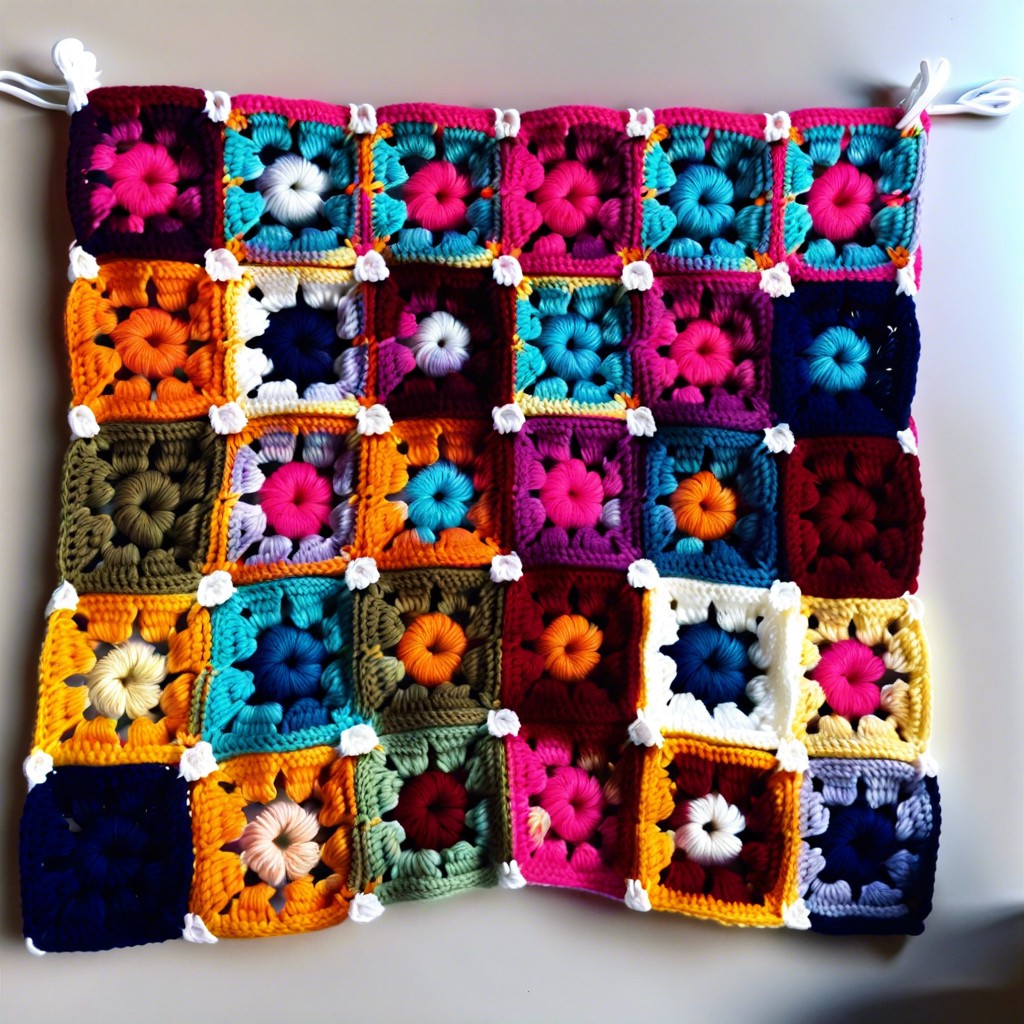
Learn how to attach granny squares with various easy methods that will make your crochet projects seamless and beautiful.
Ever get that dizzy feeling trying to pick the right way to connect your dazzling array of granny squares? Don’t rip out your hair; we’re here to untangle that yarn mess! From the no-nonsense single crochet and sneaky invisible seams to the glamorous flat braid join and the oh-so-handy JAYGO, we’ve got all the methods covered. Trust me, you’ll be piecing together those squares faster than you can say “granny chic.” Keep reading for the details that’ll make you look like a crochet pro!
Key takeaways:
- Single Crochet Method: Align squares, crochet through both layers.
- Slip Stitch Method: Align squares, slip stitch through loops.
- Invisible Seam Method: Weave needle through back loops only.
- Flat Braid Join: Crochet loops through squares for decorative effect.
- Joining-As-You-Go (JAYGO): Crochet squares together as you go.
Single Crochet Method

Grab your hook and give those granny squares a cozy, snug hug! The single crochet method is a little like crocheting a zipper, but without the pesky teeth. Here’s the lowdown:
Align two squares, wrong sides together. Make sure corners kiss nicely.
Insert your hook through both corners of each square. Yarn over and pull through both layers. You’ve just made the first stitch!
Continue this cozy dance along the edge, inserting your hook through both layers, yarn over, and pull through.
Keep your tension even, but not too tight! You want those squares holding hands, not wrestling.
Once you’ve reached the end, fasten off your yarn and weave in that tail. Voilà! Two squares, forever united.
Single crochet joints add a cute, raised seam, making your piece pop with texture. If only all relationships were this easy!
Slip Stitch Method
For a neat, flat join, the slip stitch method is your best friend. Picture this: a seamless, smooth connection that lies flat like it’s always been there.
First, align two granny squares with the right sides facing each other. Grab your hook and yarn; insert the hook through both loops of the nearest corner stitches.
Yarn over, and pull through all layers—that’s your first slip stitch. Move to the next stitch, and repeat the yarn-over-pull-through mantra.
Keep your tension consistent, so the stitches don’t pull too tight or sag. This method is like the glue of the crochet world—subtle yet effective.
Invisible Seam Method
Picture two secret agents passing top-secret documents—now substitute the agents with yarn needles, and you’ve got the gist.
The smoothest way to join your granny squares involves a technique that hides the seam entirely. Here’s how:
First, line up your squares, wrong sides facing each other. This way, any unmentionable stitches vanish into thin air.
Thread a yarn needle with a matching yarn. This is your classified information—keep it on the down-low.
Snaking your needle through the back loops only, weave in and out, slipping seamlessly between stitches. Think of it as tiptoeing through a yarny minefield without triggering any alarms.
Keep your tension consistent but not too tight. No one likes a bulging granny square.
Once you’re done, fasten off and weave in the ends like an expert lock-picker covering their tracks.
Voilà! Your squares will look like they’ve been transported from one piece of crochet heaven to another without anyone noticing.
Flat Braid Join
This method adds a decorative element while joining. Think of it as the macramé of crochet joins—fancy but not too fussy.
Use a contrast color yarn to make your flat braid pop.
Work single crochets and chains into the edges of your granny squares.
Here’s the deal: alternate between single crochets and chains to create those lovely loops.
Slip a loop through the corner of one square, then the next, and so on—like lacing a shoe, but way cooler.
It’s a dance but with yarn and hook.
You’ll end up with a lacy-looking braid between each square, making your project look fancy enough for a catwalk… or at least a cozy couch.
Pro tip: Keep your tension steady. Too tight, and the braid squishes in. Too loose, and it’s like letting a toddler use your yarn stash—chaos!
Joining-As-You-Go Crochet (JAYGO)
This technique does what it says on the tin – you join those squares as you crochet. No piles of mismatched pieces haunting your craft corner!
- Begin with your first square completed.
- Crochet the second square up to the point where you’d normally start the final round.
- As you crochet this final round, attach it to the first square using slip stitches.
A touch of magic happens here. You essentially replace some of the regular stitches with joining ones.
Key tip: Ensure both squares you’re joining have the same number of stitches along their edges.
Voila! Seamless squares that come together faster than your cat can tangle your yarn stash.


