Learn how to crochet a stylish bucket hat with this step-by-step guide.

Key takeaways:
- Choose materials and tools carefully for your crochet bucket hat.
- Follow the step-by-step instructions for starting and creating the brim.
- Use pro tips to improve your crochet skills and avoid common mistakes.
- Customize your hat with colors, textures, and embellishments.
- Select the best yarn for structure and durability.
Materials and Tools
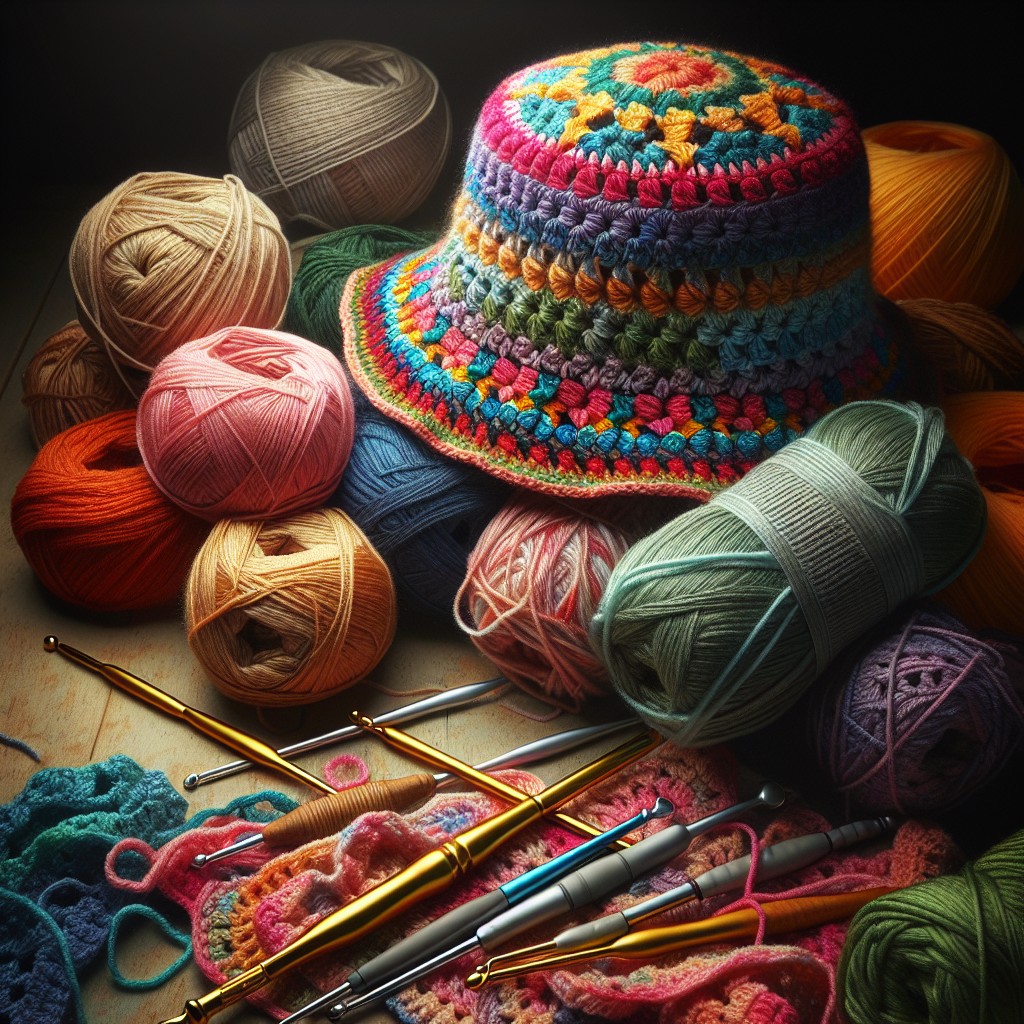
To start your crochet bucket hat, gather the following essential materials and tools:
Choose your yarn carefully. Cotton or blended yarns are great for their breathability and firmness, which help maintain the shape of the hat. Aim for medium-weight yarn, often labeled as worsted or aran.
Select a crochet hook. A hook size between 5 mm and 6 mm usually works well with medium-weight yarns. This will help keep your stitches tight enough to form a solid fabric that stands up well.
Have a stitch marker on hand. This will be crucial for marking the beginning of each round, ensuring you keep track of your stitch count without confusion.
Keep a yarn needle and scissors close by. You’ll use the yarn needle to weave in ends once you finish crocheting and the scissors for cutting your yarn.
Arm yourself with these tools and you’re set to dive into the exquisite process of crafting your crochet bucket hat. Each tool plays a pivotal role in achieving a clean and professional-looking finish. Let’s get hooked!
Instructions: Starting From the Top, Starting the Brim
Begin your crochet bucket hat by creating a magic circle using a slip knot, which lays the foundation for a tightly closed start. Chain two stitches, then work 12 double crochets into the circle and join with a slip stitch to the first double crochet to complete the circle.
As the top of the hat takes shape, continue to increase the number of stitches evenly in each round. This ensures the fabric forms a flat disk. Use stitch markers to keep track of your rounds and increases without losing your place.
Transition to the brim once the crown of the hat reaches the desired diameter, approximately the size of the wearer’s head. Start the brim by changing the pattern to create a more rigid texture, such as switching from double crochets to single crochets. Increase the stitch count less frequently to create a gentle flare.
Work several rounds until the brim reaches the preferred width. Test by fitting or measuring against a ruler. Bind off cleanly and weave in all loose ends to finish the hat neatly.
Pro Tips for Beginners
Keep your stitches consistent by applying even tension throughout your work. This ensures your hat has a smooth, professional look.
Beginners often struggle with counting stitches. Use a stitch marker at the start of each round to avoid confusion and to track your progress accurately.
Don’t get discouraged if your first few attempts don’t turn out perfectly. Every project is a learning curve, and practice certainly makes perfect in crochet.
Experiment with simple but striking color changes to add character to your bucket hat without complicating the pattern.
Lastly, refer to online tutorials and communities for visual guidance and support. Watching someone else crochet can provide valuable insights that written patterns alone may not.
How to Customize Your Hat
Adding personal touches to your crochet bucket hat allows you to express your unique style. Consider experimenting with colors. A single color creates a sleek, uniform look, while multiple colors can add vibrancy and fun. Integrate stripes, ombre effects, or even color blocking techniques to make your hat a standout piece.
Explore texture variations by using different crochet stitches. For example, the bobble stitch can add a three-dimensional, pop-out effect, which is excellent for making statement pieces. Alternatively, using a simple single crochet in the spiral can give your hat a more subtle textured look.
Incorporate embellishments such as appliques—think flowers or abstract shapes—pins, or even embroidery that reflects your personality or interests. These small additions make your hat truly individualized.
Consider functionality with your customizations. Adding a drawstring to the brim can adjust the fit according to your needs, or adding a lining for extra warmth on cold days turns this fashionable item into a practical piece, too. These thoughtful details not only make your hat more comfortable but also more versatile.
Best Yarn for Structure
Choosing the right yarn can make all the difference in your crochet bucket hat’s durability and shape. Cotton or a cotton blend is ideal due to its sturdy nature and slight stretch, which helps maintain the shape of the hat. For a softer texture, wool or acrylic yarns are also suitable, though they may not hold the structure as firmly.
Thicker yarns, like medium or bulky weights, are excellent for keeping the hat’s form. They also allow the stitches to be more pronounced, adding to the hat’s aesthetic appeal. However, if you’re after a lighter summer hat, opt for lighter weight yarns and consider using a smaller hook to tighten the stitches for better form retention.
Related Posts
 Easy Crochet Gnome Pattern Free: Transform Yarn into Whimsical Friends
 Crochet Star Blanket: A Stellar DIY Guide
 How to Crochet Slippers for Beginners Step by Step with Pictures: Cozy Feet Awaits
 Adjustable Ring Crochet: Master the Magic Circle
 How to Crochet Without a Hook: Hands-On Creativity