Learn how to properly block your crochet blanket to achieve a neat, even finish that showcases your hard work beautifully.
Key takeaways:
- Blocking enhances stitch definition
- Blocking evens out irregularities
- Blocking helps maintain the shape
- Blocking gives a polished, finished look
- Blocking can adjust the size of the blanket
What Is Blocking in Crochet?
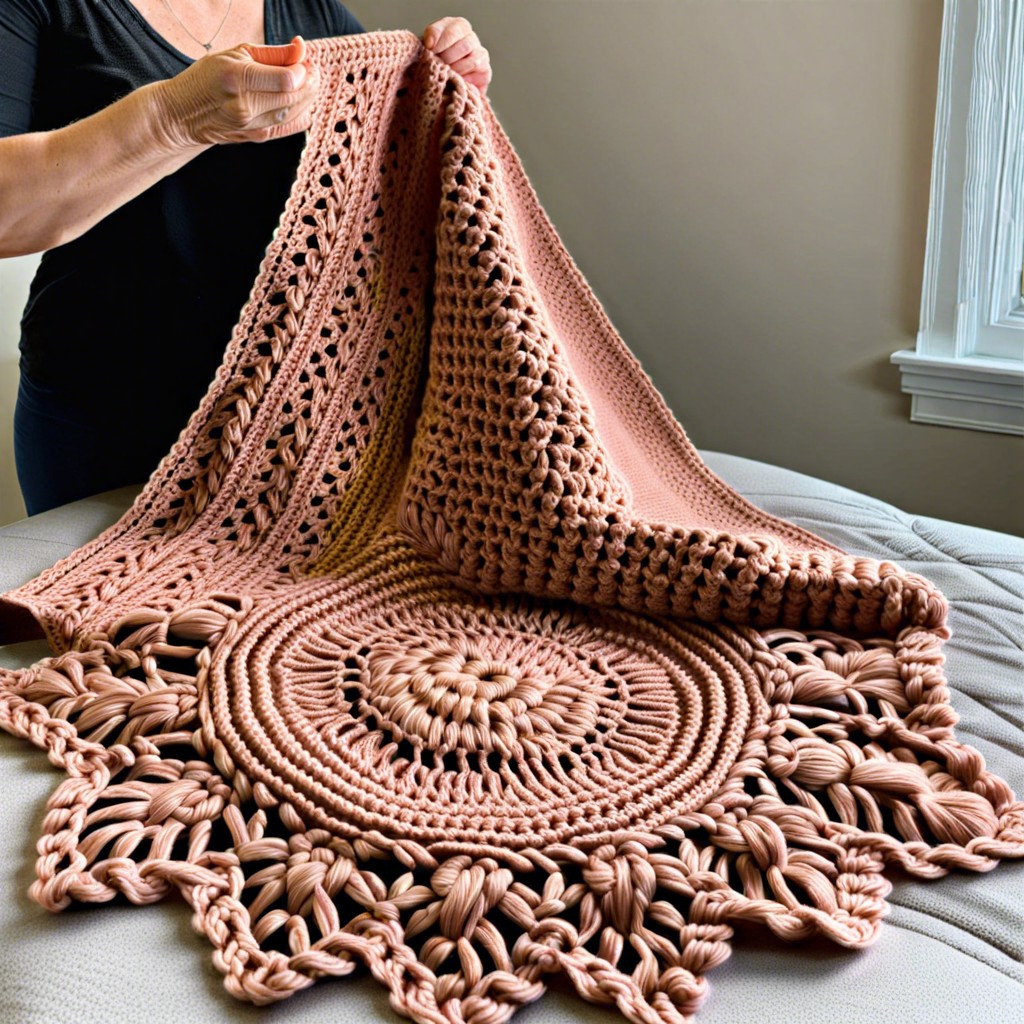
Blocking is like giving your crochet project a spa day. It involves shaping and setting your finished piece to achieve a professional-looking result. Imagine your blanket with crisp edges and smooth stitches, ready to strut its stuff. That’s the magic of blocking.
Think of blocking as the final polish. You’re essentially coaxing your creation into its intended shape. Wetting the fibers makes them more pliable, allowing you to adjust and perfect your project.
- Enhances stitch definition.
- Evens out irregularities.
- Helps maintain the shape.
- Gives a polished, finished look.
Blocking isn’t just for aesthetics; it can also adjust size. Your cozy blanket can be perfectly square (or rectangular, or round) rather than slightly rebellious.
Quick Start Guide: How to Wet Block Crochet
Start by filling a sink or basin with lukewarm water. Aim for a cozy bath temperature, not a lobster boil.
Gently immerse your crochet blanket. Give it a good soak for about 15 minutes, enough time to let the fibers absorb the water and relax.
Carefully lift the blanket out and press between clean towels to remove excess water. Resist the urge to wring it out like a wet sponge; that’s a one-way ticket to Stretchville.
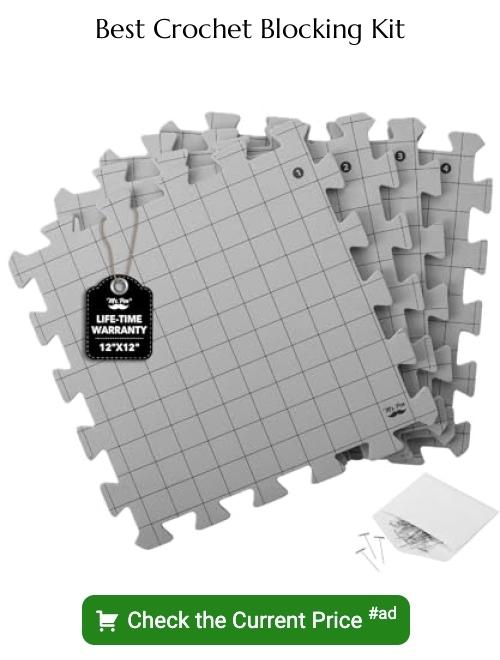
Lay your damp masterpiece on a blocking mat or clean surface. Now, channel your inner architect and pin the blanket to your desired dimensions. Use rust-proof pins to avoid unintended rust tattoos!
Let the blanket air dry completely. It’s like watching paint dry, but with more satisfaction at the end!
Prepare the Water
Use lukewarm water for blocking. If you can’t bathe in it comfortably, neither can your crochet blanket!
Add a mild, fragrance-free detergent if desired. This helps loosen any grime and freshen up the fibers, but remember, no bubble baths here.
Fill a clean basin or sink about halfway. Think of it like prepping a relaxing spa day for your yarn masterpiece. Less is more—no need to drown your project!
Soak the Project
Imagine you’re giving your crochet blanket a relaxing spa day. Fill a clean sink or basin with cool water—lukewarm, if your yarn craves a bit of warmth. Add a dollop of mild detergent or a dash of fabric softener, but not too much; it’s crochet, not a bubble bath.
Gently immerse your blanket in the water. Think of it as a sophisticated mermaid taking a dip. Ensure it’s fully submerged. Avoid any aggressive scrunching or wringing; behave more like a zen master, less like a human washing machine.
Leave the blanket to soak for about 20 to 30 minutes. This gives the fibers time to soak up the goodness and relax into their new, more cooperative selves. After all, don’t we all need a good soak now and then?
Remove Excess Water
Gently squeeze out the blanket without wringing it like a medieval laundress wringing a villain’s neck. Lay the damp piece flat on a clean towel. Roll it up like a jelly roll, applying pressure as you go. This helps absorb the water.
You can even do a little happy dance on the rolled-up towel to get more water out—it’s functional and fun! Unroll and repeat with a dry towel if needed. The goal is to leave the piece damp, but not dripping, just refreshed like a cat after a nap.
Related Posts
 Easy Crochet Gnome Pattern Free: Transform Yarn into Whimsical Friends
 Crochet Star Blanket: A Stellar DIY Guide
 How to Crochet Slippers for Beginners Step by Step with Pictures: Cozy Feet Awaits
 Adjustable Ring Crochet: Master the Magic Circle
 How to Crochet Without a Hook: Hands-On Creativity