Learn how to crochet a cat hat easily with this step-by-step guide and bring some playful flair to your feline friend’s wardrobe.
Looking to crochet a purrfectly adorable hat for your feline friend? This guide is your ultimate go-to for whipping up a cozy cat hat using a size H crochet hook and medium weight yarn. We’ll also sprinkle in tips for ear holes and fancy embellishments. Stick around for all the details and a bonus video tutorial that will have your kitty looking dapper in no time!
Key takeaways:
- Use a size H crochet hook and medium weight yarn.
- Add embellishments like buttons or a bell for extra flair.
- Create a solid base with single crochet rounds, then increase for shape.
- Chain stitches to create ear holes for added comfort.
- Watch a video tutorial for step-by-step instructions.
You Will Need
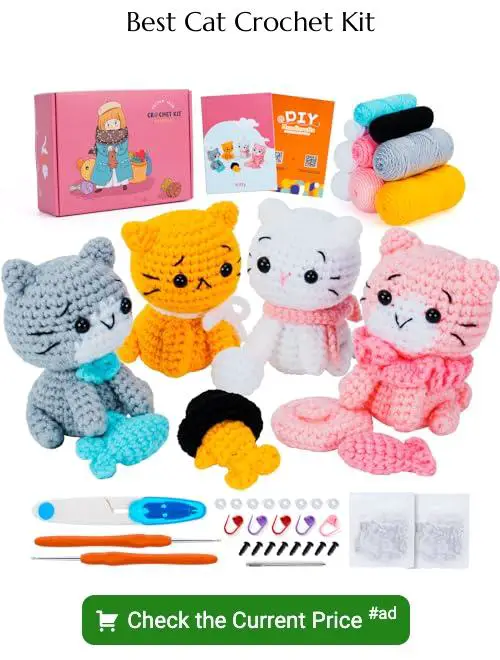
Grab your favorite crochet hook, usually a size H/8 (5mm) works well for this project. You’ll also need some yarn, preferably a medium weight (like worsted weight), because we’re not making a cat-sized woolly mammoth hat here.
Don’t forget those stitch markers. They’re like your craft GPS system.
A tapestry needle will come in handy too. You’ll need it to weave in the ends, which we all know is the real test of patience.
If your cat has a flair for fashion, throw in some embellishments. Tiny buttons, felt pieces, or even a little bell can add that extra purr-sonality.
Lastly, a tape measure will ensure you’re not squeezing your cat’s head like a melon. Comfortable snugness is what we’re aiming for.
Instructions
Start by chaining enough stitches to fit around your cat’s head comfortably but snugly. Slip stitch into the first chain to form a ring. Next, you’ll work in rounds, not rows.
Begin with a single crochet round. This will create a solid base. Increase by adding two single crochets in one stitch every few stitches to give it shape. Think of it like giving your cat their own superhero helmet but cooler.
After a few rounds, stop increasing and just crochet evenly until it’s tall enough to cover those adorable ears.
For the ear holes, you’ll chain a few stitches, skip the same number of stitches on the hat, and continue crocheting. Imagine putting windows in your yarn masterpiece.
Once past the ear holes, keep going until you reach the desired length. Slip stitch to finish off, weave in the ends, and voila. Your cat has a new hat, and you’re officially their favorite human.
Crochet Cat Hat Supplies
You’ll need:
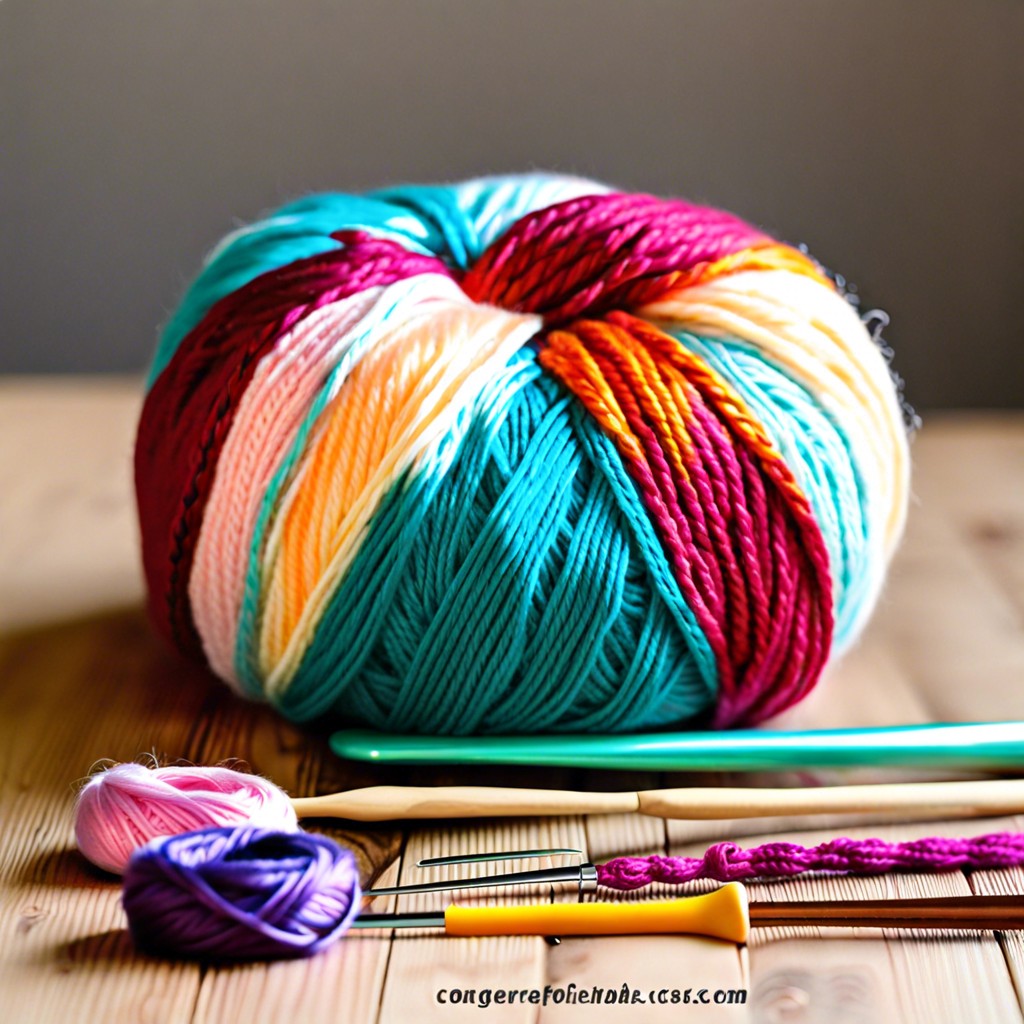
A ball of your favorite fluffy yarn. No, seriously, the fluffier, the better. Cats demand luxury, after all.
A crochet hook. Size matters here, but in a good way! Typically, a 4.0mm to 5.5mm hook works wonders.
Stitch markers. Because losing track halfway through is no one’s idea of fun.
Yarn needle. For weaving in ends, not for pretending you’re some kind of crochet surgeon.
Scissors. Snip, snip! Make sure they’re sharp to keep those edges clean.
Optional but recommended: A cup of tea. Because crafting and hydration go hand in hand. Plus, it makes you look sophisticated to any feline observers.
Black Cat Slouch Crochet Cat Hat Pattern
This playful pattern adds a touch of whimsy to your kitty’s wardrobe. Designed to be loose and comfortable, it won’t have Fluffy planning a jailbreak. It’s all about cool, not confinement.
Use chunky yarn for an extra cozy feel and size H crochet hook. Black yarn for a sleek, mysterious vibe is a must; you want the cat to channel its inner ninja.
Start with a magic ring and work in rounds. Keep increasing until the hat fits your furball’s noggin snuggly but not too tight—nobody needs a feline fashion revolt.
Shape the ears by creating small triangles that sit proudly atop the hat. Single crochets and some decreases will do the trick—no rocket science here.
Customize with little embellishments like a tiny pink nose or even a bell. Just ensure nothing’s chewable!
Steps
Start by creating a magic ring. Think of it like a magic trick—no rabbits, just yarn. Chain two and work eight double crochets into the ring. This forms the foundation.
Next, you’ll increase the size of the hat. In each subsequent round, add more double crochets to each stitch from the previous round. It’s like building a yarn snowman, layer by layer!
After achieving the desired hat circumference, crochet without increasing to create the hat’s length. Your cat needs some stylish headgear after all!
For the ears, start with a smaller magic ring and fewer stitches, then work your way up. Attach the ears to the hat, making sure they’re evenly spaced and secure. You don’t want floppy ears—unless your cat’s going for the “casual chic” look.
Crochet Cat Hat Video Tutorial
A visual guide can work wonders, and this video tutorial is no exception. It’s packed with step-by-step instructions that make crocheting a cat hat as smooth as a cat’s purr.
Check if the tutorial is clear. Can you see every stitch being made?
Pause frequently. It’s not a race; your yarn isn’t going anywhere.
Pay attention to yarn tension. Too tight and your cat might have a new chew toy instead of a hat.
Rewind as many times as you need to grasp tricky sections. No one’s counting.
Enjoy the process. If you’re having fun, you’re doing it right.
Related Posts
 Easy Crochet Gnome Pattern Free: Transform Yarn into Whimsical Friends
 Crochet Star Blanket: A Stellar DIY Guide
 How to Crochet Slippers for Beginners Step by Step with Pictures: Cozy Feet Awaits
 Adjustable Ring Crochet: Master the Magic Circle
 How to Crochet Without a Hook: Hands-On Creativity