Learn the steps to crochet a warm and stylish hat, perfect for any skill level, with this straightforward guide.
Key takeaways:
- Choose the right materials for your crocheted hat.
- Understand the basic stitches and techniques for crocheting a hat.
- Decide between starting with a magic ring or a chain.
- Follow step-by-step instructions for crocheting a hat.
- Finish your hat with secure stitching and optional blocking.
Materials
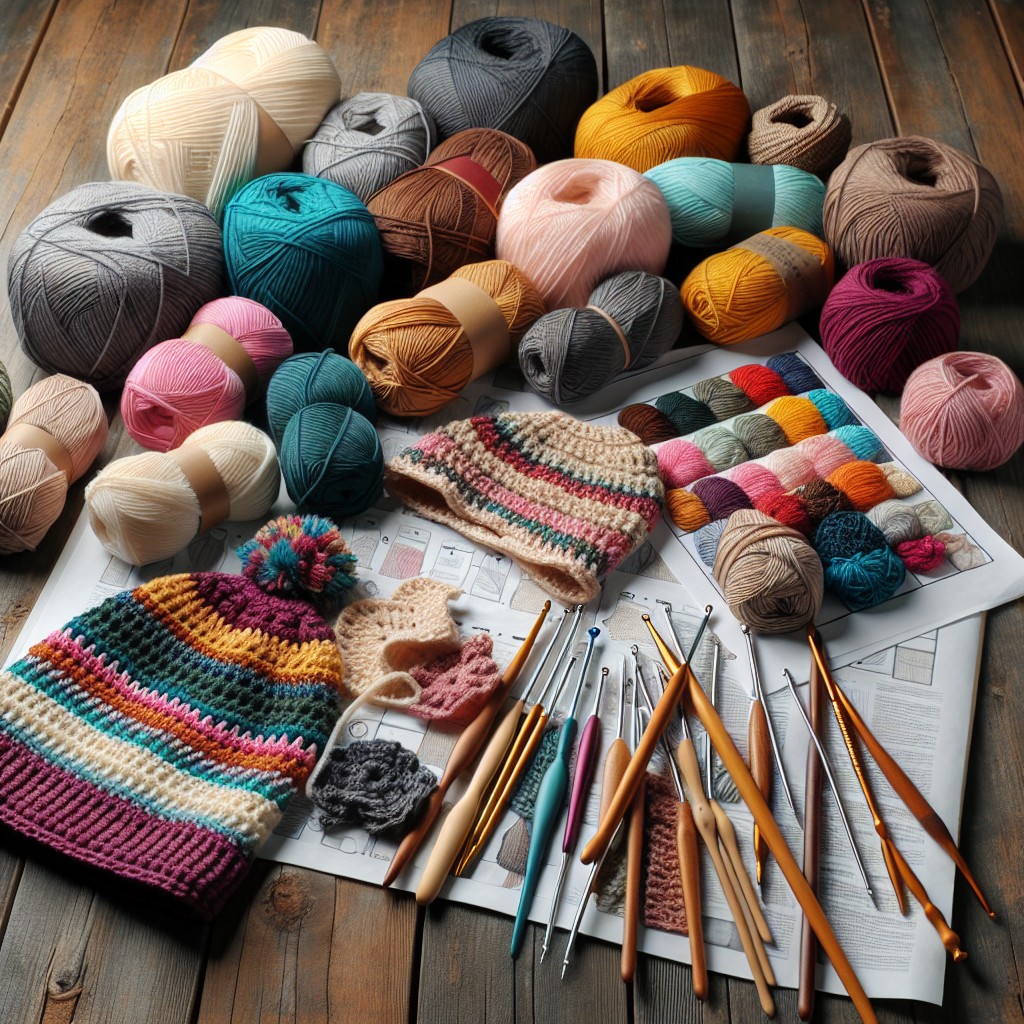
Choosing the right materials is essential in crafting a successful crocheted hat. You’ll need yarn, and the weight of the yarn will influence the appearance and warmth of the finished hat. For a standard adult hat, worsted weight yarn is commonly used, but lightweight or bulky yarns can also be suitable depending on the desired effect.
A crochet hook that corresponds to the yarn weight ensures even stitches. Typically, the yarn label suggests an appropriate hook size. For worsted weight, a size H-8 (5mm) hook is often recommended.
Consider also the fiber content of the yarn. Acrylic yarns are durable and easy to care for, making them great for everyday hats. Wool and wool blends offer more warmth, while cotton is softer and more breathable, ideal for spring or fall weather.
You may also want to have a yarn needle and scissors on hand. These tools are valuable for finishing the hat, weaving in ends, and making any additional embellishments.
Stitch Guide
Understanding the stitches used in crocheting a hat is crucial for a smooth crafting experience. This guide will focus on the basic stitches needed for most hat patterns. The single crochet (sc) is fundamental, creating a tight, dense fabric. The double crochet (dc) allows for a taller stitch with more space between, making the hat work up faster. The slip stitch (sl st) is used to join rounds and create a finished edge or join ends of a piece. Finally, the half double crochet (hdc) strikes a balance between the sc and dc in terms of height and density.
For hats, working in the round is common. Stitches might be joined at the end of each round with a sl st or worked in a continuous spiral. Increases and decreases are important to shape the hat, typically done by working two stitches into one (increase) or crocheting two stitches together (decrease).
Tension is also critical, as it determines the tightness of the stitches and the final size of the hat. A consistent tension keeps the fabric even and the sizing accurate. If you’re new to crocheting, practice making these stitches with even tension before starting your hat project.
Starting the Hat With a Magic Ring or Chain
When starting a crocheted hat, choosing between a magic ring and a chain beginning is essential, as it determines the appearance of the crown.
The magic ring, also known as an adjustable ring, allows you to tightly close the ring’s center, offering a polished look ideal for top-down hats. To form a magic ring, loop the yarn around your fingers to create a circle, hold the intersection between your thumb and forefinger, insert the hook to pull up a loop, and start crocheting the stitches of the first round into the ring. Once the desired number of stitches is achieved, pull the tail to cinch the ring closed.
Alternatively, you can start with a chain by making a few chains (typically around 4-6) and joining the last chain to the first with a slip stitch to form a ring. Then, crochet the first round of stitches into this ring. While this method can leave a small gap at the top of the hat, it’s straightforward and useful for beginners.
Both starting methods serve as the foundation for increasing rounds, which shape the crown of the hat. Follow the pattern’s increase instructions meticulously to ensure the hat expands evenly for a comfortable fit.
Step-By-Step Instructions
Begin with a slip knot and chain the number of stitches necessary for the desired circumference of the hat, usually between 2 to 6 chains. Join to form a ring with a slip stitch, ensuring the chain is not twisted.
Work a series of single crochet stitches into the ring if beginning with a magic ring, or into each chain stitch if starting with chains. For the first round, you may place six to twelve stitches depending on the hat size and yarn weight.
Continue to the second round with an increase, typically by placing two single crochet stitches into each stitch from the previous round. This will double the number of stitches.
For subsequent rounds, follow a pattern of increases to create a flat circle until the hat is as wide as the crown of the head. This can vary, but often happens between 5 to 7 inches in diameter for an average adult hat.
Transition to the body of the hat without increasing, by crocheting one stitch into each stitch beneath. Continue until the hat reaches the desired length from crown to brim.
To shape the brim, maintain the same number of stitches per round, or incorporate decreases to taper the fit. For a snugger brim, consider switching to a smaller hook size or a ribbing pattern.
Finalize the hat by slipping the last stitch of the final round and fastening off. Weave in the end with a yarn needle for a neat finish.
Finishing Techniques
Securing the final stitch is critical to ensure your hat doesn’t unravel. Cut the yarn, leaving a six-inch tail, and pull this tail through the last loop on your hook. To weave in ends, use a yarn needle and work the tail through the inside stitches of the hat. This not only hides the yarn tail but also reinforces the durability of your work.
Blocking is an optional step, yet beneficial, as it shapes the hat to its final form. Moisten the hat with a spray bottle or damp cloth, then place it over a circular object, such as a balloon or foam head, matching the size you desire. Allow it to dry completely. This method gives a professional finish and evens out any inconsistencies in stitching.
Adding a pom-pom or other embellishments can give your hat personality and style. Attach these securely by threading a yarn needle with a matching or contrasting color and stitching the embellishment in place, ensuring knots are on the inside of the hat for a clean look.
Related Posts
 Easy Crochet Gnome Pattern Free: Transform Yarn into Whimsical Friends
 Crochet Star Blanket: A Stellar DIY Guide
 How to Crochet Slippers for Beginners Step by Step with Pictures: Cozy Feet Awaits
 Adjustable Ring Crochet: Master the Magic Circle
 How to Crochet Without a Hook: Hands-On Creativity