Learn how to master the single crochet stitch, a fundamental technique that serves as the building block for countless yarn projects.
Key takeaways:
- Grip crochet hook like a pencil or knife for comfort.
- Maintain consistent tension to create even and sturdy stitches.
- Insert hook into second chain from the hook to start single crochet.
- Continue repeating steps to create fabric and build your project.
- Learn increases and decreases for shaping your crochet projects.
Single Crochet Tutorial

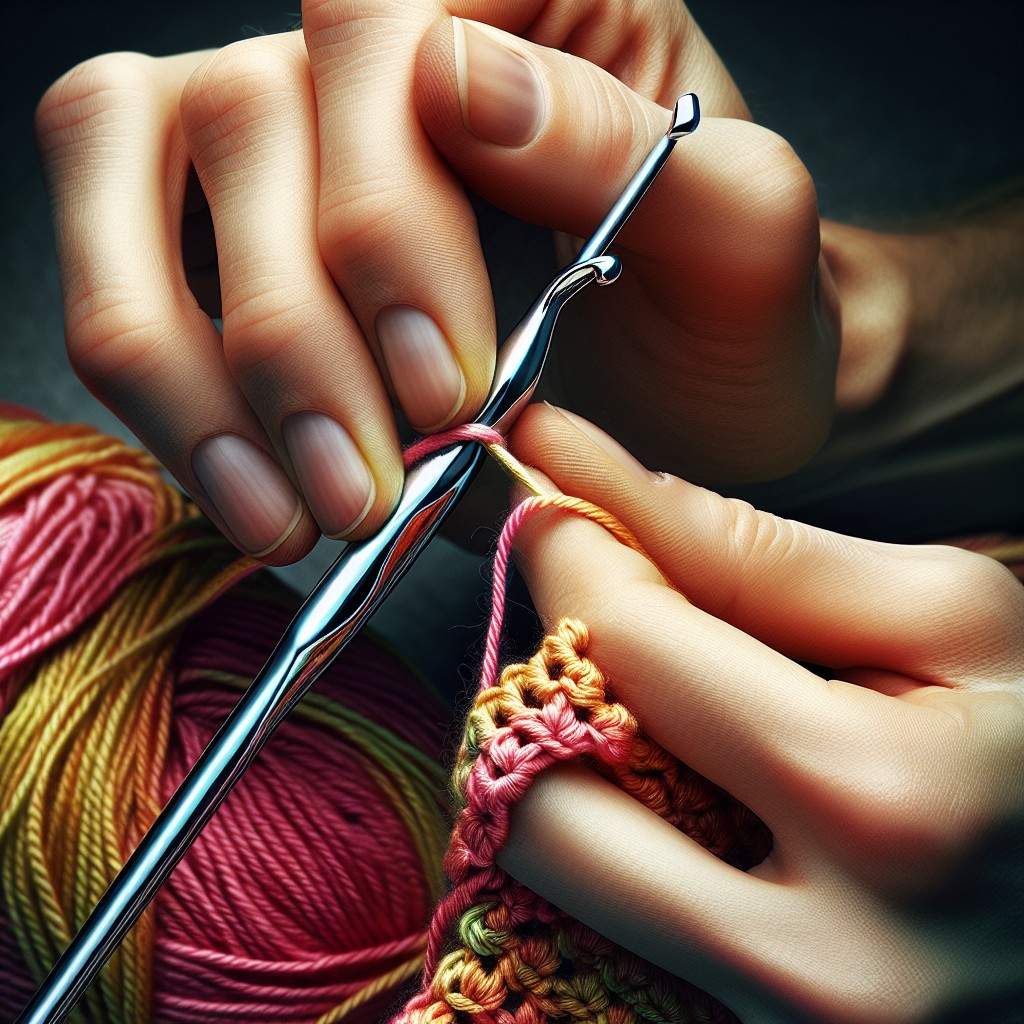
First, let’s thread the eye of the needle with our basics. Grip your crochet hook like a pencil or a knife, whichever feels like a trusty extension of your hand. Begin with a slip knot on the hook. This is your anchor, the seed from which your fabric will grow.
Now, bring your yarn to life by creating a foundation chain. Visualize each chain stitch as a tiny link in the armor you’re crafting. Insert the hook into the second chain from the hook, yarn over, and pull through. You’ll have two loops on the hook, chatting about where they’ll go next.
Whisper to those loops that it’s time to become one. Yarn over again and draw it through both loops. Voilà, you’ve birthed your first single crochet stitch. It’s a small but mighty stitch – the sturdiest brick in your crochet castle.
Keep repeating these steps in each chain link across. Your fabric will begin to take shape as if by magic. Every stitch you make is like a footprint in the snow, bringing you closer to the summit of your project.
Remember, tension is key. A tight grip on the yarn can suffocate your stitches, while too loose a hold can leave them frumpy and uneven. Seek a happy medium, where your yarn has a dance partner, not a wrestling opponent.
Treat yourself to patience as you practice. Each stitch is a building block, and with every row, your skills will stack up. Keep your eyes peeled for a rhythm in your technique, and soon you’ll find your tempo. Now, carry on marching forward, one single crochet at a time.
Step-by-Step Single Crochet for Beginners
Grab your hook and yarn, and let’s dive in! You’ll start by creating a slipknot on your hook. This is your launching pad. Next, crochet a chain, which will be the backbone of your work. Imagine each chain as a tiny parking space for your single crochets.
Now, find the second chain from your hook. Position your hook through this chain, yarn over, and pull through. You should have two loops on your hook. Yarn over once more, and pull through both loops. Congrats, you’ve completed your first single crochet!
Practice this stitch until you can do it with your eyes closed (but keep them open to avoid any yarn tangles!). Remember, this stitch is the bread and butter of crochet; it’s essential for creating textures and firm fabric.
Keep your tension steady – not too tight, not too loose. It’s like holding hands: a gentle yet confident grip works best. Adjust your grip as needed to ensure your stitches are even and your hands stay comfortable.
Every stitch you make is a step forward on your crochet journey. So, hook, yarn over, and pull through to forge ahead stitch by stitch!
Single Crochet Into a Foundation Chain
If you’ve mastered making your foundation chain, it’s time to dive into the nuts and bolts of single crochet stitches. Imagine your foundation chain as a row of little houses, each with its own roof—the top loops. Here’s how you move in to start creating the fabric of your crochet piece.
Position your hook. You’re not going to work into the first chain from the hook. Skip it! This little skipped chain is your sidekick—it gives you the height to step up to the next row later on. Insert your hook into the second chain.
Yarn over—the motion that’s like flipping a pancake. Catch the yarn and pull it through the chain. You’ll have two loops on your hook. Yarn over again, and draw through both loops. Voilà! You’ve just completed your first single crochet stitch.
Continue across. Work the same steps into each chain across your foundation row. Keep your tension consistent — not too tight, not too loose. When you reach the end, you should have the same number of single crochet stitches as the original number of chains, minus the one you skipped at the beginning.
Lastly, remember to breathe. It’s easy to get lost in concentration and tighten up. Keep things light and airy, just like your stitches should be. Once you’ve laid the groundwork with this first row, you’re well on your way. Each stitch is a building block, and you’re laying them down one by one.
Single Crochet Into Another Row
Once your foundation row is cozy and secure, it’s time to build your crochet canvas, one row at a time. Here’s how to keep your single crochet going strong:
Imagine your existing crochet piece as a ladder; each stitch from the previous row is a rung. You’ll want to insert your hook under both loops of the next stitch’s rung to create a fabric that’s both sturdy and even.
Now, yarn over (just a fancy term for wrapping the yarn over your hook), and then pull it back through that stitch. You’re halfway there! You’ll have two loops on your hook, looking like a tiny pair of eyeglasses. Yarn over again and pull through both loops. Congratulations, you’ve completed your next single crochet!
Remember, consistency is your best friend here. Keep your tension even to avoid a piece that looks like it danced to its own beat. If things look a bit wobbly, don’t be afraid to undo a stitch or two. Crochet is forgiving like that—a little backtracking can guide you to perfection.
Keep an eye on the ends of your rows. It’s like the last piece of cake at a party; everyone forgets it. Make sure to work into the very last stitch to maintain straight edges and avoid unintentionally shrinking your masterpiece.
In no time, you’ll find single crocheting into another row as natural as butter melting on warm toast. Keep practicing, and watch your piece grow beautifully.
Increases and Decreases
Adding shape to your crochet projects with increases and decreases will have you hooking hats and beanies like a pro in no time. An increase simply involves creating two single crochets in the same stitch, which magically turns one stitch into two, paving the way for wider rows.
On the flip side, to taper your work, a decrease comes into play by joining two stitches together to form one. This maneuver, often referred to as ‘single crochet two together’ (sc2tog), slims the row down for a snugger curve.
Picture increases as guests who can’t resist a good ol’ buffet, happily taking up extra space. Decreases are the polite diners who prefer sharing a plate, freeing up room at the table. Keep in mind, spacing out increases or decreases adds a subtle shape, whereas closer intervals result in more pronounced angles.
A word to the wise: maintain an even tension during both processes. This golden rule ensures your fabric lays flat without unwanted bulges or tugging. Close attention to stitch count also wards off any asymmetrical surprises in your final piece. With a bit of practice, these techniques will become second nature, granting you creative freedom to tackle a myriad of patterns.


