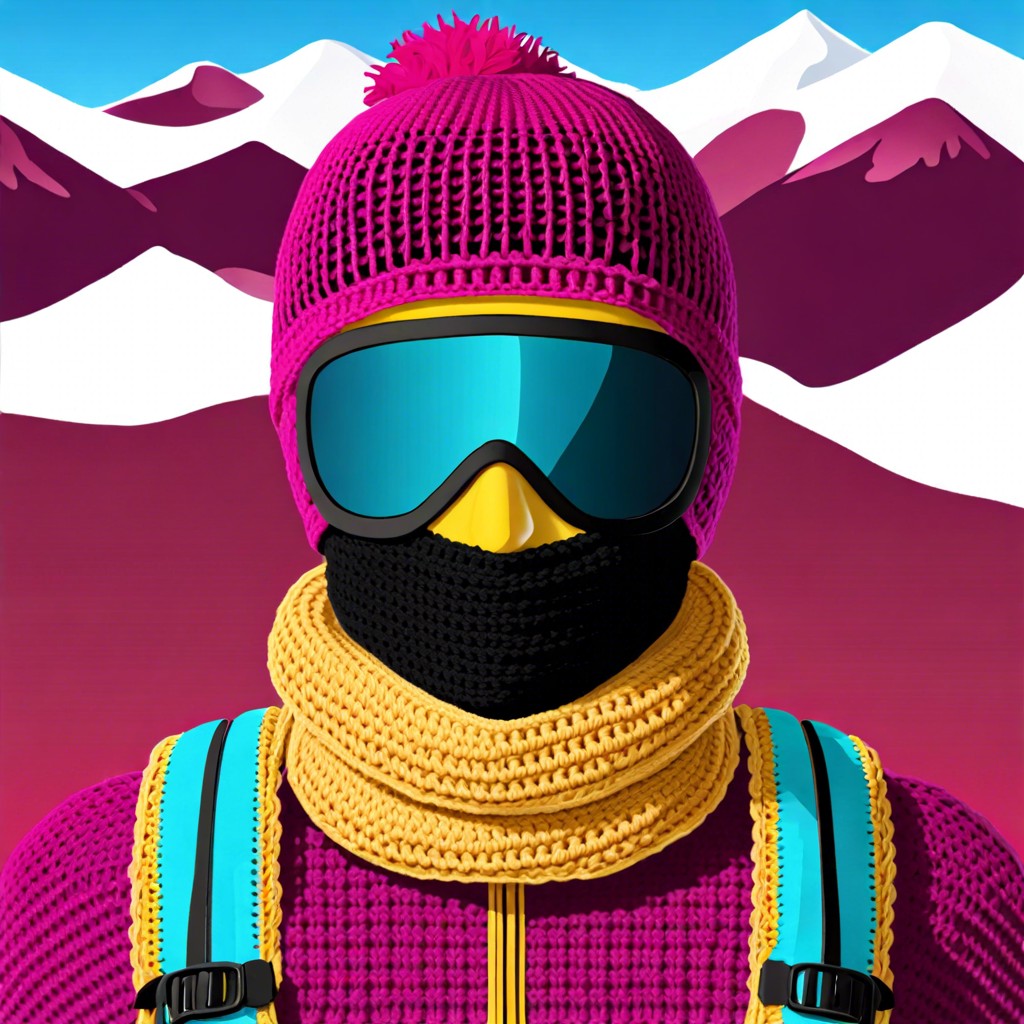
Learn how to crochet a snug and stylish ski mask, perfect for keeping warm on the slopes or during winter walks.
Ready to swap out those flimsy, store-bought ski masks for something cozy, warm, and homemade? This guide to crocheting your own ski mask is just what you need! We’ll walk you through the process step-by-step, from choosing the perfect yarn to strategically placing those crucial eye and mouth openings. Get ready to turn heads on the slopes and keep toasty with your bespoke gear. Let’s dive in and crochet that balaclava!
Key takeaways:
- Choose warm, breathable yarn for comfort.
- Match crochet hook size to yarn weight.
- Create a solid foundation chain.
- Use single crochet for a cozy mask.
- Add eye and mouth openings strategically.
Supplies Needed

Start with yarn. For a ski mask, opt for something sturdy yet soft. Worsted weight yarn often gets the job done. Go for acrylic or wool blends. They’re warm and durable—essential for facing icy winds.
Next, grab a crochet hook sized accordingly. Usually, a size H/8 or I/9 hook pairs well with worsted weight yarn. Check the yarn label for recommended hook sizes if you’re unsure.
Stitch markers are your little lifesavers. They help you keep track of your rounds without going cross-eyed.
Scissors. Trusty and sharp. Because nobody likes frayed ends.
Lastly, add a yarn needle to your toolkit. It’s indispensable for weaving in those pesky ends, making your mask look polished and professional.
Choosing the Right Yarn
Opt for a yarn that’s both warm and breathable. Merino wool is a top contender—it’s soft, cozy, and won’t make you itch like a sweater your granny knitted decades ago. Acrylic yarn is another fantastic choice because it’s affordable, durable, and comes in every color under the sun.
Avoid anything too fancy or scratchy. No one wants to look stylish while enduring prickly discomfort on the slopes. Aim for a medium weight yarn, often labeled as worsted weight. It strikes a good balance, providing warmth without turning your head into a sauna.
Consider the weather conditions of your ski trips. If you’re skiing in the Arctic Circle, a thicker, chunkier yarn might be your best buddy. For milder climates, lighter yarns will keep the frostbite away without suffocating your face.
Selecting a Crochet Hook
When choosing your crochet hook, size matters. The hook should match your yarn weight to ensure your stitches are neat and uniform. Look at the yarn label; it usually recommends a hook size.
Comfort is key. You’ll be crocheting for a while, so opt for an ergonomic hook if possible. It’s like choosing a wand in Harry Potter; the right one just feels good in your hand.
Metal hooks glide through yarn smoothly, while bamboo or wood ones add a bit more traction. Both are great, so it really boils down to personal preference—or what you can find under the couch cushions.
Creating the Foundation Chain
Grab your yarn and crochet hook, it’s time to kick off! Here’s what you need to do:
First, make a slip knot. Always a good start, like buttering bread before the jam.
Next, chain the number of stitches you need for the circumference of the ski mask. Think of it as building the groundwork for a skyscraper – solid and on point.
Keep your tension even. If your chain’s tighter than a straightjacket or looser than a wizard’s sleeve, you’re gonna have problems later. Aim for Goldilocks: just right.
Count your stitches. Seriously, count them. Then count them again. There’s nothing worse than getting halfway through only to find you’re off by one.
And there you have it, a firm foundation ready for the rest of your ski mask magic.
Building the Mask Body
Time to build that ski mask body! Let’s keep you warm and somewhat mysterious.
First, grab your hook and start working in the round. Using single crochet stitches is your best bet here for a dense, cozy fabric. You’ll want to keep the wind out, right?
Keep increasing your rounds until the mask reaches the desired width. Think of it like a beanie for a secret agent on the slopes. After you hit the perfect width, stop increasing and just keep crocheting around and around. Imagine a never-ending yarn rollercoaster.
Measure the length from the top of your head to the bottom of your chin. Crochet until you hit this magic measurement. You’re half-way to a ski mask that says, “I’m ready to hit the slopes or maybe just sneak into the kitchen at midnight.”
Adding Eye and Mouth Openings
To create the eye and mouth openings, you’ll first need to mark their positions. Safety pins or stitch markers come in handy here. Count your stitches carefully to ensure symmetry.
Start by crocheting up to the point where you want the opening to begin. Instead of continuing with your usual stitches, chain the necessary number to form the opening’s width. If you’re making the eyes, smaller chains will do; a mouth might need more.
Once you’ve chained for your opening, skip the same number of stitches it represents on the mask body, then continue crocheting as usual. This creates the gap. On the next round, crochet into the chains you made, continuing the pattern.
For those preferring adjustable fits, add a few extra single crochet rows around the openings. This can help keep the mask snug while you schuss down those slopes like a crochet pro.
Finishing Touches
Don’t you love that moment when you’re just putting the final cherry on top of a project? For your ski mask, those cherries are the finishing touches. First, weave in all those pesky loose ends with a yarn needle. This isn’t just to make it look nice—no one wants their mask unraveling mid-shred down a snowy slope.
If you’re up for a bit of flair, consider adding some embellishments. A pom-pom on the top? Why not! Sew on patches or embroider a snazzy pattern for added personality.
Lastly, give your mask a gentle wash and block it to shape. This will ensure it fits just right. But remember, no hot water unless you’re aiming to create a ski mask for a toddler.
Now, hold it up. Smile. Admire your handiwork. Ready to hit the slopes? Let’s go!


