Learn how to crochet flowers step-by-step, transforming yarn into vibrant, decorative blossoms.
Key takeaways:
- Choose the right yarn and crochet hook for vibrant flowers.
- Master common crochet abbreviations for flower patterns.
- Follow step-by-step instructions to create flower petals.
- Finish off your flower with secure stitching and neat ends.
- Get creative with crochet flowers for decorations and gifts.
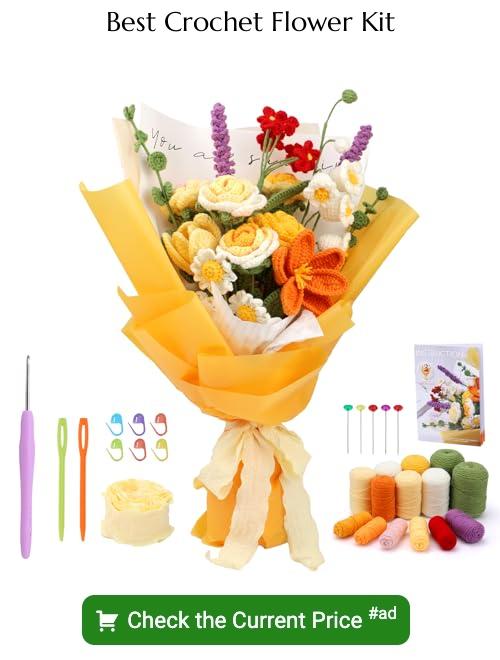
Material
Choosing the right yarn will impact both the look and feel of your finished flowers. Cotton or acrylic yarns in sport or DK weights are ideal, as they are easy to handle and show stitch definition well. Opt for vibrant colors to mimic the beauty of natural flowers. You’ll also need a suitable crochet hook; a size that corresponds to your yarn’s weight will help you achieve tight, neat stitches. Don’t forget scissors and a yarn needle for finishing touches. With these tools at the ready, you’re set to bring colorful crochet flowers to life.
Abbreviations (US Terms)
Understanding crochet abbreviations is like learning the secret language of crafting. Here’s a quick guide to the most common ones you’ll encounter in flower patterns:
**CH (Chain)**: The foundation of all projects. Think of it as laying down the tracks before the crochet train can move.
**SL ST (Slip Stitch)**: This stitch is a connector, subtly linking parts without adding height, perfect for finishing off petals without extra bulk.
**SC (Single Crochet)**: The simple yet versatile building block of your crochet flowers, creating tighter, neater fabric.
**HDC (Half Double Crochet)**: Slightly taller than SC, HDC offers a fuller texture that’s great for flower petals.
**DC (Double Crochet)**: If your flowers need a bit more flounce, this stitch provides the added height with a graceful touch.
By mastering these abbreviations, you’re well-equipped to tackle any flower pattern that comes your way!
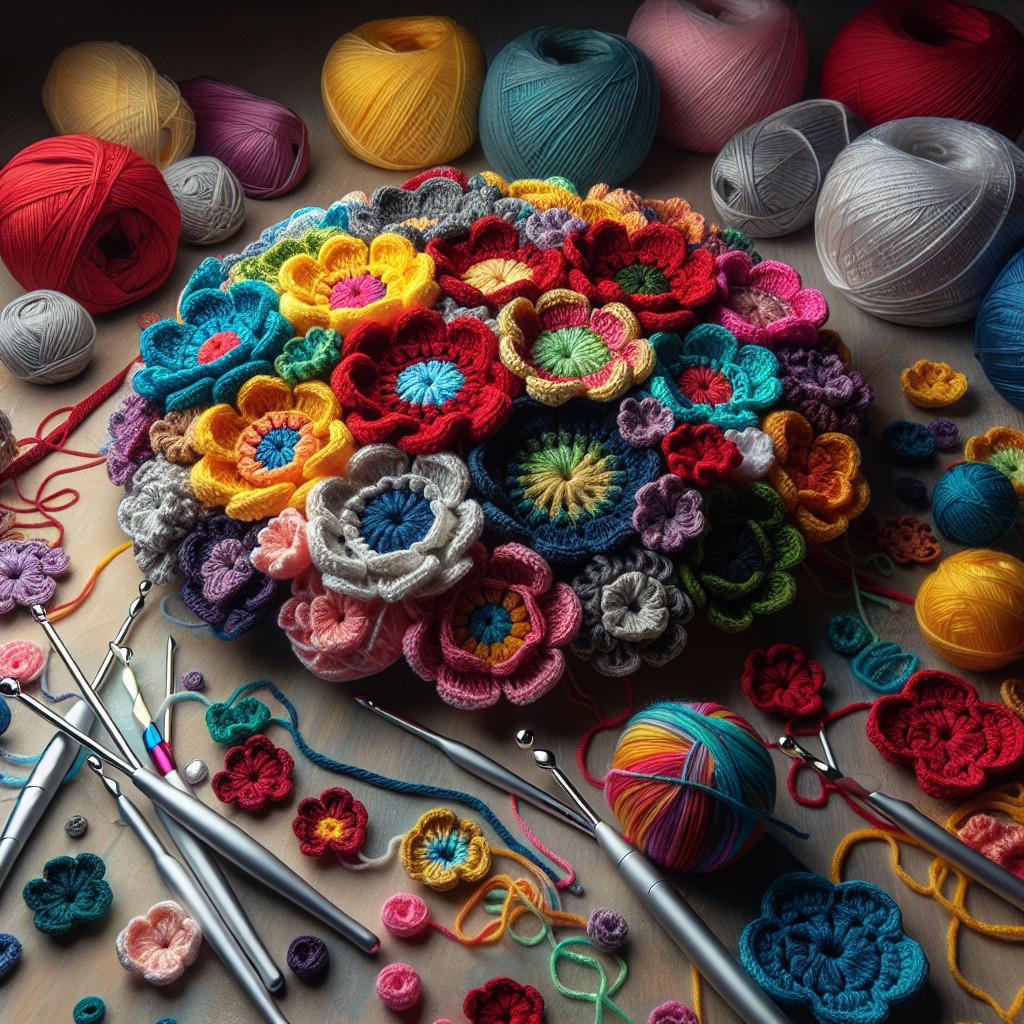
Crochet Flower Petal Steps
Begin by creating a slip knot, then chain four and join with a slip stitch to form a ring. This will be the center of your flower.
For the first petal, chain three. This counts as your first double crochet. Add two more double crochets into the ring. Chain three and slip stitch into the ring. Congratulations, you’ve completed the first petal!
Repeat the process for the remaining petals, typically five to six petals in total for a basic flower. Each starts with chaining three, followed by two double crochets into the ring, chaining three again, and finishing with a slip stitch into the center ring.
Feel free to experiment with variations in petal size by adding more chains or double crochets. Each alteration gives your flower a new personality, so play around to see what blooms!
Finishing Off
Once you’ve completed crocheting your flower, it’s time to give it a polished look and prepare it for use. Begin by cutting the yarn, leaving a long tail. This tail is useful for sewing the flower onto other crafts or fastening it to a backing.
Thread the tail through a yarn needle and weave it back through the last few stitches you made. This technique secures the stitches and prevents unraveling. Pull gently to tighten, ensuring that the shape of the flower is not distorted.
Next, tidy up any loose ends on the backside of the flower by weaving them into the existing stitches. This not only keeps your project neat but also strengthens the overall structure of the flower.
If your design includes a button or bead in the center, now is the time to sew it on. Place it at the center of the flower and use the tail thread to attach it securely.
This finishing process enhances the durability and appearance of your crochet flower, making it ready for whatever creative use you have planned. Whether pinning it onto a hat, using it as a decorative table accent, or incorporating it into a larger textile project, these flowers add a touch of handmade charm.
What Can You Do With Crochet Flowers?
Crochet flowers brighten up a room and offer a splash of color where you least expect it. Apply them as embellishments on headbands, hats, or bags, giving everyday items a personal touch. Sewing a bunch onto a wreath can transform your entryway into a welcoming floral display. They make creative bookmarks or charming gift toppers as well. If you’re in a festive mood, string them together to craft unique, eye-catching garlands for parties or quiet decor. Moreover, experimenting with various yarns and colors can match any seasonal theme or personal style, giving your creations a customized look.
Related Posts
 Easy Crochet Gnome Pattern Free: Transform Yarn into Whimsical Friends
 Crochet Star Blanket: A Stellar DIY Guide
 How to Crochet Slippers for Beginners Step by Step with Pictures: Cozy Feet Awaits
 Adjustable Ring Crochet: Master the Magic Circle
 How to Crochet Without a Hook: Hands-On Creativity