Learn how to crochet your own stylish and cozy pants step-by-step in this fun guide.
Ready to fashion some fabulous crochet pants that hug you just right? You’re in for a treat! From picking cozy, stylish yarns to nailing that snug waistband, and even adding that sneaky bit of elastic, we’ve got every stitch covered. Let’s turn those yarn dreams into comfy, bespoke reality!
Key takeaways:
- Choose the right materials for comfort and style.
- Take accurate measurements for a perfect fit.
- Create a snug and stylish waistband.
- Crochet each leg separately, shaping as you go.
- Add elastic to the waistband for a secure fit.
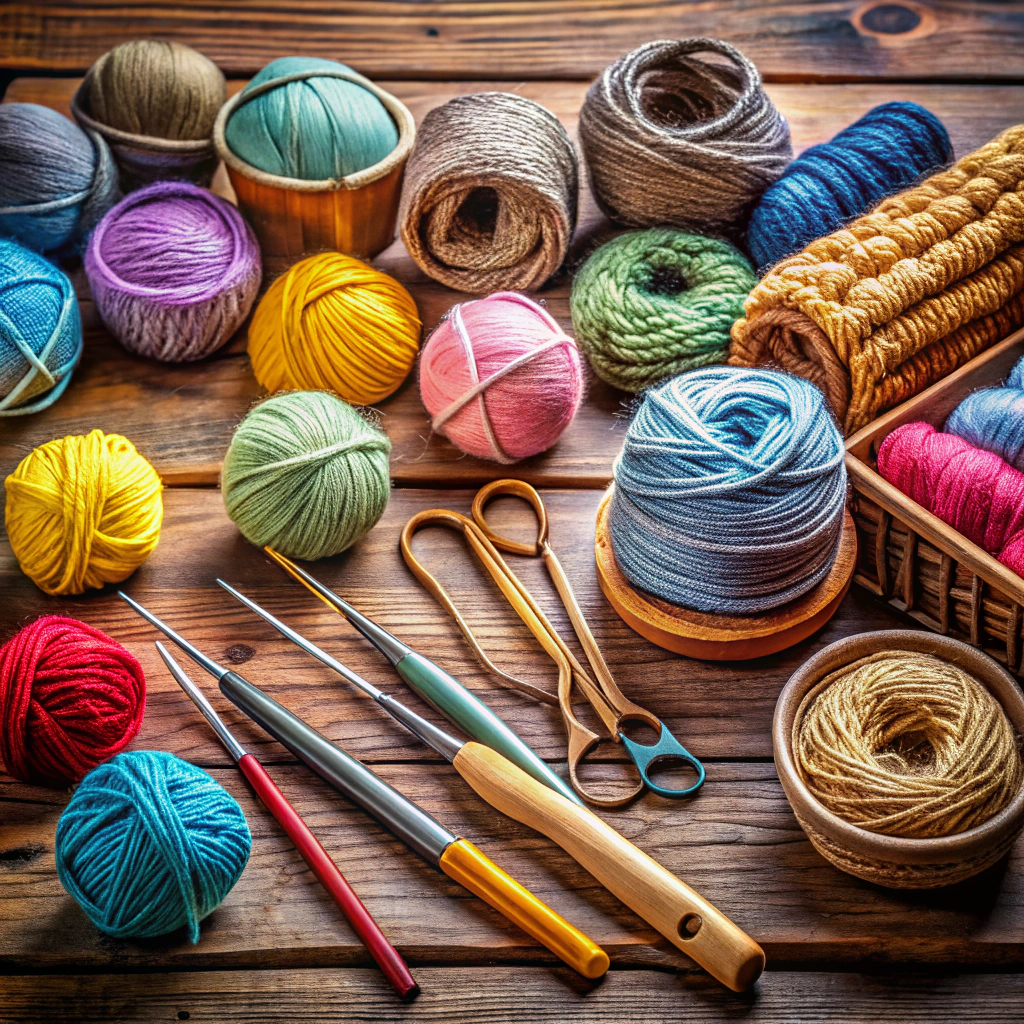
Materials Needed
First up, grab yourself some yarn. Opt for something comfy, maybe a soft wool blend or a breathable cotton. Anything scratchy and your pants will feel like you’re wearing a cactus.
You’ll also need a crochet hook, of course. Check the yarn label for the recommended size, and grab that hook with glee.
Don’t forget a measuring tape. It’s not as fun as the yarn, but it’s crucial unless you want one leg longer than the other.
A good pair of scissors will save you from endless frustration, too. Only Edward Scissorhands can cut yarn efficiently without them.
Lastly, a tapestry needle. It’s essential for weaving in those loose ends and adding the finishing touches. Trust me, they make your life so much easier, it’s almost magical.
Choosing the Right Yarn
To keep your pants cozy yet breathable, opt for natural fibers like cotton or bamboo yarn. These fibers offer lots of stretch and are gentle on the skin, preventing any uncomfortable itchiness.
Want pants perfect for cooler weather? Choose a wool or alpaca blend for that extra warmth. Just make sure it’s lightweight—no one wants to wear 10 pounds of yarn adventure around their legs.
Check the yarn’s weight category. DK (Double Knitting) or worsted weight yarns are ideal. If you go chunky, you might end up with pants thicker than your great aunt’s winter quilt.
And don’t forget color. It’s all about personal style here. Stripes, solids, or even a funky variegated yarn can jazz up your wardrobe.
Measuring Your Waist and Inseam
Grab your trusty measuring tape, it’s time to get up close and personal with your lower half. This isn’t the time to guesstimate—accurate measurements are your best friends.
First, wrap the tape measure snugly around your natural waist, not too tight, not too loose. Think of Goldilocks finding that just-right porridge.
For the inseam, measure from the crotch down to the ankle. It’s perfectly okay to stand tall or enlist a friend for help—awkward positions lead to awkward pants length.
Jot down your numbers, double-check them. Precision here will save a lot of crochet-induced frustration later on. Crocheted pants that fit like a charm are the ultimate goal, not a bizarrely fitting mystery.
Waistband
Start by chaining the number of stitches that match your waist measurement. Remember to keep the chain loose enough for comfort but snug enough to stay up.
Join the chain into a circle, ensuring it isn’t twisted. Trust me, a twist might make you look like you’re permanently prepping for a conga line.
Work in rounds using your chosen stitch pattern. Single crochet or half-double crochet are great choices here. They create a firm but flexible band.
Check the height. Aim for about 2-3 inches, depending on how wide you like your waistbands. Keep trying it on (yes, now you have an excuse to crochet in your pajamas).
If you want to get fancy, you can crochet a row of slip stitches inside the waistband to create a faux drawstring effect. It’s like a waistband with a secret identity.
Once the desired height is reached, fasten off and weave in any loose ends. Go ahead and admire your masterpiece—top part done! Now off to leg day (but not the gym kind).
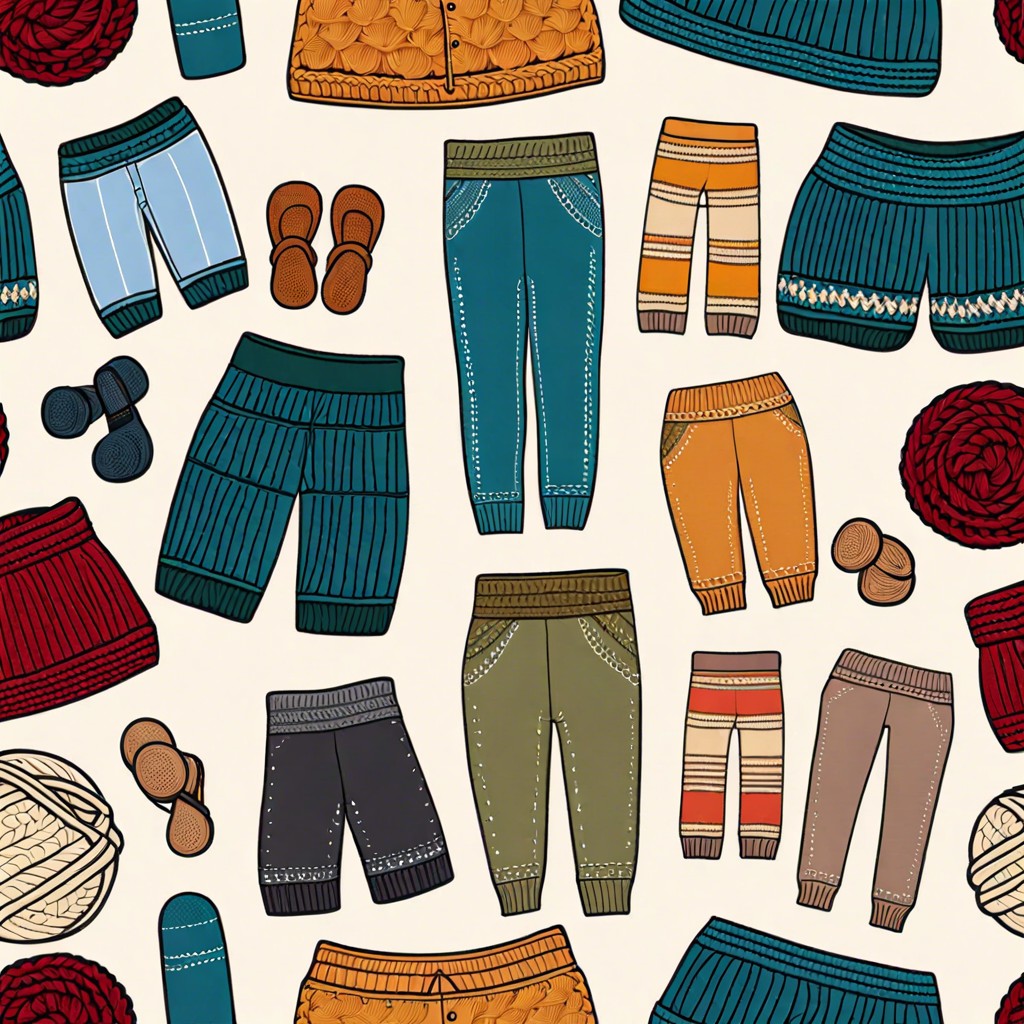
Left Leg
Let’s hook that left leg! Start by chaining enough stitches to achieve the desired leg width. Remember, you want pants that fit comfortably, not a pair of medieval tights.
From the bottom up, follow these steps:
Work in the round: Join the chain with a slip stitch to form a ring. This gives you a clean, seamless line, and your leg won’t have an awkward seam running down the side.
Single and double crochet alternation: Alternate rows of single and double crochets to get a flexible, breathable fabric. Plus, it looks impressive with minimal effort.
Shaping the leg: Decrease stitches as you approach the thigh for a more fitted look. Do this gradually, so you don’t end up with a leg-warmer effect—which is great in the 80s, not so much today.
Length check: Frequently measure your work against your inseam measurement. Stopping every few inches to measure might seem tedious, but trust me, it beats ripping out rows later.
Join to the waistband: Once you’ve reached the correct length, ensure your final row lines up with the waistband. Secure it well with slip stitches for added durability.
Right Leg
Now that you’ve got the hang of the waistband and left leg, it’s time for the right leg. Think of it as déjà vu, but without the creepy music.
- Joining the Yarn: Attach your yarn to the crotch seam. Channel your inner crochet ninja for a seamless look.
- Mirroring Stitches: Crochet the same stitch pattern as the left leg. Keep it consistent, like your favorite TV show reruns.
- Shaping the Leg: Maintain the same increases and decreases. Your pants will thank you for their symmetrical beauty.
- Checking Length: Measure as you go. You’ll avoid the awkward high-water look—unless you’re into that.
Take it slow, have fun, and remember, the right leg is just a mirror image of the left with a sprinkle of patience.
Adding Elastic to Waistband
Elastic is your secret weapon for a snug waistband. Plus, it keeps your pants from making a break for freedom. Here’s how to do it painlessly:
Cut a piece of elastic that fits comfortably around your waist plus an extra inch.
Fold the waistband of your crochet pants down to create a casing, making sure it’s wide enough to fit your elastic.
Stitch the casing but leave a small opening.
Thread the elastic through the casing using a safety pin. This can feel like wrestling a slippery eel, but we believe in you.
Overlap the elastic ends by about an inch and sew them together securely.
Close the opening in the casing with a few final stitches.
Give your new waistband a jiggle to ensure the elastic is evenly spread. Voilà, your pants are ready for action!