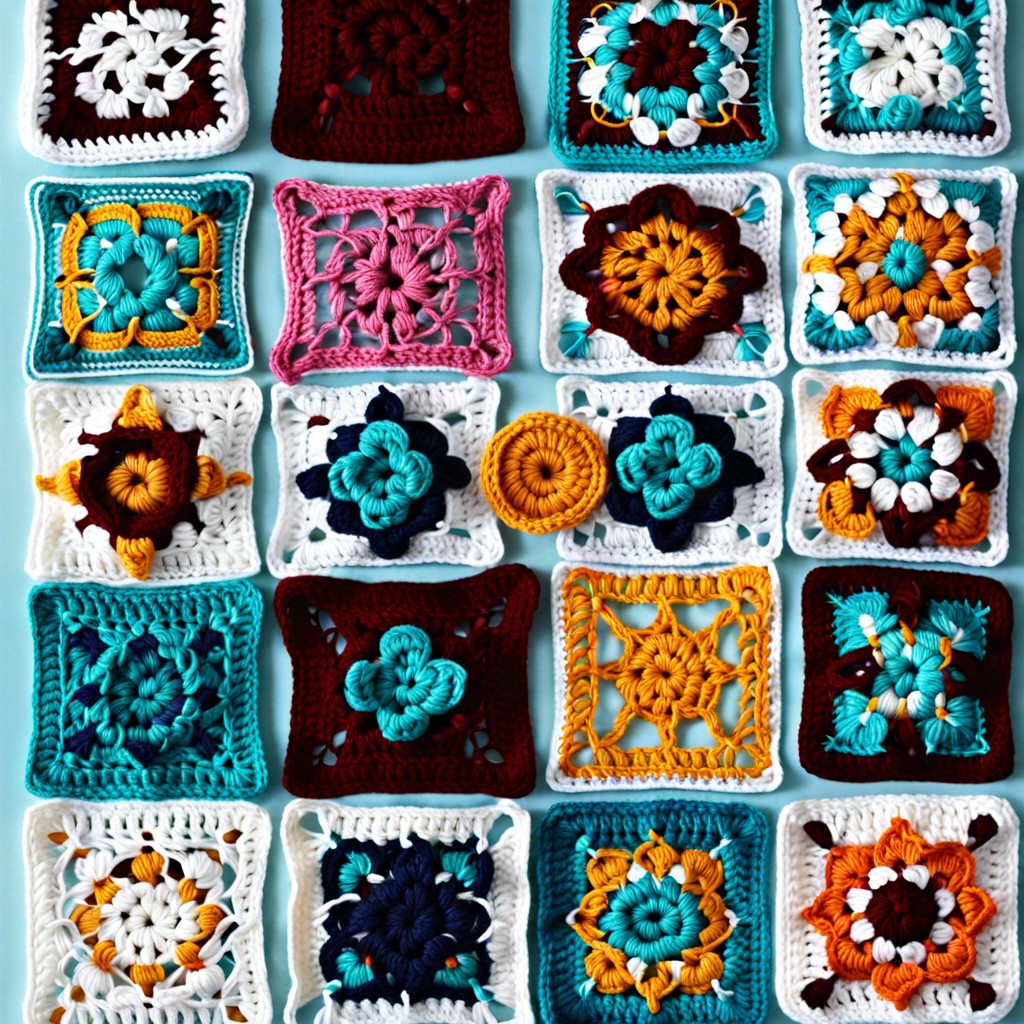
Learn how to crochet squares together to transform your individual pieces into a stunning, unified project.
Key takeaways:
- Choose squares of the same size and matching stitch count.
- Prepare squares by blocking, weaving in tails, and planning placement.
- Join squares using slip stitch, single crochet, whip stitch, or mattress stitch.
- Use a yarn needle, matching yarn, scissors, and a flat surface.
- Follow step-by-step instructions to securely join squares together.
Choosing the Right Squares for Joining

When choosing squares to join, make sure they are of the same size. Check that the stitch count on each side matches up for seamless assembly. It’s also essential to select squares that complement each other in color and design for a polished finished look. If your squares vary in size, consider adding a border to the smaller ones to match the dimensions. This ensures a uniform appearance when joining different sizes together.
Preparing Squares for Joining
Before you begin joining your crochet squares together, it’s important to prepare them properly. Make sure all your squares are blocked and have the same dimensions. This will ensure a neat and uniform final project. Weave in any yarn tails left from crocheting the squares to prevent them from unraveling. Lay out your squares in the desired pattern to plan the placement before starting to join. Smooth out any wrinkles or folds to make the joining process easier. By taking these steps to prepare your squares, you’ll set yourself up for success in creating a beautiful finished piece.
Techniques for Joining Crochet Squares
When it comes to joining crochet squares, there are several techniques you can use. The most common methods include slip stitch crochet, single crochet, whip stitch, and mattress stitch. Slip stitch crochet creates a nearly invisible join, perfect for a seamless look. Single crochet adds a raised ridge between squares, giving a decorative touch. Whip stitch is great for beginners and provides a sturdy join. Lastly, mattress stitch creates a flat seam on the wrong side of the work, ideal for projects requiring a clean finish. Experiment with these techniques to find the one that suits your project best!
Tools and Materials Needed for Joining
To join your crochet squares together, you will need a yarn needle with a large eye for easy threading. Ensure you have extra yarn in the same weight and color as your squares to create seamless joins. Having scissors handy for snipping yarn will make the process smoother. A flat surface to work on will help keep your squares and joins neat and aligned. With these tools and materials, you’ll be all set to start joining your crochet squares with ease.
Step-by-Step Instructions for Joining Squares
To start joining your crochet squares, you will need a tapestry needle and yarn that matches the squares. Place the squares with the right sides facing each other. Thread the needle with a long piece of yarn and begin stitching from the corner of the squares. Use a whip stitch or slip stitch to join the squares securely. Continue stitching along the edge until you reach the end. Repeat this process for each side of the squares until they are all joined together. Remember to weave in any loose ends for a neat finish.


