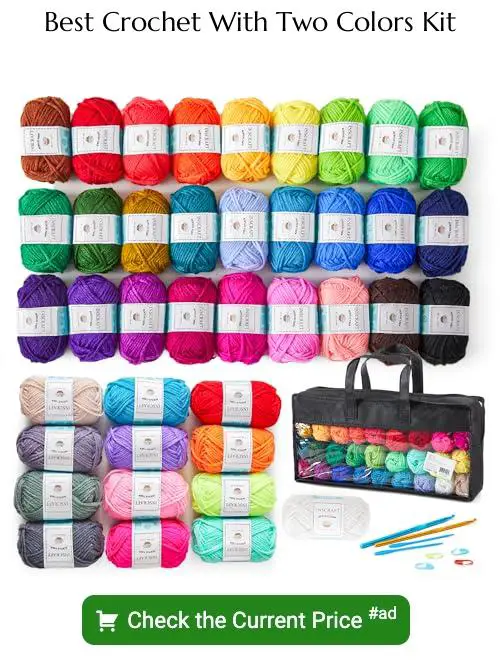
Learn how to crochet with two colors and add vibrant patterns to your creations.
Ready to add a splash of color to your crochet? Discover how to magically transform your projects with the seamless blending of two colors. From choosing the perfect shades to techniques that’ll have you swapping hues like a pro, you’re in the right place. Dive into this guide, and soon you’ll be weaving in those ends like a crochet wizard.
Key takeaways:
- Choose yarn colors based on color wheel and project purpose.
- Introduce second color by completing last stitch with new color.
- Change colors at end of row by drawing new color through loops.
- Carry yarn along edge, keeping unused color on top.
- Weave in ends by threading yarn needle and securing in stitches.
Choosing the Right Yarn Colors
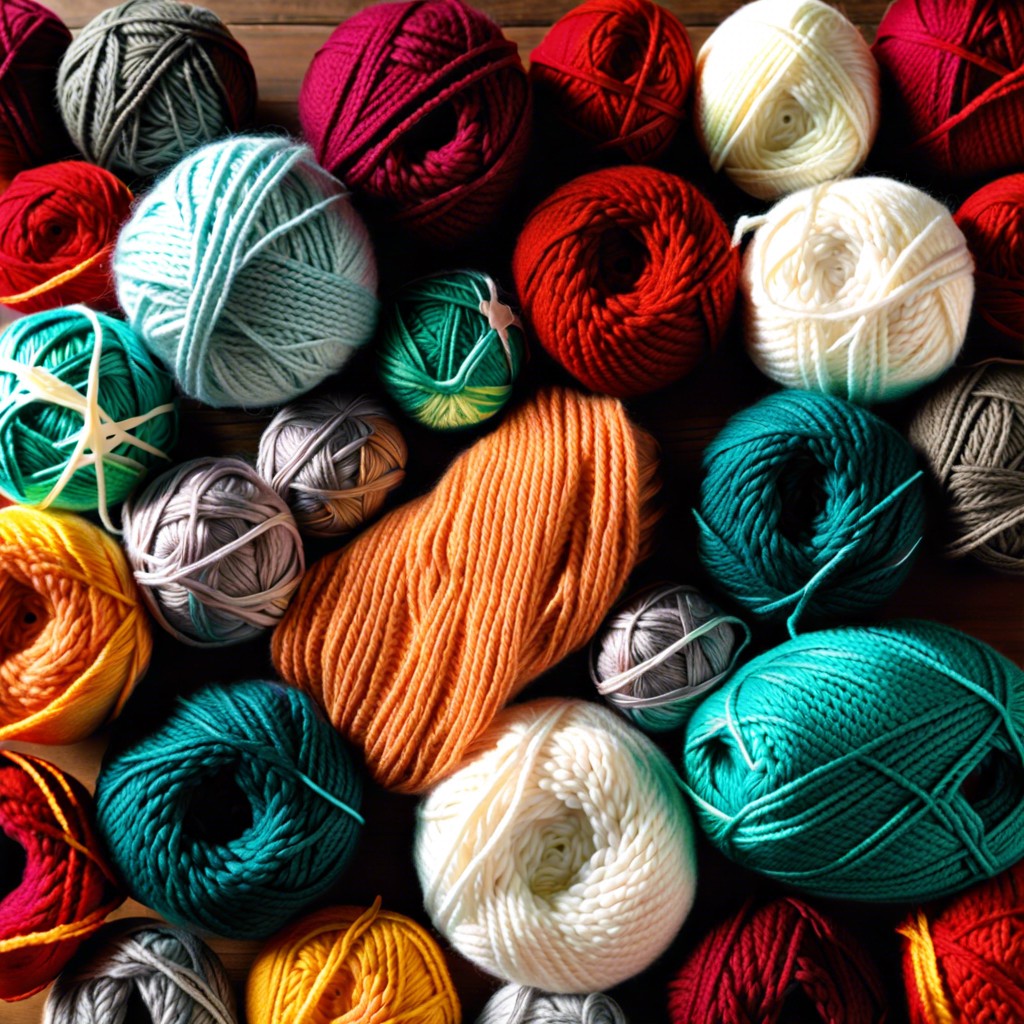
Think of colors as the dynamic duo of your crochet masterpiece. They’ll either make your project sing or squabble like siblings on a road trip.
First, consider the color wheel. Colors sitting next to each other, like blue and green, are pals; they gel well together. But colors opposite each other, like red and green, are frenemies, adding a punch of contrast that’s high-energy and intriguing.
Next, think about the yarn’s mission. If it’s for a baby blanket, maybe skip the neon pink and go for soft pastels. For cozy winter scarves, rich, warm tones will wrap you in a virtual fireplace.
Don’t forget your yarn type and texture. Glossy yarns in bold hues can be dramatic. Matte yarns in muted colors, on the other hand, are like your chill friend who’s endlessly reliable.
Finally, swatch it up! A quick sample can reveal whether your color combo is a heart-throb or a heartache.
Introducing the Second Color
One of the simplest ways to introduce a second color is at the end of a row. Here’s how:
First, work until you have two loops left on your hook BEFORE finishing the last stitch of the row.
Then, instead of yarning over with the current color to complete the stitch, yarn over with the new color.
Pull the new color through the loops to finish the stitch. Voila! You’ve integrated the second color like a crochet wizard.
Now, continue crocheting with the new color. Make sure the tail of your new yarn is long enough to weave in later. Otherwise, it might run off and join a yarn circus.
Pro tip: Keep your tension consistent when switching colors to avoid unsightly lumps and bumps. Nobody wants a bumpy crochet project unless it’s for a very textured pillow, right?
Changing Colors At the End of a Row
When you reach the end of a row and it’s time to switch colors, there’s no need to panic. Here’s a simple way to keep your project looking polished:
First, stop before you finish your last stitch of the row. Leave it incomplete with two loops on your hook. This is a cliffhanger moment—cue the dramatic music!
Grab your new color and draw it through the loops. Look at you, a crochet maestro!
Pull the yarn tight, but not tight enough to make your stitches gasp for air. They need to breathe!
Turn your work as you would normally do and start crocheting with the new color. See? Seamless transition! It’s like when actors pull off a quick costume change.
Secure the old color by weaving in the loose end later. This prevents your project from unraveling like a mystery novel.
Practice these steps and soon you’ll be changing colors like a pro, no sweat, and definitely no unraveling drama.
Carrying the Yarn Along the Edge
You’ve made yarn friends with a second color, but now what? Instead of leaving a chaotic yarn mess, let’s keep it tidy!
First, hold both yarns snugly as you work your stitches. Imagine them doing a little dance along the edge, gracefully swapping places. Keep the unused color running along the top of the stitches you’re working on.
Be sure not to pull too tight. Your yarns should lie flat against the edge, not create a yarn prison. Loose and relaxed is the secret handshake here.
For longer stretches between color changes, give your yarn a gentle twist every few stitches. This helps prevent tangling and keeps your colors organized like a rockstar’s hairstyle.
Need a break? No worries. Secure the yarns temporarily with stitch markers or a clip to keep everything in check. Think of it as giving your yarn a coffee break.
Voila! Your edges will look neat, professional, and ready to show off to your cat.
Weaving in the Ends
Now that you’ve shown those two colors who’s boss, it’s time to tame those wild ends. Nobody wants a frayed masterpiece, right?
Grab your trusty yarn needle. Thread it with the loose end of your yarn. Then, weave it through the stitches of the same color for at least a couple of inches. Think of it as giving your project some hidden, cozy underpants.
Pro tip: Don’t just go in one direction. Weave back and forth a bit. It creates a more secure, less slip-prone finish.
Finally, trim any excess yarn. But only after you’re sure everything is snug and secure. Go on, give it a gentle tug. Feel the satisfaction.
Related Posts
 Easy Crochet Gnome Pattern Free: Transform Yarn into Whimsical Friends
 Crochet Star Blanket: A Stellar DIY Guide
 How to Crochet Slippers for Beginners Step by Step with Pictures: Cozy Feet Awaits
 Adjustable Ring Crochet: Master the Magic Circle
 How to Crochet Without a Hook: Hands-On Creativity