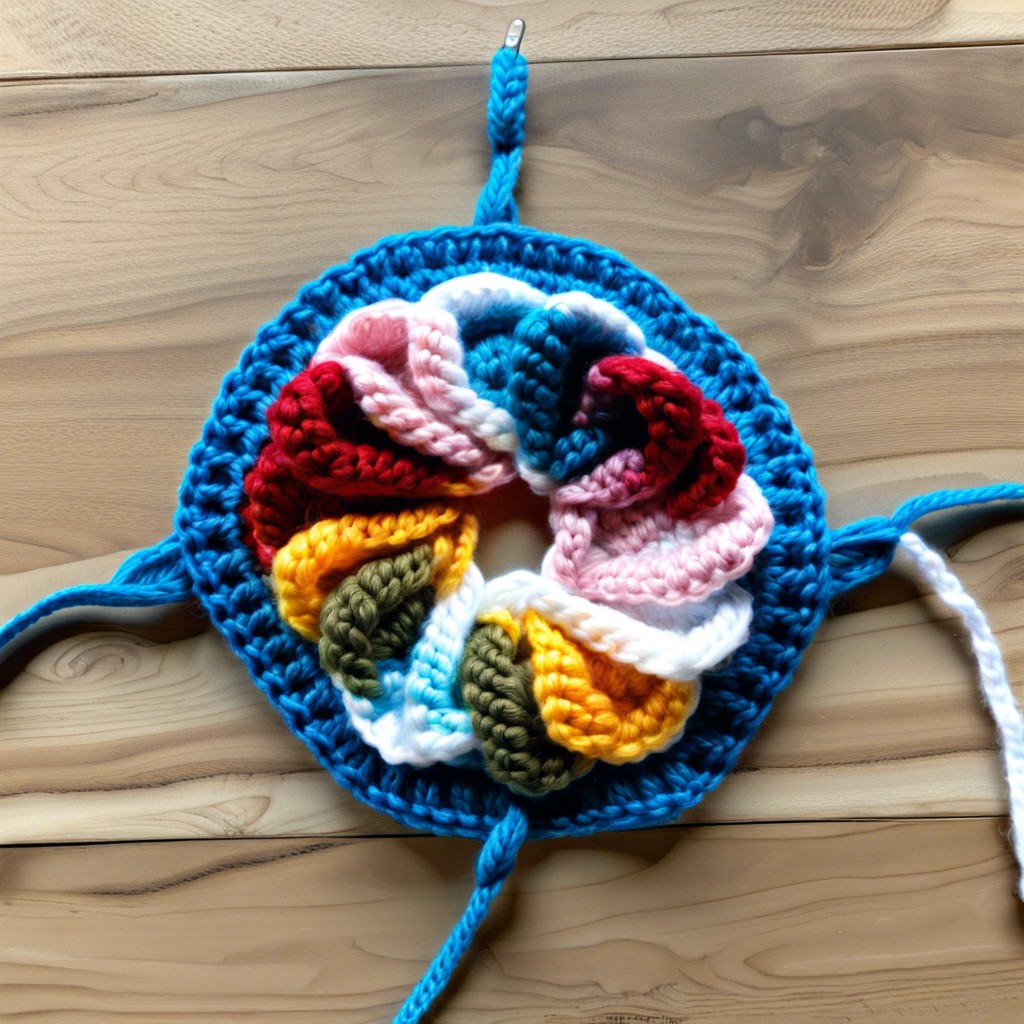
Learn how to decrease in crochet to taper your projects smoothly and create shape with ease.
Tired of your crochet projects looking more like misshapen blobs than masterpieces? Fear not! Mastering the art of decreasing in crochet can bring that much-needed finesse to your work. Whether you’re looking for basic single crochet decrease (sc2tog) or the magic of invisible decreases, you’ve stumbled into the right yarn corner. Follow along for step-by-step guides, complete with photos and a sprinkle of humor, to make shaping your crochet pieces as easy as pie—without the flaky crusts!
Key takeaways:
- Single crochet decrease (sc2tog) narrows fabric for shaping.
- Invisible single crochet decrease (sc magic) for seamless fabric.
- Step-by-step guide to single crochet decrease with photos.
- Step-by-step guide to invisible single crochet decrease with photos.
- Essential tools and materials for decreasing stitches.
Single Crochet Decrease (sc2tog)

Alright, here’s the skinny on this technique:
First up, you’ll insert your hook into the next stitch. Got it? Now, yarn over and pull up a loop. Hold that thought! Don’t get ahead of yourself.
Next, insert your hook into the very next stitch. Yep, right there. Yarn over again and pull up another loop. Now you should have three loops hanging out on your hook, having a little party.
Here’s where the magic happens. Yarn over one last time and pull through all three loops in one go. Ta-da! You’ve just decreased by one stitch, turning two into one. Bravo!
By reducing two stitches to one, you’re effectively narrowing the fabric, perfect for shaping projects. This trick comes in super handy when crafting anything from hats to amigurumi.
Invisible Single Crochet Decrease
An invisible single crochet decrease (often whispered about in crochet circles as sc magic) is the secret weapon for achieving a smooth, seamless fabric—especially in amigurumi and garments. It’s like hiding evidence, but for yarn!
Instead of grabbing both loops of the stitches, you only snag the front loops. Here’s how you conjure this crochet spell:
- Insert the hook into the front loop of the first stitch.
- Without freaking out, insert the hook into the front loop of the next stitch.
- Yarn over and pull through both front loops—feel that wave of excitement?
- Yarn over again and pull through the remaining two loops on your hook.
You just invisibly decreased and didn’t even break a sweat. It’s cleaner and less noticeable than the standard decrease. Perfect for when you want your stitches to look flawless yet clandestine.
How to Single Crochet Decrease (Step-by-Step With Photos)
Grab your hook and yarn, it’s time to dive into the magical world of decreasing stitches! Here’s how you can do it:
First, insert your hook into the next stitch just like you’re going to single crochet. Yarn over and pull through. Hold onto those two loops like they’re your best friends.
Next, insert your hook into the very next stitch. Yarn over again and pull through. Now you’ve got three loops on your hook, feeling crowded yet?
Yarn over one last time and pull through all three loops. Voilà! You’ve just made two stitches into one. It’s like decluttering, but way more fun.
Repeat these steps wherever the pattern demands a decrease. Soon, you’ll be a crochet decluttering pro, reducing stitches with the finesse of a Zen master.
How to Do an Invisible Single Crochet Decrease (Step-by-Step With Photos)
- Insert your hook into the front loop of the next stitch. Smells like yarn victory already, doesn’t it?
- Without yarning over, insert the hook into the front loop of the following stitch. Now you’ve got two front loops on your hook, like a mini yarn rollercoaster.
- Yarn over and pull through both front loops. Whee! You’re halfway to stitch-minimizing magic.
- Finish the stitch by yarning over again and pulling through the two loops on your hook. Abracadabra! You’ve just crocheted an invisible decrease. Your yarn project will thank you for its smooth sailing ahead.
No hiccups, no bumps! It’s like your stitch count is on a luxurious vacation.
Tools and Materials
Imagine you’re preparing a delicious yarn sandwich—everything must be just right! Here’s what you need:
- Yarn: Any type will do, but smooth yarn makes learning easier. Think of it as the peanut butter to your jelly.
- Crochet Hook: Match the hook size to your yarn. It’s like choosing the right bread slice—too big or too small and things can get…crumbly.
- Scissors: For snipping yarn. Sharp ones work best, otherwise it’s like gnawing through stale bread.
- Tapestry Needle: Essential for weaving in ends. Think of it as the toothpick holding your sandwich together.
- Stitch Markers: Handy for keeping track of where your decrease starts. Like those tiny flags in a fancy deli sandwich.
Prepared with these goodies, you’re ready to dive into the fun part—learning and perfecting those decreases!
Related Stories
- Crochet Decrease Stitch: A Step-by-Step Tutorial for Beginners
- Increase Single Crochet: Master Growing Your Stitches with Ease
- How to Decrease Stitches in Crochet: Simple Techniques & Tips
- sc2tog: Master This Decrease and Elevate Your Crochet Skills
- sc inc crochet: Master the Magic of Simple Increases
