Learn how to create a slip stitch, a foundational technique used in crocheting to join stitches seamlessly.
Key takeaways:
- Slip stitches are versatile and essential in crocheting.
- Gather necessary tools: crochet hook, yarn, scissors, and yarn needle.
- Follow step-by-step instructions for creating a slip stitch.
- Tips for achieving perfect slip stitch technique.
- Apply slip stitches for joining, edging, surface crochet, and shaping.
Understanding the Basics of Slip Stitch
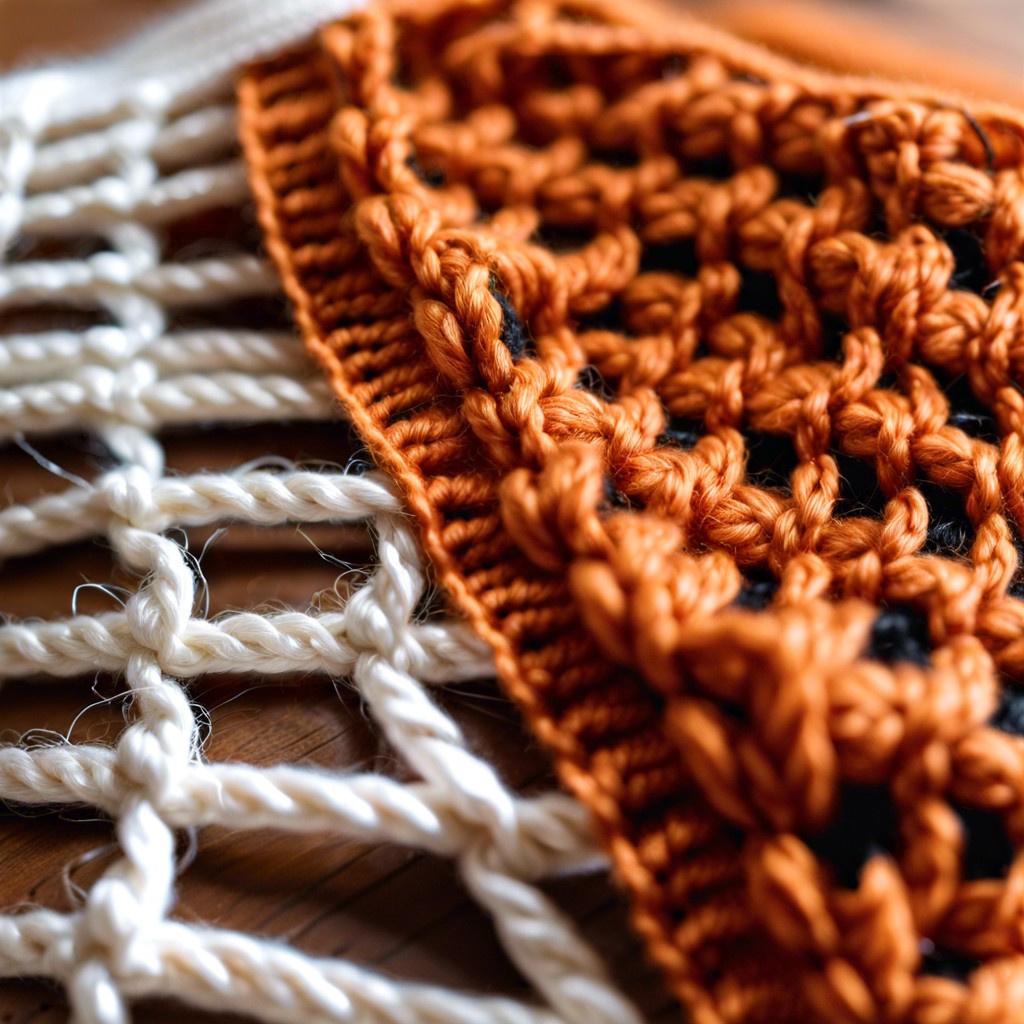
The slip stitch is one of the simplest yet most versatile stitches in crocheting. Think of it as the glue that holds different pieces together without adding bulk. Primarily used for joining two pieces of fabric, finishing edges, or working in rounds, it creates a flat, invisible seam. Essential in shaping and structural work, slip stitches allow for smooth transitions between different sections of a pattern. Its elasticity and low profile make it ideal for fine detailing and sturdy constructions alike.
Necessary Tools and Materials
To start your slip stitch journey, you’ll need a few simple items, all readily available at your local craft store or online. First, select a crochet hook suitable for the yarn you’ll use, typically indicated on the yarn label. The right hook means your stitches will slide smoothly. Next, choose your yarn. For beginners, smooth, light-colored yarn is best—it makes seeing your stitches easier. Lastly, have some scissors handy for snipping your yarn when you finish your project, and a yarn needle for weaving in ends. With these tools gathered, you’re all set to begin stitching!
Step-by-Step Guide to Making a Slip Stitch
First, insert your crochet hook into the specified stitch where the slip stitch is to begin. Make sure the hook goes under both loops of the stitch unless the pattern states otherwise.
Next, wrap yarn over the hook from back to front. This action should leave you with two loops on the hook.
Then, pull the wrapped yarn through both loops that are currently on the hook. Do this in one smooth motion. This completes your slip stitch. The loop remaining on the hook will be the starting point for the next stitch.
Remember, maintaining a consistent tension on your yarn is key to creating even and neat slip stitches. Too loose and your project may lack form; too tight and you might find it hard to insert the hook for the next stitch. Adjust as you go, and soon slip stitching will feel like second nature.
Tips for Perfecting Your Slip Stitch Technique
Keep your yarn tension consistent. A steady, even tension prevents the stitches from being too tight or too loose, which can affect the overall look and feel of your project.
Practice makes perfect. Regularly practicing your slip stitch will help you develop a rhythm and increase your speed and accuracy.
Use the right size crochet hook for your yarn. This simple step can drastically improve the ease and appearance of your slip stitches.
Focus on the insertion point of your hook. Make sure to insert it into the correct stitch or space to maintain the pattern’s integrity.
Avoid rushing. Taking your time with each stitch can lead to neater, more professional results, especially when you’re just starting out.
Each of these points can greatly improve the quality of your slip stitches, enhancing the finished look of your crocheted items.
Applications of Slip Stitch in Crocheting Projects
Slip stitches are incredibly versatile in the crochet world, opening doors to both functional and decorative elements in projects. Here are some practical applications:
- Joining pieces: Whether you’re stitching squares for a blanket or attaching a strap to a bag, the slip stitch is your go-to for a neat and secure join.
- Edging: Give your projects a polished look by working a slip stitch around the edges. This not only creates a tidy border but can also help in keeping the edges from stretching.
- Surface crochet: Add a splash of color or intricate design to your work by using slip stitches to embroider patterns on top of your crochet fabric.
- Shaping: In some projects, especially garments, slip stitches can help with shaping. By adjusting tension, you can tighten or loosen areas as needed without making significant structural changes.
Each use enhances your project, making it not just crafted but finely crafted. Practice integrating slip stitches in these ways to see how they transform the textures and functionality of your creations.
Related Posts
 Easy Crochet Gnome Pattern Free: Transform Yarn into Whimsical Friends
 Crochet Star Blanket: A Stellar DIY Guide
 How to Crochet Slippers for Beginners Step by Step with Pictures: Cozy Feet Awaits
 Adjustable Ring Crochet: Master the Magic Circle
 How to Crochet Without a Hook: Hands-On Creativity