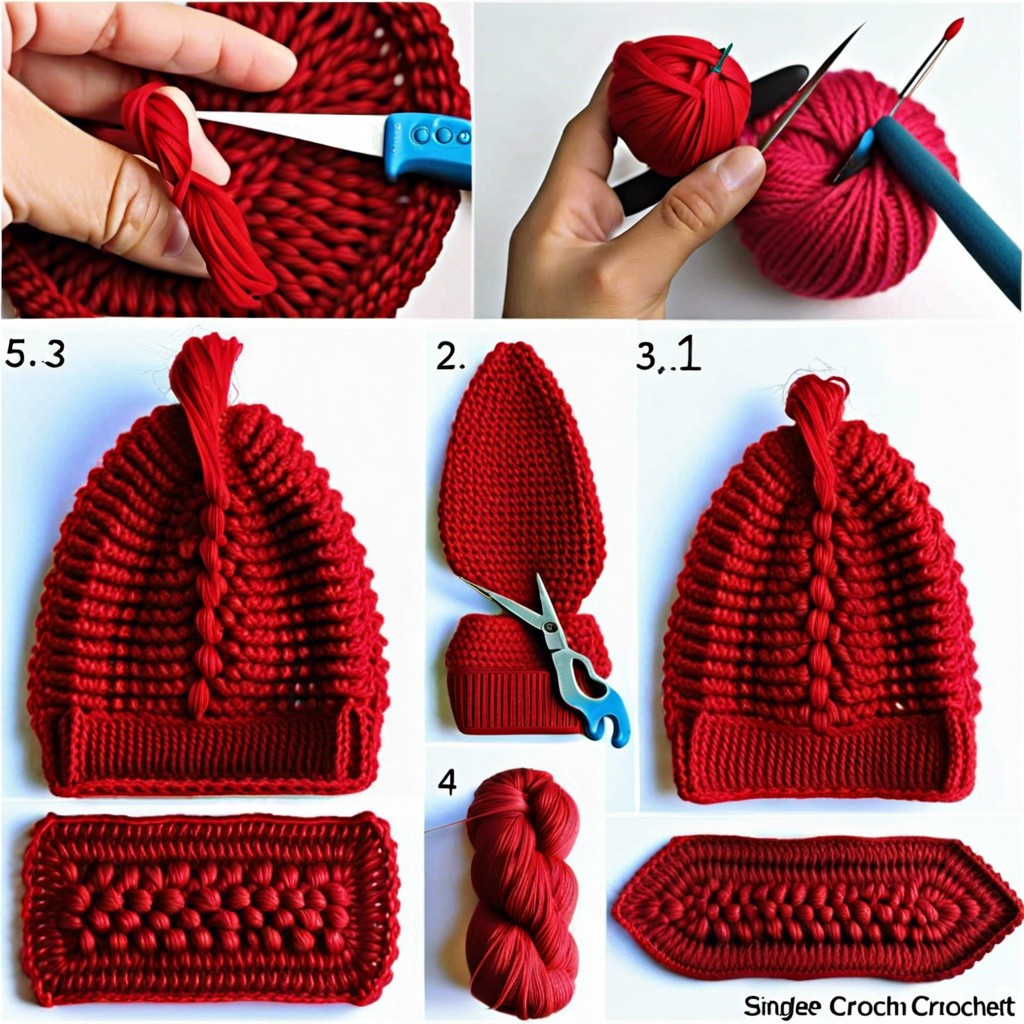
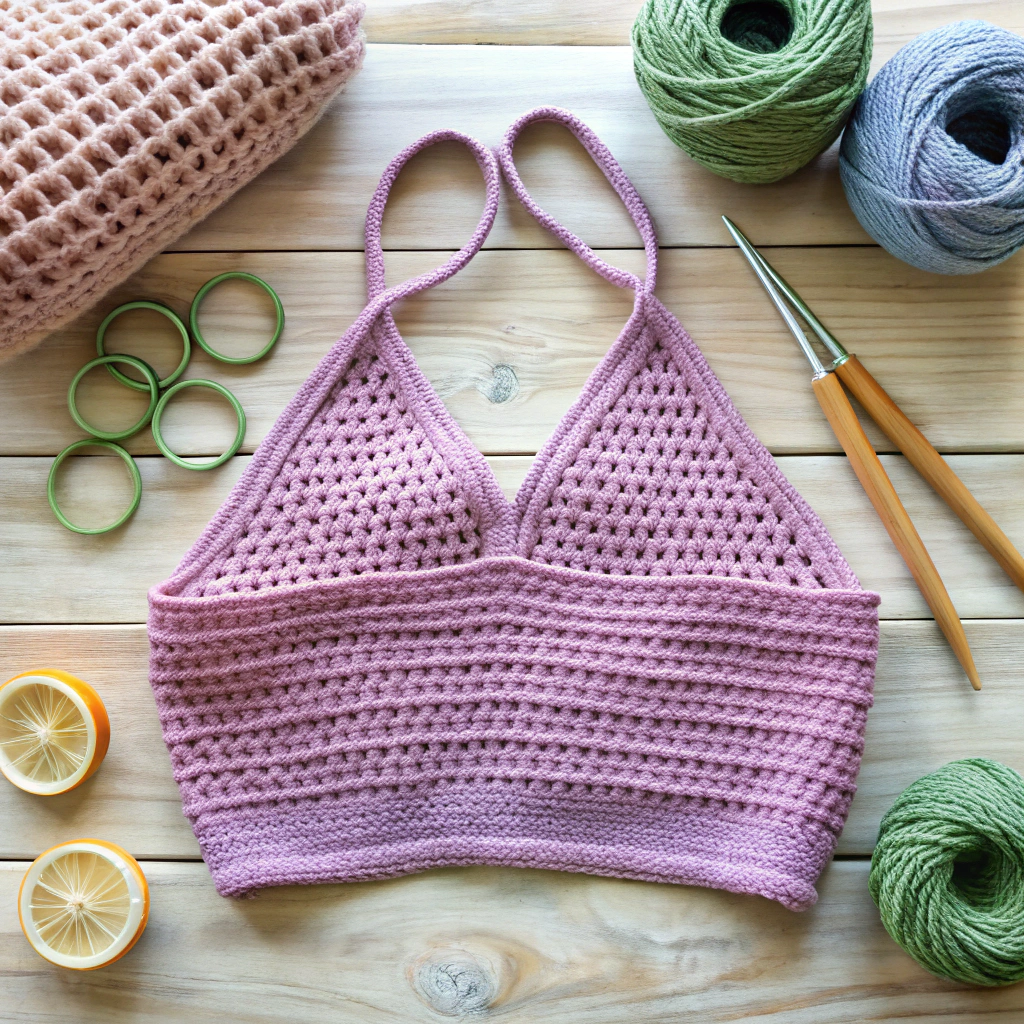
Learn how to increase stitches in crochet to create beautiful and shapely designs. In crochet, an increase simply means adding extra stitches. To do this, you’ll crochet two stitches into the same stitch of the previous row or round. Let’s break it down: 1. Insert your hook into the stitch where the increase is needed. 2. Yarn over and pull through, just as you would for a regular stitch. 3. Complete the stitch, but don’t move on to the next one just yet. 4. Instead, insert your hook back into the same stitch, yarn over, and pull through again. 5. Finish this second stitch in the same manner. Voilà, you’ve added an increase! This technique is commonly used to add shape to your crochet projects, like expanding a hat or making amigurumi. Whether you’re going circular or need a bit of flair, mastering the art of increasing stitches will open up a world of crocheting possibilities.
Ever wondered how to add that extra flair to your crochet project? Increasing stitches is the secret sauce for shaping snazzy hats, cozy garments, and more! Whether you want crisp corners or a boho freeform look, mastering the single crochet increase is your ticket. Grab your yarn, hook, and a sprinkle of patience—let’s crochet like pros!
Key takeaways:
- Increase boosts stitches and shapes items like hats and garments.
- Single crochet increase: insert hook, yarn over, pull through, yarn over, pull through both loops.
- Increase in edges for width, corners for crispness, random spots for organic shapes.
- Materials needed: yarn, hook, scissors, stitch markers, patience.
- Tools needed: crochet hook, yarn, scissors, yarn needle.
Single Crochet Increase

In crochet, an increase boosts the number of stitches, making your project grow. It’s key for shaping items like hats, amigurumi, and garments.
- For a single crochet increase:
- Insert your hook into the next stitch.
- Yarn over and pull through the stitch – two loops on the hook.
- Yarn over again and pull through both loops – there’s your first single crochet.
- Now, re-enter that very stitch:
- Insert your hook once more.
- Yarn over and pull through.
- Yarn over again, pull through the two loops – voila, another single crochet.
By doubling up in one stitch, you’ve just increased the stitch count. Keep an eye on your stitch markers, or channel your inner crochet whisperer to keep track. Mistakes happen, but remember – there’s always frogging (rip-it, rip-it) if you need a do-over. Onward to the next set of increases!
Where to Make Single Crochet Increases
Increases in single crochet stitches can be done to shape your project—think of it as giving your flat piece a little character. Here are the key spots to consider:
- Edges: Adding stitches here can make your item wider, perfect for something like shaping the bottom of a sweater or a growing scarf.
- Corners: If you’re working in the round or creating squares, increases at corners keep things from turning into wonky rhomboids. You want that crisp corner look!
- Random placements: For amigurumi or freeform projects, a sprinkle of increases can help your work take on more organic shapes. Just follow the pattern (or your instincts) and watch the magic happen.
Remember, it’s all about where you put those extra stitches and how they turn your flat creation into something fabulous.
Materials
You’ll need just a few things for this crochet adventure:
Yarn: Choose a yarn that suits your project. The thicker the yarn, the quicker you’ll see your progress.
Hook: Match the hook size to your yarn. Check the yarn label; it’s like a cheat sheet.
Scissors: Basic, sharp. You’ll need these to snip your yarn once you’re done with your masterpiece.
Stitch markers: Optional but helpful. They keep your increases in check and prevent head-scratching moments.
Patience: It’s a journey, not a race. Enjoy the ride!
Tools
You’ll need just a few simple tools to get started. First, grab your favorite crochet hook. Size matters here, so if you’re using a chunky yarn, opt for a larger hook, and for thinner yarn, go smaller.
Next, have your yarn at the ready. Choose any type or color that tickles your fancy—there are no wrong choices in crochetland.
Lastly, a trusty pair of scissors and a yarn needle will tidy things up. Scissors for snipping loose ends, and the yarn needle for weaving them in. Make friends with these tools, they’ll be your companions on this crafty journey.
Instructions
Grab your hook and yarn, and let’s get started with some simple steps. Make sure to loosen up those fingers; it’s time for a little magic.
First, locate the stitch where you will make your increase.
Insert your hook into that stitch and pull up a loop, just like you are working a normal single crochet.
Here’s a twist: instead of finishing, insert the hook into the same stitch again and pull up another loop.
Now you have two stitches in one spot, effectively doubling that stitch. Finish your single crochet by pulling through both loops on your hook, and voila! You’ve completed an increase.
Remember, practice makes perfect. Try it a few times and soon you’ll be crocheting increases like a pro.
Step 1
Time to dive in! Start by identifying the stitch where you’ll create your increase. This is usually a designated spot in your pattern that’s screaming for some extra love. Visualize it like a VIP stitch, making its grand debut.
Insert your hook into this chosen stitch.
- Draw up a loop, like you usually do when creating a single crochet.
- You might feel like a crochet wizard, but don’t stop yet.
With your hook feeling bold and heroic, yarn over.
Now, pull that yarn through the loop on your hook, completing the first single crochet. Your VIP stitch is now halfway to its new, beefier self. Hold onto your hook because we’re not done with the magic just yet!
Step 2
Insert your hook into the same stitch where you made the first single crochet. This means you’ll be working into the very stitch you just completed. It might feel a bit crowded in there, but that’s the magic of increasing.
Yarn over and pull through the stitch. You should now have two loops patiently waiting on your hook. Yarn over again and pull through both loops.
Voilà! You’ve made two stitches in one spot. It’s like giving your project a little hug right there. Repeat this method wherever necessary in your pattern to create those increases. Keep on stitching, stitch magician!


