Learn how to master the single crochet stitch, a fundamental technique that can be used in countless crochet projects.
Key takeaways:
- Use the right materials: crochet hook, yarn, scissors, yarn needle.
- Insert crochet hook through slip knot loop, yarn over, pull wrap through loop.
- Single crochet into foundation chain by inserting hook into second chain, yarn over, pull loop through chain, yarn over, pull through both loops on hook.
- Master increases and decreases to shape crochet projects.
- Fasten off by cutting yarn, pulling tail through loop, weaving tail through stitches.
Materials

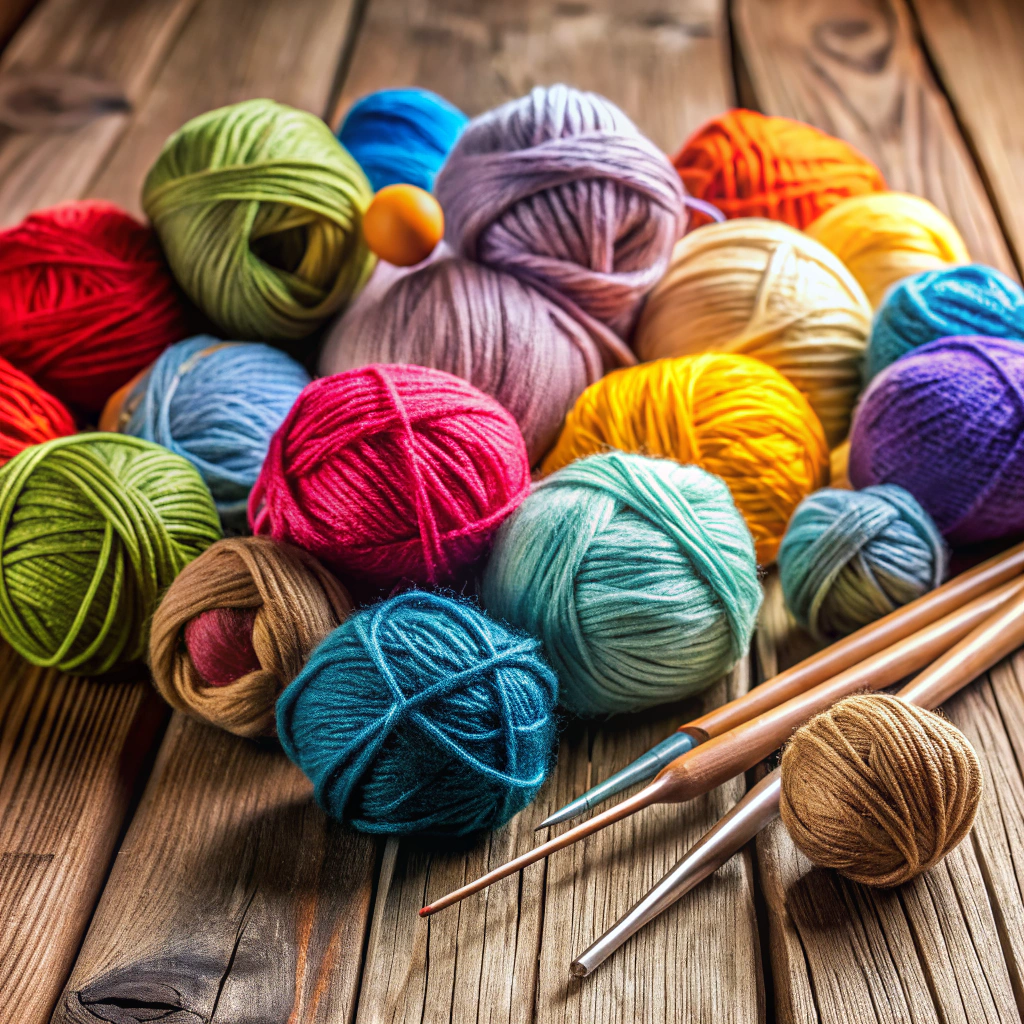
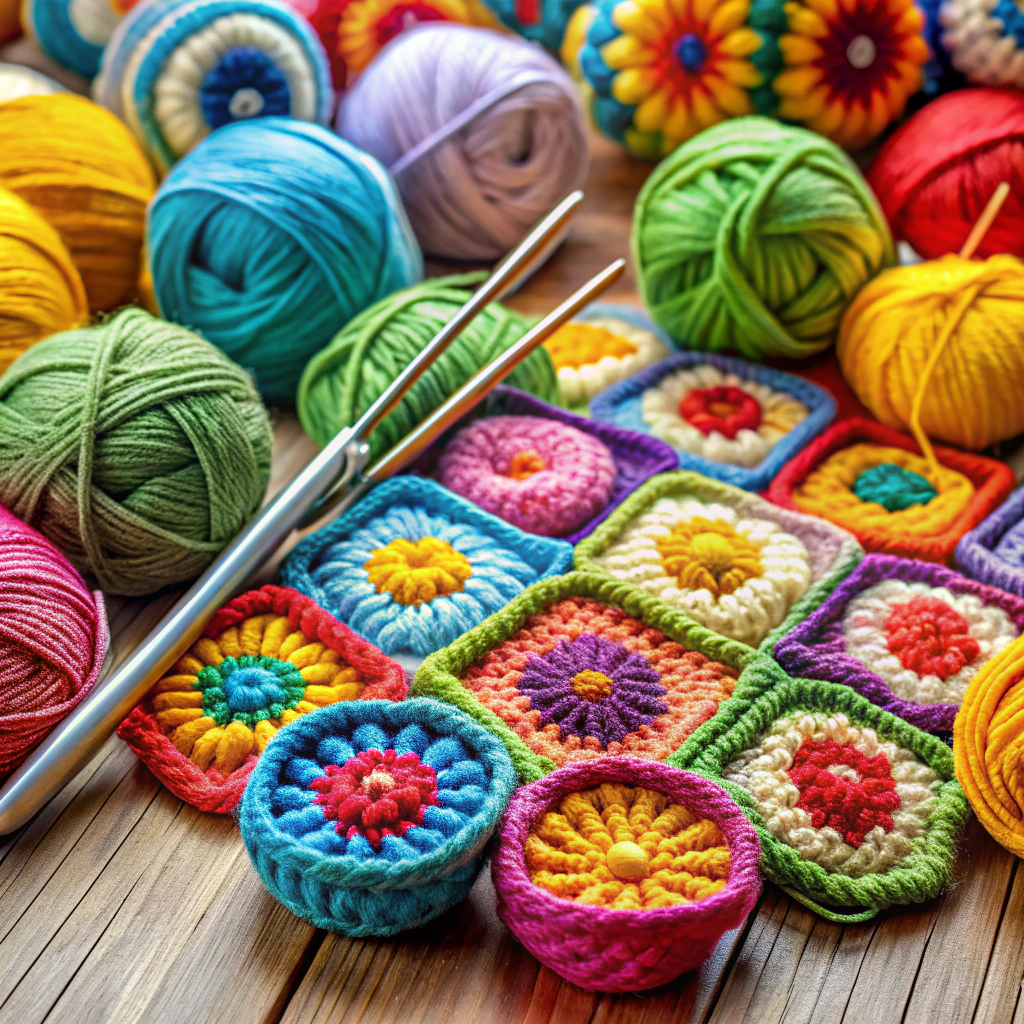
To embark on your single crochet adventure, you’ll need a few basic supplies. Start with a crochet hook suitable for your yarn’s thickness—this is typically indicated on the yarn label for your convenience. Speaking of yarn, choose a color that makes your heart sing! If you’re just starting out, consider a light-colored yarn, as it’ll make it easier to see your stitches. Lastly, grab a pair of scissors and a yarn needle for weaving in ends. Once these items are gathered, you’re all set to create some crochet magic!
Insert Your Crochet Hook
After selecting your hook and yarn, it’s time to get cozy with your tools. Hold the crochet hook in your dominant hand, using a pencil or knife grip—whichever feels like a better dance partner for your fingers. Ensure the hook is facing upwards; it’s not just being optimistic, it actually makes it easier to catch the yarn.
Introduce the hook to your slip knot loop. This is like the first date and it’s important it goes smoothly. Gently guide the hook through the loop on your chain, careful not to tighten it too much. You want the knot to still be able to slide with ease on your needle, not cling like it’s panicking on a rollercoaster.
Now, yarn over (wrap the yarn from back to front over the hook). Think of this as giving your hook a little hat—it’s stylish and functional. Pull this wrap through the loop on your hook. Congratulations! You’ve just completed your first crochet ‘stitch n’ twist’ maneuver. Ready to dive into the next dance move?
Single Crochet Into a Foundation Chain
First, hold your foundation chain, ensuring the front side, characterized by a series of “V” shapes, is facing you. Now, identify the second chain from your hook. This slight skip is crucial—it prevents your edge from bunching up.
Insert your hook into the center of that second chain. There should be two strands of yarn above your hook and one below—a perfect yarn sandwich! Yarn over, which means wrapping the yarn from back to front over your hook. Now, pull this loop back through the chain. You’ll find yourself with two loops on your hook.
Yarn over again. This time, pull through both loops on your hook. Congratulations, you’ve just created one single crochet stitch! Continue across the chain. Remember, you’re building a fabric, not performing open-heart surgery – don’t over tighten your stitches.
Don’t lose your cheer if the stitches look a bit wonky initially; every crochet master was once a chain-tangling rookie! Continue practicing, and soon, making a single crochet stitch will be as easy as pie—or maybe, easier than pie if you’ve ever tried baking without a recipe.
Increases and Decreases
Mastering increases and decreases allows you to shape your crochet projects, adding the spice of variety to any work-from cozy beanies to huggable amigurumi. When you increase, you’re simply adding stitches, which makes the fabric wider. To do this, work more than one single crochet stitch into the same stitch from the previous row. Imagine it as holding a party in a tiny room and deciding, “Why not invite more people?”
On the flip side, when you decrease, you’re reducing the number of stitches, which narrows the fabric, much like politely uninviting a guest or two from that crowded room. You combine stitches by working them together, typically referred to as ‘single crochet two together’ (sc2tog). This move is akin to turning two partygoers into one polite, yet slightly larger, guest.
Navigating through increases and decreases can be puzzling at first, but like mastering the art of threading a needle without uttering any magic words, it gets easier with practice!
Fastening Off
Once you’ve completed your project (hooray!), it’s time to secure your work like a pro and prevent it from unraveling—an essential trick in the crocheting world! To ensure your masterpiece doesn’t come apart when you’re showing it off, you’ll want to cut the yarn, leaving a six-inch tail. Pull this tail through the last loop on your hook and tighten it.
Think of it as tying a miniature bow on a tiny present—except it’s a knot, and your satisfaction is the gift. Now, wielding a yarn needle (your best bud post-crochet!), weave the tail back and forth through several stitches on the wrong side of your work. This stealthy move secures it further and assures that your crafty creation keeps its shape.
This is the ceremonious step of saying goodbye to your project. Congratulations, you’ve locked in your stitches, now stand back and admire your handiwork!


