Mastering how to draw yarn will enrich your portfolio and elevate your artwork, because visualizing this common crafting element can be captivatingly complex and unique.
Drawing yarn can be a fun and creative way to express your love for knitting and crocheting. This simple guide will help you master the art of illustrating this versatile crafting material.
Offering a step-by-step approach, we’ll cover the basics such as shape, texture, and shading, right up to the more complex aspects like capturing the unique twist of yarn strands.
Whether you’re a seasoned artist or a beginner, this comprehensive guide will provide you with all the details needed to create a realistic yarn drawing.
Key takeaways:
- Choose the right tools for drawing yarn
- Follow step-by-step instructions for drawing a yarn ball
- Add details to enhance realism in your drawing
- Finalize the outline of your yarn ball drawing
- Add color to bring vibrance and depth to your artwork
Choosing the Right Tools for Drawing Yarn
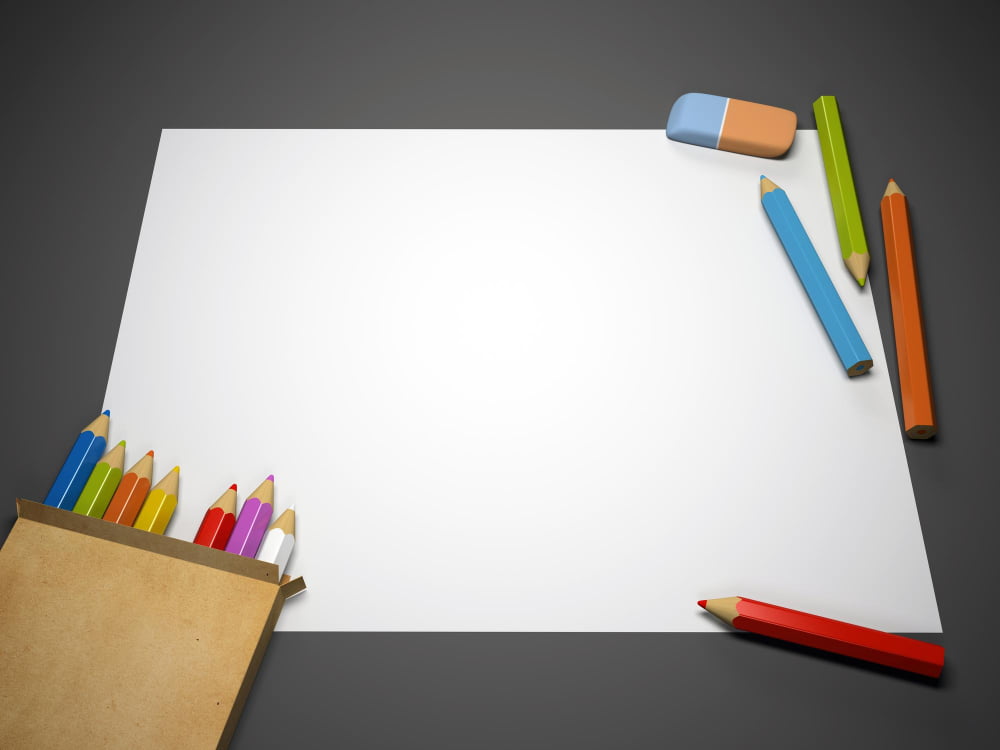
Selecting the appropriate tools is crucial for successfully capturing the texture and structure of yarn in a drawing. Choose pencils of varied hardness for different shading purposes. A hard pencil (H, 2H) serves well for light outlines and initial sketches, while softer ones (B, 2B) work best for darker, detailed lines.
A good quality eraser is also important – it helps correct mistakes and can add highlights by removing areas of graphite.
A set of colored pencils will add life to your yarn ball. Pick ones with thick, smooth leads for vibrant color and better blending.
For a tactile touch, consider adding a white gel pen to your toolkit. It can create stunning highlights that elevate the realism of your sketch.
High-quality drawing paper makes a difference as well. Opt for a medium-weight paper with a slight texture. It provides a nice grip for the pencil and helps to achieve the unique woolen texture of the yarn.
Finally, a pencil sharpener is fundamental. Sharp leads are vital for accurate lines and crisp details. It’s these details that bring the yarn to life in a drawing. Always keep a sharpener close at hand.
Remember, while the right tools can enhance your drawing experience, they don’t replace practice and patience. Keep drawing, keep observing, and watch your yarn come to life on paper.
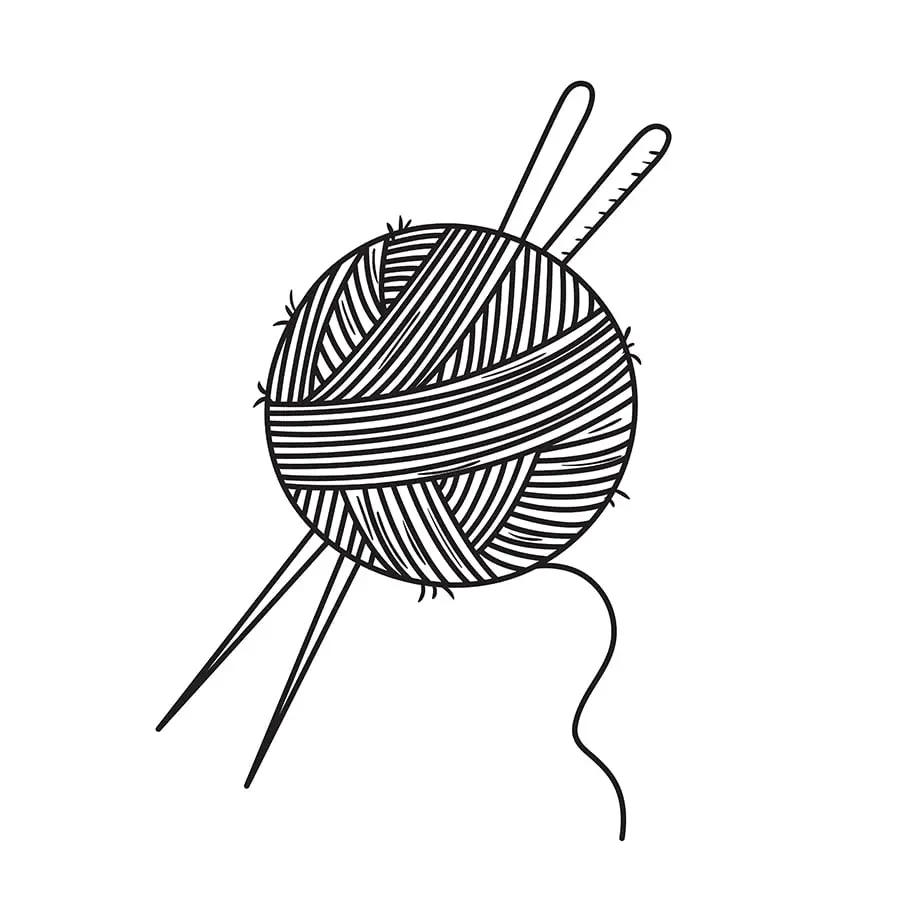
How to Draw a Yarn Ball Step-by-Step Instruction
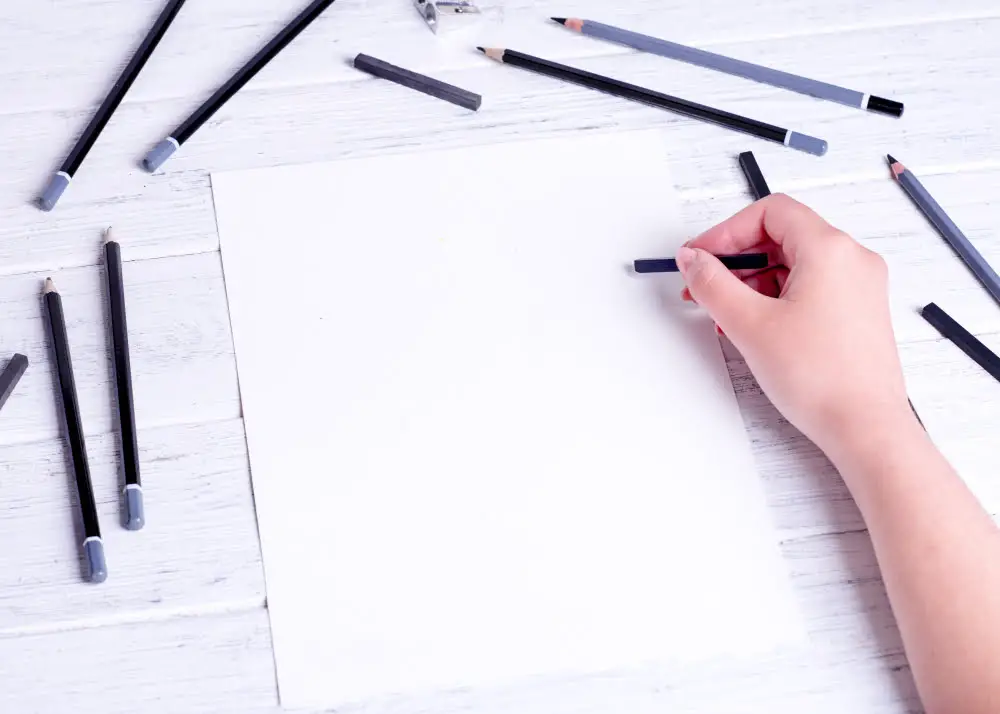
Start by sketching a basic shape, a circle, which will serve as the base for your yarn ball. Bear in mind, this doesn’t have to be perfect – real balls of yarn are often irregular and lumpy.
Next, drawing lightly at first, make an uneven spiral starting from the top of your circle and spiraling down towards the center. This will be your guide for drawing the yarn wraps.
Then, begin to draw the actual strands of yarn. Follow along your spiral lines, but don’t copy them exactly. Instead, use a series of short, curved lines to give your yarn texture.
Ensure to overlap some of your lines, which simulates how yarn wraps around the ball. Be meticulous, paying attention to the shape as you line out your drawing.
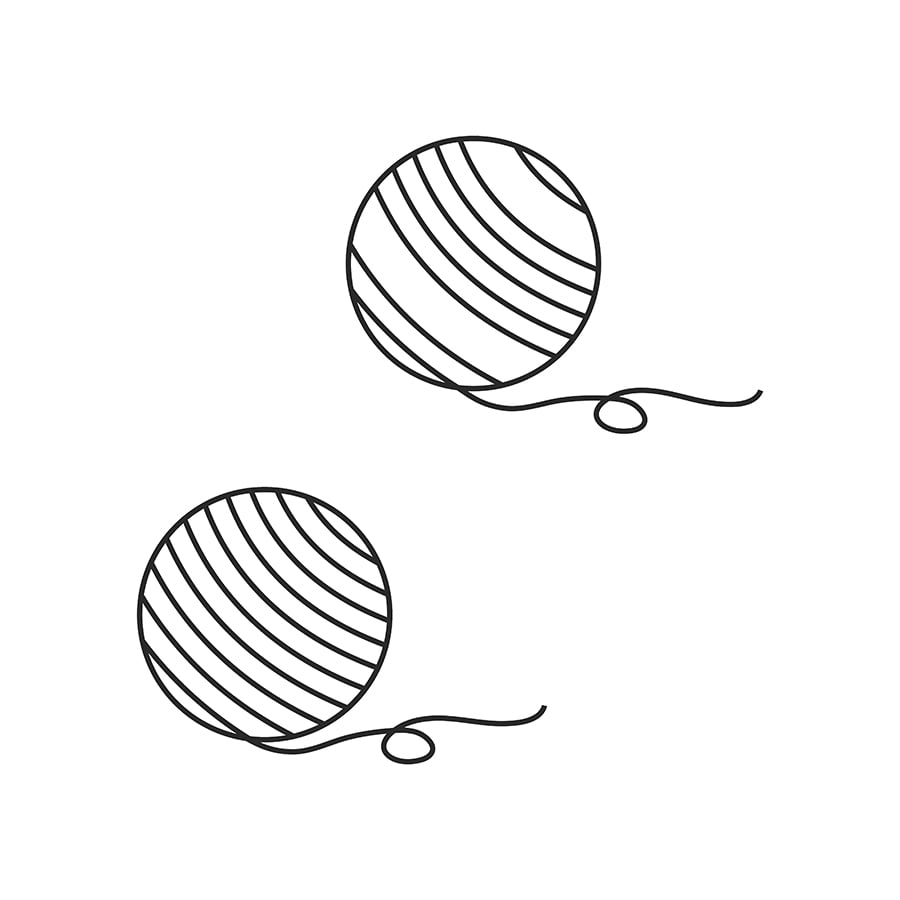
Remember to leave a loose strand hanging from the yarn ball, providing some realism. Now, you have successfully drawn a yarn ball. In the next section, we will learn adding more details.
Yarn Ball Drawing for Beginners
At the beginning, keep your drafts simple. Start with a basic circle. This symbolizes the overall shape of the yarn ball. It won’t be perfectly round, but don’t worry, it’s just a guide for now.
Inside this circle, sketch another smaller one, focusing on one side. This slightly off-center circle creates the illusion of the twisted yarn layers.
Next, draw a winding, looped line from the smaller circle’s perimeter to the outer circle. This is a rough representation of a yarn strand winding around the ball. Be sure to make the line curved and looping, as this will provide a more natural look and imitate the texture of actual yarn.
Finally, add some more looped lines extending from the first one you drew, emulating the way yarn wraps around the ball. These lines don’t need to be the same size, and some can even intersect. Vary the shapes and sizes to increase the realism.
Remember to keep it basic at the start and expand your detail level gradually. This practice will help simplify the complex appearance of a yarn ball, making it more manageable for beginners.
Adding Details to Your Yarn Ball Drawing
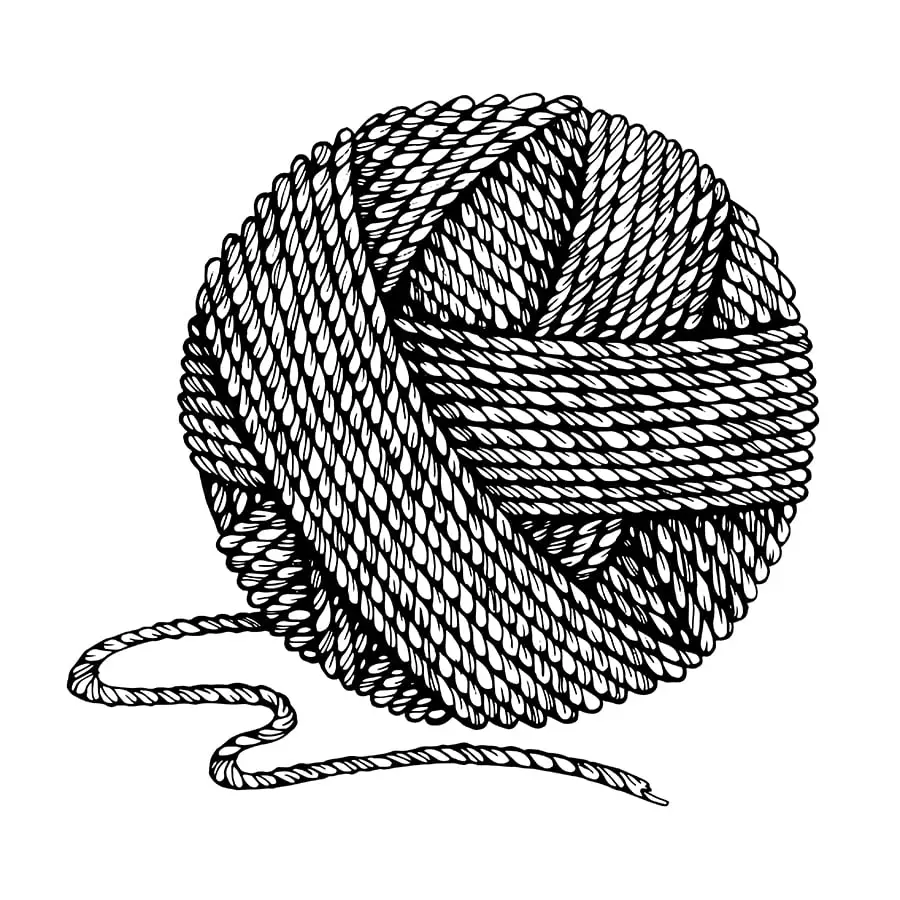
To infuse your drawing with authenticity and dimension, consider adding nuanced details. Firstly, sketch the yarn’s texture. Unlike a smooth sphere, a yarn ball has subtle surface variations. Create this effect by drawing a series of short squiggly lines that follow the curved path of the yarn around the ball.
Secondly, reveal the ball’s strands. Showcase this by drawing multiple winding lines crisscrossing the ball to reflect wrapped yarn strands. Lastly, imply depth with shadows. Identify a light source, then shade areas away from the light denser than those closer, achieving a 3D illusion. Don’t forget the cast shadow under the ball.
These elements work together to encapsulate the unique appeal of a yarn ball in art.
Finalizing the Outline of Your Yarn Ball Drawing
After covering the initial steps of drawing your yarn ball, the attention now shifts to refining and finalizing your outline. There are a few critical tips to help capture the essence of a real yarn ball.
1. First, observe the texture. Yarn isn’t smooth; it’s comprised of tiny fibers. Depict this by incorporating short, curved lines along the outline for a fluffy look.
2. Secondly, in a real yarn ball, the yarn layers aren’t perfectly aligned. To convey this, allow some strands to overlap the main body of the ball in your outline.
3. Finally, remember to emphasize the roundness of your yarn ball. Make sure that the contours of the ball do not come off as flat or angular.
By keeping these points in mind, you can enhance the believability of your yarn ball’s outline, paving the way for the next stages of your drawing.
Coloring Your Yarn Ball Drawing
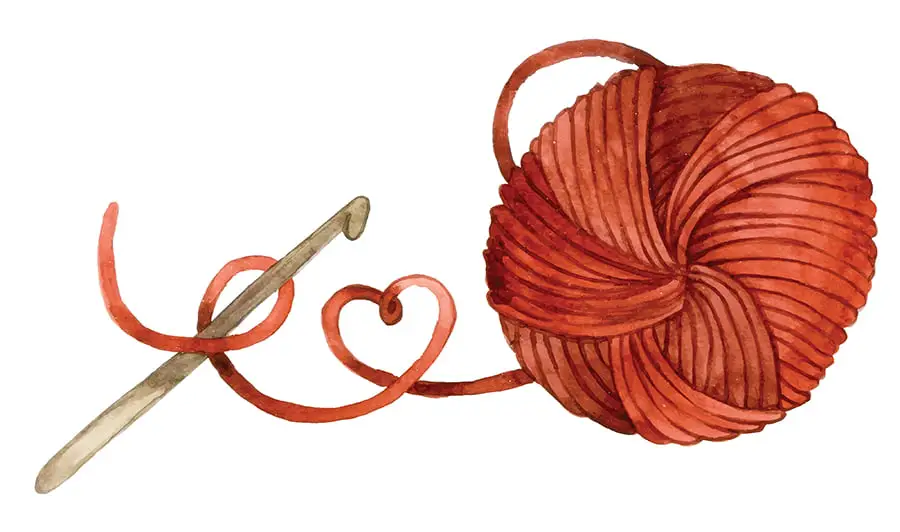
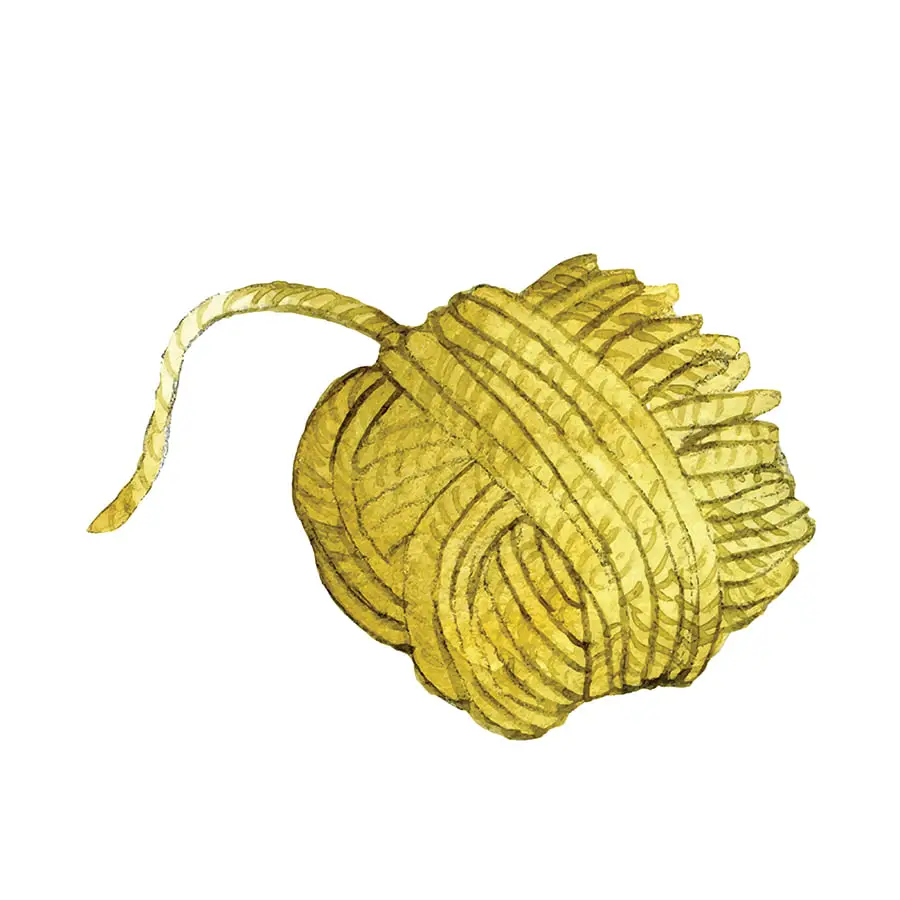
With the key shapes and lines depicted, the focus now shifts to adding vibrance to your yarn ball drawing through color. Start by deciding the primary hue of your yarn – perhaps a warm red for a winter knitting project or a bright green for a spring feeling. Using your selected colored pencil or marker, fill in the sketched yarn, ensuring to follow the indicated direction of your yarn for a realistic look.
Now, add depth and realism to your yarn ball. Shadows and highlights play crucial roles here. Identify your light source and add darker tones of your primary color on the opposite side, where shadows would naturally fall. Contrastingly, the areas receiving light should be lighter, highlighting them with near-white and soft pastel tones.
Remember, yarns often feature slight color variations. Slight scribbles of a similar shade throughout the yarn ball can portray this, adding an extra layer of authenticity to your drawing. Aim for gradual transition between colors by lightly layering and blending, yielding a natural, soft look.
Choosing Appropriate Yarn Colors for Your Drawing
When selecting shades for your sketch, pay attention to the type of light that will “hit” your yarn. Sunlight enhances warm tones, while artificial light may bring out cooler shades.
A rule of thumb is to use three colors for optimal depth: a base color, a darker shade for shadows, and a lighter tone for highlights. This technique adds a three-dimensional effect to your yarn ball drawing, making it more lifelike and appealing.
Consider the specific type of yarn as well – a vibrant, bright colored wool or a muted, earth-toned cotton can completely change the mood of your artwork.
Lastly, don’t feel confined by ‘real’ yarn hues. Express your creativity by thinking outside the box, using bold and unexpected colors.
FAQ
How do you draw a ball of yarn?
To draw a ball of yarn, start by outlining a circle, then add texture and detail to its surface using curved lines, either single or in pairs, to represent the yarn wrapped around the ball.
What are the key steps in illustrating a knitting needle with yarn?
To illustrate a knitting needle with yarn, one would draw two straight lines to represent the needles, creating “V” or “X” shapes for the stitches and curling lines for the yarn.
How can you accurately depict the texture of yarn in your drawings?
To accurately depict the texture of yarn in your drawings, focus on the intricacies such as the twists and fibers, using techniques like cross-hatching or stippling to ensure a realistic look.
What techniques can be used to draw a skein of yarn effectively?
To draw a skein of yarn effectively, one should focus on detailing the texture through a series of curved lines and shadows, showing the strands individually to capture the essence of the skein.


