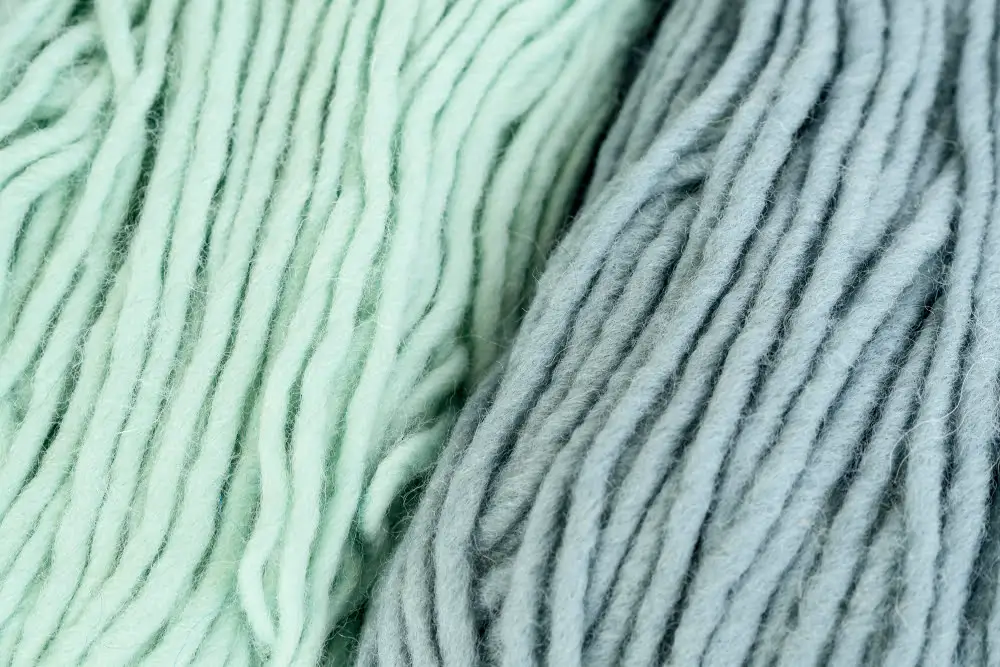
Discover the simplicity and satisfaction of hand winding yarn because it’s an easy, cost-effective method to avoid tangles and improve organization in your crafting process.
Hand winding yarn is a simple yet essential skill for any yarn enthusiast, enabling you to keep your yarn stash neat, organized, and tangle-free. This process involves creating a ball of yarn that pulls easily from the center, making your knitting or crocheting projects run smoothly.
All you need is the yarn you want to wind and your own two hands. This article will guide you through the step-by-step process of hand winding yarn, ensuring that you can master this technique with ease. From starting your yarn ball to maintaining tension and finishing off, you’ll find all the details right here.
Key takeaways:
- Clean and untangle yarn before winding.
- Hold the yarn properly for comfortable winding.
- Wrap the yarn evenly and with gentle tension.
- Transition to a center-pull ball for easy access.
- Rotate the ball and maintain uniform shape while winding.
Prepping Your Yarn
First and foremost, ensure that your yarn is clean and free of tangles. Disentangling knots during winding can disrupt the process and lead to unevenly wrapped yarn balls. Sprawling the yarn across an uncluttered, flat surface allows you to easily identify and rectify snags or knots.
When dealing with a skein of yarn, find its exterior end, often tucked inside one of the skein’s loops. If using a hank of yarn, it’s advised to untwist it and place it over a chair or your knees—forming a large loop—to find the ends.
Remember to carefully remove any manufacturer’s labels or tags before embarking on winding, and keep them safe so you can refer to the essential information—such as dye lot numbers, washing instructions, and fiber content—later.
Ensure the yarn’s end is easily accessible and not likely to be accidentally buried in the midst of winding. Having a smooth, prepared yarn prevents interruptions while winding.
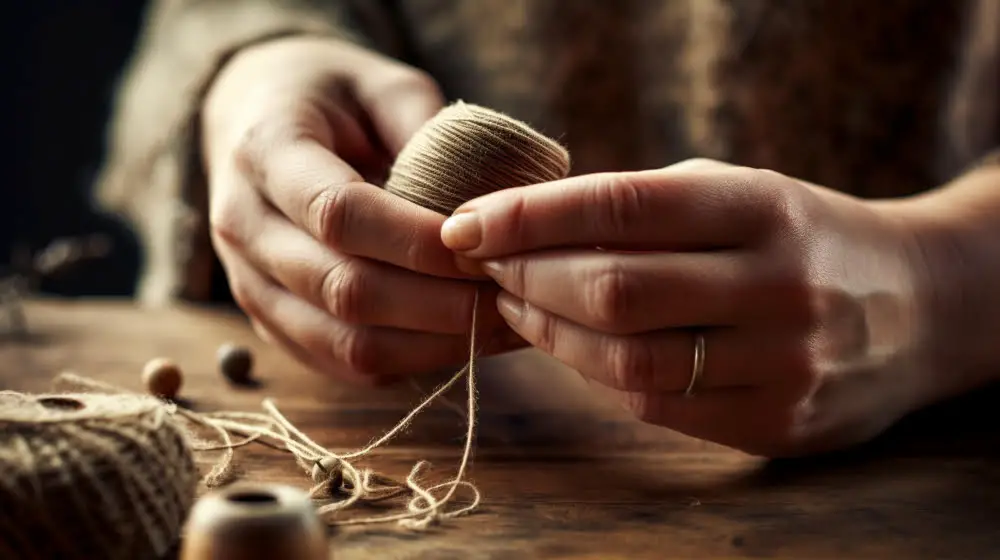
Beginning the Ball
Start by laying the end of the yarn across your left hand, holding it in place with your thumb. Now begin to wind the yarn in small circles around your thumb and index finger loosely, trying to avoid any tension build up.
Continue this for about 12-15 loops. Once done, carefully slip this first bundle off without letting it unravel. This bundle serves as the core of the ball which you will further build upon.
Properly Holding the Yarn

Finding the most suitable grip depends highly on your comfort. One common way involves placing the loose end of yarn between your thumb and index finger. The rest of the yarn should be looped over your little finger, under the ring and middle fingers, and over your index finger. Ensure a snug but comfortable tension, allowing the yarn to feed evenly into your hand without causing strain.
This position places you in direct control of the yarn tension as you wind, bringing precision to the process. Avoid gripping the yarn too tightly, as this can result in an overly tight ball of yarn, which could affect your knitting or crocheting tension later on.
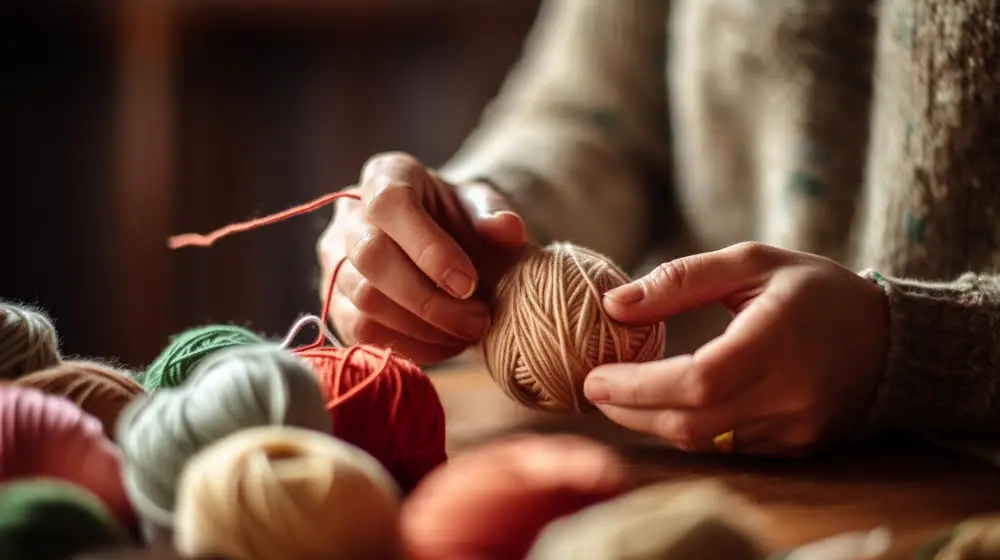
How to Wrap the Yarn
To create a solid base for your yarn ball, begin by wrapping the yarn around your fingers several times. After about 20 wraps or so, carefully slide it off your fingers, fold this loop in half, creating a smaller, doubled-over loop.
This folded loop now becomes the new structure you begin wrapping around – keep it tight but comfortable. Be mindful to rotate regularly, ensuring an even distribution of wraps around all sides of the loop. This method promotes a spherical shape and prevents unnecessary knotting or tangling of the yarn.
Flicking your wrist occasionally while wrapping allows the yarn to twirl, making it easier to keep the wraps neat and snug. Gentle tension is key in this process. Overly tight wraps can warp the shape of your skein and also tire out your hand faster.
Continuation of Wrapping
As you advance, the key is consistency. Continue to wrap in the same diagonal direction, rotating the ball occasionally for an even distribution. An important aspect to remember is the balance between tightness and looseness. Wrapping too tightly will stretch the yarn and potentially damage it, while inadequate tightness will result in a floppy, easily tangled ball. As a rule of thumb, aim to maintain a firm but not overly tight tension.
At intervals, pinch the yarn against the ball with your thumb to secure it as you rotate the ball. This aids in preserving the ball’s shape and prevents unwinding.
Avoid rushing this process. Though it can be laborious, especially with larger amounts of yarn, patience and precision will yield a well-wrapped, easily managed ball of yarn. A well-wound ball will not only look neat, but it will also improve the ease, speed, and efficiency of your knitting or crochet work.
Creating a Center-Pull Ball
Once you’ve built up a decent sized ball, you’ll want to transition into creating a center pull. To do this, lower your thumb, allowing the yarn to wrap around the middle of the ball. Hold the starting end of your yarn against the ball as you wrap the new strands atop it.
This will create a yarn ‘path’ leading directly to the center. Rotate the ball as you go to maintain the circular shape, being careful not to pull too tight or wrap too loosely. This method helps prevent the ball from rolling around and unravelling while you’re working on a project.
Maintaining Uniformity in Ball Shape

It’s important not to let your ball get too wobbly or elongated in shape. To prevent this, turn your ball every so often while you wind. This doesn’t have to be done after every wind, but regular rotations can make a significant difference.
Additionally, maintain a steady tension when winding. Too loose, and your ball may collapse; too tight, and your ball may be dense, causing the inner layers of yarn to stretch and deform.
Try your best to wrap new yarn evenly across the ball’s surface, which helps in forming a consistent shape. Uneven distribution often creates bulges or forms an egg-like shape.
Remember that practice is an essential component. Over time you will develop a feel for how the yarn should be wound to create a uniform, efficient ball.
FAQ
How do you wind your own yarn?
To wind your own yarn, simply pinch a section of the yarn between finger and thumb, leave the starting end free, and wrap the rest in a circular motion around this bunch while keeping your thumb pinched in the middle to form a ball.
What is the fastest way to wind yarn?
The fastest way to wind yarn is by using a ball winder and swift, which additionally offers the flexibility to pull from either the outside or the inside when knitting.
Can I wind yarn without Swift?
Yes, yarn can be wound without a Swift using alternatives such as arm knitting, utilizing the back of a chair, taking help from a friend to act as a human swift, or employing a yarn bowl.
Why do you wind yarn before knitting?
Winding yarn before knitting is crucial as it prevents the skein from creating a tangled mess during the knitting process.
What materials are required to hand wind yarn effectively?
To hand wind yarn effectively, you specifically require a clean, flat surface, your chosen yarn, and your hands.
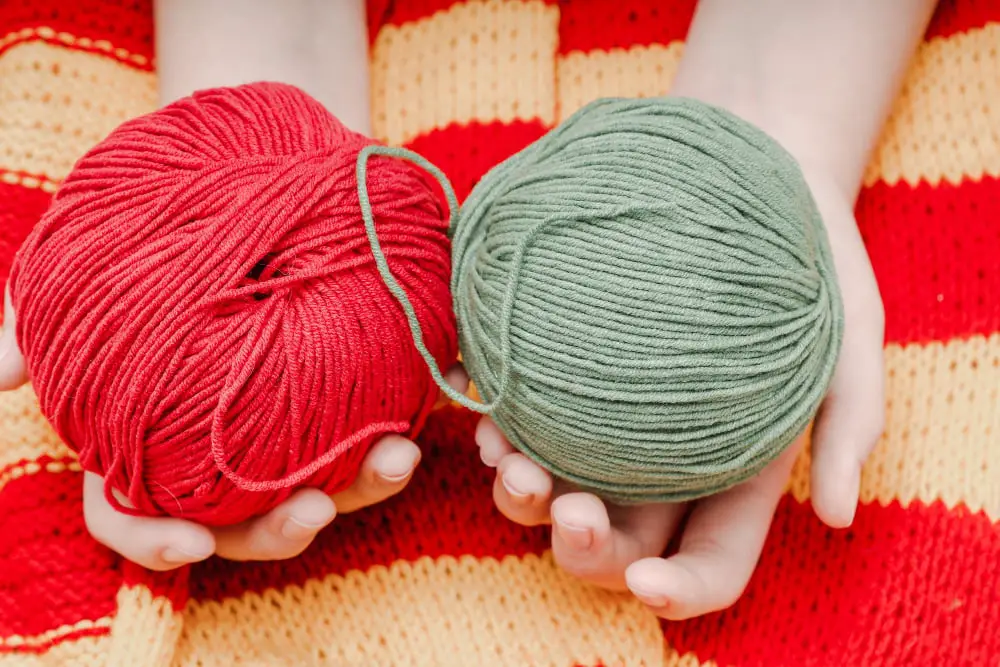
What are the benefits of winding yarn into a ball rather than using it directly from the skein?
Winding yarn into a ball before use prevents tangling, aids in maintaining tension, and allows for smoother, uninterrupted knitting or crocheting.
Can excessive winding damage the yarn and if so, how can it be prevented?
Yes, excessive winding can damage the yarn, causing it to stretch or lose its elasticity, and this can be prevented by handling yarn gently and winding it loosely.


