Boost your candle-making skills because creating your own candle wick with yarn is a surprisingly simple and satisfying process.

Creating a candle wick using yarn is a simple and cost-effective way to tailor your candle-making process. This article will guide you through the easy steps to transform a piece of yarn into a functional wick for your homemade candles.
You’ll learn how to choose the right type of yarn, prepare it for use, and finally, how to incorporate it into your candle. By the end of this piece, you’ll be fully equipped with the knowledge to create your own yarn candle wicks.
Key takeaways:
- Use a 100% thick cotton yarn for efficient burning
- Soak yarn in a salt and water solution to lessen the burn rate
- Choose the right yarn thickness for optimal flame size
- Soak yarn in heated oil to enhance burning time and reduce soot
- Hang dried wicks to air-dry for 24 hours before use
Materials Needed for DIY Candle Wicks
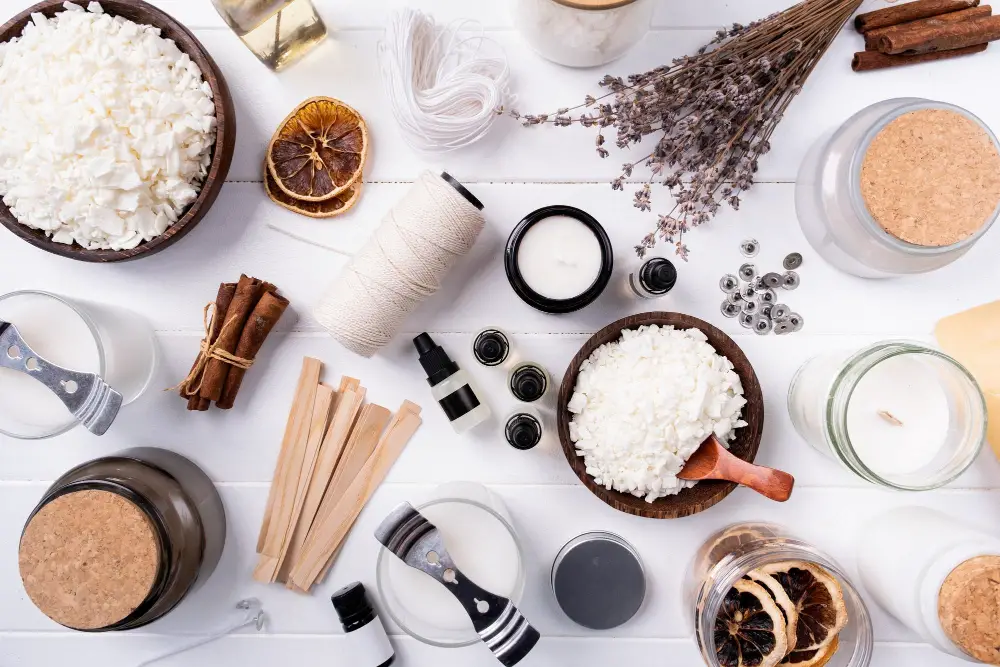
To embark on the journey of DIY candle wick making, having the right materials in hand is a crucial step. The most fundamental resources required include:
- Yarn: A 100% thick cotton yarn is a great choice, as it ensures efficient burning. Ensure it doesn’t have synthetic materials, which might produce harmful fumes when burnt.
- Wax: Any form of candle wax like soy, beeswax, or paraffin wax will do the trick. The wax serves to coat and toughen the yarn, enabling it to burn gradually and consistently.
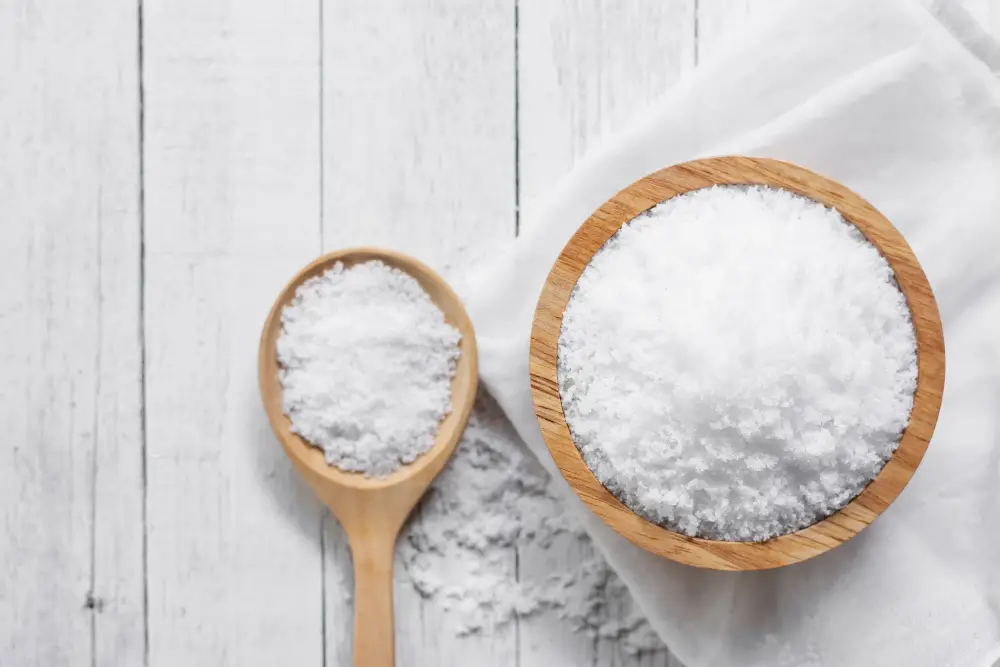
- Salt and Borax: For a better-quality burn, treating the yarn with a mixture of salt and Borax is advisable. Borax can increase the wick’s lifespan, while salt can help reduce ash and smoke production.
- Water: Essential for preparing the Borax and salt solution.
- Saucepan and Stove: To melt the wax and heat the Borax/salt solution.
- Tongs, Whisk, or Wooden Spoon: Useful utensils to handle the wick during the wax dip and drying process.
- Parchment Paper: Needed for the drying process – to lay the wax-coated yarn on.
- Wick Sustainor (Optional): Metal piece at the bottom of wick to ensure safe burning.
- Wick Tab (Optional): To hold the wick upright and centered in your candle.
With the right tools and materials gathered, you’ll find yourself well equipped to start creating your own candle wicks from yarn.
Selecting the Right Yarn for Candle Wicks
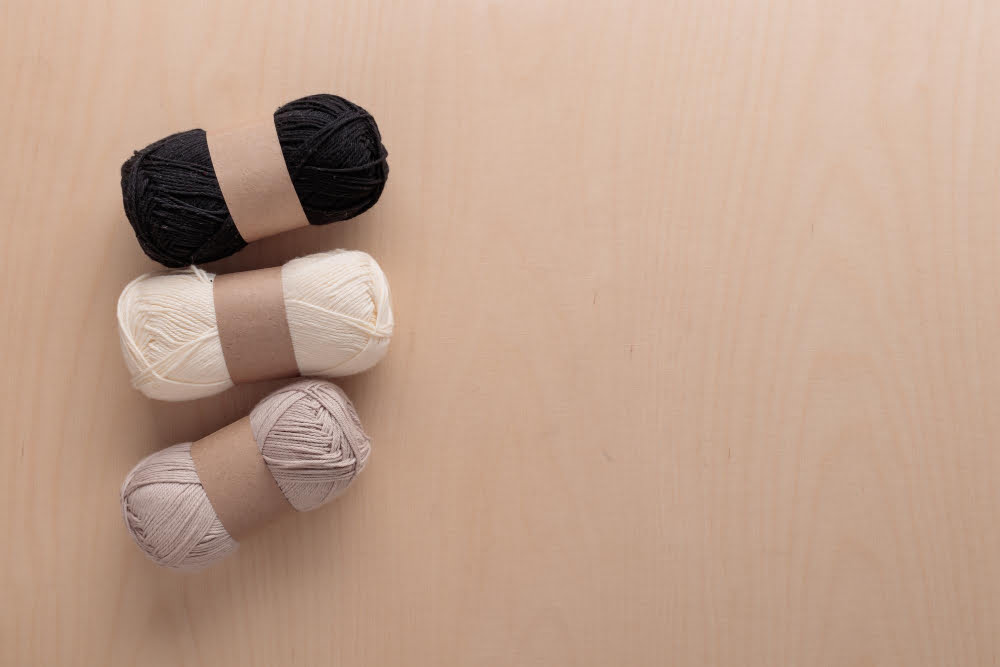
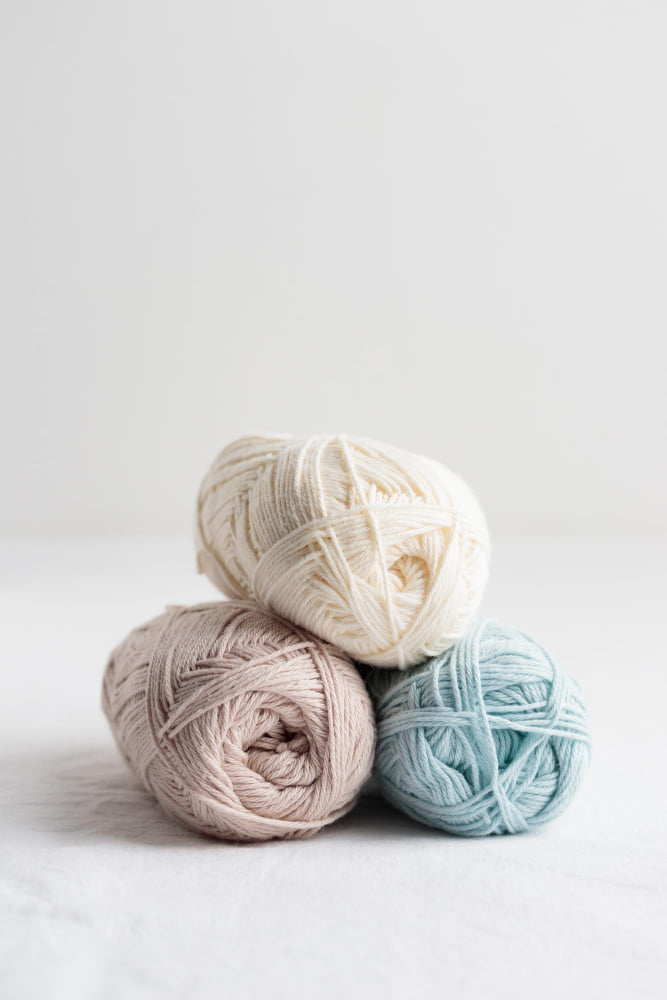
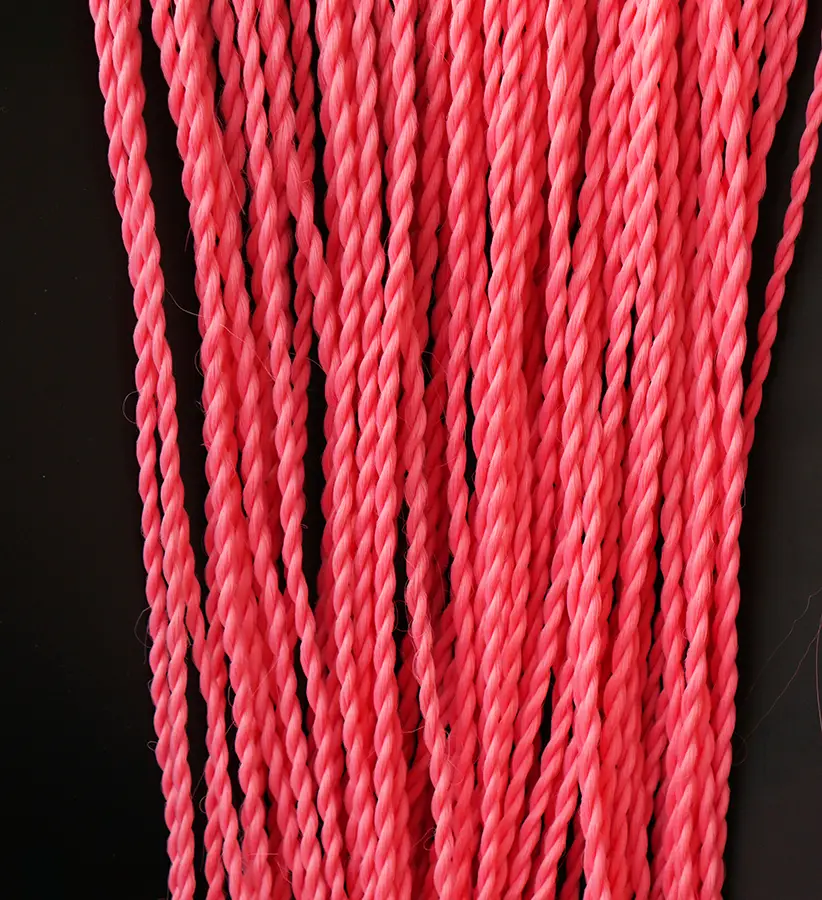
When on the lookout for yarn for candle wicks, there are a few crucial factors to bear in mind. First and foremost, it’s critical to use 100% natural fibers for safety – the best options being cotton, hemp, or linen. Synthetic fibers aren’t quite up to scratch as they have the potential to release toxic fumes when burnt. You may also find that they don’t burn evenly.
Next, consider the thickness of the yarn. As a general rule, the thicker the yarn, the larger the flame. However, if the yarn is too thick, it may not allow the wax to pull up effectively. This can cause the candle to ‘tunnel’, meaning that only the middle of the candle melts while the sides remain intact, leading to wax wastage. For most DIY candle making, a medium-weight cotton yarn should be perfectly adequate.
The twist of the yarn also impacts how it burns. A tighter twist usually provides a slower, more controlled burn, while a looser twist can result in a quicker burn time.
Ultimately, feel free to experiment with different types of yarn, but always bear in mind the safety considerations above. You may find that each yarn provides a unique character to your candles, so enjoy the process of discovering which works best for you!
Preparing Your Wick From Yarn
Ensure your yarn is 100% cotton; polyester or acrylic yarns can give off harmful fumes when burned. Cut a length of yarn slightly longer than you want your final wick to measure, considering both the height of the candle and extra length for handling.
Begin by soaking the yarn in a straightforward solution of salt and water, roughly one tablespoon of salt to one cup of water. The purpose of this soak, which should last approximately 24 hours, is to lessen the burn rate of the wick, leading to a longer-lasting candle.
After soaking, hang the yarn to dry completely. This could take around 24-48 hours depending on humidity conditions. A quick drying tip: to reduce the drying time, wring out the yarn gently to remove excess moisture before hanging it to dry.
Once dry, your yarn wick is ready for the waxing process.
Importance of Wick Thickness and Size
It’s crucial to remember that a candle’s burn time and flame quality largely depend on the thickness and size of the wick. Thicker wicks yield larger flames, more heat, and burn faster. On the other hand, thinner wicks create smaller flames and a slow, steady burn.
Choosing the appropriate wick size also impacts how evenly a candle will burn. A wick that’s too small may drown in melting wax, thus causing the candle to extinguish early. Conversely, a wick that’s too large for the candle can lead to a large, unstable flame, excessive soot, or the container overheating.
If you’re crafting a tall, thin candle, a thinner wick would be ideal. For wider candles, it’s advisable to use a thicker wick to ensure the entire surface of the wax melts evenly, preventing tunneling.
Consider these factors depending on the type of candles you’re intending to create. This way, you can determine the best wick diameter and length for enhancing burn quality and candle performance.
Plain Cotton String Candle Wicks
Cotton yarn is a go-to option for DIY candle wicks. For best results, it should be 100% cotton to ensure clean burning. It’s crucial to avoid using yarn with synthetic materials as they can release harmful emissions when burned.
One way to prepare your cotton string for candle-making is by simply cutting it to the desired length. This should typically measure about two inches longer than the intended candle height to accommodate the wax coating and ensure a good burn.
You can straighten the yarn further by soaking it in a solution of water and salt for a few hours. A long soaking period encourages the yarn to absorb significant moisture, making it easier to straighten out and ready for the following steps.
It’s essential to remember that plain cotton string wicks work best for smaller candles. The simple rule of thumb is: the larger the candle, the larger the wick needs to be. If you’re making a larger candle, you might want to consider either braiding multiple pieces of cotton yarn together or moving onto the optional step to create a thicker wick.
Remember, the burning properties of your candle depend heavily on the wick, so take your time to choose the suitable yarn and prepare it properly. Safety first, always ensure your candle wicks are well-prepared and secure before lighting.
Oil-Soaked Candle Wicks Explained
Utilizing a method known as oil-soaking, certain materials, including yarn, can be made into more efficient candle wicks. The technique involves submerging the yarn into heated oil, typically olive oil, until it is thoroughly saturated.
This process has multiple benefits, not least of which is the noteworthy extent to which it enhances the burning time and quality of the candle. By soaking the yarn in oil, the combustion process is smoothed out and the flame can burn in a steadier, more continuous manner.
It’s also helpful to know that oil-soaked wicks can significantly reduce the amount of soot produced during burning. This is a direct result of more efficient combustion that leaves lesser unburnt remnants.
How to Create Salt-Treated Candle Wicks
To create a salt-treated wick, first, you need a mixture comprising one cup of salt, three cups of water, and one cup of boric acid.
Take two cotton strings of the selected yarn and braid them tightly together.
Next, fully immerse the braided yarn in the salt-boric acid solution.
Leave this for 24 hours to absorb as much of the solution as possible.
Rinely it thoroughly in fresh water after the soaking process.
Finally, dry the treated yarn for two to three days until it’s completely dehydrated before you use it for making candles.
Remember, the drying process should occur in a well-ventilated area away from direct sunlight.
This treatment helps the wick to have a steady burn while preventing it from burning too fast.
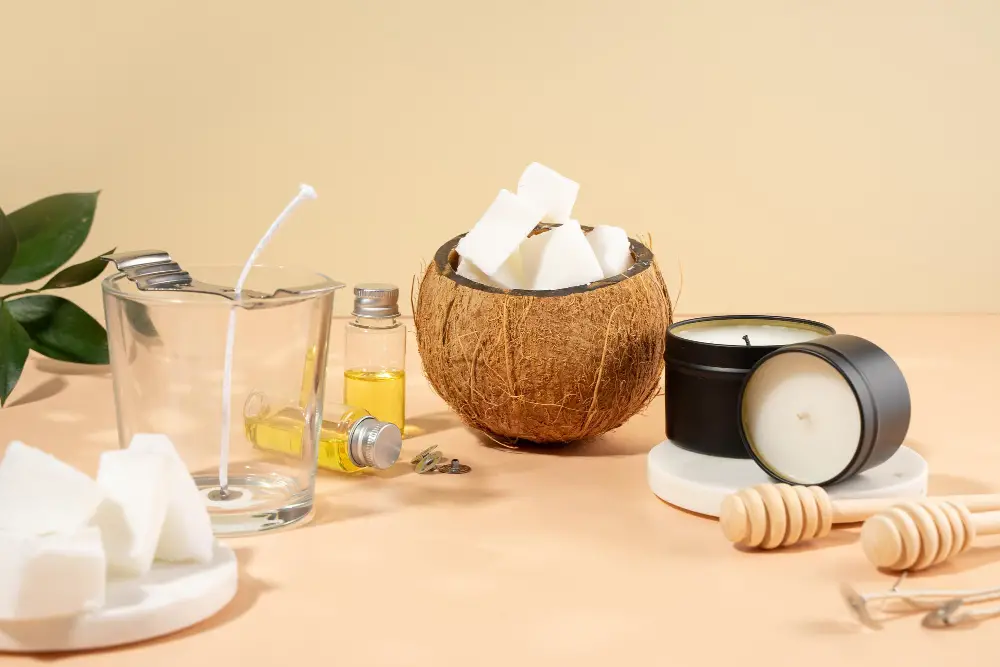
Procedure to Melt Wax for Wick Preparation
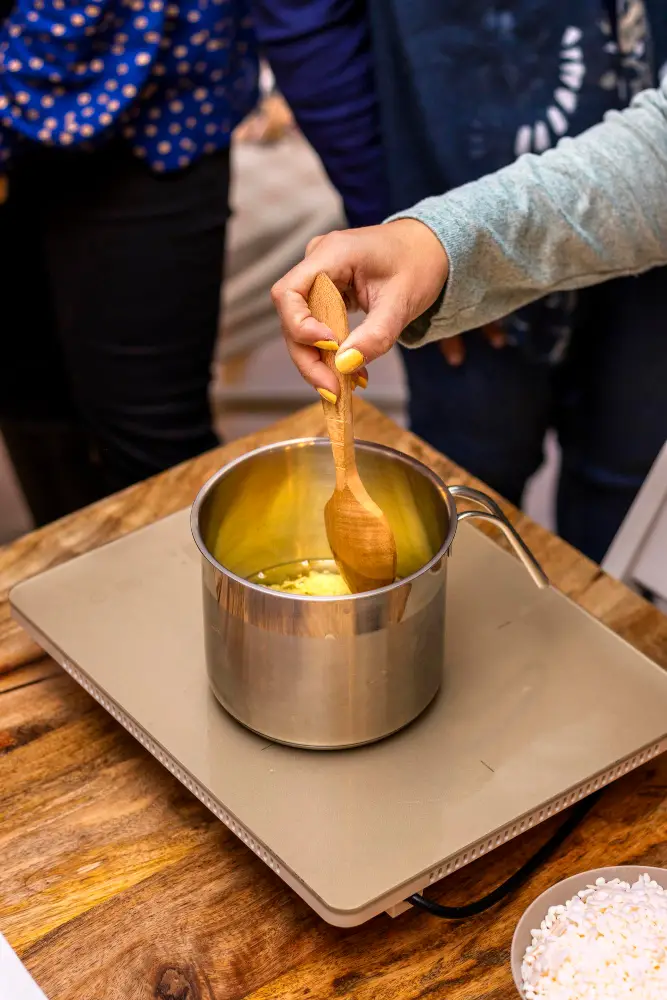
You will need to use a double boiler for melting your wax seamlessly and preventing overheating. Add your chosen wax to the upper pot and let the heat from the boiling water in the lower pot melt it down gently. Stir continuously to ensure even heat distribution.
Take safety seriously while handling hot wax – always use heat-resistant gloves and never leave melting wax unattended.
Once the wax has cleanly melted into a liquid state, maintain a low heat setting to avoid the possibility of the wax solidifying again.
This process might take a bit of patience, given that too much heat can result in wax combustion. It’s key to adopt a methodical approach, ensuring that the wax reaches an optimal runny consistency, perfect for wick preparation.
Dipping the Yarn Into the Melted Wax Procedure
To effectively coat your yarn wicks, ensure the wax you’re working with is fully melted, in a liquid state but not boiling. Opt for a double boiler method to keep the temperature consistent and safe.
Use a pair of long tweezers or chopsticks to fully submerge each string into the hot wax. Clearance should be given from the bottom of the melting pot to avoid the yarn from catching any residual heat.
Let the yarn soak in the wax for a few minutes, which helps the fibers absorb the maximum amount of wax and provide a steady burn later. The desired outcome is a fully saturated piece of yarn that appears uniformly glossy and rigid.
After achieving this, extract the yarn, allowing any excess wax to drip back into the pot. Avoid rushing this process as your wax saturation is vital for the wick’s performance.
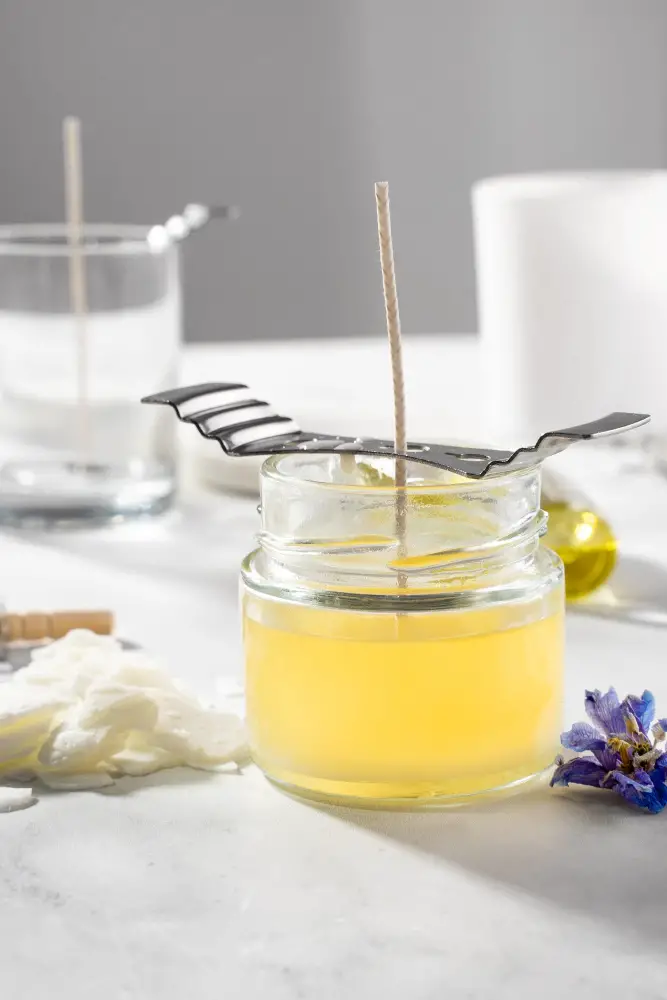
Finally, lay the wax-saturated wick on a piece of wax paper to cool and harden. Given the wax’s hot nature, ensure to safely handle it during this part of the process. Allow your waxed yarn an ample amount of time to fully cure, ideally around 24 hours.
Techniques for Drying the Prepared Candle Wicks

Once submerged in the melted wax, each wick must be properly dried. This process solidifies the wax around the yarn, enabling it to hold a stable flame when ignited. Contrary to what you might think, a simple air-drying technique usually does the trick.
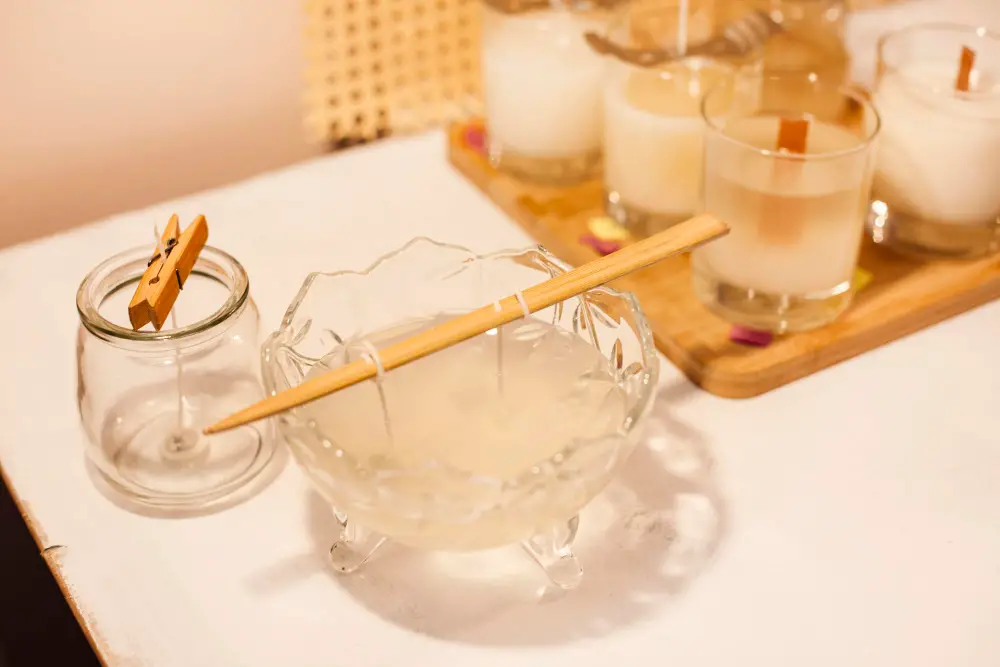
1. Suspend the wicks: Use clips or clothespins to hang each wick where it will not touch anything while drying. String a line if necessary, just ensure the area is ventilated.
2. Keep wicks straight: Ensure your wicks are hanging straight. This is important for proper burning. A slight bend may be corrected by gently running a warm iron over the dry wick.
3. Avoid dust or debris: Make sure your drying area is free from excessive dust or small debris. These could stick to the wicks and affect the quality of the burns.
4. Drying time: Let your wicks dry for 24 hours. Although they may seem dry sooner, allowing a full day ensures the wax is thoroughly hardened.
That’s the drying process in a nutshell. Remember, patience is key – cutting corners will affect the wick’s performance. Next, we will cover how to make wicks thicker, should you need them for larger candles.
The Process to Create Thicker Wicks (Optional)

To increase the thickness of your DIY candle wick, you need extra strands of yarn. Start by taking two or more lengths of your chosen yarn, ideally around the same length. Twist these lengths tightly together to form a thicker thread.
Remember, the thickness of the wick plays a crucial role in how much wax is melted and the size of the flame. If your yarn is too thin, the candle will burn too quickly, but if it’s too thick, the flame can get too large. It’s essential to find a balance.
Consider testing different thicknesses with small amounts of wax first. This way, should anything go wrong, it won’t be a significant loss. Practice will help establish the right thickness for the candles you wish to make.
Additionally, tightly twisting the yarn leads to slower burning and ensures that the flame doesn’t die out quickly. This tip is particularly beneficial for wooden or beeswax candles.
Finally, treat your thick wick the same way you’d treat a regular one – soaking it in a mix of salt and water, followed by a dip in melted wax.
Procedure for Adding Wick Sustainers to Your DIY Candle Wick (Optional)
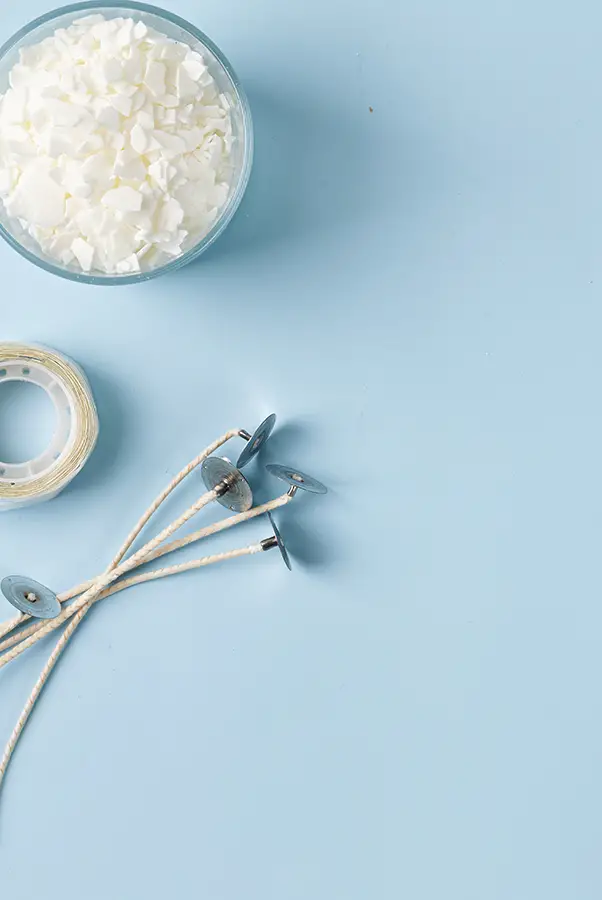
Wick sustainers, also called wick bases or wick tabs, serve as a protective barrier at the base of your candle. They prevent the flame from reaching the bottom and overheating the surface underneath while also adding a professional finish to your DIY candles.
To attach a wick sustainer to your yarn wick:
- Acquire a wick sustainer – these can be found online or at a craft supply store.
- Thread the wick through the small hole in the center of the sustainer. Use tweezers if needed to pull the wick through.
- Once threaded, leave about 1/4 inch of wick showing at the bottom end.
- Lastly, crimp the neck of the sustainer with needle-nose pliers to secure the wick in place.
Following these steps, your DIY yarn wick is ready to be installed in a container of your choice for your custom-made candle.
FAQ
Can you use yarn as a candle wick?
Yes, you can use yarn as a candle wick, particularly if it’s made of cotton and is braided together for a more substantial, better-burning wick.
What else can I use as a candle wick?
As a candle wick, you can use materials such as tightly rolled-up newspapers, twisted toilet paper, paper towels, cardboard, twine, cotton string, embroidery floss, cotton balls, toothpicks, popsicle sticks, or strips from an old cotton t-shirt or strings from a cotton mop.
What string do you use to make a candle wick?
The most commonly used material to make a candle wick is a piece of twine or cotton string, which is soaked in wax and left to dry.
How does the thickness of yarn affect a candle’s burn rate?
The thickness of yarn used as a candle wick significantly impacts the candle’s burn rate, with thicker yarn leading to a quicker burn and a thinner yarn resulting in a slower burn.
Can different types of yarn yield different burn characteristics in candle wicks?
Yes, different types of yarn can yield different burn characteristics in candle wicks, largely due to variations in their fibers, thicknesses, and processing treatments.
Is there a specific method for treating yarn to make it safe and effective as a candle wick?
Treating yarn for use as a candle wick involves soaking it in a solution of water, salt, and boric acid, then allowing it to dry completely.


