Stiffening yarn is a rewarding process because it enables crafters to create sturdy, durable projects, ranging from decorative pieces to wearable items; delve into this article to obtain comprehensive methods and practical tips.
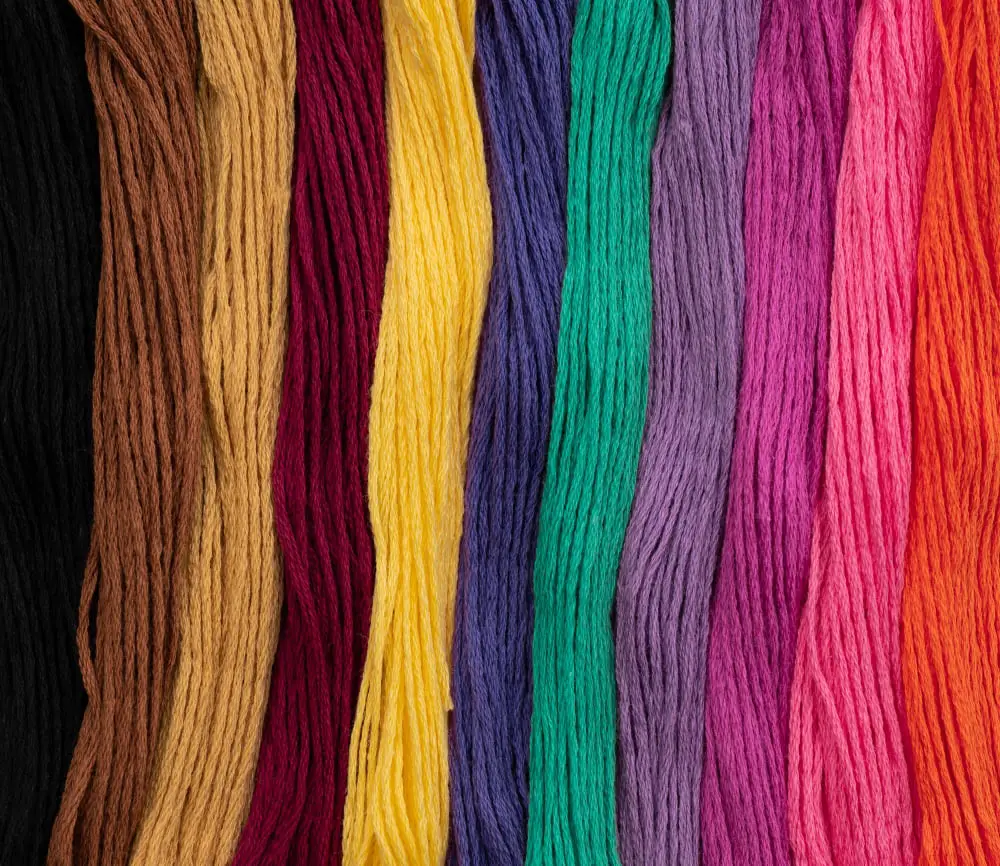
Stiffening yarn is a valuable technique for crafting projects that require a firmer structure, such as ornaments, baskets, and decorative pieces.
The process involves soaking the yarn in a stiffening solution, shaping it, and then allowing it to dry.
This article will guide you through various methods of stiffening yarn, including using store-bought stiffeners, homemade solutions, and the sugar-water method.
Each method has its own advantages and will be explained in detail, allowing you to choose the one that best fits your project needs.
Let’s delve into the world of yarn stiffening and add another useful skill to your crafting repertoire.
Key takeaways:
- Stiffening yarn adds structure and durability to projects
- Choose the right stiffening material based on project needs
- Ready-made starch solution and PVA glue are effective options
- Homemade starch and sugar-water solutions are natural alternatives
- Proper care and maintenance extends the lifespan of stiffened yarn pieces
Understanding the Need to Stiffen Yarn

Stiffening yarn plays a pivotal role, especially in crafting decorative items such as doilies, bowls, ornaments, and other delicate objects. Yarn, in its innate state, tends to be soft and flexible. So, for projects that need structure and rigidity, stiffening is the go-to solution. Crafts with this added rigidity not only stand or hold their shape better, but they’re also more durable and have a polished, professional look.
There are different techniques you can employ to stiffen yarn, dependent on the desired result and the object in question. Products include various forms of starch, PVA glue, or even a simple sugar-water solution. Each method has its attributes and drawbacks, which will influence the choice made per project requirements. Care must be taken, however, when choosing the stiffening method as this can affect maintenance, cleaning, longevity, and overall aesthetics of the crafted object.
By understanding the need to stiffen yarn, crafters can make informed decisions about method selection, ensuring the finished product not only meets their artistic vision but also, ideally, exceeds it.
Choosing the Right Materials for Stiffening Yarn
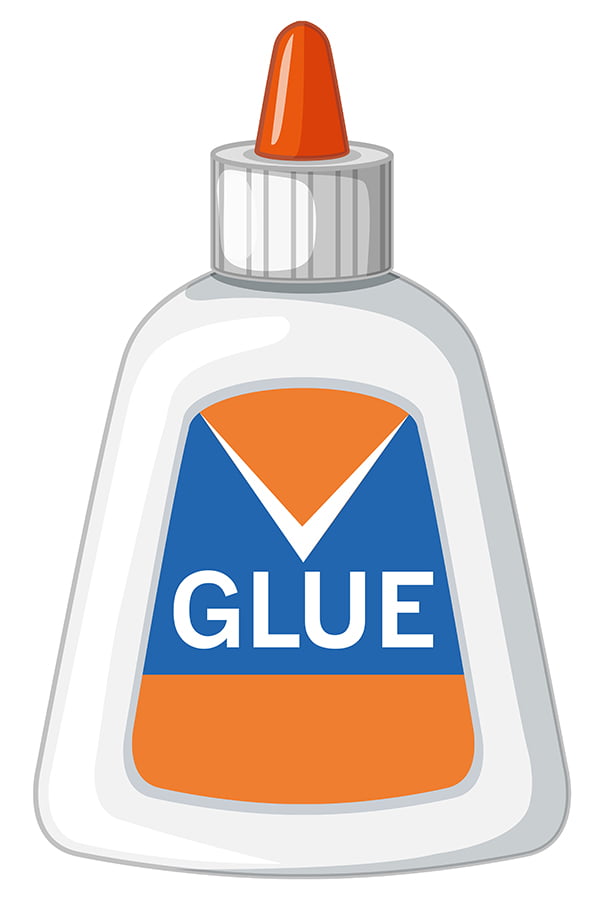
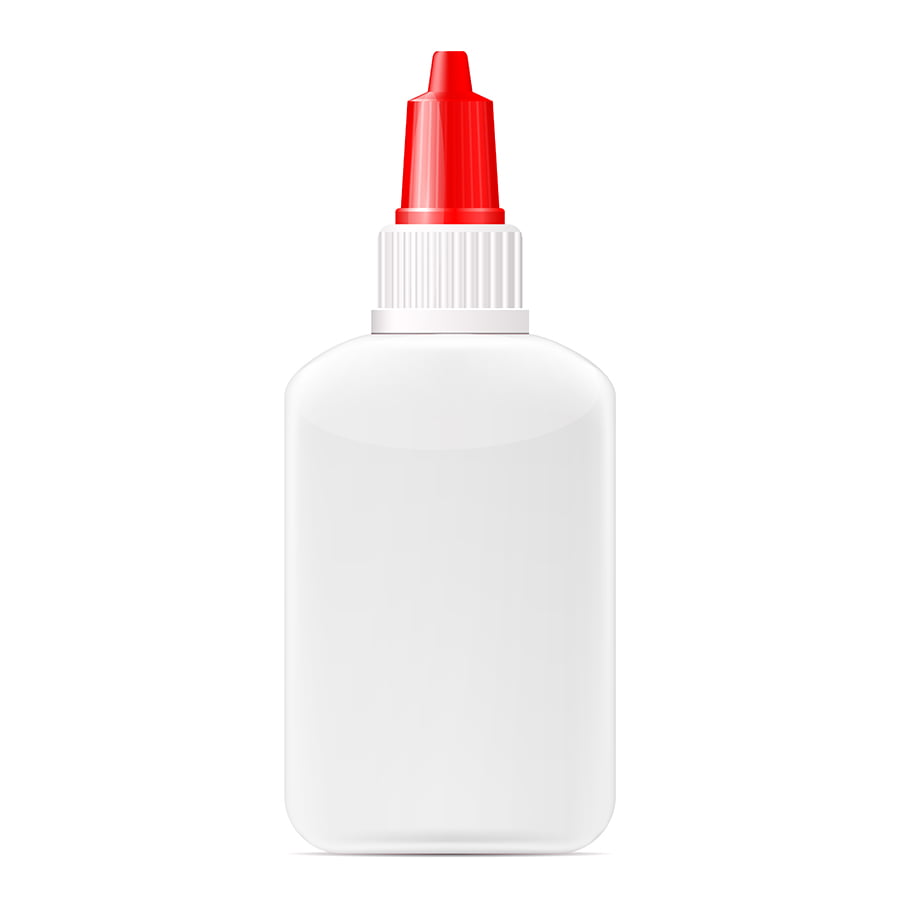
In the process of making any yarn project firm and holding its shape, very few materials are needed. Besides yarn and the finished item, three primary stiffening products are widely used: ready-made starch solution, PVA glue, and sugar-water solution.
Each product comes with its own pros and cons and their usage depends on a variety of factors such as the type of yarn, the desired degree of stiffness, and the project itself. Items frequently handled or washed may require a more durable solution like PVA glue while delicate, decorative pieces might be better suited to starch or sugar-water solution. However, it’s always essential to consider the cleaning process and future maintenance while choosing the right product, as some materials can wash out or yellow over time.
Experimenting with different materials on scrap pieces is always a good idea before applying to the final project. Ultimately, the goal is to achieve the perfect balance of flexibility and firmness that matches the desired purpose and aesthetic.
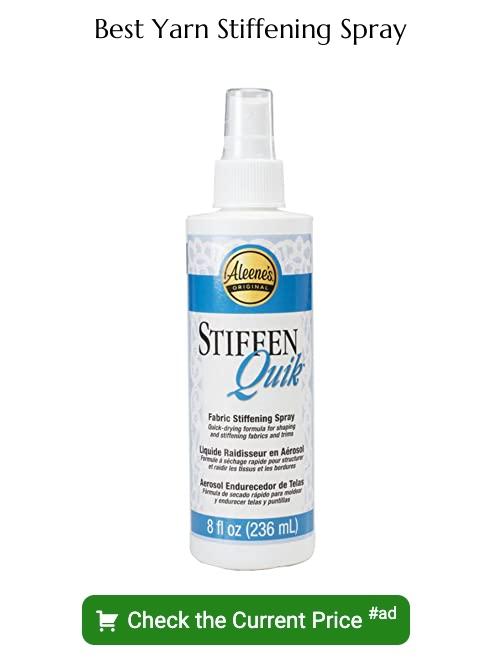
How to Use Ready-made Starch Solution for Stiffening Yarn
Ready-made starch solutions, available in most craft and retail stores, are a convenient option for stiffening yarn. To use them correctly, follow these simple steps:
1. Dilution: Depending on the stiffness required, mix the starch solution with water. Usually, a 1:1 ratio provides adequate stiffness.
2. Soak: Place your yarn piece into the starch-water mixture. Ensure every part of the yarn is drenched to achieve uniform stiffness.
3. Removal: Once saturated, remove your yarn piece from the solution. Gently squeeze out excess liquid without distorting the yarn’s shape.
4. Drying: Lay your yarn piece flat on a non-stick surface, reshaping it as needed. Allow it to dry completely; this could take a few hours to overnight. The drying time would largely depend on the thickness of the yarn and the environmental conditions.
5. Testing: After it’s completely dried, test the stiffness. If it’s not to your liking, you can repeat the process, increasing the concentration of the starch solution.
Remember, the stiffness achieved through this method can decrease with intensive use or washing. It’s advisable to renew the process after such events to maintain the desired rigidity.
Avoid using colored starch solutions as they may stain the yarn. Always opt for colorless varieties to preserve the yarn’s original hue.
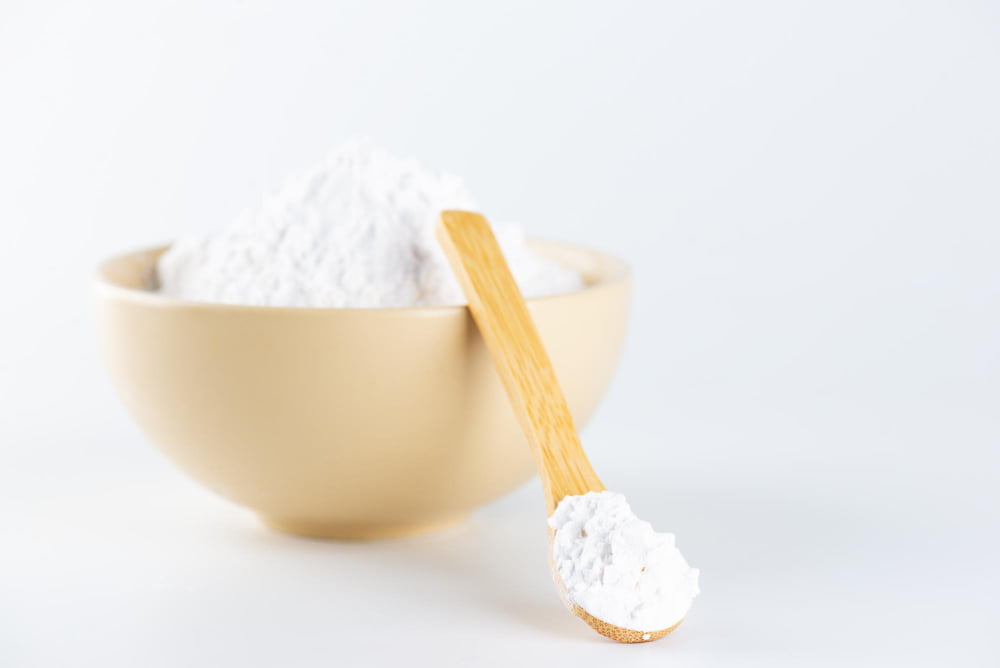
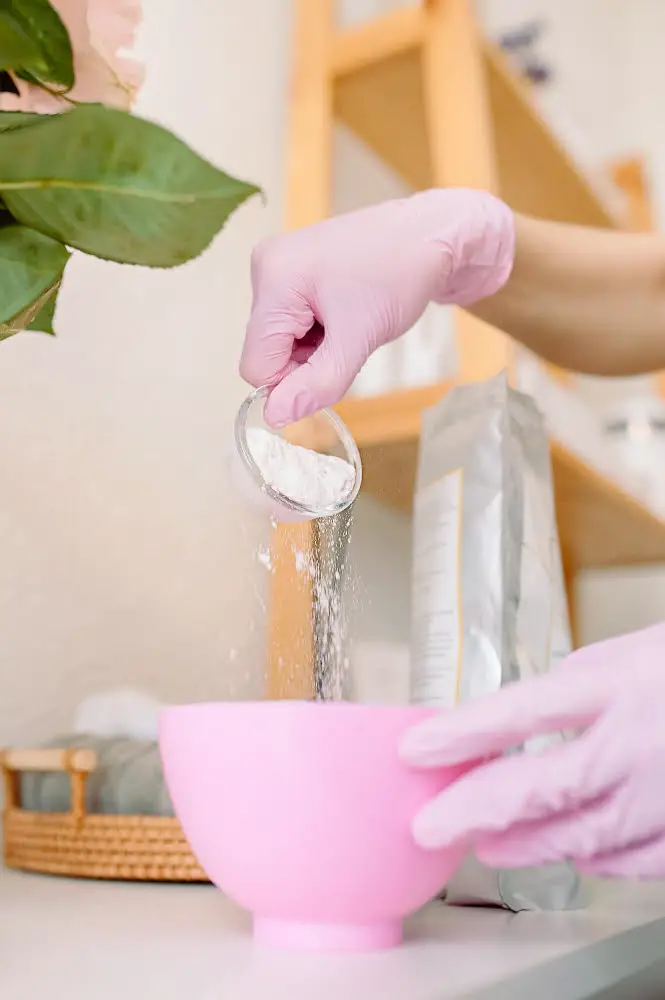
Creating Your Own Homemade Starch for Yarn Stiffening
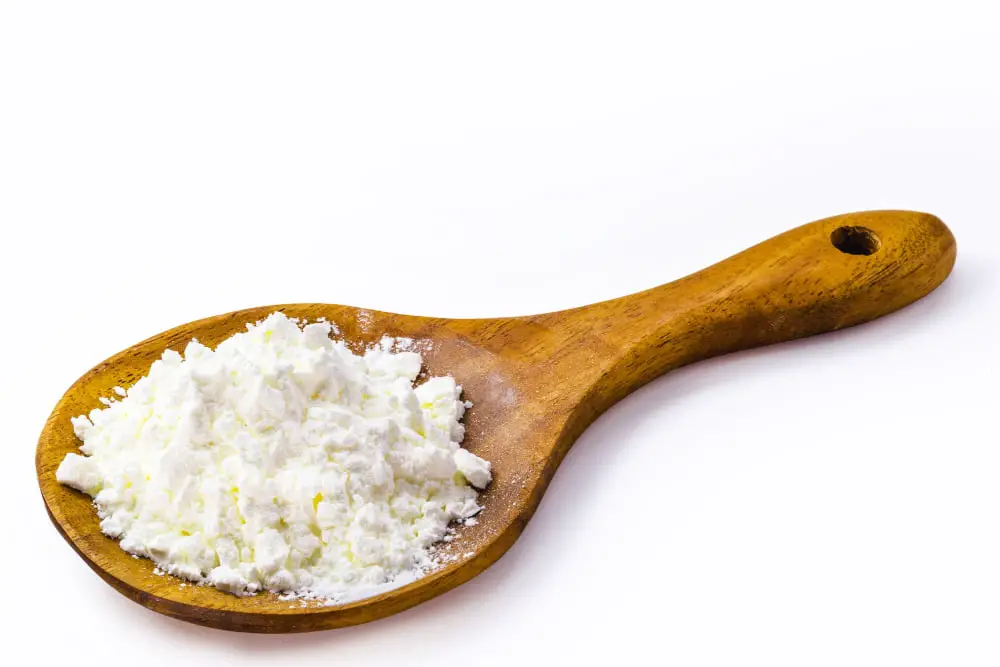
For your DIY starch solution, combine one part cornstarch with four parts water. Simmer this mixture over medium heat, stirring continuously until it thickens to a runny paste. Allow this home concoction to cool down before immersing your yarn in it.
Ensure your yarn is fully saturated with the DIY starch solution. You can achieve this by working the solution thoroughly into each fiber. Once completely soaked, gently wring out the excess solution, taking care not to twist the yarn out of shape. If the shaping is crucial, you may want to place the yarn onto the desired shape and let it dry.
Another handy tip is to not speed up the drying process by applying heat directly, such as using a hairdryer. Doing so may cause the yarn to dry unevenly and may not give the best results. Instead, opt for natural or room temperature drying. The drying time may vary depending on the thickness of your yarn and the environmental conditions.
Remember, as effective this method might be, homemade starch is not permanent and may need reapplication after washing or over time.
Applying PVA Glue to Stiffen Yarn
For a more durable stiffening solution choice, PVA glue effectively does the job. Begin by diluting the glue with water in a 50:50 ratio, although this might vary slightly depending on the brand of glue and the level of stiffness required. Immerse your yarn piece fully in the PVA concoction, ensuring every bit is covered to get a uniform result. Extract the piece and wring gently to get rid of the excess glue mixture.
Now, it’s shaping time. Mould your yarn piece into the desired form and place it on a non-stick surface, parchment paper works just fine. Give it an ample drying period. Patience is necessitated here, as drying may take a couple of days. Cue in the rewarding part: once dry, the yarn retains its shape while remaining flexible. A plus, PVA stiffened yarn pieces are usually easier to clean. Just be gentle, a mild soap and lukewarm water will do, then let it air dry maintaining its formerly molded shape. The downsides? PVA stiffened pieces may not fare well when exposed to too much humidity. They may start drooping and lose their shape.
Remember each yarn fabrication project may call for tweaking the stiffening solution. Always test a small unnoticeable part first to ascertain suitability. With these steps, the creative possibilities for your yarn crafts are wide open.
Benefits and Downsides of Using PVA Glue to Stiffen Yarn
Certain benefits of using PVA glue for yarn stiffening are its availability and easy application. Its long-lasting effect also makes it an efficient choice, particularly for crafts that require sturdy yarn shapes. When dry, it’s clear, allowing the original color and texture of the yarn to shine through.
However, downsides exist as well. Applying evenly can be challenging due to its consistency. It may leave a glossy finish that isn’t suitable for all projects and can lead to a hardened texture that’s not always desirable. Finally, unlike starch or sugar-water solutions, PVA can’t be washed out, making it a permanent alteration to your yarn.
Process of Using Sugar-water Solution for Yarn Stiffening
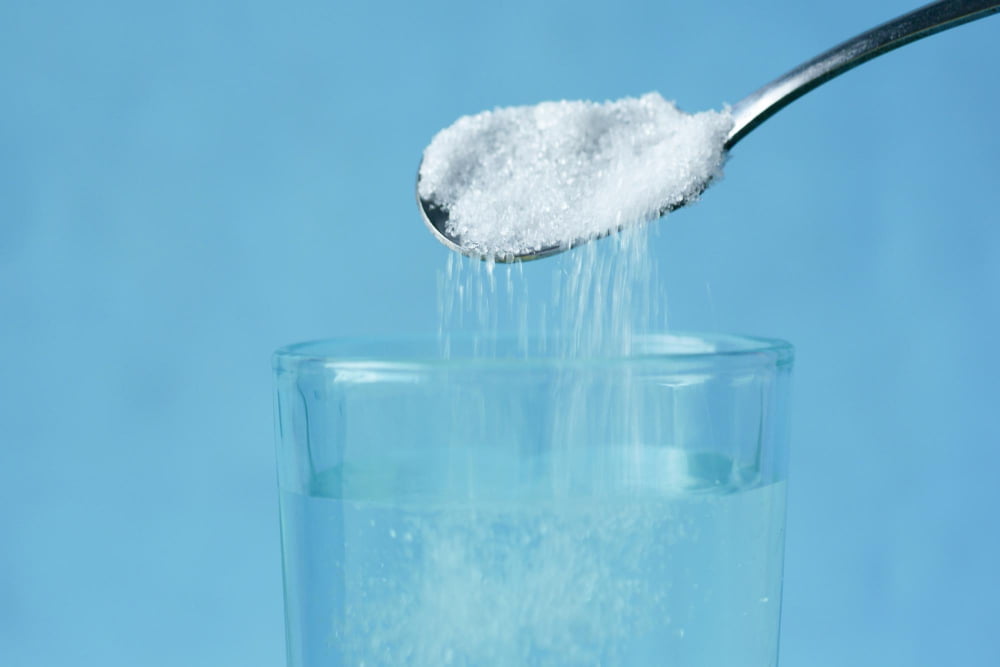
Begin by creating a sugar solution composed of equal parts sugar and water. Add your measurements to a pot and bring the mixture to a slight boil, stirring continuously. Once the sugar gets entirely dissolved, switch off the heat and allow it to cool to room temperature.
Next, saturate your piece of yarn in this sugar solution. Ensure it is thoroughly soaked by pressing it gently into the solution with the help of a spoon or a spatula. After ensuring the yarn has absorbed the sugar solution, carefully squeeze out the surplus. It is important to do this delicately, without twisting the yarn, to maintain its form.
Now, shape the yarn piece as desired on a flat, waterproof surface like a baking tray or an acrylic mat. Leave it undisturbed to dry naturally. This may take up to 24 hours or more, depending upon the thickness of the piece and the ambient temperature.
Remember, the sugar-water solution can attract insects; therefore, you must employ suitable preventive tactics. Covering the drying piece with a fine mesh is a popular method used.
The sugar-water solution method is a good natural option for stiffening yarn. Now, let’s discuss how to manage and clean these sugar-stiffened pieces.
Maintaining and Cleaning Stiffened Yarn Pieces
Once your yarn piece is stiffened and in use, it’s crucial to maintain and clean it properly in order to keep it looking new and to extend its lifespan. Bear in mind that improper care may cause your yarn item to lose its rigid structure.
Here are key points to guide you on the proper care of stiffened yarn pieces:
- Gently Dusting: For superficial dirt, a simple dusting will suffice. Avoid using a coarse cloth as it can wear down the stiffening agent.
- Wet clean cautiously: Stiffened yarn pieces can be cleaned with a damp cloth, but avoid soaking them. Water can dissolve certain stiffening agents and cause loss of rigidity.
- Spot Cleaning: If stained, spot clean with a mild cleaner, but remember to test this in an inconspicuous area first.
- Drying: Allow your piece to air-dry. This method is gentle and helps retain the piece’s form. Avoid applying heat which can make the piece lose its stiffness.
- Regular Check-ups: Routinely examine your stiffened yarn piece for signs of wear or structural weakness to ensure prompt repairs before major damage occurs.
Comparing Different Yarn Stiffening Methods

Each stiffening method varies in durability, ease of use, and hardness level achieved.
The ready-made starch solution is renowned for being mess-free and offering consistent results. It’s a go-to for beginners, needing just a simple soak and dry process. However, it might not provide enough rigidity for some projects.
PVA glue, on the other hand, leaves your yarn extremely hard. This is ideal for creating sturdy sculptural pieces, but could potentially render fabric too rigid for other purposes. Additionally, it requires careful water dilution and thorough application to avoid lumps.
Lastly, the sugar-water solution, although natural and home-friendly, is not as resilient. It might provide enough stiffness for light projects, but over time, it tends to lose rigidity slightly faster and can potentially attract pests.
Thus, the optimal method depends on your specific project requirements and the longevity you desire.
Tips and Tricks for Effective Yarn Stiffening
Dipping works better than spraying: Fully immersing your yarn in the stiffening agent, whether it’s starch, sugar water, or PVA glue, ensures it penetrates to the core, creating a sturdier finish compared to a surface level coating achieved by spraying.
Blot, don’t rub: After dipping, lightly blot the yarn with a towel to eliminate excess liquid. Rubbing can cause frays or disturb the yarn’s structure.
Dry flat: Lay the yarn flat on a non-stick surface to dry, shaping it beforehand if needed. This assists in reducing warping or misshaping that could occur if it dries in a hanging position.
Temperature matters: Warmer temperatures increase the stiffening effect. Heat the starch or sugar solution before application or use a warm setting on a hairdryer to speed up the process and enhance results.
Test first: It’s wise to test the stiffening method on a small piece of the same yarn before committing to the whole project to make sure it gives the desired result.
Protect your work: Seal your finished stiffened yarn pieces with a protective clear coat to protect them from humidity and dust. Ensure the sealant is compatible with your stiffening agent.
Remember, patience is key. Yarn stiffening is a process that can’t be rushed. Allow ample time for each step to achieve the best possible results.
FAQ
What is the best way to stiffen crochet?
The optimal technique to stiffen crochet entails washing, starching, pinning into an even shape on a blocking mat, then allowing it to dry before unpinning.
Does spray starch work on yarn?
Yes, spray starch can effectively be used on yarn, specifically for blocking items like doilies, snowflakes, and other intricate pieces, but would require reblocking upon washing.
Can you use hairspray on yarn?
Yes, hairspray can be used on yarn to prevent ends from fraying and does not cause discoloration.
What natural substances can be used to stiffen yarn crafts?
Natural substances like sugar-water solution, cornstarch mixture, or white glue thinned with water can be used to stiffen yarn crafts.
How does the type of yarn affect the stiffening process?
The type of yarn used can considerably impact the stiffening process, as synthetic fibers often resist stiffening while natural fibers like cotton or wool readily absorb stiffening agents.
Is there a significant difference in results using homemade vs commercial stiffening solutions for yarn?
Yes, there can be a significant difference in the results of using homemade vs commercial stiffening solutions for yarn depending on the ingredients used and the stiffness desired.


