You will find making a yarn wig fascinating because it transforms simple strands into vibrant, playful hairpieces with unique designs.
Making a yarn wig can be a fun and creative project, whether for a costume, a doll, or just for play. The process is straightforward, requiring only a few materials such as yarn, scissors, a mesh cap, and a bit of patience.
This article will guide you step-by-step, from selecting the right type of yarn, measuring and cutting it, attaching it to the cap, and styling it to your preference. You’ll find detailed instructions, tips, and tricks to ensure your yarn wig turns out just the way you want it.
So, whether you’re a beginner or a seasoned yarn crafter, this comprehensive guide has got you covered. Let’s dive right into the process.
Key takeaways:
- Use a crochet or knitted cap as the foundation.
- Choose bulky or super bulky yarn for a fuller look.
- Measure yarn by coiling around your elbow.
- Attach yarn bundles evenly around the hat.
- Cut and style the yarn wig to your preference.
What You’ll Need for Making a Yarn Wig
To embark on this creative endeavor, you’ll want to have these essential materials on hand:
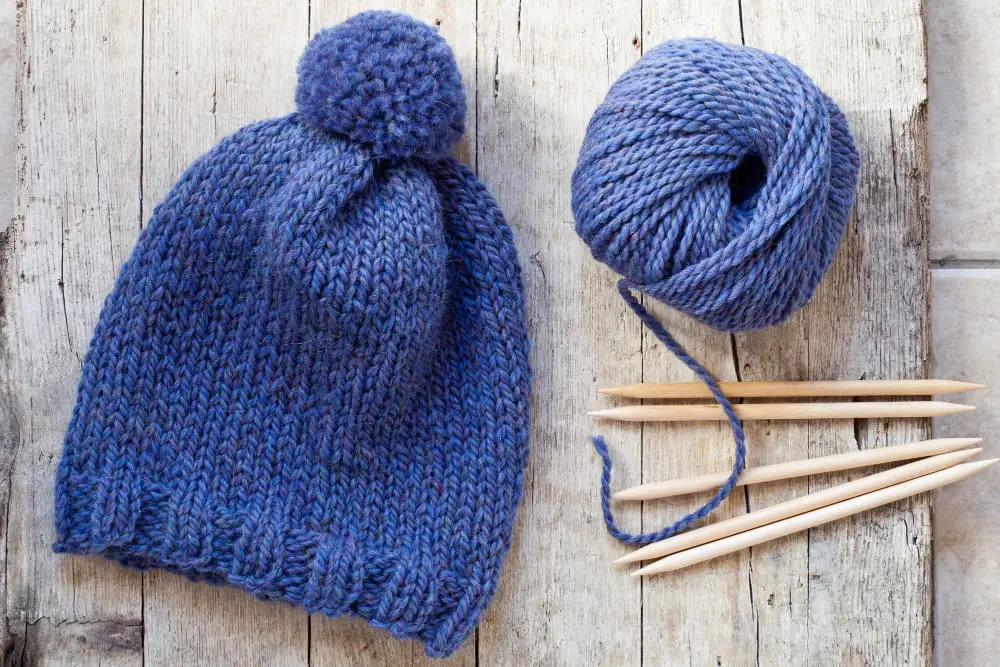
1. A crochet or knitted cap: This acts as the base or foundation for your wig. Consider the end hair color as you pick a cap. Ideally, it should match or be a complementary color to the yarn.
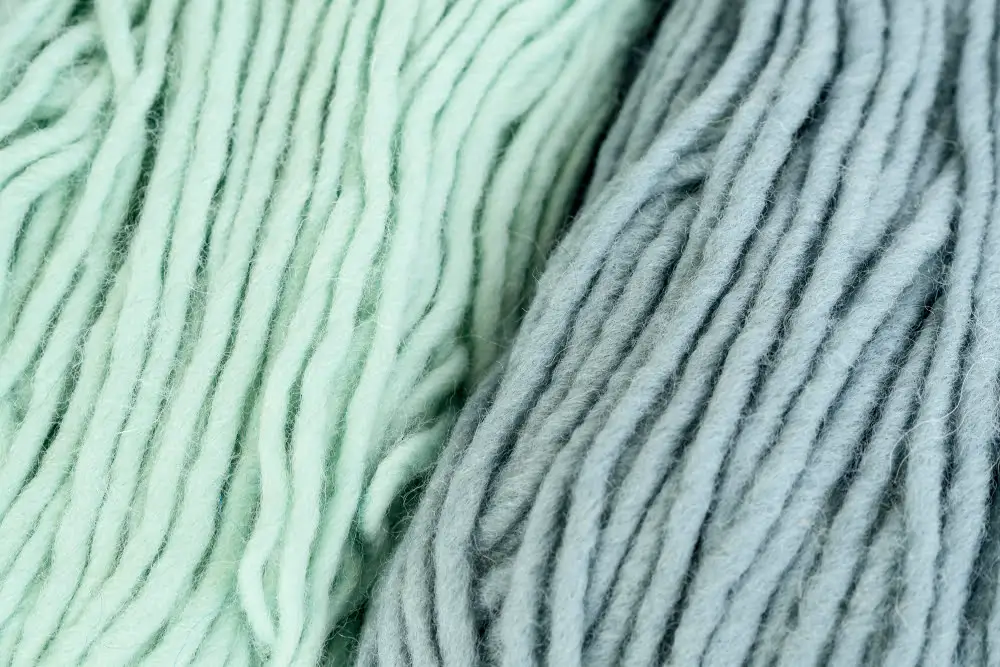
2. Yarn of your choice: It’s this material that will turn your cap into a wig. Pick yarn colors that suit your imagination for the hair color. Make sure to get enough skeins to ensure full coverage of the cap – typically around 2-3, depending on the cap size and yarn thickness.
3. Scissors: These are imperative for cutting the yarn to the desired length and shaping the wig once all the yarn is attached.
4. Yarn needle: This tool will help you thread through and tie your yarn to the cap.
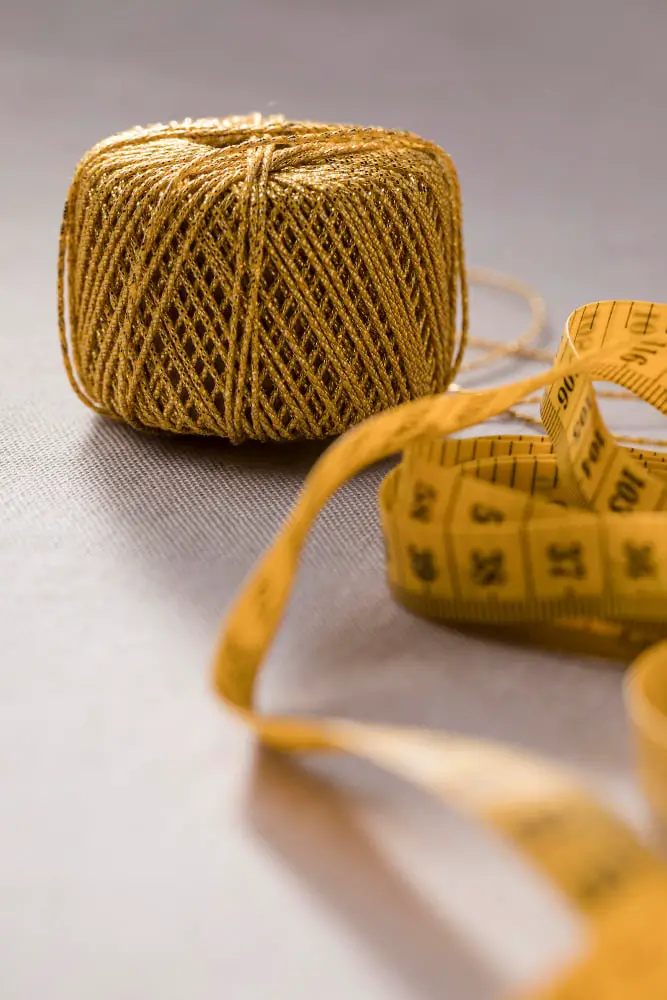
5. Measuring Tape: This ensures all strands of yarn are of the same length, contributing to uniformity and symmetry in your wig.
Before advancing, double-check your supplies to ensure you’re fully equipped for the steps ahead. Remember to keep all these materials within arm’s reach for a seamless and enjoyable crafting experience.
Picking Your Hat and Yarn

Choosing the right materials sets the stage for a high-quality yarn wig. Beanie-style hats are wonderful foundations due to their snug fit and availability in various colors.
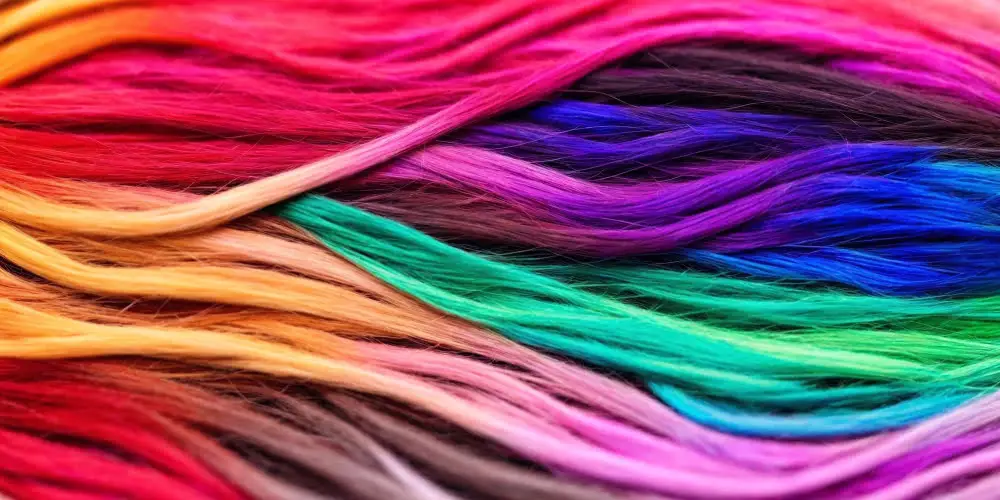
In terms of yarn choice, bulky or super bulky yarn ensures a fuller look, a crucial aspect of a convincing wig. The color and texture of the yarn can dramatically alter the wig’s appearance. Opt for soft and fluffy yarns for a playful and whimsical wig, while smoother, stiffer yarns lend a more realistic and subdued look.
For accurate color representation, remember that many characters have more than one hair color. For these cases, acquiring multiple shades of yarn can result in a more authentic wig.
Measure the Yarn for Your Wig
To get the right length for your wig strands, decide how long the hair should be, doubling that length, and adding a few extra inches just to be safe. Here’s a quick way to get an estimate: Make loops of yarn around your elbow to your fingers, akin to how one would coil a garden hose. Do this multiple times to get the thickness you desire. Remember, you can always trim the wig later if the strands are too long, but adding length is more challenging. For an average adult-sized wig, you will likely need around 200-250 strands of each color depending on your chosen thickness.
Tie Off and Cut the Yarn
First, unravel your yarn. Now, depending on your chosen wig length, wrap the yarn around a flat surface, such as a book or cardboard cut to the requisite size. Remember, the length should be approximate to your desired wig length, keeping in mind it will be doubled as you tie it off.
Once you’ve gone around several times (the more loops, the fuller your wig will be), take a separate shorter piece of yarn and tie it around the center of the loops. Secure it with a tight double knot. Using sharp scissors, cut through the loops opposite the knotted strand, thus creating a bundle of yarn strands attached at one end.
Attach Bundles to the Hat
Begin by selecting a bundle of yarn, ensuring the secured knot is at the lower end. Position the knot on the inside of the hat at the intended starting point. Push a threaded needle through both the hat and yarn bundle, pulling until the knot rests flush with the internal side of the hat. Repeat this process, securing each yarn bundle next to the previous, until you create a row around the circumference of the hat. Ensure bundles are evenly spaced for optimal coverage. Attaching them too closely may result in a bulkier wig, while sparse spacing might reveal the hat underneath.
Consider alternating between different colored bundles if aiming for a mixed-shade effect in your wig. Just remember to keep a consistent pattern for a polished look. Keep in mind that the back of the hat will mark the nape of the ‘wig’, so design your colors and bundle placements accordingly. For a more natural look, you might want to start with lighter shades at the front, transitioning to darker tones at the back.
Remember, precision in placing and securing each yarn bundle can significantly elevate the overall look and feel of your yarn wig. Happy crafting!
Cutting and Styling Your Yarn Wig
Begin by ensuring all yarn strands are an even length. A quick trim across the bottom may be needed to achieve this uniformity.
Once done, the fun of personalizing the wig begins. For a straight style, simply comb through the yarn using a wide-tooth comb. To achieve waves or curls, wrap yarn strands around a pencil or knitting needle and blast with a hot hairdryer. Be careful not to overheat as this can damage the yarn. Always protect your hands with gloves.
For a wilful, untidy look, tease the yarn with a comb or pick out certain strands and ruffle them up a bit. Styling should always compliment the face shape of the wear. The wig can also be set in braids or updos for added flairs.
Attach the Bangs to Your Yarn Wig
For an authentic look, bangs are essential. Start by identifying the front of your wig, which is the part that will cover the forehead. Next, select a bunch of yarn of your preferred thickness. The yarn for bangs should be half the length of the desired final length, as it will be folded.
Thread a yarn needle with a new piece of yarn and then run it through the middle of the bundle. Now, sew this yarn into the front section of the hat. It’s advisable to sew it in a line across the front, just above where the wearer’s eyebrows would sit. Approaching it in this way ensures that the wig will have a natural-looking fall of bangs.
Repeat this process until the entire front of the hat is covered with bangs. The goal is to achieve a full look, so don’t leave any gaps. Remember, you can always trim the bangs later to the perfect length and style.
Attach the Back & Side Locks to Complete Your Wig
Start by creating larger yarn bundles than those used for bangs. These will form the back and side locks of your wig. Use the same technique mentioned earlier, but add another 2-3 strands of yarn to each bundle for added volume.
Locate the sides and back of your hat base. Begin at the bottom and attach the yarn bundles using the same technique as before. Remember to keep them as tight as possible.
Progressively layer the bundles upwards towards the top of the hat. Ensure each new row slightly overlaps the previous one to create a natural, hair-like effect. No parts of the hat base should be visible.
Consider how hair naturally falls and style your locks. Some like to braid or curl the yarn for added texture.
Your yarn wig is almost ready but remember to save some bundles for final adjustments and customizing to the desired look.
FAQ
Can you make a wig with yarn?
Yes, it is possible to create a wig with yarn using various methods, and even mix and match styles to produce a unique costume.
What is the best yarn for making wigs?
The best yarn for making wigs is 100% acrylic yarn due to its affordability and diverse color range.
What do I need to make a wig at home?
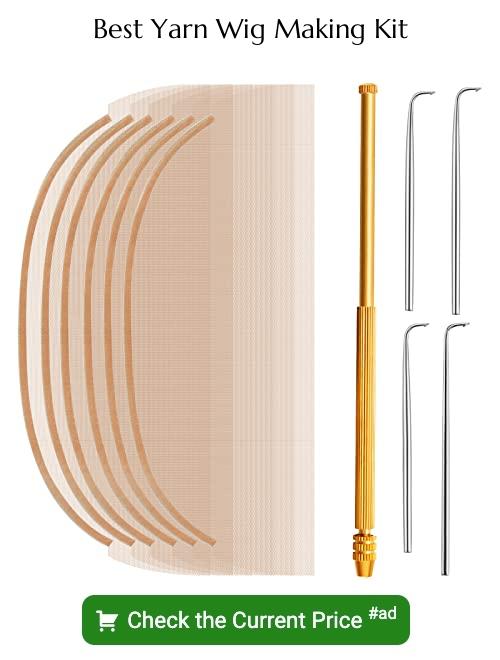
To make a wig at home, you need a wig stand, I, J, and C-shape needles, thread, T-pins, U-shape wig clips, wig combs, sewing scissors, a hair comb, hair clips, a mesh net wig cap, and bundles of hair.
What techniques are used to attach yarn to a wig cap?
Two common techniques for attaching yarn to a wig cap are sewing and knot-tying, each requiring different levels of skill and producing varied texture and volume results.
How is the length of yarn determined when creating a wig?
The length of yarn required for creating a wig is determined by the desired length and fullness of the wig, with each strand of yarn representing a single hair.
Are there specific yarn types that should be avoided when making a wig?
Avoid yarns with rough texture or excessive fuzziness when creating a wig as these can cause discomfort and a lack of realism.


