Learn how to make a magic ring in crochet to start your projects with a clean, tight center that even Houdini would applaud.
Key takeaways:
- Use a crochet hook suitable for your yarn.
- Learn common crochet terms and abbreviations.
- Create a loop with the yarn to form the magic ring.
- Insert the crochet hook and yarn over to secure the ring.
- Practice closing the ring to ensure a tight center.
What You’ll Need
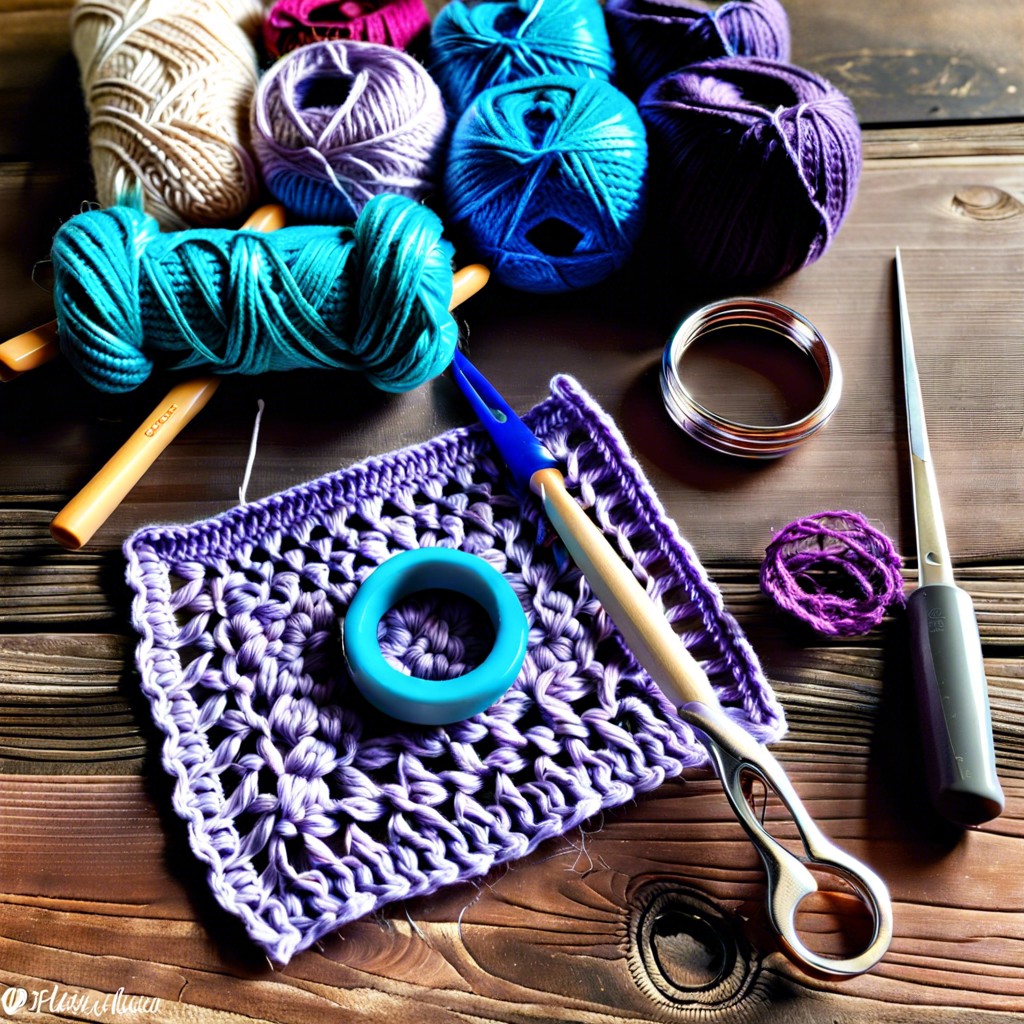
To start your magic ring crochet adventure, grab a crochet hook suitable for your yarn. Typically, a size H-8 (5 mm) works well for beginners, but any size that matches your yarn weight is your ticket to success. Next, choose your yarn. A smooth, medium-weight yarn is easiest to handle. For visuals, a lighter color can help you see your stitches more clearly. Lastly, make sure to have a pair of scissors handy for snipping ends—no magic wand required here! Just these three simple tools and you’re ready to “ring” in the magic!
Terms and Abbreviations
Before diving into the mystical world of magic rings, let’s get familiar with some handy terms and abbreviations you’ll encounter. This isn’t just crochet; it’s secret code!
- Sl st (slip stitch) – Think of this as the minimalist stitch. It’s just enough to keep your yarn together without making a fuss.
- Ch (chain) – This is crochet’s version of building blocks. You’ll be chaining like a pro in no time, making the foundation of your projects.
- Sc (single crochet) – The bread and butter of crochet stitches. It’s simple, dependable, and you’ll use it more than your favorite coffee mug.
- Dc (double crochet) – When you want a little more oomph than the single crochet, double it up! It’s like giving your fabric a boost with a tiny yarn rocket.
- Yarn over – This isn’t just a cool move; it’s essential. You’ll wrap the yarn over your hook to create stitches, kind of like twirling spaghetti around a fork.
Understanding these will help keep the yarn tangles at bay and make the entire crochet process a smooth, snag-free adventure!
Instructions
Begin by laying the yarn tail end across your palm, then wrap the yarn over your fingers to create a loop. Make sure the tail stays underneath the working yarn. Hold the intersection with your thumb and middle finger, leaving the loop slightly open.
Insert the crochet hook into the loop from front to back. Yarn over the hook with the working yarn and pull this through the loop. Now you’ve secured the base of your magic ring.
Work the required number of stitches into the ring as instructed by your pattern. Commonly, this might be six single crochets for many amigurumi projects or more for hats and other items.
Upon completing the stitches, pull the tail gently to close the circle. This technique ensures your starting point is tightly secured and avoids any gaping hole at the center of your project.
Remember, practice makes perfect. If it doesn’t close up perfectly the first time, give it another whirl. The magic ring requires a bit of sorcery (and practice) to master! But once you get the hang of it, it’ll boost your crochet projects to the next level.
Step 1: Create the Loop
Hold the yarn tail in your left hand and lay it across your fingers, creating an X on your palm. The working yarn (which comes from the skein) should be on top. This loop will be the foundation of everything magical that follows, so make sure your X marks the spot just right! Now, secure that loop by pinching the point where the two strands cross between your thumb and forefinger. Voila! The loop is ready, and so are you, to dive into the next step of crochet wizardry.
Step 2: Insert Hook and Yarn Over
Hold the tail end of your yarn securely with your left hand (or right, if you’re a leftie), making sure the loop doesn’t escape. Now, let’s play a bit of yarn gymnastics! Take your crochet hook, dive right into the loop—it won’t bite, promise. Once inside the loop, yarn over the hook using the working yarn. This part is pivotal: catch that yarn over with your hook as gracefully as a swooping bird. Now, gently tug it through the loop like you’re luring a shy kitten out from under a couch. Voilà! You’ve just set the stage for some serious crochet magic to happen.
Related Posts
 Easy Crochet Gnome Pattern Free: Transform Yarn into Whimsical Friends
 Crochet Star Blanket: A Stellar DIY Guide
 How to Crochet Slippers for Beginners Step by Step with Pictures: Cozy Feet Awaits
 Adjustable Ring Crochet: Master the Magic Circle
 How to Crochet Without a Hook: Hands-On Creativity