Learn the essential steps to reading crochet patterns and start crafting with confidence.
Key takeaways:
- Abbreviations and symbols are like a secret handshake
- Understand key crochet terminology for stitching with confidence
- Read crochet patterns line by line, following the road map
- Decode crochet diagrams and charts for visual guidance
- Adjust patterns for size and fit, keeping gauge and measurements in mind.
Decoding Crochet Abbreviations and Symbols
Crochet patterns come with their own language, a shorthand if you will, packed with abbreviations and symbols to convey a wealth of instructions in a snug package. These shortcuts are a crafty way to keep your pattern from becoming a novel.
Dipping your toes into this shorthand, you’ll encounter abbreviations like ‘ch’ for chain, ‘sc’ for single crochet, and ‘dc’ for double crochet. They’re like the secret handshake of crochet, gateways to creating everything from granny squares to amigurumi friends.
Symbols, meanwhile, dress up diagrams like constellations – each shape guiding your hook to the next stitch. For instance, an oval represents a chain stitch, while a ‘T’ with a crossbar signals a double crochet.
Grasping these symbols unlocks the power of crochet charts, a visual map of your project that can be especially handy when working intricate lace patterns or when language barriers come into play.
Remember, a stitch in time saves nine, so familiarizing yourself with this shorthand early saves headaches down the yarn-covered road. Keep a cheat sheet handy or bookmark a guide online for quick reference until these become second nature. With practice, you’ll crack the code and these patterns will feel like reading an old friend’s handwriting.
Understanding Crochet Terminology
Crochet terminology might seem like a secret code at first, but once you get the hang of common phrases, you’ll be stitching with confidence. Here’s a quick guide to help make sense of key terms:
– **Stitch (st):** The foundation of all crochet, each stitch is a loop of yarn that interlocks to create the fabric.
– **Chain (ch):** This basic move involves pulling yarn through a loop on the hook, and it’s how most patterns begin.
– **Single crochet (sc):** A common stitch created by inserting the hook, yarning over, pulling through to make a loop, yarning over again, and pulling through both loops on the hook.
– **Double crochet (dc):** This stitch gives you more height per row and involves yarning over, inserting the hook into the stitch, yarning over and pulling back through, yarning over and pulling through two loops, then yarning over once more and pulling through the remaining two loops.
– **Slip stitch (sl st):** A technique for joining stitches, moving from one row to another, or working in the round; often seen as the “glue” of crochet work.
– **Turn:** This simple instruction means to flip your work so you can start a new row.
– **Gauge:** Refers to the number of stitches per inch and rows per inch. This is vital for ensuring your project measures up correctly.
– **”Yarn over” (yo):** A step where you wrap the yarn over your crochet hook.
– **Increase (inc) and decrease (dec):** Methods of adding or subtracting stitches to shape your project.
With these terms in your back pocket, you’re well-equipped to tackle most patterns. Remember, practice makes perfect, so don’t be afraid to rewind a stitch or two until these terms become second nature. Keep at it, and you’ll be crafting granny squares, amigurumi, and cozy hats in no time!
Reading Crochet Patterns Line By Line
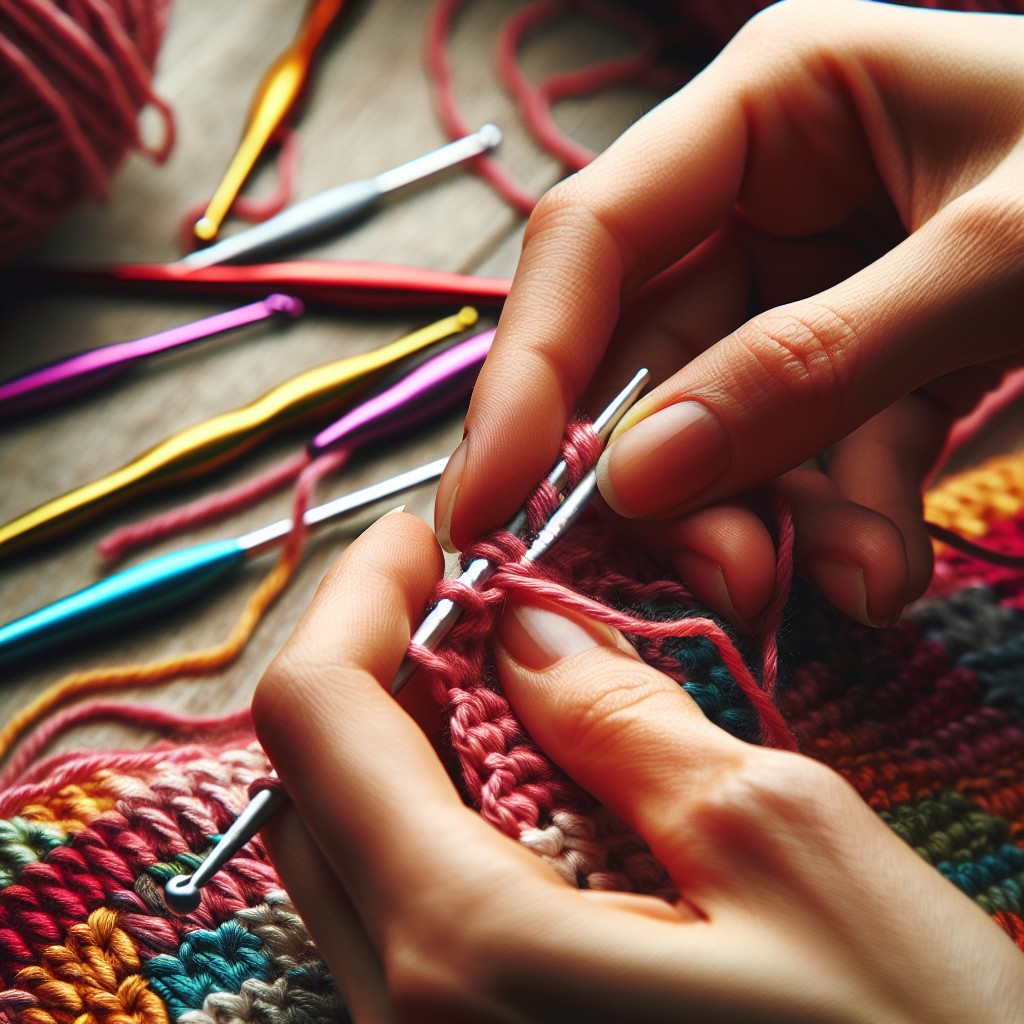
As you cozy up with your latest crochet project, think of the pattern as your road map, guiding each stitch to its proper place. Breaking it down line by line prevents you from getting your yarn in a twist.
Start at the very beginning – that’s a very good place to start! Each line corresponds to a row or round of your project. Work through the stitches as they are listed, just as you would read a book, from left to right, top to bottom.
Keep an eagle eye out for asterisks and repeats. These symbols are your friends, telling you to repeat a sequence of stitches a specified number of times. They’re like the chorus of a song; once you’ve got the tune, you’ll be humming along in no time.
Brackets and parentheses serve a similar purpose. They group together a set of stitches that are worked into a single stitch or space, sort of like a cozy stitch huddle.
Remember, each line of your pattern is a stepping stone to the next. By taking it one step at a time, you’ll cross the crochet creek without getting your feet wet. And before you know it, voila! A crochet masterpiece emerges. Keep at it stitch by stitch, and you’ll be a pattern pro with stories to stitch and much to unravel!
Making Sense of Crochet Diagrams and Charts
Crochet diagrams and charts serve as visual road maps for your project. They use symbols to represent each stitch, allowing you to see the pattern emerge before your hook even touches the yarn. Think of them as the GPS for your crafting journey.
Each symbol corresponds to a specific stitch type; for example, a small circle often means a chain stitch, while a ‘T’ shape could signify a treble crochet. A legend usually accompanies the diagram, acting as a decoder ring for the symbols you’ll encounter.
To use these diagrams effectively, start at the bottom right corner if you’re right-handed, or the bottom left if you’re left-handed, and work your way up, following the rows or rounds. Each new symbol sits exactly where the stitch should be made, almost like connecting the dots.
Remember, chains at the beginning of rows or rounds are depicted as small ovals or dots, rising upwards to show the height of the next row. Pay attention to repeated sections, typically indicated by brackets or asterisks, which can simplify your process by breaking the pattern into bite-size portions.
By focusing on one row or round at a time, you can bust the lingo and watch your project flourish under your fingers. Keep an eye out for increases and decreases — these are critical in shaping your masterpiece and are usually easy to spot in a chart.
With practice, these pictorial cues become second nature, and you’ll find yourself fluently reading crochet “hieroglyphics”, transforming yarn into art with ease.
Adjusting Patterns for Size and Fit
When you want that sweater to hug you just right or those socks to not bunch up, a keen eye on alterations can work wonders. Remember, the key is in the gauge; test it to avoid surprises later. If it’s too tight or too loose, switch up your hook size. No shame in straying from the called-for hook to get your perfect fit.
Scale matters in crochet. For enlarging, add multiples of the stitch pattern, keeping a sharp lookout for shaping aspects like armholes or necklines. Shrinking a pattern down? Do the reverse. Subtract multiples but tread carefully; you don’t want an unintentional crop top unless that’s your jam.
Already in love with a pattern but it’s not your size? Dive into the schematics. These handy guides show the dimensions of each piece. Compare these with your own measurements and adjust stitch counts accordingly.
And let’s talk yarn weight. Going lighter or heavier can alter the size. If you’re switching it up, be ready to play matchmaker with your hook and yarn to maintain the pattern’s integrity.
Lastly, don’t forget that flexibility is your friend. A good rule of thumb is to measure as you go—keep that measuring tape close. This way, you’re in control, steering clear of any fit mishaps that might try to sneak up on you.
Related Posts
 Easy Crochet Gnome Pattern Free: Transform Yarn into Whimsical Friends
 Crochet Star Blanket: A Stellar DIY Guide
 How to Crochet Slippers for Beginners Step by Step with Pictures: Cozy Feet Awaits
 Adjustable Ring Crochet: Master the Magic Circle
 How to Crochet Without a Hook: Hands-On Creativity