Learn how to crochet a sweater with this step-by-step guide, covering everything from selecting yarn to finishing touches.
Key takeaways:
- Choose the right yarn and crochet hooks for your sweater.
- Understand and follow the sweater pattern meticulously.
- Crochet the panels and sleeves with attention to detail.
- Take care when assembling and finishing the sweater.
- Follow proper care and maintenance tips to keep your sweater looking its best.
Choosing the Right Yarn and Crochet Hooks
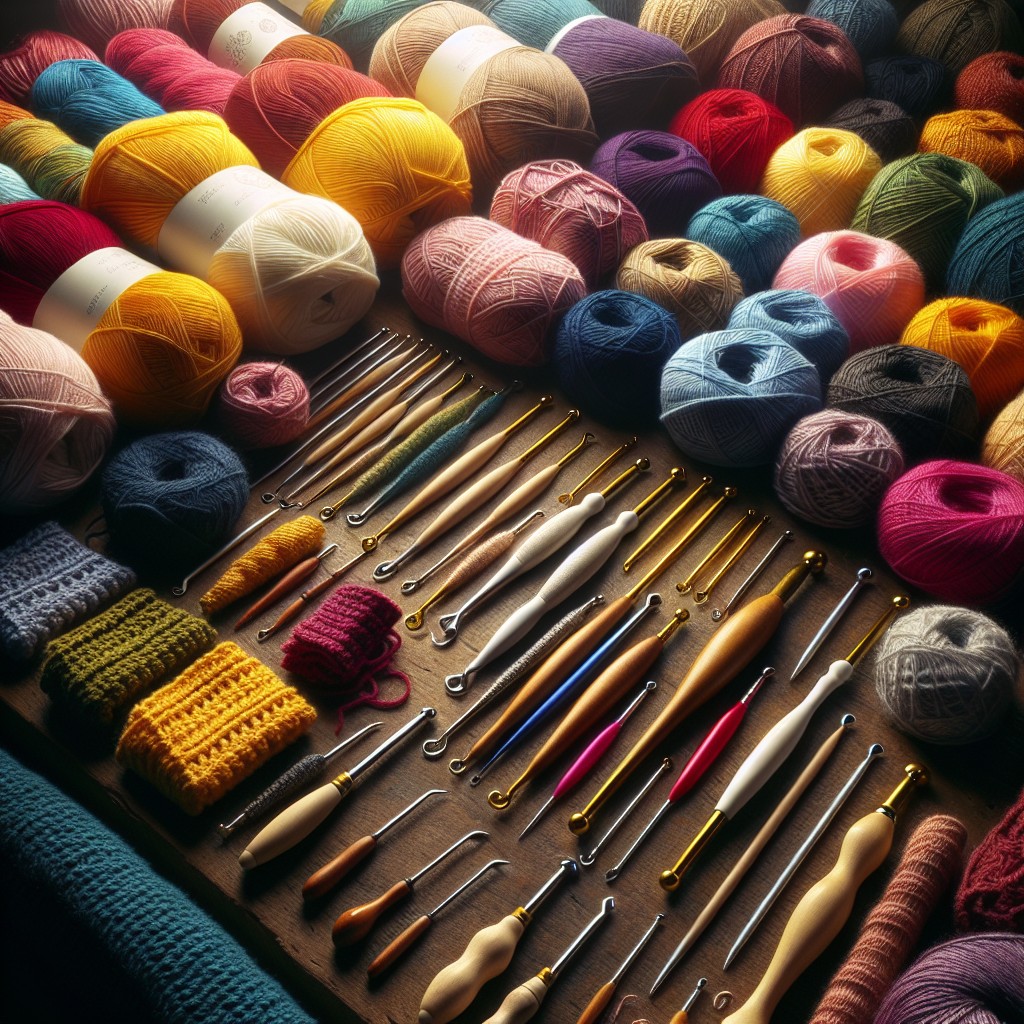
Selecting an appropriate yarn will greatly influence the look and feel of your finished sweater. Wool is a popular choice for its warmth and durability, but cotton or acrylic yarns can be better options for those with allergies or budget constraints. The yarn weight also matters; lighter weights are generally used for finer textures, while heavier weights offer more warmth and structure.
The size of your crochet hooks can impact your project too. Typically, the yarn label suggests an ideal hook size. If you prefer a tighter fabric, go one size down. For a looser, more drapey fabric, choose a hook that is one size larger.
Consider the color and texture of your yarn as well. Lighter colors might show more details than darker shades, and textured yarns can add a unique aesthetic to your sweater without complex stitching patterns. Always buy a little more yarn than the pattern suggests to avoid running out before you finish the project.
Understanding and Following Sweater Patterns
When diving into a new crochet sweater project, first grab the pattern you’ll be using. Patterns are guidebooks that explain each step to achieve the desired result. They will outline the required stitches, rows, and specific details like increases or decreases for shaping. Here are essential tips for making sense of your sweater pattern:
- Read Through Before Beginning: Give the pattern a thorough read to familiarize yourself with the terminology and sequence of steps. This proactive approach prevents surprises and ensures smoother crocheting.
- Check Stitch Glossary: Most patterns include a glossary of terms and abbreviations. This is crucial if you encounter unfamiliar stitches or techniques.
- Gauge Is Key: The pattern will specify the gauge, which is the number of stitches per inch. This is vital because if your gauge matches the pattern’s, your sweater will be the intended size. Always make a gauge swatch before beginning the actual project.
- Highlight Key Parts: As you read, highlight or underline critical numbers, transitions in the pattern, or specific instructions that are vital to remember. This makes it easy to find your place or double-check a detail as you crochet.
- Notes on Customization: If you wish to modify the size or details, make notes directly on the pattern. Whether it’s adjusting the length of the sleeves or altering the neckline, planning these changes in advance saves unravelling later.
Remember, patterns are your roadmap, so investing time in understanding them upfront enhances the joy and satisfies the journey of your crochet sweater project.
Crocheting the Panels and Sleeves
Begin by crocheting the front and back panels of the sweater. Follow your pattern to create the correct shape and dimensions. For most designs, you will start at the bottom and work your way up. If your pattern includes shaping at the waist or under the arms, pay close attention to the increase and decrease instructions provided.
Once the panels are complete, crochet the sleeves. These may be worked in rounds or flat, then seamed. Ensure even increases along the sleeve length for a tapered effect. Check that both sleeves are identical to avoid asymmetry.
Keep stitch tension consistent across all parts to ensure they fit together neatly. Regularly lay out pieces next to each other to compare size and shape. This technique helps you spot any discrepancies early, allowing for adjustments before final assembly.
Assembling and Finishing the Sweater
Once all your pieces are ready, the assembly begins, which transforms separate elements into one cozy garment. Start by laying the front and back panels face down on a flat surface. Line up the edges carefully to ensure they match.
First, use a yarn needle threaded with the same yarn to seam the shoulders together. Work from the outside in for a neater finish. Next, attach the sleeves by aligning them with the armholes. It’s crucial to distribute the fabric evenly to avoid puckering.
When the sleeves are secured, seam the sides of the sweater, starting from the cuffs of the sleeves down to the bottom of the body. Ensure that the stitches are tight enough to hold but not so tight that they bunch the fabric.
Finally comes the finishing touch. Weaving in the ends of your yarn will tidy up your work and secure it. If required, add a border or edging to the neckline, cuffs, and bottom of the sweater for a polished look. This step is optional but can greatly enhance the overall aesthetics and fit of the sweater.
Remember, good assembly is about taking your time and making sure every join is smooth and even. This care in the final steps will pay off with a sweater that looks professionally crafted and wears well.
Care and Maintenance Tips
To keep your crochet sweater looking its best, regular care is crucial. Always check the yarn label for washing and drying instructions. Most sweaters benefit from gentle hand washing in cool water with a mild detergent. Avoid wringing out the water as it can distort the fibers. Instead, press the excess water out and lay the sweater flat on a clean towel to air dry.
For storage, fold your sweater instead of hanging it to prevent stretching. If you’re putting it away for the season, a breathable cotton bag with cedar blocks can help deter pests without harming the yarn. A quick refresh between washes can involve airing it out or using a fabric freshener designed for delicate fibers.
Related Posts
 Easy Crochet Gnome Pattern Free: Transform Yarn into Whimsical Friends
 Crochet Star Blanket: A Stellar DIY Guide
 How to Crochet Slippers for Beginners Step by Step with Pictures: Cozy Feet Awaits
 Adjustable Ring Crochet: Master the Magic Circle
 How to Crochet Without a Hook: Hands-On Creativity