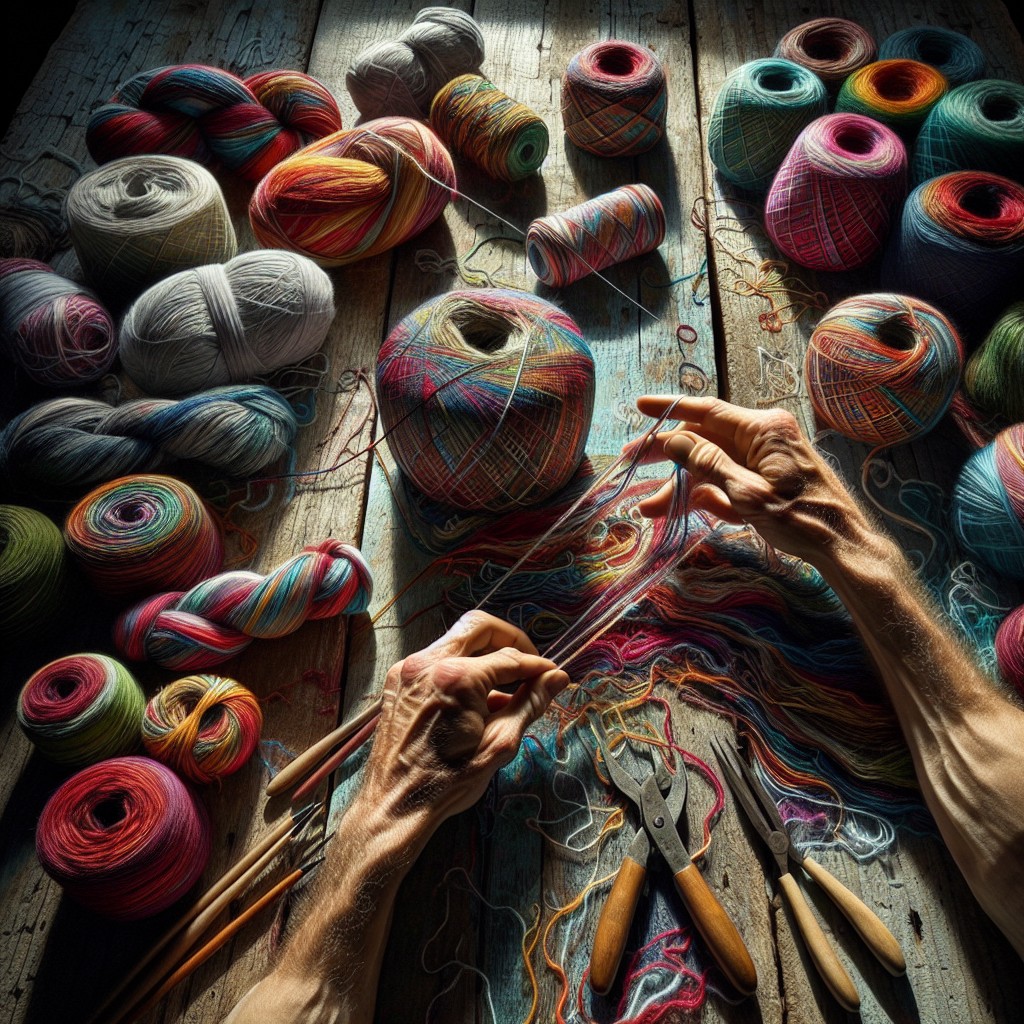
Discover the art of rerolling yarn because it can breathe new life into tangled, used, or loose skeins, making your knitting and crochet work more pleasurable and efficient.
Rerolling yarn can be a simple task if you follow the right steps, and this article is designed to guide you through that process. Whether you’re dealing with a tangled mess or wanting to repurpose leftover yarn from previous projects, rerolling it into a neat ball can save you time and frustration in your future crafting endeavors.
This article will provide you with a step-by-step guide on how to effectively reroll your yarn, ensuring that your knitting or crocheting experience is as smooth as possible. So, let’s unravel the details together.
Key takeaways:
- Assess and prepare yarn before rerolling
- Use the vertical or horizontal wrap technique for rerolling
- Maintain consistency in wrapping to avoid tension issues
- Try the finger wrap or thumb wrap technique for center-pull balls
- Use cardboard squares as a budget-friendly alternative for rerolling
Prepping Your Yarn for Rerolling

To ensure a smooth rerolling process, proper preparation of your yarn is key. First, assess its condition to identify any tangles or knots that may pose potential challenges. These should be dealt with gently to avoid damaging the yarn.
Once the yarn is free of knots, start unwinding it. While it’s tempting to pull the yarn directly from the skein, this can actually lead to more tangles. Instead, unwind it slowly and carefully, either onto a flat surface like a table or onto your lap.
It is recommended to clean and dry your yarn, especially if it’s been in storage for a while or if it’s second-hand yarn. This can eliminate dirt, dust, and odors.
Finally, allow your yarn to rest before commencing the rerolling. This rest period lets the yarn fibres relax, minimizing the risk of it being overly tight or loose during rerolling.
Commencing the Rerolling Process
Before you dive into rerolling, it’s important to make sure your yarn is tangle-free. Start by gently unraveling the yarn ball or skein, spreading it out on a clean, flat surface. This helps in identifying any knots or twists in the yarn. Remember, the smoother the yarn, the easier it will be to reroll effectively.
Take your time during this step, as rushing might result in knots that could disrupt the entire rerolling process later. Always complete this phase before starting to wrap the yarn. Once the yarn is stretch out, you can begin the rerolling.
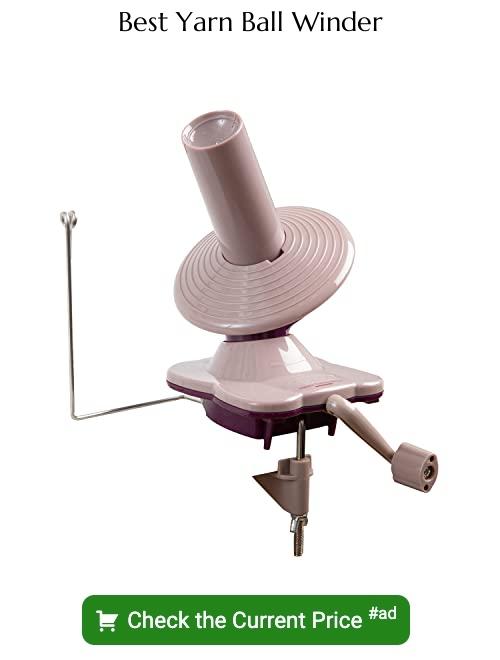
A yarn swift or a winder can aid in keeping the yarn taut during rerolling, but they are not strictly necessary. You can comfortably use your hands or common household items like a chairback or toilet paper tube to keep the yarn taut. This step serves as the foundation for other rerolling techniques that will be explored subsequently.
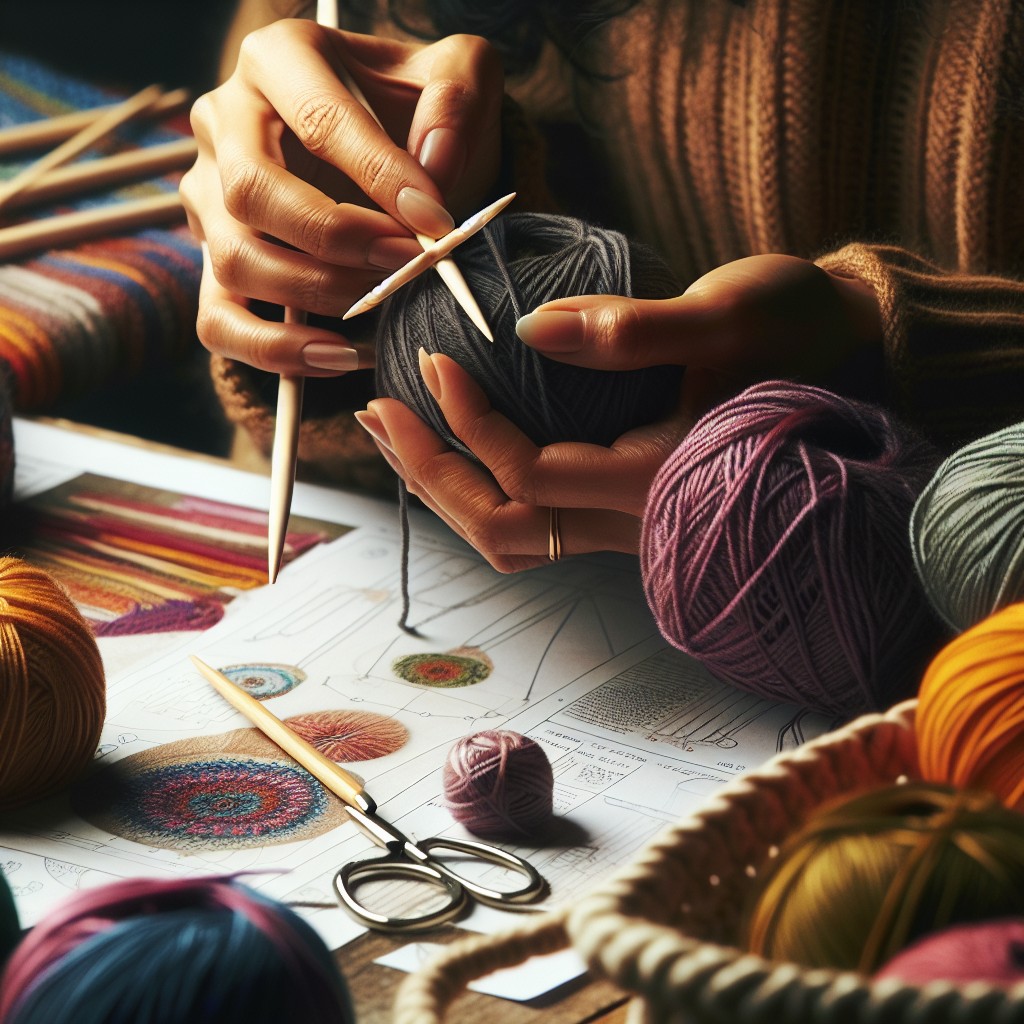
In rerolling, practice is key. The more you do it, the better you become at creating smooth yarn balls devoid of tension issues. Keep going and soon rerolling yarn will become a breeze.
Wrapping Techniques for Yarn Rerolling
The proper technique for wrapping your yarn can play a significant role in ensuring an easy unravelling process later on. Two primary methods can be utilized: the vertical wrap and the horizontal wrap.
For the vertical wrap method, the yarn is wound around the ball straight up and down, giving your yarn roll a cylindrical shape. This is the preferred style for slippery threads, such as silk, as the winding structure helps maintain the tension and prevents the yarn from unravelling prematurely.
On the other hand, the horizontal wrap method involves winding the yarn around the circumference of the ball, creating a spherical shape. This works extremely well for wool or acrylic threads, which possess enough traction to prevent them from slipping off the ball of yarn. Depending on the type of thread you’re using, choosing the right wrapping style can simplify your work process immensely.
Maintaining Consistency While Wrapping Yarn
The key to a successful reroll is consistency in your wrapping. Begin by firmly securing the end of the yarn to prevent unraveling as you wrap the rest. Your wraps should be snug, but not overly tight, to prevent strain on the yarn, which can, over time, cause it to lose elasticity.
Pay close attention to maintaining a steady rhythm while you wrap, as irregular tension can lead to knots and tangles. A consistent wrapping tension also ensures a uniform ball of yarn that will easily unwind when it’s time for use. If shifting your hold is necessary during the process, do it smoothly and gradually to maintain evenness in the wound yarn ball.
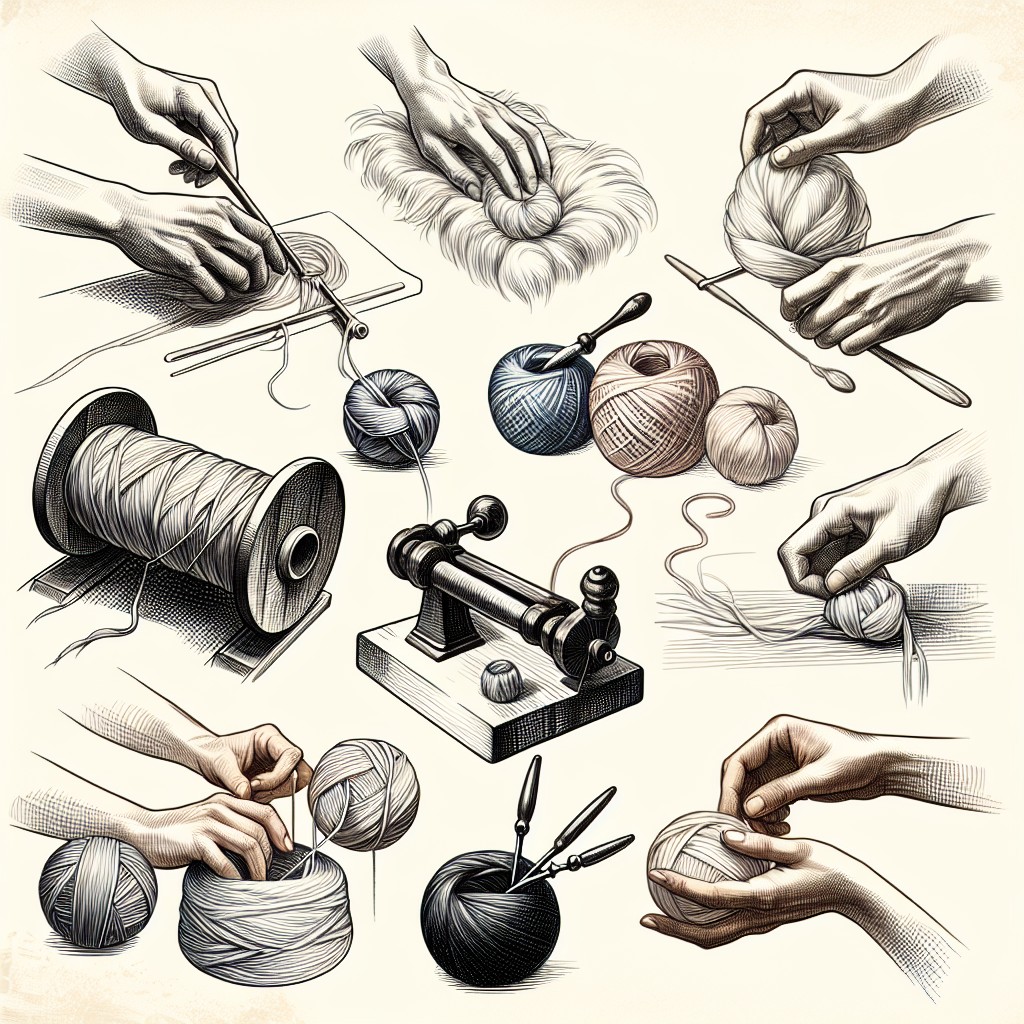
Using the Finger Wrap Technique in Yarn Rerolling
Starting with the end of the string, loop it over the back of your fingers. Hold the end of the yarn between your thumb and index finger to secure it in place.
Next, wrap the yarn around all your fingers, moving from right to left if you’re right-handed and vice versa if left-handed.
Remember, the wrap process consists of three principal motion components: passing over the back of your hand, under your pinky finger, around the front of your fingers, and finally, back up under your thumb.
Continue this process maintaining an even tension to practice good technique.
Avoid wrapping the yarn too tightly as it can affect the flow of your work. Moreover, too much pressure around your fingers can lead to discomfort.
Try to maintain a steady rhythm and consistent speed while wrapping.
Remember, practice makes perfect.
As you gain confidence, you can increase the speed.
One of the major advantages of the finger wrap technique is its ability to create a center-pull yarn ball.
It means you can easily pull out the yarn from the center without disrupting the integrity of the remaining ball, making your crochet or knitting project much simpler.
Winding Yarn With the Thumb Wrap Approach
To use this popular technique, you don’t need any special equipment, just a little patience and a little practice.
Firstly, hold the end of the yarn with your thumb against the palm of your hand. It’s essential that the yarn end extends a bit to prevent it from getting lost in the ball as it forms.
Next, start wrapping the yarn loosely around your thumb several times. Remember not to wrap too tightly! This simple beginning forms the core of your yarn ball.
Then, gradually rotate your thumb, while continuing to wrap the yarn. This movement helps create an even yarn ball. Aim for a formatting similar to an elongated spiral rather than immediate circular windings.
In the end, you’ll find that the thumb wrap method is not only easy to learn but also produces neatly wound balls of yarn, fit for easy use in your next craft project.
Executing the Center Pull Technique for Yarn Rerolling
For the center pull technique, begin by loosely wrapping yarn around your fingers a few times. Carefully remove the loops from your fingers and, holding the end of the yarn, begin winding the yarn around the initial loops. This forms the internal core of the ball.
Make sure to rotate the ball every few revolutions to avoid an oblong or misshapen ball of yarn. As you wind, make sure to always hold onto the end of the yarn, this will form the center pull.
Continue to wind the yarn, rotating the ball for even distribution, until all your yarn is rerolled. This technique, while a bit more complex than thumb or finger wrap, offers the advantage of providing a stable ball of yarn that won’t roll away as you use it. An added bonus is that the end held within the center is easily accessible when you’re ready to begin your next project.
Trying the Cardboard Square Approach for Yarn Rerolling
For a budget-friendly and space-saving solution, consider using plain, household cardboard squares as make-shift yarn winders. Here’s how to proceed:
1. Start by cutting cardboard into squares of about 4 inches. These dimensions can be adjusted based on personal preference or the amount of yarn you’re working with.
2. Then, cut a small slit at one end of the square to secure your yarn tail. This also provides an easy starting point for later use.
3. Begin to wrap your yarn around the cardboard, changing directions frequently to avoid creating too much bulk in one spot. Aim to distribute the yarn evenly.
4. Continue wrapping until your yarn is fully rolled onto your cardboard square. Remember to leave a bit of the yarn end free to secure it in the slit on the opposite side of the one where you’ve started.
This method is especially useful for oversized skeins, as it helps keep your yarn more manageable while knitting. Plus, it repurposes everyday materials for your crafting needs, making it a sustainable option. It epitomizes simplicity, practicality, and creativity in yarn rerolling.
FAQ
Why do you reroll yarn?
Rerolling yarn into a ball maintains orderly use and prevents tangling during knitting, though it may attract interest from pets such as kittens.
Should I reroll my yarn?
Yes, you should reroll your yarn into a ball or cake before using it to prevent it from becoming tangled.
What tools do I need to reroll yarn?
To reroll yarn, you will need a yarn swift, a ball winder, and a clean surface.
How can I prevent yarn from tangling while rerolling?
To prevent yarn from tangling while rerolling, use a swift or a yarn winder, making sure to maintain a steady, even pace without pulling the yarn too tightly.
Can all types of yarn be rerolled?
Yes, all types of yarn can be rerolled, but it’s important to take care in doing so to avoid tangling or damaging the yarn.


