Unlock tremendous creative potential in your textile projects because sewing yarn on fabric introduces innovative texture and dimensionality.

Embarking on the journey of sewing yarn on fabric can be an exciting venture, and it’s not as complex as it might initially seem. This process can be broken down into a few simple steps that will have you mastering this craft in no time.
Whether you’re looking to add a decorative touch to a piece of clothing, create a unique piece of art, or repair a beloved item, knowing how to sew yarn on fabric is a valuable skill.
This article will guide you through the process, from selecting the right yarn and needle, to executing the sewing techniques correctly. It’s time to unravel the intricacies of this craft and get you started on your yarn-sewing adventure.
Key takeaways:
- Choose the right yarn and fabric combination for optimal results.
- Transfer your design onto the fabric using transfer paper.
- Thread the needle with yarn and knot the ends securely.
- Sew the yarn on fabric, paying attention to tension and stitch size.
- Care for your completed project by following proper washing and fabric care instructions.
List of Necessary Materials for Sewing Yarn On Fabric
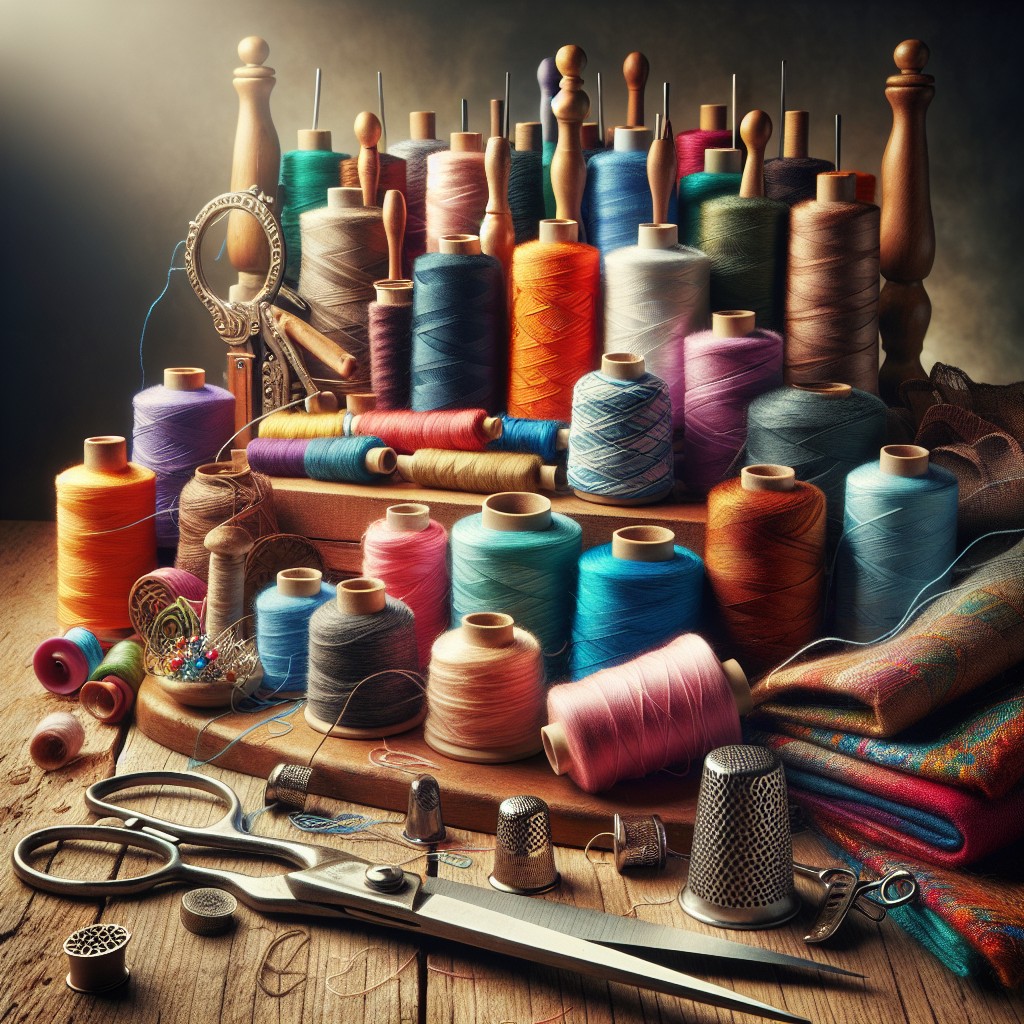
Your desired fabric, whether it’s canvas, linen, or cotton, forms the backdrop for your yarn work. The yarn itself should be of high quality – wool, cotton, or synthetic fibre based on preference, project requirements, and the materials compatibility. An embroidery hoop will help keep fabric taut during work, facilitating even stitching.
Opt for an embroidery needle that has a larger eye for easy threading of thick yarns. Choose needles based on the yarn thickness. Scissors, specifically dedicated for crafts, are a must; sharp and strong enough to cut through several yarn threads without fraying.
Have a water-soluble marker or soft lead pencil handy for transferring designs. Should any part of your design require filling, consider having embroidery floss in colors matching your yarn. Finally, a damp cloth and iron are essential for final setting and pressing of your yarn work.
Choosing the Correct Yarn and Fabric Combination
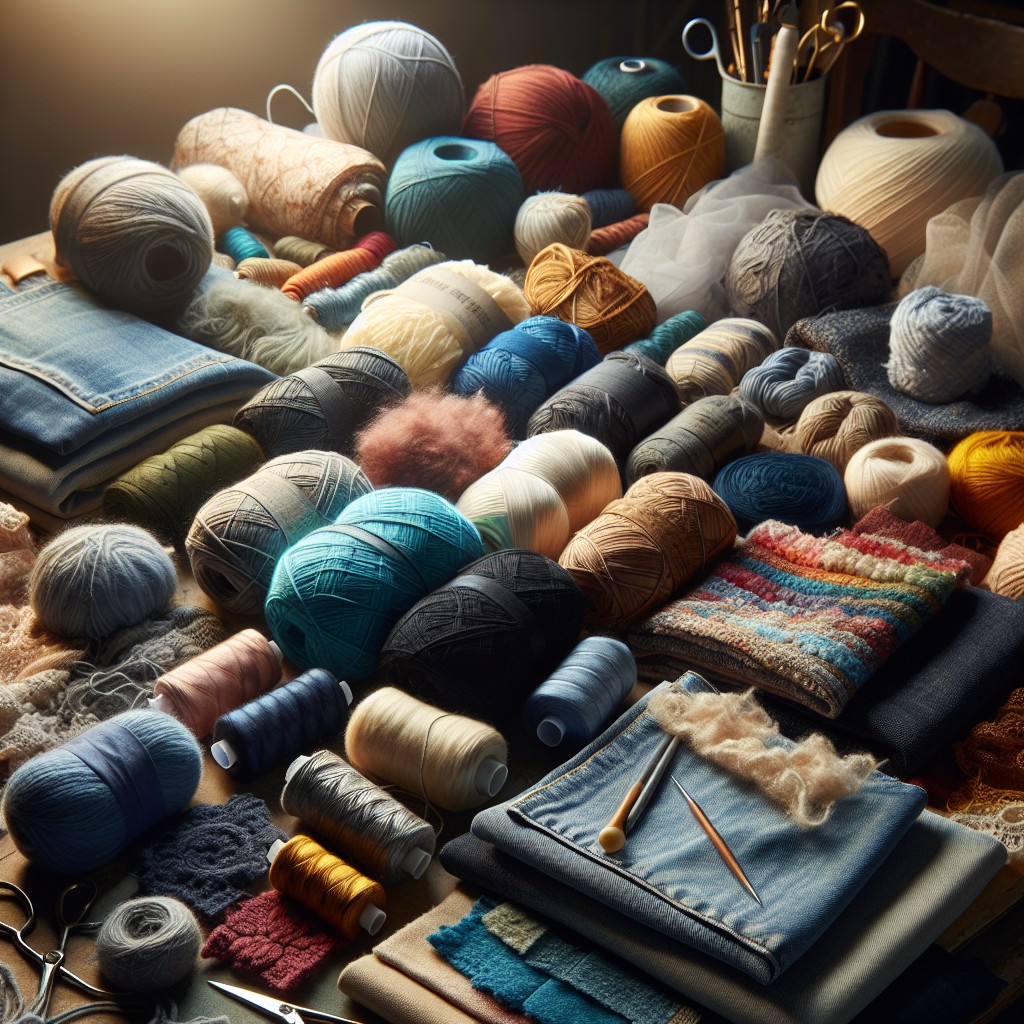
It’s crucial to pair the right yarn with suitable fabric for optimal results. Heavier yarns work well with denser fabrics like denim or canvas, while lighter yarns are best for materials like cotton or linen. Similarly, be sure to take stretch properties into account. Non-stretchy yarns are ideal for non-stretchy fabrics, and vice versa.
When choosing yarn, ensure it can withstand the same care treatment as your fabric. For instance, yarn and fabric should both be machine-washable if you intend on machine-washing the final product.
As for color, it’s vital to contrast the yarn with your fabric. If the hues are too similar, your design may be less visible. Experiment with different color combinations to find the most aesthetically pleasing pair.
Lastly, always consider the purpose of the textile piece. Decorative elements may warrant delicate, ornamental yarns. But for areas experiencing heavy wear, a durable yarn might be more appropriate.
Transferring Your Design Onto the Fabric
To transfer a design onto fabric, first, sketch it on paper. Ensure it fits the yarn’s thickness.
Next, take a transfer paper which contrasts your fabric’s color. Place it on the fabric and lay your design atop, then trace it with a stylus or dull pencil. Make sure to follow along every detail.
Once completed, use a soft cloth to wipe off excess transfer paper residue, leaving a clear image.
Always remember: it’s easier to add details later, so start simple, and as your comfort increases, take on more complex designs.
Preparation: Threading the Needle With Yarn
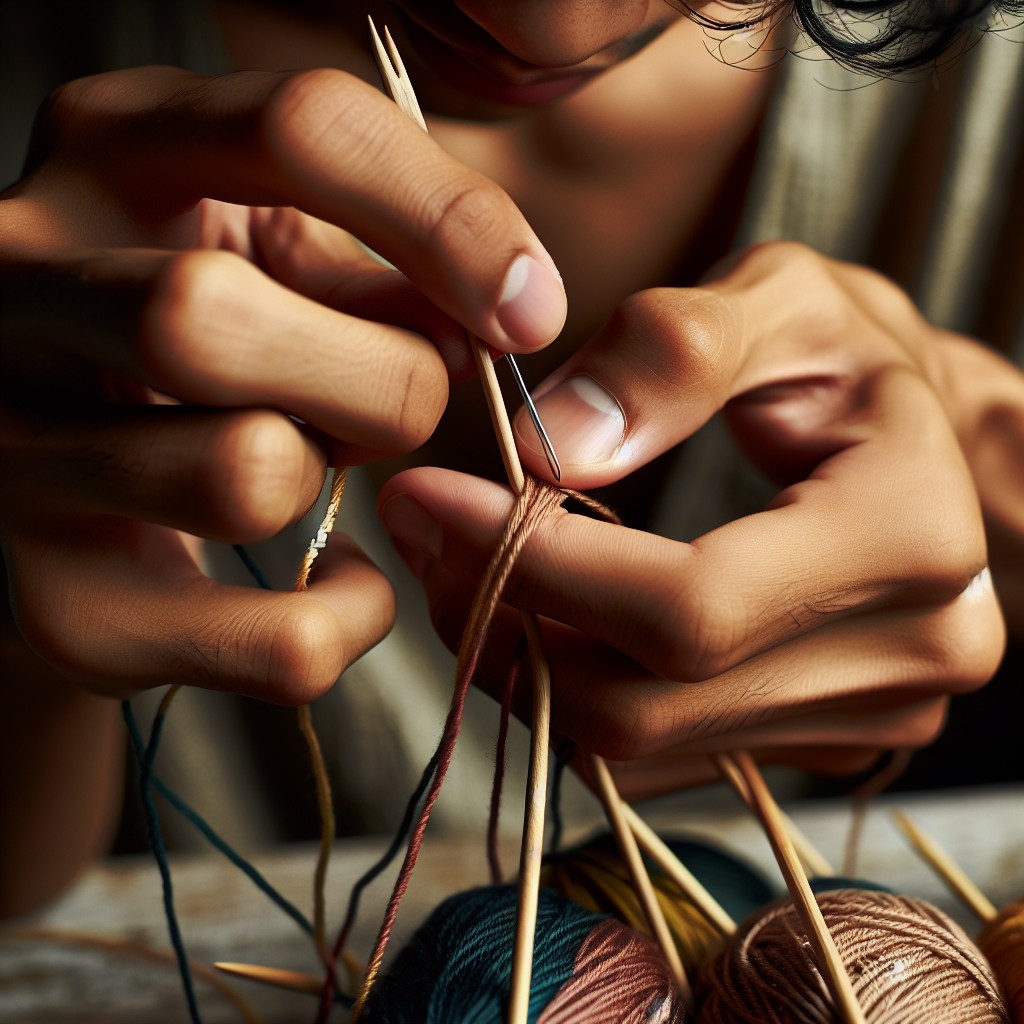
Helpful steps ensure the correct process is undertaken. Initially, cut a length of yarn, which is about the length of your arm. This length has been found to be manageable and reduces the chances of tangling.
Thread one end of the yarn through the eye of your chosen needle, large-eyed embroidery ones are usually best-suited for yarn.
Form a knot at the other end of the yarn. The simplest method is to make a small loop at the end of the yarn, then pass the strand’s end through this loop and pull tight, creating a secure knot.
A double thread can be used for adding extra thickness and making the stitching stand out more prominently. For that purpose, simply fold your yarn in half before threading the needle, then knot the two loose ends together. Doing this will effectively double the yarn’s thickness once you start the actual sewing process.
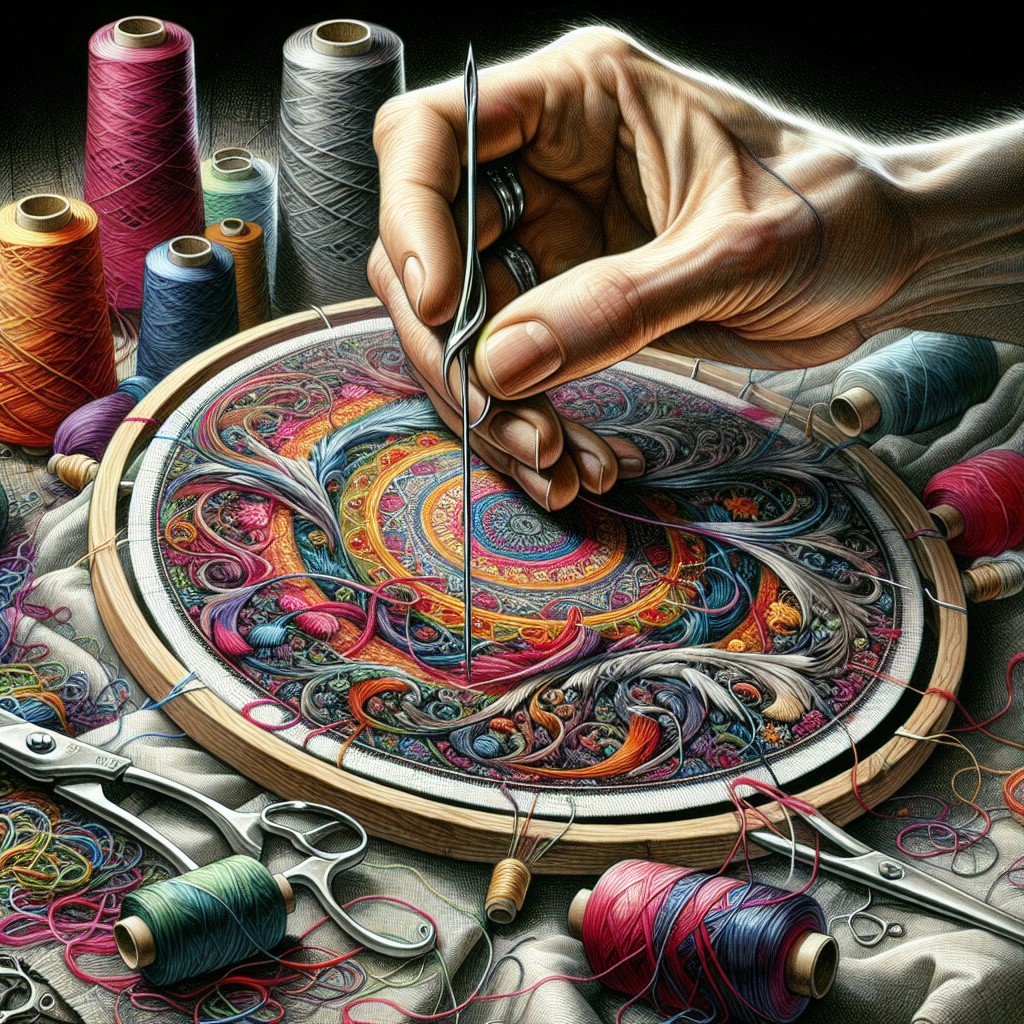
Process of Sewing Yarn On Fabric
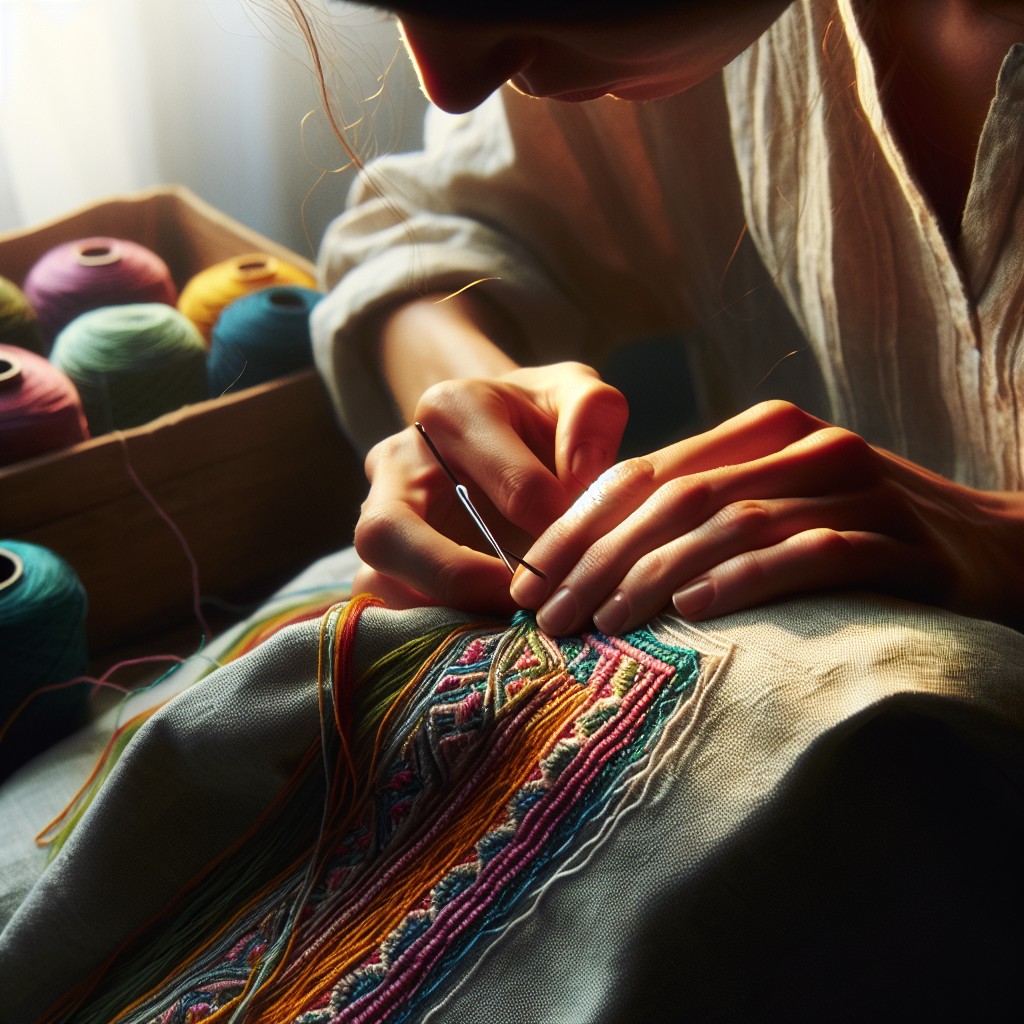
Once the needle is threaded with your chosen yarn, start at the back of your fabric pushing your needle to the front. This allows the tail end of the yarn to stay hidden. As you create your first stitch, be sure to hold the tail of the yarn against the backside of the fabric to secure it in place.
The size of the stitches depends on your desired effect. Smaller stitches can provide more detail, but they take longer to complete. Larger stitches, conversely, finish faster but may not provide as much detail.
Always keep an eye on your tension. Too tight and the fabric will wrinkle or pucker; too loose and the yarn may slip out or create gaps in the design. It’s a balancing act that becomes easier with practice.
Avoid pushing the needle all the way through the fabric until you’re ready to change the direction of the stitch. This neat trick, known as the ‘stab stitch’ technique, gives you more control and ensures cleaner lines in your design.
When ending your sewing, simply make a small knot at the back of the fabric using the end of your yarn. You can weave the tail under your stitches to hide it.
Post-sewing Process – Washing and Fabric Care
Tending to your completed project properly extends its lifespan and keeps it vibrant. Begin by checking the care instructions for your chosen yarn. Most yarns are machine washable, but some require hand washing. Always use cold water, as hot water could shrink the fabric or cause the yarn to bleed.
When drying, avoid a tumbling dryer if possible. Instead, carefully roll your project in a towel to soak up excess moisture, then lay it flat to dry. This prevents the yarn seam from stretching or distorting.
Should your piece need ironing, use low heat and always iron on the wrong side. Avoid pressing directly on the yarn stitches to prevent flattening or scorching.
Remember, yarn fabric’s longevity and spark largely depend on good care practices. These steps, done consistently, will keep your work looking its best.
Tips and Recommendations for Sewing Yarn On Fabric
When working with yarn and fabric, there are a few tips that could enhance the final result:
1. Always test the yarn on a fabric scrap first. This can help you evaluate how the two materials interact together.
2. Follow the grain when sewing. This ensures the stitches do not disrupt the fabric’s natural alignment, leading to a more pleasing aesthetic.
3. Use specialty needles designed for yarns. These needles have larger eye sizes to accommodate thick yarns, reducing strain and ensuring smoother stitches.
4. If intricate designs are involved, try using a tracing paper to guide your stitches. This will not only improve precision but also make the process more efficient.
5. Lastly, be mindful of tension. Too much tension can lead to puckering or deformations in the fabric, while too little may affect the sturdiness of the stitch. Getting it right can be a bit of trial and error, but persistence pays off.
Keeping these in mind will make sewing with yarn on fabric a smoother, more enjoyable venture.
FAQ
Can you hand sew with yarn?
Yes, you can hand sew with yarn, especially lightweight yarns, using a technique known as bobbinwork.
What is the process of yarn to fabric?
The process of converting yarn into fabric primarily involves weaving, in which warp and weft yarn are intricately interlaced to produce woven materials.
What are the key differences between sewing with yarn and sewing with thread?
Sewing with yarn is generally used in knitting and crocheting crafts where a thicker, heavier stitch is desired, while sewing with thread is often applied in fabric construction and embroidery for finer, more delicate stitches.
How can one choose the correct type of yarn for sewing onto different fabrics?
When choosing the correct type of yarn for sewing onto different fabrics, consider the fabric’s texture and weight, your project type, and choose a yarn that offers similar durability and care requirements.
Are there particular stitches that are more effective when sewing with yarn as opposed to thread?
Yes, stitches such as the chain stitch, the slip stitch, and the double crochet stitch are generally more effective when sewing with yarn as compared to thread.


