Learn how to join crochet squares seamlessly with a variety of easy-to-follow methods!
Ever felt like the Frankenstein of the crochet world, stitching together oddly shaped crochet squares into a mismatched monster? Fear not, yarn wizard! Whether you crave consistency with your materials, a neat and polished Single Crochet Join, the stealthy Slip Stitch Join, a flatter Flat Crochet Join, or the sorcery of Join-As-You-Go, we’ve got the magic spells you need to transform those squares into a masterpiece. Dive in and let’s get those squares living harmoniously ever after!
Key takeaways:
- Consistent materials for consistent results.
- Single Crochet Join for a neat and tidy finish.
- Slip Stitch Join for a smooth and unobtrusive seam.
- Flat Crochet Join for a flatter and less bulky seam.
- Join-As-You-Go allows for seamless joining during the crochet process.
Materials
When it comes to joining crochet squares, having the right supplies can make or break your project. The key elements include your chosen yarn, a crochet hook that matches the yarn weight, and a yarn needle for those final touches.
Consider the yarn: Use the same type of yarn throughout your squares for consistency. Mixing fibers can result in tension issues and uneven joins. Stick to the same brand and yarn weight, if possible, to keep things uniform.
The crochet hook: Using the correct hook size is crucial. A hook too large or too small can cause your joins to either pucker up or look too loose. Check your yarn label or pattern for guidance.
Don’t forget the yarn needle: This little tool helps weave in those pesky ends securely and neatly. A blunt-tipped needle is your best friend here because it can glide through stitches without splitting the yarn.
Stitch markers and scissors: Stitch markers help keep your place and ensure accuracy as you join, while a good pair of scissors is essential for snipping ends cleanly.
Having these materials ready and organized will help make your joining process smoother and more enjoyable.
Single Crochet Join
It’s all about that strong bond and a clean, sturdy finish. Here’s how:
Hold two squares with the right sides facing each other. You want their backs facing the world, chatting secretly among themselves.
Insert your hook through both loops of the first stitch of each square. Think of it as playing matchmaker for these yarny soul mates.
Yarn over, pull through both loops. Now you’ve got a date! Emerge through the loops like a conversation that never ends.
Complete a single crochet stitch. Ta-da! They’re joined.
Repeat the process for each stitch along the edge. It’s like a crochet conga line, one stitch after another.
Once you reach the end, fasten off and weave in those pesky ends. They can’t ruin this party anymore.
This method creates a neat, visible ridge on the wrong side, making it tidy and organized. Just the way we like it!
Slip Stitch Join
This method is as smooth and unobtrusive as a cat sneaking up on its favorite toy.
To start, have all your squares ready and lined up, wrong sides together. Insert your hook into the corner of both squares. Yarn over, and pull through the squares and the loop on the hook. Repeat this for each stitch along the edge of the squares.
Shorter stitches mean flatter joins. This technique keeps your squares firmly attached without adding bulk.
Great for showing off your stitch work without any seams stealing the spotlight. Plus, it’s quick and great for beginners.
Remember: tension is key. Too tight, and your squares will pucker. Too loose, and the join will stretch. Channel your inner Goldilocks and find that “just right” balance.
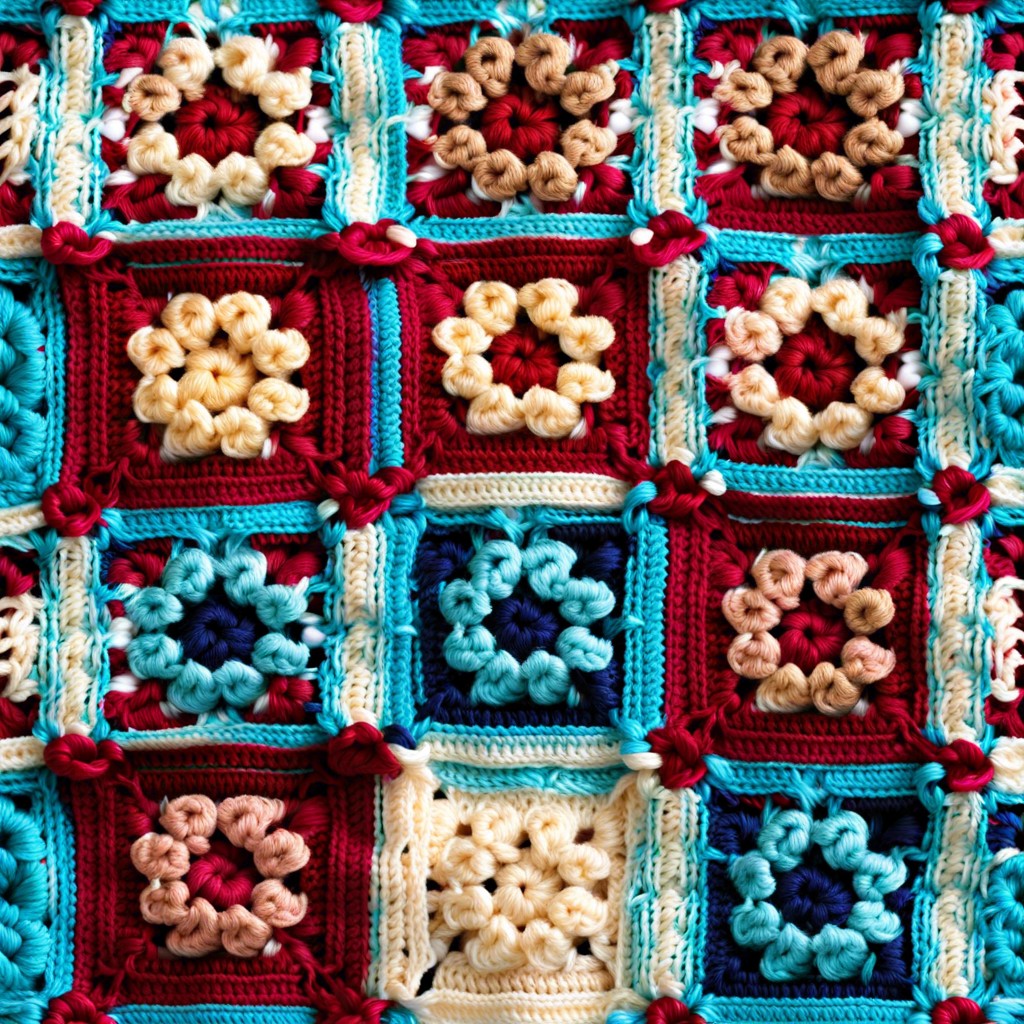
Flat Crochet Join
For this join, you’re going to be working through the back loops only. This creates a flatter seam that’s less bulky.
Start with the squares wrong sides together. The right sides should face out. Insert your hook through the back loops of the two squares where you want to join. Yarn over and pull through all loops on the hook.
Keep your tension even. Nobody likes a lumpy blanket, except maybe your cat.
Work this stitch across the entire edge you’re joining.
When you reach the end, fasten off and weave in the ends. Simple. Effective. Flatter than a pancake.
Tools
Grab your crochet hook—big, small, or somewhere in-between! You’ll need a trusty hook that suits your preferred join method, often a size G/4.0 mm to H/5.0 mm works well.
Stitch markers are your new best friends. They’ll help keep your squares in line, like diligent little traffic cops.
Yarn needle—basically a giant sewing needle, perfect for weaving in ends and securing your joins. Look for one with a blunt tip to avoid accidental piercings.
Scissors! Preferably ones sharp enough to cut yarn easily but small enough to carry around without looking like you’re planning a heist. Snip snip!
Join-As-You-Go (JAYG) Techniques
This method integrates the joining process directly into your crochet work. No extra steps at the end—hooray! Here are some key points to keep in mind:
- Pattern Matters: Different JAYG patterns require slightly different techniques. Always check instructions.
- Last Round: In many methods, the joining happens on the last round of your square. You’ll typically crochet or slip stitch directly into the adjacent square.
- Consistency: Make sure your tension is consistent. Loose stitches can look messy.
- Practice: It takes a bit of practice to get the hang of it, but it’s worth the effort.
- Versatility: Works great with a variety of square sizes and patterns.
Dive into it and enjoy the magic of watching your project come together as you work!
Decorative Joins
Imagine spicing up your granny squares with a bit of artistic flair. Decorative joins can add personality and pizzazz to your project.
The zigzag join creates a playful, wavy look that stands out. Perfect for eye-popping blankets.
Lacy joins give a delicate, airy feel, ideal for elegant throws or shawls. It’s like adding a touch of romance to your crochet pieces.
The flat braid join resembles mini cables, giving a sophisticated and textured finish. Think of it as the little black dress of crochet joins.
Half the fun is experimenting. Pick your favorite and let your imagination run wild.
Related Posts
 Easy Crochet Gnome Pattern Free: Transform Yarn into Whimsical Friends
 Crochet Star Blanket: A Stellar DIY Guide
 How to Crochet Slippers for Beginners Step by Step with Pictures: Cozy Feet Awaits
 Adjustable Ring Crochet: Master the Magic Circle
 How to Crochet Without a Hook: Hands-On Creativity