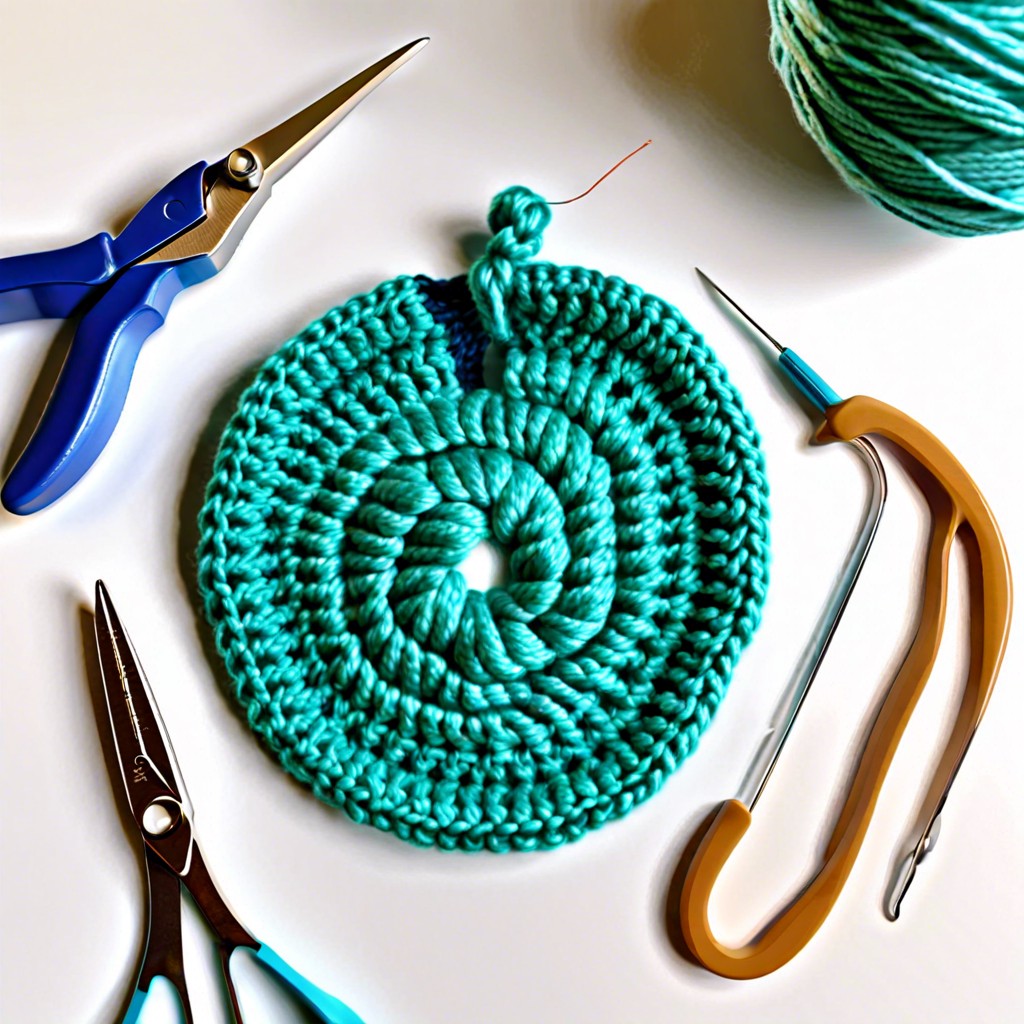
Learn how to master the reverse single crochet, also known as the crab stitch, to add an eye-catching edge to your crochet projects.
Ever wish you could crochet in reverse? Meet the reverse single crochet, your new crafty sidekick. This quirky stitch adds an eye-catching twist to your projects. We don’t just stop at the basics; you’ll get step-by-step guidance to hook, yarn over, and maintain tension like a pro. Ready to dazzle with your precision and flair? Let’s get reversing!
Key takeaways:
- Insert hook to begin reverse single crochet
- Yarn over for a reverse single crochet
- Pull the yarn through smoothly and maintain tension
- Repeat the preceding steps for each stitch
- Work the reverse single crochet stitch with precision and flair.
Insert Hook to Begin Reverse Single Crochet
Pretend your crochet project is a time machine and you’re Doctor Who traveling in reverse.
First, get comfy with your trusty hook and yarn. Start by holding your project as you normally would, but prepare to go right to left if you’re right-handed (left to right for southpaws).
Slide your hook into the stitch directly behind the one you’re working on. It’s as if you’re tiptoeing backward on a tightrope.
Remember, it might feel a tad awkward at first. That’s normal. You’re a crochet Jedi, mastering a new technique. Keep that hook traveling in reverse, and you’re on your way to a fabulous reverse single crochet stitch.
Yarn Over
When you yarn over for a reverse single crochet, you’re doing a little yarn dance. Here’s the scoop:
- Hold your hook in front of your work.
- Wrap the yarn counterclockwise around the hook. This might feel a bit awkward at first, but it’s just like giving your yarn a little hug, from right to left.
- Keep a firm but gentle grip on both the hook and yarn. No need to strangle it—think of cupping a fluffy kitten.
Each successful yarn over will start to form the backbone of the reverse single crochet. Don’t worry if your first attempts look like a tangled mess; practice makes perfect, and soon you’ll be doing it in your sleep.
Pull the Yarn Through
This is where the magic happens! As you pull the yarn through, keep these points in mind:
First, ensure your hook moves smoothly through the loop. Tug too hard and you might end up unintentionally frogging your project instead of progressing.
Second, maintain relaxed tension on your yarn. Tension tighter than a drum? Your stitches will be as stiff as cardboard. Too loose? They’ll look like grandma’s old cardigan.
Lastly, as the yarn slides through the stitch, aim for even loops. Lopsided loops might make your reverse single crochet look like a wonky roller coaster. Balance is key.
Keep these in check, and you’ll be yarning in reverse like a pro!
Repeat the Preceding Steps
When you’ve successfully completed one reverse single crochet stitch, you’re on a roll! Keep the momentum going by following these steps:
Remember to insert your hook into the next stitch to the right. Muscle memory might try to lead you astray to the left, but not today! Show it who’s boss.
Yarn over again, just like before. Yes, your yarn loves the attention.
Pull the yarn through the stitch, then through the loop on your hook. Think of it like a roller coaster ride: up, around, and through!
Continue this process, stitch by stitch, until you reach the end of your row. It’s like a conga line of crochet fun.
Your project might look quirky and delightful, much like the backside of a hedgehog. This is totally normal and part of the charm!
Stay relaxed; overthinking can lead to yarn-tantrums, and nobody wants that. Enjoy the rhythm at your own pace.
How to Work a Reverse Single Crochet Stitch
Slide that trusty hook into the next stitch, heading right to left like a crab scuttling sideways. Now, yarn over the hook with the flair of a seasoned pirate handling a ship’s wheel. Carefully pull that loop through the stitch—ta-da! Two loops on the hook.
With the precision of a needle-threading ninja, yarn over again. Pull this loop through both loops currently gracing your hook, creating a snug little stitch that would make even a button quiver with envy.
Repeat these steps until the row is complete. Each stitch will look casually twisted, like it just rolled out of yarn bed, but fret not—this is exactly what we’re aiming for. Little rebellious yet charming stitches all in a row.
Related Posts
 Easy Crochet Gnome Pattern Free: Transform Yarn into Whimsical Friends
 Crochet Star Blanket: A Stellar DIY Guide
 How to Crochet Slippers for Beginners Step by Step with Pictures: Cozy Feet Awaits
 Adjustable Ring Crochet: Master the Magic Circle
 How to Crochet Without a Hook: Hands-On Creativity