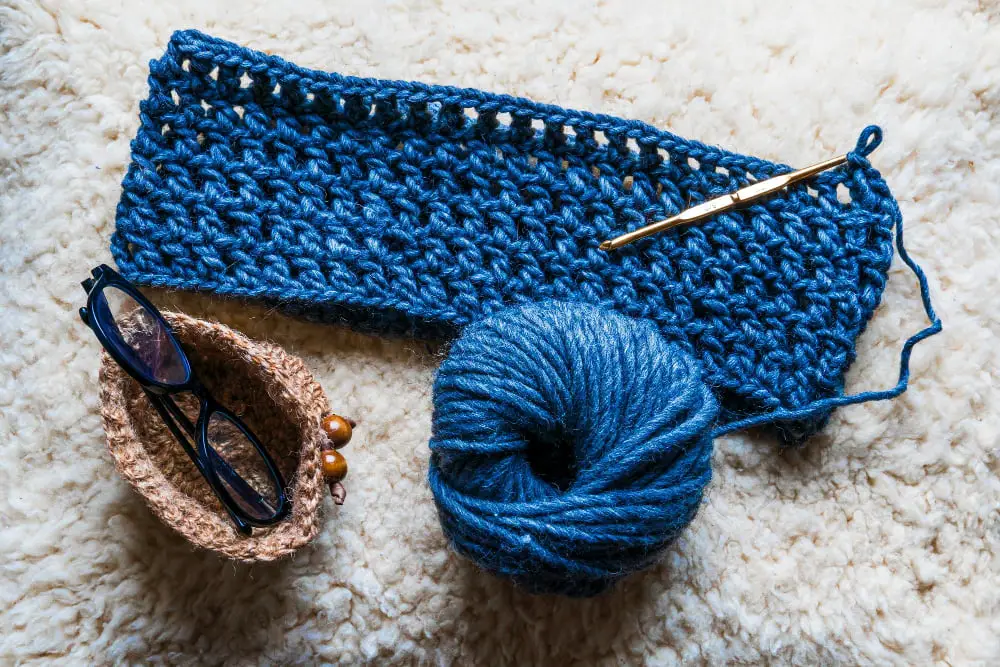
Discover the variety of crochet ribbing techniques as we delve into their unique characteristics and applications in this informative blog post.
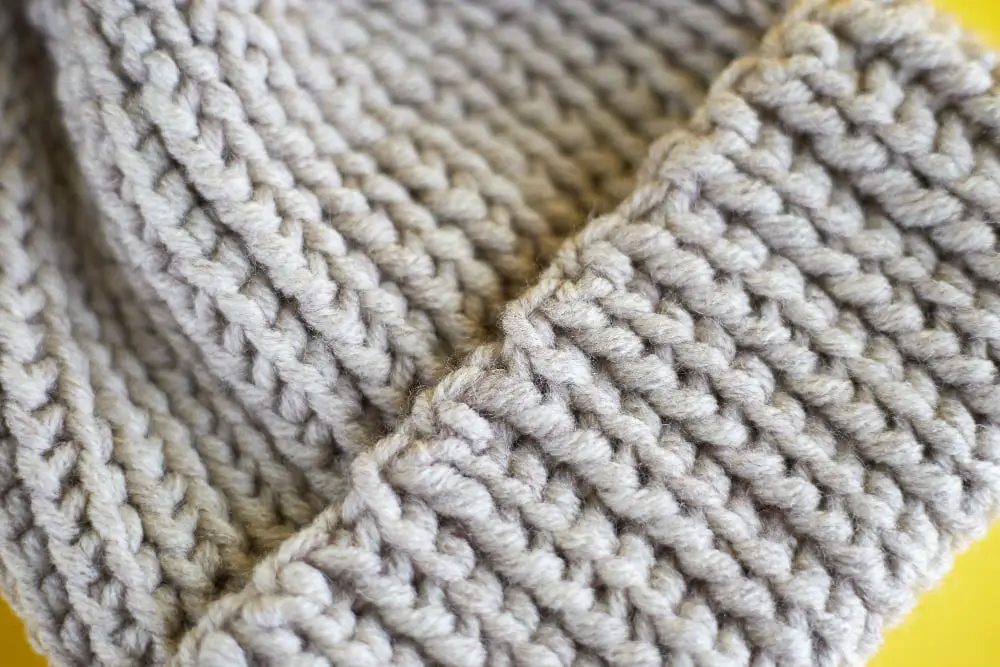
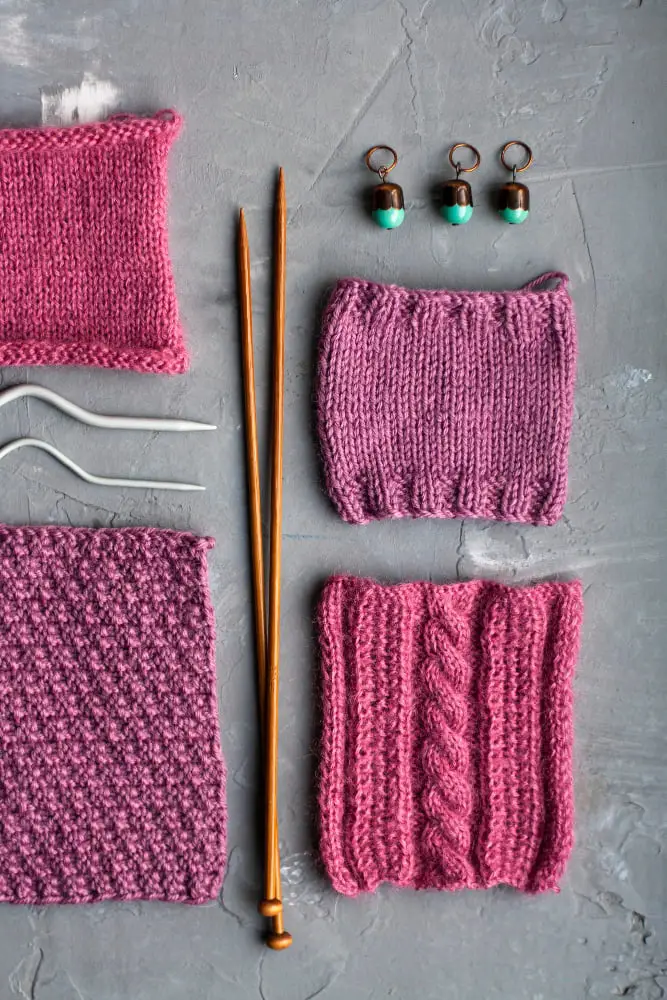
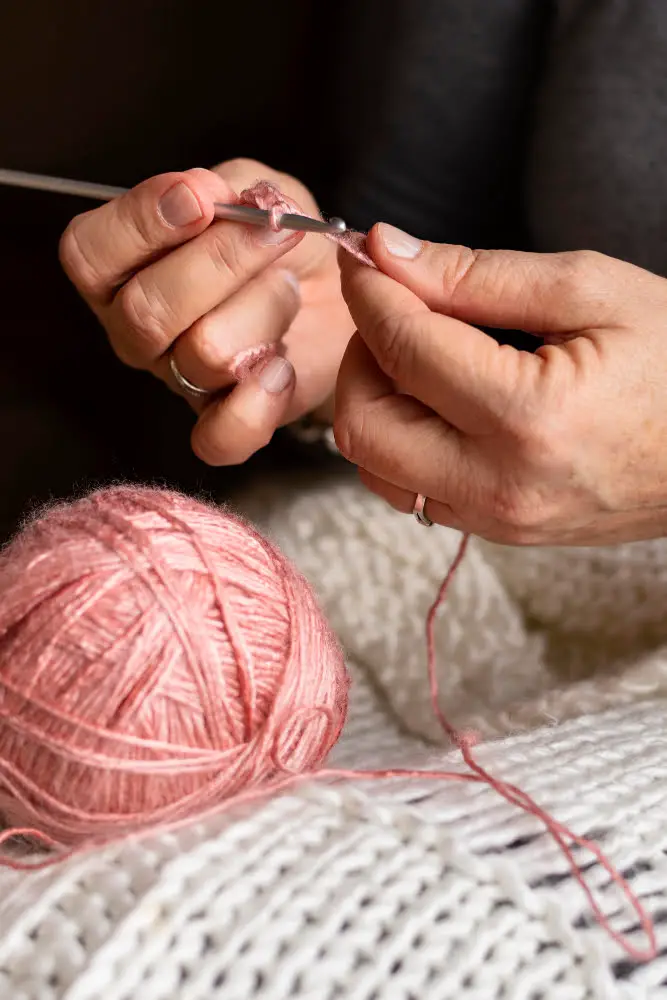
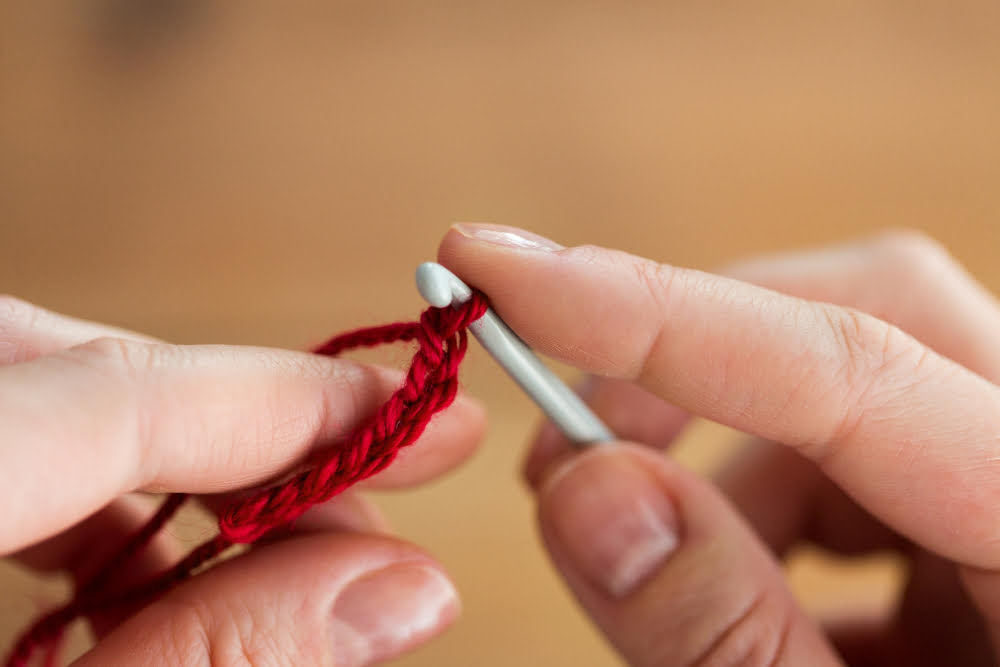
Crochet ribbing is a technique that adds texture and elasticity to your projects. It not only looks great but also serves a practical purpose by helping your garments fit snugly and comfortably.
There are various types of crochet ribbing, each with its unique characteristics and uses. In this blog post, we’ll explore the different types of crochet ribbing, how to create them, and where you can use them in your projects.
Whether you’re a beginner or an experienced crocheter looking to expand your skills, this post has something for everyone! So grab your hooks and yarns as we dive into the world of crochet ribbing!
Single Crochet Ribbing
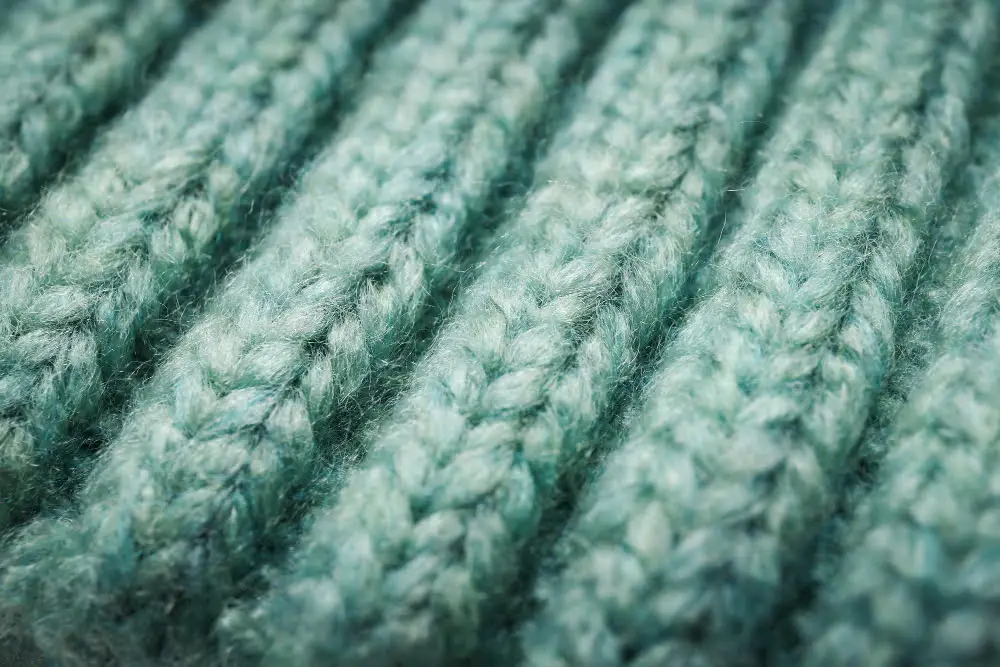
Single crochet ribbing is the most basic type of crochet ribbing and a great place to start if you’re new to this technique. It’s also known as 1×1 ribbing because it consists of one single crochet stitch followed by one chain stitch, repeated across the row.
This creates a stretchy fabric that’s perfect for cuffs, collars, and hems.
To create single crochet ribbing, you’ll need to work in multiples of two stitches plus one additional turning chain at the end of each row. Start by chaining an even number of stitches (for example 10) then add an extra turning chain before beginning your first row.
Row 1: Single Crochet into second chain from hook and every subsequent stitch across; turn. Row 2: Chain One (turning), *single Crochet into next Stitch; Chain One* repeat between ** until end.
Repeat Row Two until desired length is achieved.
Single crochet ribbing can be worked flat or in rounds depending on your project needs. When working in rounds make sure not to join with slip-stitch unless specified otherwise as it will cause unevenness along the seam line.
Half Double Crochet Ribbing
It’s perfect for cuffs, collars, and hems of garments as it provides structure while still allowing flexibility. To create this ribbing pattern, you’ll need to know how to work the half double crochet stitch (HDC) and back loop only (BLO).
To start your HDC ribbing row, chain an even number of stitches plus two additional chains for turning purposes. Then work one HDC in the third chain from your hook followed by one HDC in each remaining stitch across the row.
For subsequent rows: Chain two stitches before turning your work; then begin working BLO half double crochets into each stitch across until you reach the end of the row.
Repeat these steps until you achieve your desired length or complete as instructed by your pattern.
Double Crochet Ribbing
It’s perfect for cuffs, collars, and hems of sweaters, hats, scarves or any other garment where you need some elasticity. To create double crochet ribbing stitch pattern you will work in the back loop only (BLO) of each stitch to create ridges that run vertically along your project.
To start with Double Crochet Ribbing:
- Chain an even number of stitches.
- Work one row of double crochet stitches into the second chain from hook.
- Turn your work and chain two (counts as first dc).
- Work one dc into BLO across the row until last st.
- Work 2dc in last st
- Turn your work again
- Chain two (counts as first dc)
- Work one dc into BLO across until last st but do not make any increase at end this time around
- Repeat steps 5-8 till desired length
You can experiment with different yarn weights or hook sizes to achieve different textures for your projects using this technique.
Front Post and Back Post Ribbing
This ribbing style involves working stitches around the post of the stitch instead of through both loops, creating an effect that looks like cables or braids. Front post stitches are worked by inserting your hook from front to back around the post of the stitch in the previous row, while back post stitches are worked by inserting your hook from back to front.
This technique is perfect for adding extra warmth and stretchiness to hats, scarves, sweaters or any other project where you want a snug fit. It’s also great for creating decorative borders on blankets and afghans.
To create this ribbing pattern, you’ll need to have basic knowledge of single crochet (sc), half double crochet (hdc) and double crochet (dc). Once you’ve mastered these basic skills, it’s easy to learn how to work front-post/back-post stitches.
One thing worth noting about this technique is that it can be quite tight compared with regular crocheting because each stitch has more yarn wrapped around its base than usual.
Slip Stitch Ribbing
It’s perfect for cuffs, collars, and hems of garments as it helps them retain their shape while providing flexibility. To create slip stitch ribbing, you’ll need to work in the back loop only (BLO) of each stitch.
To start slip stitch ribbing, chain an even number of stitches and then work one slip stitch into the second chain from your hook. Continue working one slip stitch into each chain across until you reach the end of your row.
For subsequent rows, turn your work and begin by chaining one before working a single BLO slip-stitch into the first back loop only (BLO) below it. Then continue alternating between BLO slips stitches across until you reach the end.
Repeat this process for as many rows as needed to achieve your desired length or pattern repeat.
Extended Single Crochet Ribbing
It creates a slightly taller and more elongated stitch, which gives your project an interesting texture. To create this type of ribbing, you’ll need to know how to work extended single crochet stitches.
To start, chain the desired number of stitches for your foundation row. Then turn your work and insert your hook into the second chain from the hook.
Yarn over and pull up a loop (two loops on hook). Yarn over again and draw through one loop (two loops on hook).
Now yarn over once more and draw through both loops on the hook.
Repeat this process across each stitch in every subsequent row until you reach your desired length or pattern repeat.
Extended Single Crochet Ribbing works well for projects that require stretchy fabric such as hats, cuffs or collars because it has some give while still maintaining its shape nicely. Try experimenting with different types of yarns when working with Extended Single Crochet Ribbing; thicker yarns will produce chunkier results while thinner ones will create delicate textures perfect for lightweight garments like shawls or scarves.
Herringbone Half Double Crochet Ribbing
This ribbing stitch is worked by alternating between front post half double crochet (FPhdc) and back post half double crochet (BPhdc). The result is a diagonal pattern that resembles the herringbone pattern found in woven fabrics.
This type of ribbing works well for cuffs, collars, and borders on garments such as sweaters or cardigans. It can also be used to add interest to accessories like hats or scarves.
To create Herringbone Half Double Crochet Ribbing, you will need to have experience with basic stitches like single crochet (sc), half double crochet (hdc), front post stitches, and back post stitches. Once you have mastered these techniques, this stitch should be relatively easy for you.
When working with this stitch pattern it’s important not to pull too tightly on your yarn as it can cause the fabric to pucker or warp. Instead work at a relaxed tension so that each stitch has room to breathe.
Linked Double Crochet Ribbing
It’s perfect for projects like hats, scarves, and sweaters where you need the ribbing to be snug but not too tight. The linked double crochet stitch is worked by inserting your hook through the horizontal bar of the previous stitch instead of under both loops as in traditional double crochet.
To create Linked Double Crochet Ribbing, start with an even number of stitches and work in rows. Begin with a foundation row using single crochet or half-double crochet stitches before switching to linked double crochets for subsequent rows.
The result will be a beautiful textured pattern that looks great on its own or combined with other types of ribbing techniques. Try experimenting with different yarns and colors to see how they affect the final look!
Puff Stitch Ribbing
This ribbing stitch creates a raised, bumpy surface that looks like little puffs or bubbles. It’s perfect for adding interest to cuffs, collars, and hems of sweaters or hats.
To create Puff Stitch Ribbing, you’ll need to know how to work the puff stitch. The puff stitch is made by working several incomplete double crochets into the same space before pulling through all loops on your hook at once.
Once you’ve mastered the puff stitch itself, creating Puff Stitch Ribbing is easy! Simply alternate rows of single crochet with rows of puff stitches worked in between them. You can adjust the number of single crochets between each set of puffs depending on how wide you want your ribbed section to be.
One thing to keep in mind when using Puff Stitch Ribbing is that it tends not stretch as much as other types of ribbing due its bulky nature. So if you’re making something like a hat where stretchiness matters more than appearance then this may not be an ideal choice for such project.
Cable Stitch Ribbing
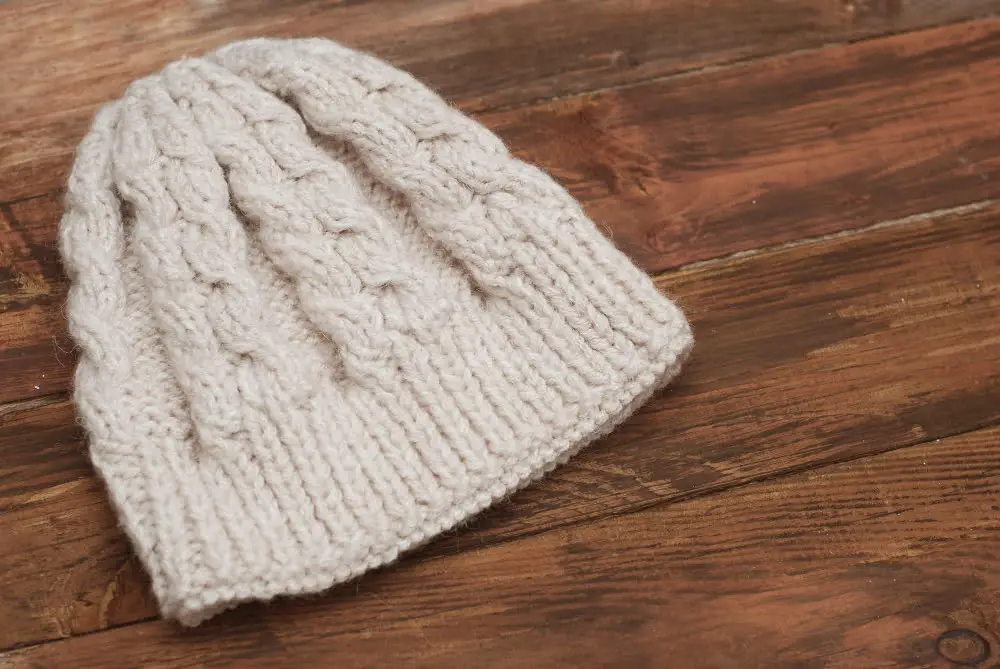
It’s perfect for creating cozy sweaters, hats, scarves, and blankets. This ribbing style involves crossing stitches over each other to create the appearance of cables running vertically along your work.
To achieve this effect, you’ll need to know how to work front post double crochets (FPDC) and back post double crochets (BPDC). These two stitches are used in combination with regular double crochets (DC) to create the cable pattern.
To begin working cable stitch ribbing, start with a foundation row of single or half-double crochet stitches. Then follow these steps:
- Work 2 DC in the first stitch.
- Skip one stitch.
- FPDC around the next DC from previous row.
- BPDC around skipped st from previous row
- Repeat steps 3-4 across until last two sts remain
- FPdc into second-to-last st then dc into last st
Repeat this sequence until you reach your desired length for your project.
Tunisian Crochet Ribbing
This method creates a dense, stretchy fabric that’s perfect for cuffs, collars, and hems. Tunisian crochet ribbing is worked in rows using a special hook with an elongated shaft called an Afghan or Tunisian hook.
To create Tunisian crochet ribbing, you’ll need to know how to work basic stitches such as tunisian simple stitch (TSS) and tunisian purl stitch (TPS). The TSS creates vertical bars on one side while the TPS produces horizontal bumps on the other side.
By alternating these two stitches in different combinations, you can create various patterns for your ribbed fabric.
One popular pattern is called 1×1 Rib Stitch which alternates between one TSS followed by one TPS across each row. Another common pattern is 2×2 Rib Stitch which alternates between two sets of TSS followed by two sets of TPStitches across each row.
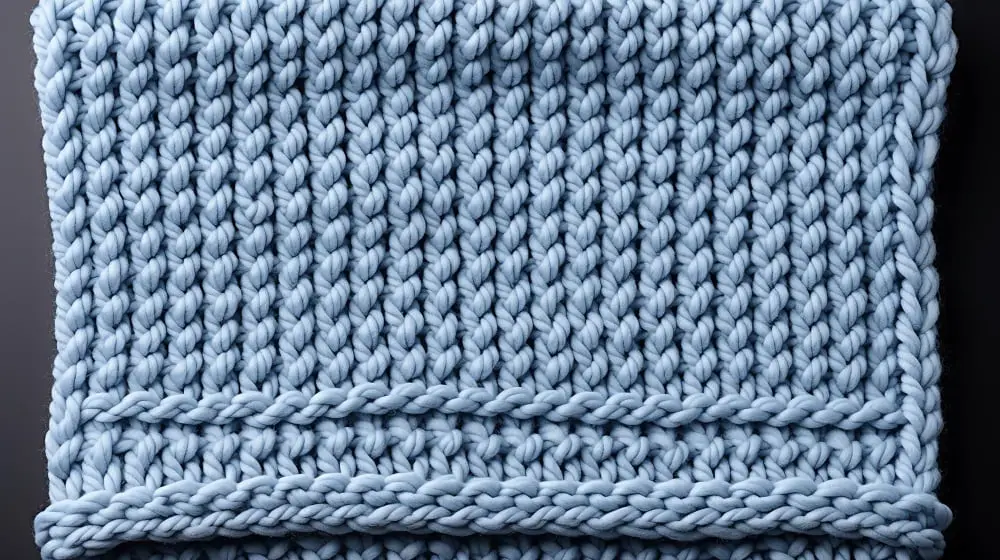
Waffle Stitch Ribbing
This stitch is perfect for adding depth and interest to your projects while still maintaining the elasticity needed for proper fit. The waffle stitch ribbing consists of alternating front post double crochets (FPDC) and back post double crochets (BPDC), creating a raised, grid-like pattern.
To create this type of ribbing, you’ll need to have some experience with basic crochet stitches like single crochet and double crochet. Once you’ve mastered those stitches, the waffle stitch will be easy to learn.
The waffle stitch can be used in various projects such as scarves or blankets where texture plays an important role in design aesthetics. It’s also great for cuffs on sweaters or hats because it provides stretchiness without losing its shape over time.
Waffle Stitch Ribbing adds an extra layer of dimensionality that makes your project stand out from others using more traditional types of ribbed patterns like single or half-double crocheted ribs.
Basketweave Stitch Ribbing
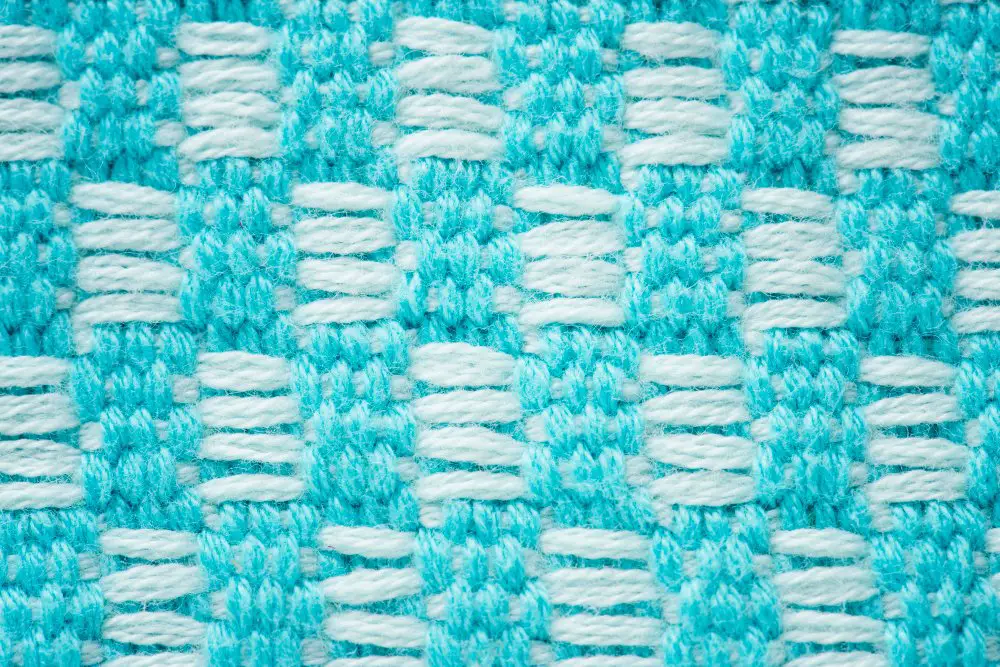
This stitch pattern creates a woven effect that resembles the interlacing of basketry, hence its name. To create this ribbing, you’ll need to know how to work front post double crochets (FPdc) and back post double crochets (BPdc).
The Basketweave Stitch Ribbing can be worked in multiples of four stitches plus two chains for turning.
To start, you’ll need to chain an even number of stitches plus two additional chains for turning. Then work one row of single crochet across the foundation chain before starting with the Basketweave Stitch pattern.
The first row consists entirely of FPdc stitches worked around each single crochet from the previous row. In contrast, on Row 2, you will alternate between working BPdc around each FPdc from Row 1 and vice versa until completing all rows required for your project’s desired length.
This stitch pattern is perfect for creating cozy blankets or scarves as it provides excellent insulation while still being breathable due to its open weave design.
Reversible Ribbing Techniques
With these techniques, you can create ribbing that looks the same on both sides, making it perfect for items like scarves or blankets where both sides will be visible.
One of the most popular reversible ribbing techniques is the Double Seed Stitch Ribbing. This stitch pattern alternates between knit and purl stitches in a two-row repeat, creating an attractive texture that looks identical on both sides.
Another option is Fisherman’s Rib Stitch which creates a thick and squishy fabric with excellent stretch properties. It involves working into each stitch twice but in different ways depending on whether you’re working into knit or purl stitches.
The beauty of reversible ribbing lies not only in its aesthetic appeal but also its practicality as it eliminates any need for hiding wrong side rows when folding over cuffs or collars.
Faux Knit Ribbing
This method creates a stretchy and textured fabric that resembles knit ribbing, making it perfect for projects like hats, scarves, and sweaters.
To create faux knit ribbing, you’ll need to use the waistcoat stitch (also known as center single crochet or split single crochet). This stitch is worked into the “V” shape on top of each stitch instead of through both loops like traditional single crochets.
By working in this way, you can achieve a vertical line pattern similar to knitting.
One advantage of using faux knit ribbing over actual knitting is that it’s much faster since you’re only working with one hook instead of two needles. If you’re not comfortable with knitting or don’t have access to knitting needles but still want your project to have a knitted look – then this technique could be an excellent alternative for achieving your desired outcome.
Crocheting Ribbing in the Round
It’s an excellent way to add texture and elasticity without having to sew or seam your work. To crochet ribbing in the round, you’ll need to know how many stitches are required for each repeat of your chosen stitch pattern.
One popular method is using single crochet (sc) stitches worked through the back loop only (BLO). This creates a raised ridge that mimics knit ribbing.
Another option is working front post double crochets (fpdc) followed by back post double crochets (bpdc), which produces a more pronounced ridged effect.
When working on circular projects like hats or mittens with small circumferences, it can be challenging to maintain consistent tension throughout each row of stitching. One solution is using stitch markers at regular intervals around your work so that you can keep track of where each row begins and ends.
Crocheting ribbing in the round requires some practice but yields beautiful results when done correctly.
Combining Different Ribbing Stitches
You can mix and match various types of ribbing stitches, creating unique patterns that are both functional and stylish. For example, you could use half double crochet ribbing for the cuffs of a sweater or hat, then switch to single crochet ribbing for the body.
Another option is alternating front post and back post double crochet ribs in a scarf or blanket pattern. This creates an intricate woven look that’s sure to impress! The possibilities are endless when it comes to combining different types of crocheted ribs.
When working with multiple stitch patterns in one project, it’s important to keep track of your rows so that you don’t lose count or get mixed up between the different stitch patterns. One helpful tip is using stitch markers at each transition point between two different types of crocheted ribs.
Yarn Over Slip Stitch Ribbing
This stitch involves working slip stitches through the back loop of the previous row, with yarn overs in between each slip stitch. The result is an attractive ribbed fabric that looks great on hats, scarves, and sweaters.
To create Yarn Over Slip Stitch Ribbing, you’ll need to know how to work basic crochet stitches like single crochet (sc) and slip stitch (sl st). Once you have those down pat, this technique will be easy for you to master.
One of the benefits of using Yarn Over Slip Stitch Ribbing is its stretchiness. It’s perfect for projects where you want your ribbed sections to fit snugly without being too tight or uncomfortable.
It adds texture and visual interest compared to traditional single or double crochet ribs.
When working with this technique in your project make sure not pull too tightly as it can cause puckering which may affect the overall look of your finished product.
Half Double Crochet & Single Crochet Combo

This stitch pattern alternates between half double crochet and single crochet stitches, creating a stretchy yet sturdy fabric that’s perfect for cuffs, collars, and hems.
To work this ribbing pattern, you’ll need to know how to make both half double crochet (hdc) and single crochet (sc) stitches. Start by chaining an even number of stitches plus one for the turning chain.
Then work one hdc in the second chain from your hook.
Next, *work one sc in the next stitch followed by one hdc in the following stitch*. Repeat from *to* across until you reach the end of your row or desired length.
When working subsequent rows of this combo ribbing pattern be sure to start with either an sc or hdc depending on which was worked last on previous row so as not disrupt its alternating nature. This combination creates a subtle but interesting texture that can add depth and dimensionality to any project.
Single Crochet & Slip Stitch Combo
This ribbing pattern alternates between single crochet stitches and slip stitches to create vertical lines of texture. The single crochets provide structure while the slip stitches add elasticity, making it perfect for cuffs, collars or any area where you need some give in your project.
To work this stitch pattern, start with an even number of chains. Then work one row of single crochets followed by one row of slip stitches worked into the back loop only (BLO).
Repeat these two rows until you reach your desired length.
One thing to keep in mind when working this stitch pattern is tension – make sure not to pull too tightly on the yarn as you switch between the two types of stitches.
Front Post Half Double Crochet & Single Crochet Combo
This stitch creates a raised ridge on the surface of your work, making it perfect for cuffs, collars, or any other area where you want to add some visual interest.
To create this ribbing pattern:.
- Start with a foundation chain in multiples of two.
- Row 1: Work one single crochet into each chain across.
- Row 2: Chain one (does not count as a stitch), *work one front post half double crochet around the next stitch from row 1; work one single crochet into the next stitch from row 1*. Repeat from * to * across until you reach the end of the row.
- Repeat row two until your desired length is reached.
This combination creates alternating columns of raised stitches that give off an almost woven appearance when worked up in contrasting colors or variegated yarns.
Back Loop Only Ribbing (BLO)
This method produces ridges that are more pronounced than regular crochet ribbing, making it an excellent choice for projects where you want to add extra texture and depth.
To create BLO ribbing, start with a foundation chain and work your first row of stitches as usual. Then, on subsequent rows, work into the back loop only of each stitch.
This will cause the front loops to remain unworked and form raised ridges on one side of your project.
BLO ribbing can be used in various projects such as hats or scarves where you want to add some visual interest without being too overwhelming. It’s also great for creating cuffs or borders because it has more stretch than regular crochet stitches.
FAQ
What is the best crochet stitch for ribbing?
The best crochet stitch for ribbing is the back loop only (BLO) technique, which can be used with any crochet stitch.
What is the most stretchy crochet ribbing stitch?
The most stretchy crochet ribbing stitch is the camel stitch, which uses the half double crochet and features a unique “3rd loop” that provides its elasticity.
What are the differences between front post and back post crochet stitches for ribbing?
Answer: The differences between front post and back post crochet stitches for ribbing are that front post stitches create raised ridges on the right side of the fabric while back post stitches create ridges on the wrong side, resulting in a textured appearance.
How do you create a faux knit ribbing effect in crochet?
To create a faux knit ribbing effect in crochet, work in the back loops only and alternate between single crochet and slip stitches throughout the rows.
Can you combine multiple stitches for a unique crochet ribbing pattern?
Yes, it is possible to create a unique crochet ribbing pattern by combining multiple stitches for a versatile and textured design.
Related Posts
 Easy Crochet Gnome Pattern Free: Transform Yarn into Whimsical Friends
 Crochet Star Blanket: A Stellar DIY Guide
 How to Crochet Slippers for Beginners Step by Step with Pictures: Cozy Feet Awaits
 Adjustable Ring Crochet: Master the Magic Circle
 How to Crochet Without a Hook: Hands-On Creativity