Discover the fascinating world of yarn dyeing as we explore its various types and techniques in this informative blog post.
Welcome to my latest blog post! Today, we’re going to explore the wonderful world of yarn dyeing. As a crochet and knitting enthusiast, I know how important it is to choose the right type of yarn for your project.
But have you ever thought about how that yarn gets its vibrant colors? Yarn dyeing is an art form that has been around for centuries, and there are many different techniques used to create unique and beautiful colors. In this post, we’ll be diving into the various types of yarn dyeing methods and what makes each one special.
So grab your favorite cup of tea and let’s get started!
Solid Dyed Yarn
Solid dyed yarn is the most basic type of yarn dyeing. It involves immersing a skein of undyed or natural-colored yarn into a single color dye bath, resulting in an even and consistent color throughout the entire skein.
Solid dyed yarns are perfect for projects that require uniformity in color, such as blankets or sweaters.
One advantage of solid dyed yarn is that it allows you to see stitch patterns more clearly than variegated or multicolor-dyed options. Solid colors can be easily combined with other solids to create interesting textures and designs.
When selecting dyes for your project, keep in mind that different fibers absorb dyes differently; some may require pre-treatment before dye application while others may not take up certain types of dyes at all. Experimentation with different types and brands will help you find what works best for your specific project needs.
Semi Solid or Tonal Yarn
This creates a tonal effect that adds depth and interest to your knitting or crochet project. The result is a beautiful blend of light and dark shades of the same color.
Tonal yarns can be used in many different ways, from simple stockinette stitch patterns to intricate lace designs. They add subtle texture and dimension without overpowering your pattern’s details.
One popular technique for using semi-solid or tonal yarns is called “color pooling.” By carefully manipulating how you knit each stitch, you can create unique patterns that showcase the colors in your skein.
When selecting semi-solid or tonal yarns for your next project, consider what type of pattern you’ll be working on. If it has lots of intricate details like cables or lacework, choose a more subdued tone so as not to detract from those elements.
Gradient, Gradated or Ombre Yarn
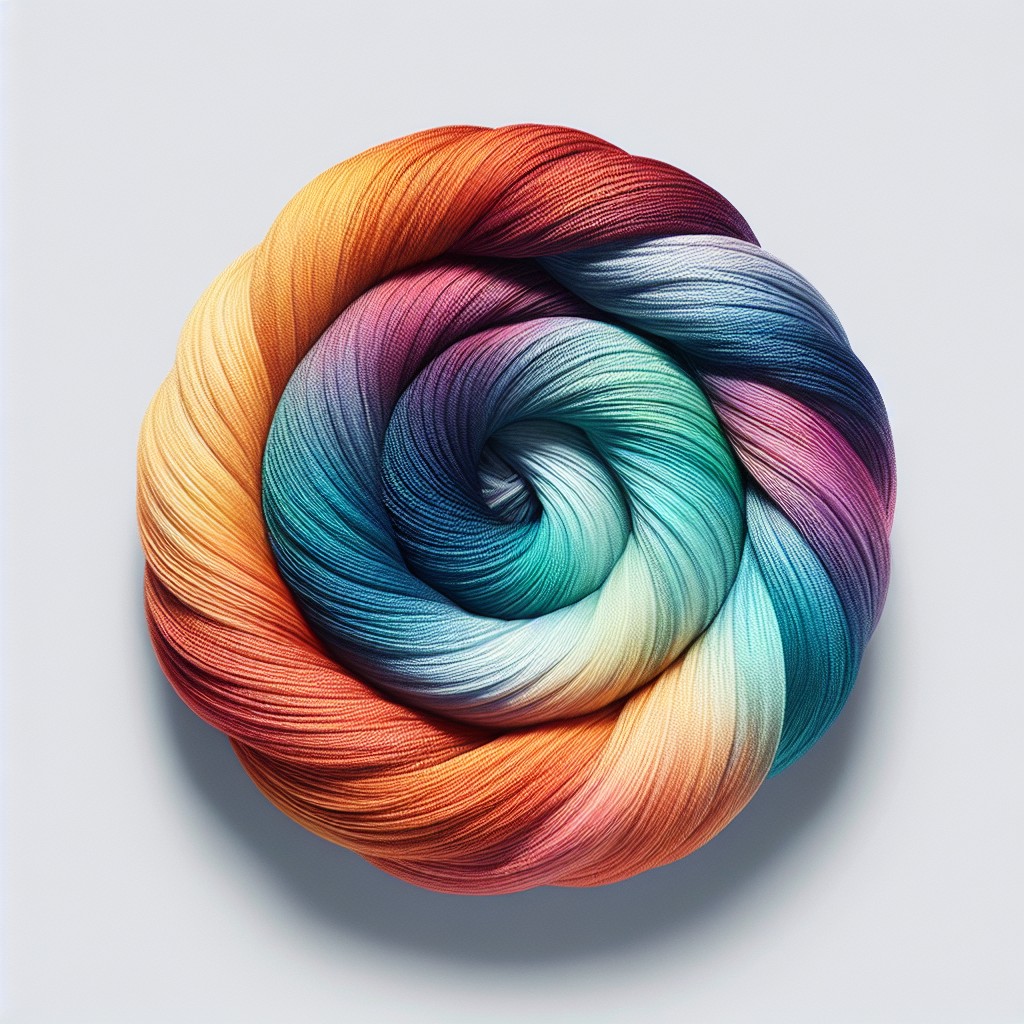
This type of yarn features a gradual transition from one color to another within a single skein. The result is a beautiful and unique effect that can add depth and dimension to any project.
The process for creating gradient, gradated or ombre yarn involves carefully blending different shades together in order to achieve the desired effect. Some dyers use multiple dye baths with varying concentrations of color while others apply dyes directly onto the skein in specific areas.
When working with this type of yarn, it’s important to consider how you want your colors to blend together as you work through your project. You may choose patterns that highlight each individual shade or opt for designs that showcase the overall gradient effect.
Variegated or Multicolor Dyed Yarn
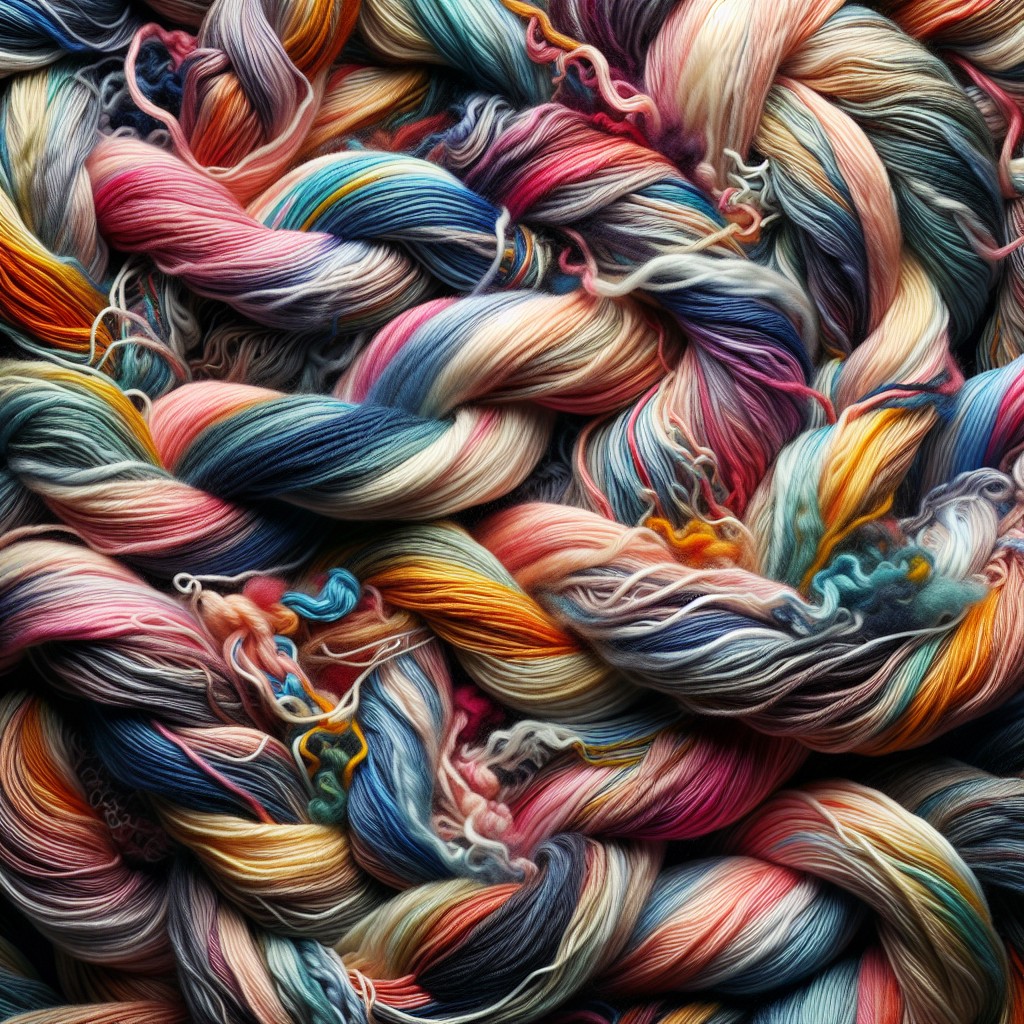
This type of yarn is dyed with multiple colors, creating a beautiful blend of hues that can add depth and dimension to any project.
One thing to keep in mind when working with variegated or multicolor dyed yarn is that the color changes can be unpredictable. It’s important to consider how the colors will interact with each other as you work through your project.
Some variegated yarns have long color repeats, while others may have shorter ones, resulting in more frequent color changes.
When using this type of yarn for larger projects such as blankets or sweaters, it’s essential to ensure that all skeins are from the same dye lot so that there are no noticeable differences between them.
Sprinkled or Speckled Yarn
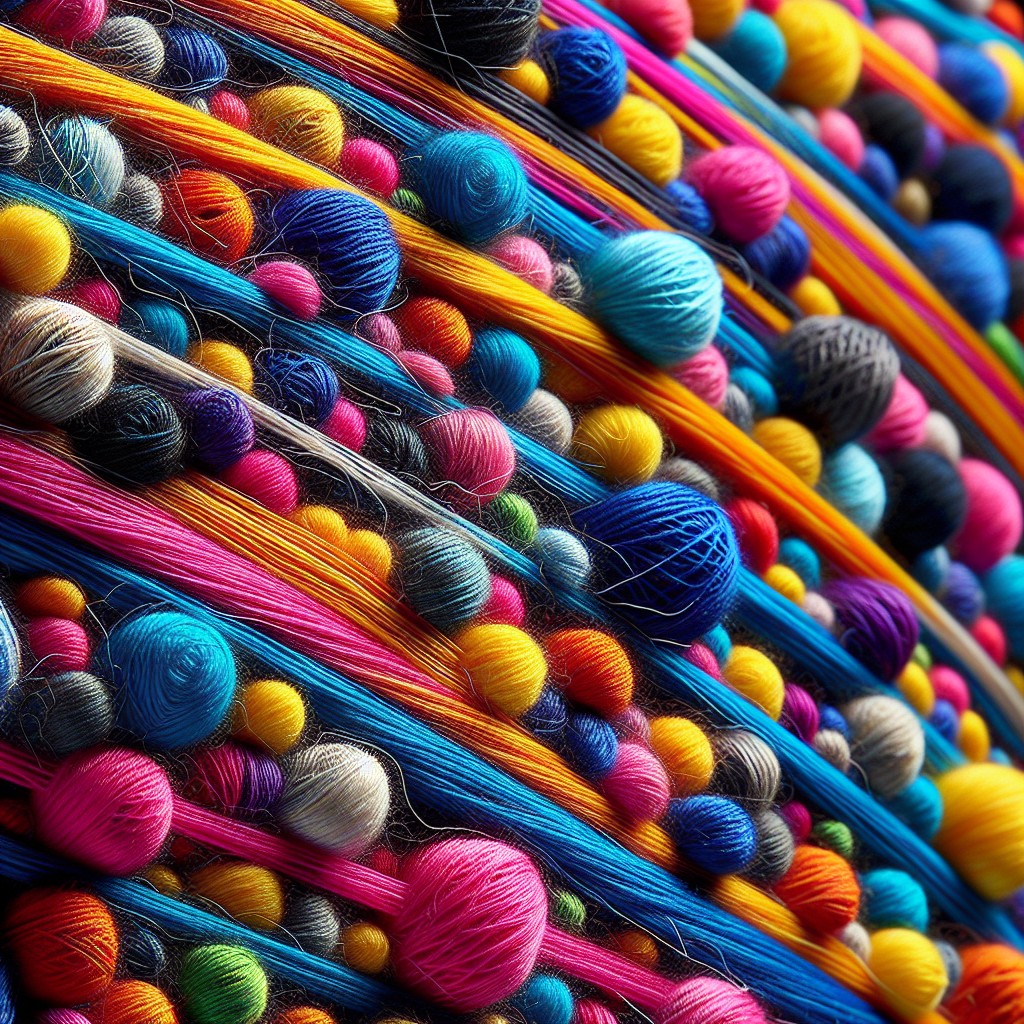
This type of yarn is created by applying small dots of dye to the surface of the skein, resulting in a playful and unique pattern. The beauty of this technique lies in its unpredictability – no two skeins will ever look exactly alike.
Speckling can be done on any color base, but it’s most commonly seen on light-colored bases like white or cream. The process involves using an eyedropper to apply tiny droplets of dye onto the surface of the wetted fiber before steaming it to set.
The result is often reminiscent of confetti and adds an element of fun and whimsy to your projects without being too overwhelming. Sprinkles are perfect for adding pops of color into otherwise plain garments such as socks, hats or scarves.
Self Striping Yarn
This type of yarn is dyed in such a way that it changes color at regular intervals, creating beautiful and unique patterns without the need for changing colors manually. Self-striping yarns are perfect for projects like socks, scarves, hats and blankets where you want to add some visual interest without having to switch between different skeins.
One thing to keep in mind when working with self-striping yarns is gauge. Because the color changes happen at specific intervals, it’s important to match your gauge with the recommended needle size on the label so that your stripes come out evenly spaced.
Another tip when using self-striping yarns is choosing a pattern that complements its unique striping pattern rather than competing against it. Simple stitch patterns like stockinette or garter stitch work well with this kind of variegated effect while more complex stitches may get lost in all those colorful stripes.
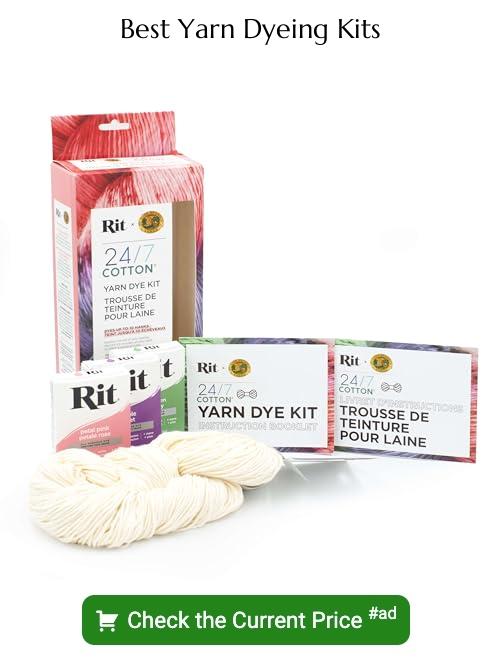
Yarn Dyeing Kit for Beginners
These kits come with everything you need to get started, including dyes, gloves, and instructions. They are also relatively affordable and can be found at most craft stores or online retailers.
When selecting a yarn dyeing kit for beginners, it’s essential to consider the type of dyes included in the package. Some kits may include acid-based dyes that require heat setting while others may have fiber reactive dyes that do not require heat.
It’s also important to choose a kit with clear instructions on how best to use the materials provided. This will help ensure your first attempt at yarn dyeing is successful and enjoyable.
Selection of Dyes
There are many different types of dyes available on the market, each with its own unique properties and characteristics. Some popular options include acid dyes, natural plant-based dyes like indigo or madder root, and synthetic fiber reactive dyes.
Acid dyes are commonly used for wool and silk fibers as they require an acidic environment to bond properly with the fibers. Natural plant-based dyes offer a more eco-friendly option but can be less predictable in terms of color outcome compared to synthetic fiber reactive ones which provide vibrant colors that last longer.
It’s important to consider what type of yarn you’re working with before choosing your dye as some materials may not take certain types well or at all. Always follow safety guidelines when handling any kind of dye material – wear gloves and protective clothing if necessary.
Direct Application
This technique involves applying the dye directly onto the yarn, either by hand or with a brush. Direct application allows for more control over color placement and intensity, making it a popular choice among experienced dyers.
To get started with direct application, you’ll need to select your dyes and prepare them according to their instructions. Once your dyes are ready, you can begin applying them directly onto your skein of yarn using a variety of techniques such as painting or dipping.
One important thing to keep in mind when using direct application is that different fibers will absorb colors differently. For example, wool tends to take up dye more readily than cotton does.
It’s also important to note that some types of dyes require heat setting in order for the color to be permanent.
How to Set Dyes With Heat
One of the most common ways to set dyes is with heat. This involves heating up your dyed yarn in hot water for a certain amount of time.
To begin, fill a large pot with enough water to cover all of your skeins and bring it to a simmer. Add in some vinegar or citric acid (depending on what type of dye you used) and stir well.
Carefully add in your skeins one at a time, making sure they are fully submerged under the water. Let them simmer for about 30 minutes while stirring occasionally.
After 30 minutes has passed, turn off the heat and let everything cool down completely before removing your skeins from the pot. Rinse them thoroughly until no more color comes out and then hang them up to dry.
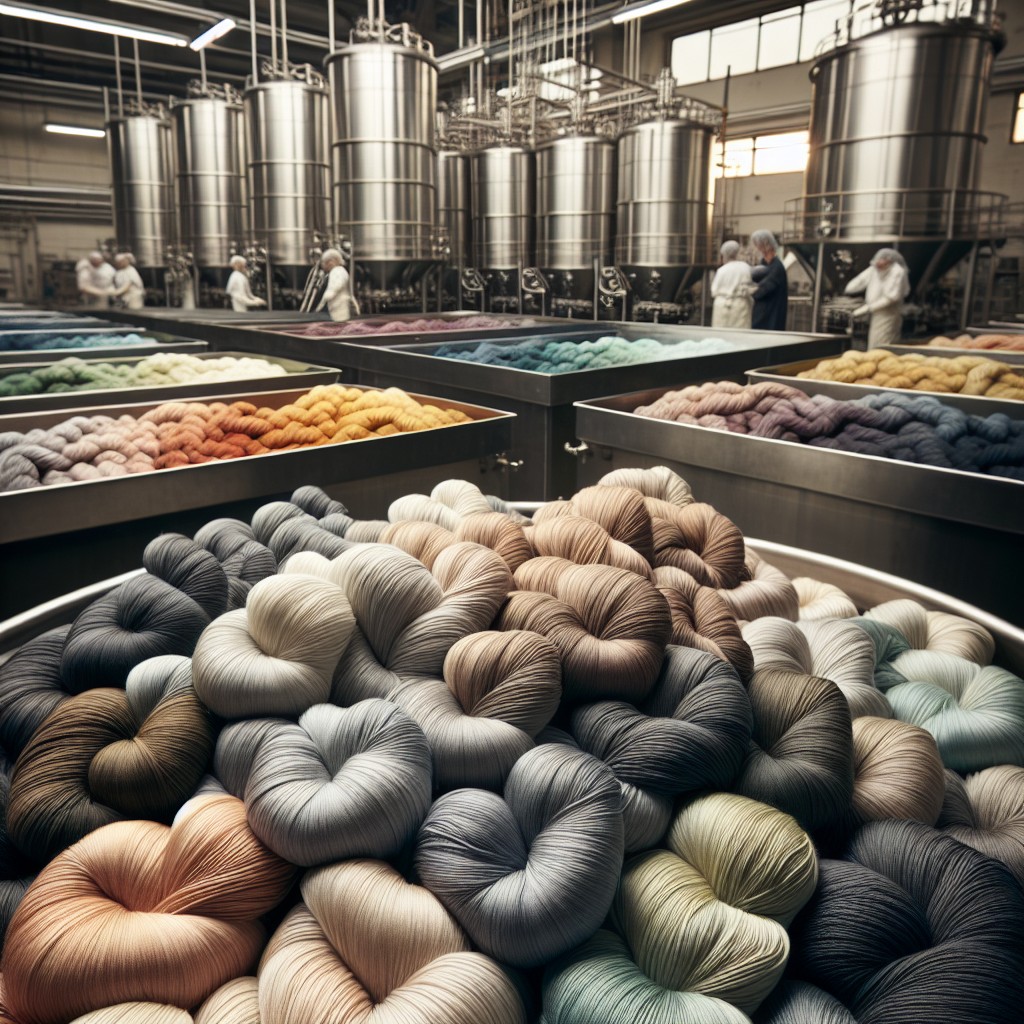
Dyeing Multiple Skeins of Yarn
Dyeing multiple skeins at once can be challenging but is definitely doable with the right approach.
One method is to dye all the skeins together in one large pot. This ensures that all the yarn will have consistent color throughout your project.
However, it’s important to make sure there’s enough space for each skein to move around freely and not get tangled.
Another option is to dye each individual skein separately using the same dye bath and technique so that they match perfectly while still having slight variations in color due to being dyed individually.
Whichever method you choose, it’s essential always carefully measure out your dyes and follow instructions closely when working with multiple batches of yarn simultaneously.
Hand Dye Methods for Beginners
These techniques involve using simple tools and materials that can be found in most craft stores or online. One popular method is the “kettle-dye” technique, which involves simmering the yarn in a pot of hot water with your chosen dyes until it reaches your desired color intensity.
Another beginner-friendly method is “hand-painting,” where you apply dyes directly onto the skein of yarn using brushes or droppers. This allows for more control over where each color goes and creates unique patterns on the finished product.
No matter which hand dye method you choose, make sure to follow safety precautions when working with dyes and always wear gloves and protective clothing. It’s also important to keep track of how much dye was used so that future batches can be replicated accurately.
History of Yarn Dyeing
The earliest evidence of yarn dyeing dates back to ancient Egypt, where they used natural dyes made from plants and insects to color their fibers. In medieval Europe, the process of yarn dyeing was a closely guarded secret among guilds, with each guild having its own unique techniques and colors.
During the Industrial Revolution in the 18th century, synthetic dyes were invented which revolutionized the textile industry. This allowed for more vibrant colors that could be produced on a larger scale than ever before.
Today’s modern technology allows us to create even more complex color combinations using various methods such as hand-painting or dip-dyeing techniques. With so many options available today, it’s no wonder why yarn enthusiasts are always experimenting with new ways to create beautiful hues in their projects.
Methods of Yarn Dyeing
One popular method is direct application, where the dye is applied directly to the yarn using a brush or other tool. This method allows for precise control over color placement and intensity.
Another common technique is immersion dyeing, where the yarn is submerged in a bath of hot water and dye. This method produces more uniform colors throughout the skein but can be less precise than direct application.
Hand-painting involves applying dyes to specific areas of the skein by hand using brushes or other tools. This technique creates beautiful variegated effects that are perfect for shawls and scarves.
There’s space-dyeing which involves laying out long sections of undyed yarn on a table or surface before applying different colored dyes in various patterns along its length creating stripes across multiple skeins when knitted up together.
Application of Yarn Dyes
There are several ways to do this, including direct application, immersion dyeing, and hand painting.
Direct application involves applying the dye directly onto specific areas of your yarn using a brush or dropper. This technique is great for creating intricate designs or patterns on your yarn.
Immersion dyeing involves submerging your entire skein or hank of yarn into a pot filled with hot water and dyed solution. This method creates an even color throughout the entire skein but requires more preparation work beforehand.
Hand painting is another popular technique that allows for more creativity in terms of design and color placement. With this method, you can paint different colors onto specific sections of your skein before setting it with heat.
Types of Dyed Materials
Some of the most common types of dyed materials include wool, cotton, silk, and acrylic. Each material has its own unique properties that affect how it takes on color.
Wool is one of the most popular fibers for yarn dyeing because it readily absorbs dyes and produces vibrant colors. Cotton is another commonly used fiber for dyeing but requires more preparation before applying dyes due to its resistance towards absorbing them.
Silk is known for producing rich and lustrous hues when dyed while acrylics require special attention as they do not absorb natural dyes easily but synthetic ones work well with this type of fiber.
Understanding which type(s)of material you’re working with will help you choose the right kind(s)of dye or method needed in order to achieve your desired results.
Objective of Yarn Dyeing
The process involves applying dyes directly onto the yarn, which can be done using various methods and techniques. Each method produces different results, allowing for endless possibilities when it comes to creating unique and beautiful colors.
As a crafter who loves working with colorful yarns, understanding the objective of yarn dyeing is crucial in selecting high-quality materials for your projects. By choosing well-dyed skeins, you can ensure that your finished product will maintain its vibrant hues even after multiple washes.
In addition to producing long-lasting colors on fibers, another important objective of yarn dyeing is achieving consistency across multiple skeins. This ensures that each skein has an identical shade so they can be used interchangeably without any noticeable differences between them.
Removal of Dyes
This could be because you made a mistake in your dyeing process or simply because you want to start fresh with a new color. Whatever the reason, there are ways to remove dyes from your yarn.
One method is using bleach or hydrogen peroxide, but this can damage the fibers and weaken them over time. Another option is using reducing agents like sodium hydrosulfite or thiourea dioxide which work by breaking down the chemical bonds that hold the dye molecules together.
It’s important to note that removing dyes can be tricky and should only be attempted if absolutely necessary as it can alter not only the color but also texture of your yarn. Always test on small samples before attempting on larger batches.
Yarn Dyeing Techniques
Some of the most popular methods include hand-painting, kettle-dyeing, dip-dyeing, and space-dyeing.
Hand-painting involves applying dyes to specific areas of the yarn by hand using a brush or other tool. This technique allows for precise control over color placement and can create beautiful variegated or speckled effects.
Kettle-dyeing involves simmering skeins of yarn in a large pot with multiple colors of dye to create subtle variations in color throughout the skein. Dip-dyeing is similar but involves dipping only one end of the skein into a dyebath to create an ombre effect.
Space-dyed yarns are created by laying out long sections of undyed yarn and then applying different colors along various sections before winding it up into a hank or ball shape. This creates repeating patterns that can be used for stripes or other designs when knitted up.
Useful Supplies for Yarn Dyeing
Here are some useful tools and materials that you’ll need for a successful dyeing project:.
1. Dye: This is obviously one of the most important supplies you’ll need for yarn dyeing.
There are many different types of dyes available, including acid dyes, natural plant-based dyes, and more.
2. Yarn: You can’t have a yarn-dyeing project without any yarn! Choose your favorite type of fiber in its natural color or opt for pre-treated skeins.
3. Gloves: Protect your hands from getting stained by wearing gloves while handling dyed material.
4. Measuring cups/spoons/scales: Accurate measurements will help ensure consistent results when mixing up your dye solutions.
5. Pots/pans/bowls/containers with lids : These containers should be heat-resistant as well as non-reactive to avoid chemical reactions between them and the chemicals used in dying process.
6.Tongs/Spoons/Stirrers – Use these utensils to move around or stir items during various stages of dying process.
7.Heat source- A stove top burner or hot plate is necessary if using heat set method.
8.Plastic wrap/Ziploc bags – Used during steaming phase.
9.Vinegar/Baking Soda/Lemon Juice- Depending on what kind of fibers being dyed , these substances may be needed at various stages.
Having these essential tools on hand will help make sure that every step goes smoothly so that you end up with beautiful colors on your finished product!.
FAQ
What are different dyeing techniques?
Different dyeing techniques include tie-dyeing, Shibori, ombré, Batik fabric dyeing, and glue-resist fabric dyeing, each utilizing a unique process and technique to create patterns or effects on the fabric.
What is the best dye for yarn?
The best dye for yarn is food coloring, as it is cheap, easy to obtain, and doesn’t require special pots and pans, making it an ideal choice for beginners.
What are the different types of dyed fabric?
Answer: The different types of dyed fabric include acrylic fibers dyed with basic dyes, nylon and protein fibers (wool and silk) dyed with acid dyes, polyester yarn dyed with disperse dyes, and cotton dyed with vat dyes, synthetic reactive dyes, and direct dyes.
What are the environmental impacts of various yarn dyeing techniques?
"Various yarn dyeing techniques create environmental impacts, including water pollution from chemical discharge, high energy consumption for heat generation, and greenhouse gas emissions."
How does dyeing affect yarn quality and colorfastness?
Dyeing affects yarn quality and colorfastness by determining the vibrancy and durability of colors through the proper application of dye, fixation, and finishing techniques.
Can you describe the process of hand-dyeing yarn and its advantages?
Hand-dyeing yarn involves applying color to the fibers manually, resulting in uniquely vibrant, artistic, and customized shades that exhibit depth and richness unachievable through mass-produced methods.


