In this article, you’ll discover a step-by-step guide on how to dye yarn using household items for vibrant and custom color creations.
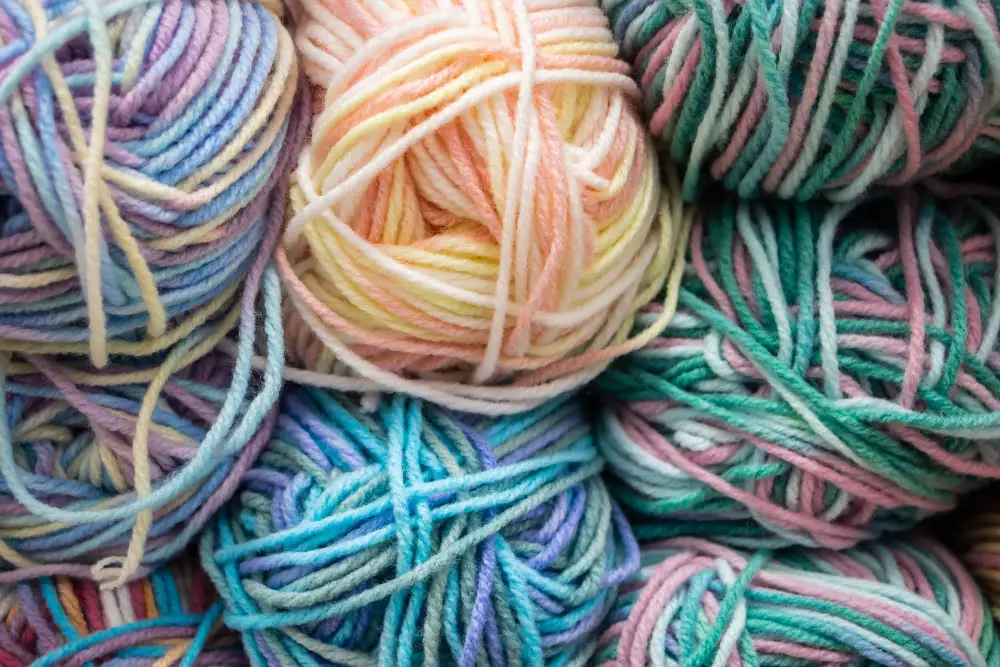
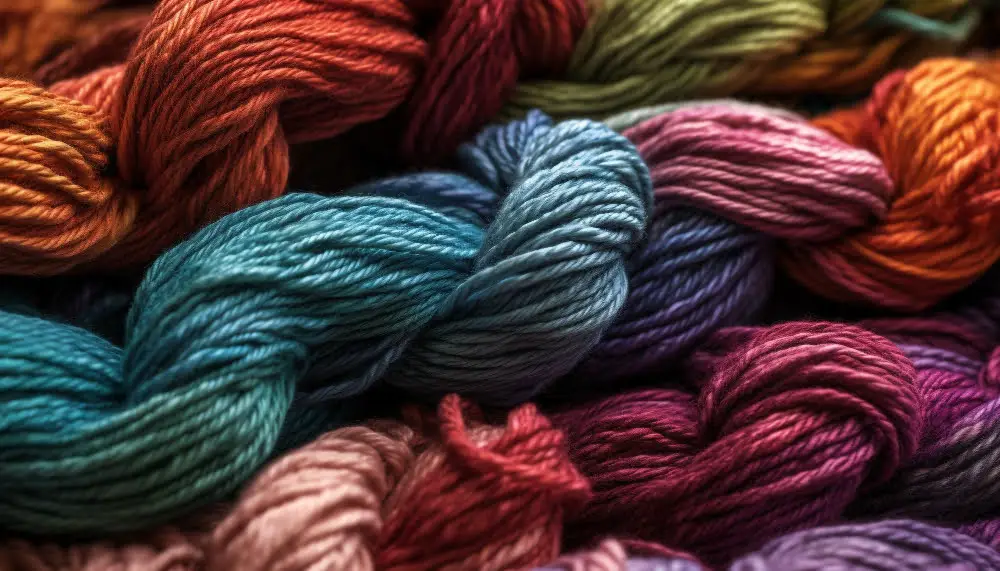
Dyeing yarn at home is a wonderful way to customize your knitting and crocheting projects, allowing you to create unique colors and gradients.
This process can be accomplished with a variety of materials, including natural dyes from plants and synthetic dyes from the craft store.
In this article, you’ll find a comprehensive guide on how to dye yarn, starting from choosing the right type of yarn, selecting your dye source, preparing the dye bath, to the actual dyeing process and post-dyeing care.
Let’s dive into the vibrant world of yarn dyeing!
Key takeaways:
- Choosing the right dye, yarn, and linker is crucial.
- Properly preparing the yarn through pre-soaking and mordanting.
- Exploring different dyeing techniques such as hand painting and dip dyeing.
- Understanding the process of dyeing yarn and setting the dye correctly.
- Tips for dyeing multiple skeins of yarn consistently.
Understanding the Basics of Yarn Dyeing
Dyeing yarn transforms a simple material into a unique, custom creation. The process involves three primary elements — the dye, the yarn, and the linker, which is typically a type of salt that helps the dye adhere to the yarn.
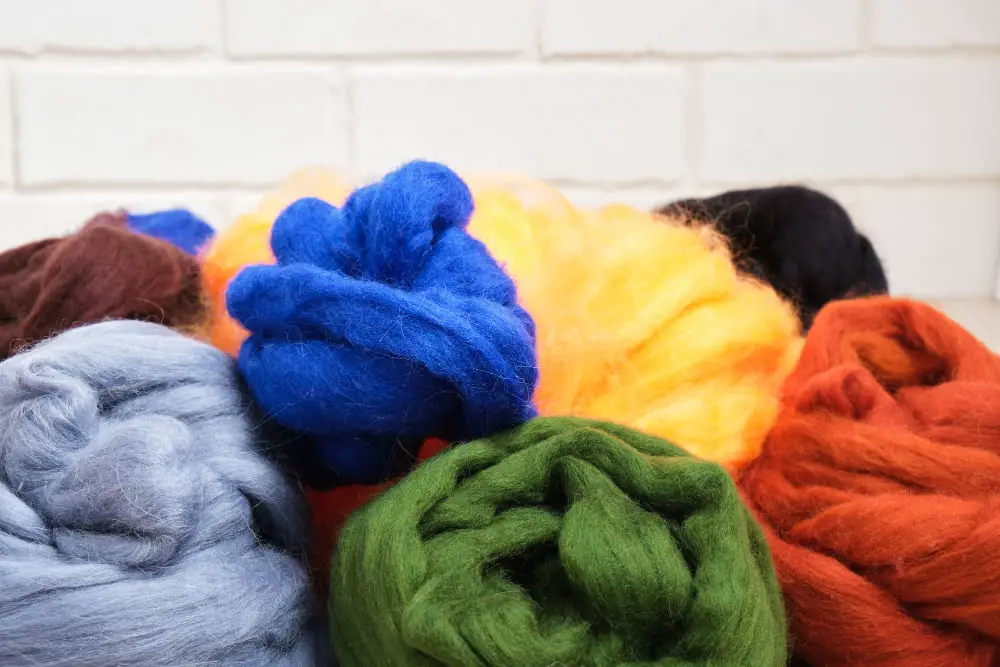
Choosing the right dye is crucial. Synthetic dyes, natural dyes, food dyes, or even everyday household items can be used, depending on your preferred color intensity and fastness.
The type of yarn also matters. Yarns made from natural fibers like wool and cotton yield the best results. They absorb color well and have a greater capacity to showcase vibrant colors.
The linker plays a significant role as it binds the dye to the yarn. Different linkers work better with various dyes, so some experimentation may be beneficial.
Preparation of the yarn is another key step. This usually involves pre-soaking and applying a mordant, which prepares the fibers to fully absorb the dye.
The dyeing process must be carefully managed to avoid uneven coloring or felted yarn. Constant stirring, correct temperature, and measured timing are crucial.
Finally, setting the dye correctly is essential to ensuring the colors are vibrant and long-lasting. Usually, heat setting with steam is used, though alternate methods may be necessary for certain types of yarn and dye. It’s also important to rinse the dyed yarn well to remove any excess dye particles that might bleed in the finished product.
All told, understanding and properly managing these basic elements of yarn dyeing can help crafters achieve the desired results, making their yarn projects truly unique.
Choosing the Right Yarn for Dyeing
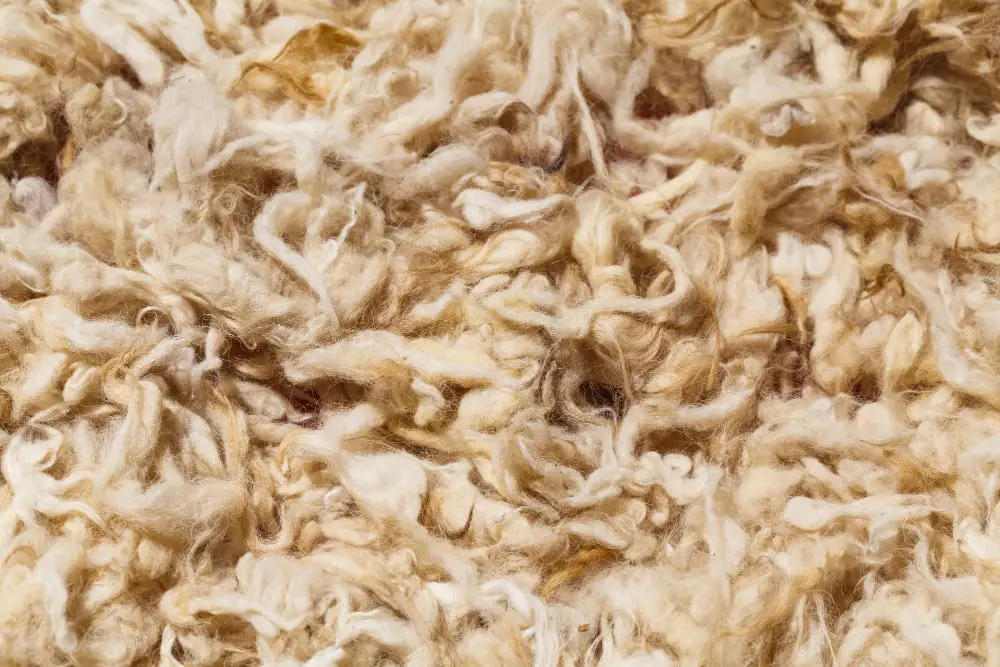
Consider the fiber type when selecting yarn to dye. Natural fibers such as wool, silk, cotton, and linen absorb dye effectively, offering vibrant results. Synthetic fibers like nylon and acrylic may not take up the dye as well.
Pay attention to the yarn weight. Lighter weight yarns like lace and fingering will take up the dye differently than heavier yarns like worsted or bulky.
Examine the twist of the yarn. Loosely twisted yarn absorbs dye more readily, leading to softer hues, while tightly twisted yarn can create rich, deeper shades.
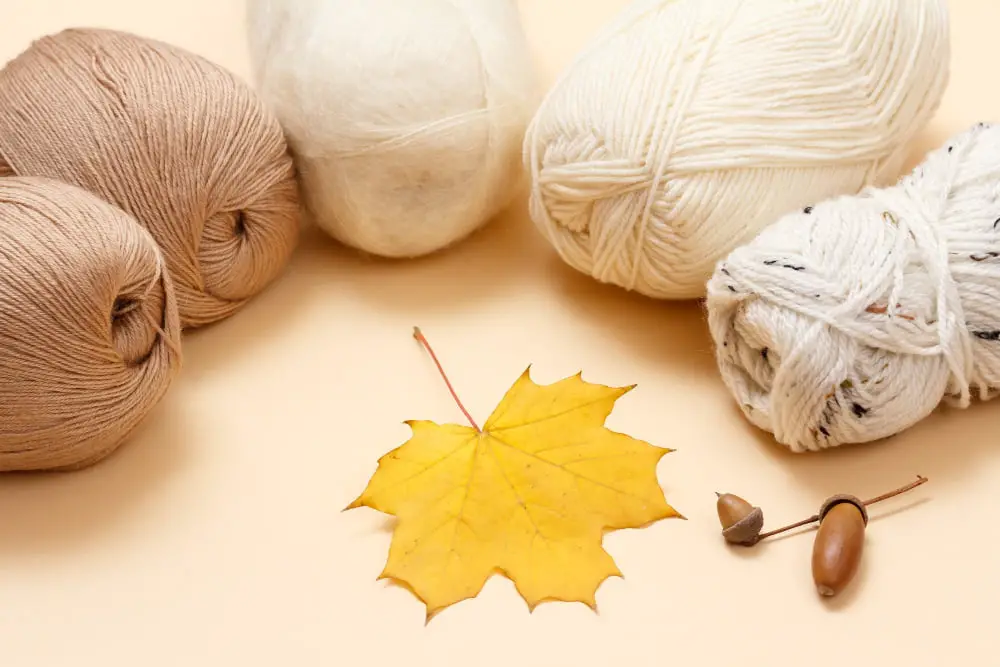
Select white or light-colored yarn for the best dye uptake. Darker yarns will not show the dye as well.
Use undyed, raw yarn, if possible. Yarns that have not been processed with bleach or other chemicals will dye more uniformly, leading to more predictable results.
Consider experimenting with different fiber types, weights, and colors to broaden your yarn dyeing skills.
Remember, each type of yarn may need different dye types or techniques, so be sure to check the manufacturer’s recommendations.
Gathering the Necessary Materials for Yarn Dyeing
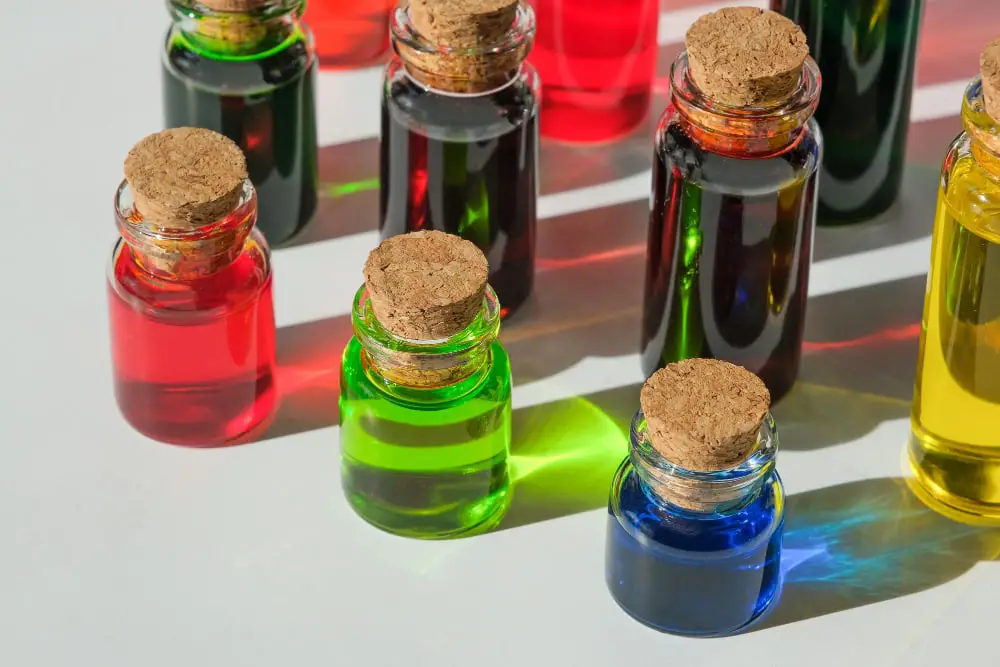
Once the perfect yarn is chosen, it’s time to gather the other necessary materials. High-quality dyes are paramount for a successful yarn dyeing project. Acid dyes, food coloring, or natural dyes can be used depending on your preference. An acid such as white vinegar or citric acid is essential for setting most dyes on wool yarn.
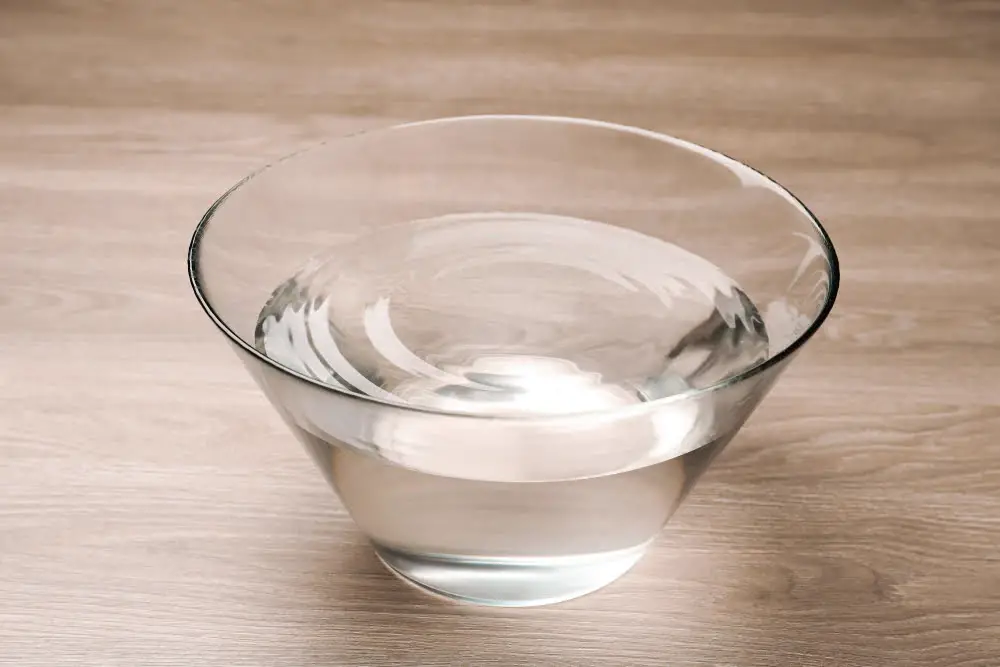
To apply the dye to the yarn, you’ll need squeeze bottles for precision in creating patterns and colors. Make sure to have a good selection of containers and utensils that won’t be used for food preparation. Any container should be heat resistant, as hot water is often used in the dyeing process.
Protective equipment like gloves and apron are important for safety purposes as well as keeping clothes clean. You’ll also want to lay down plastic sheets or garbage bags to protect your workspace from any accidental spills.
Lastly, don’t forget the yarn dyeing’s unsung heroes: ties. These can be made from scrap yarn or synthetic cord. They securely bind sections of the yarn to create different patterns and effects.
Remember, preparation is key to a smooth dyeing session. When all materials are gathered and ready, you can safely and effectively dye yarn in your preferred style.
Exploring Different Types of Yarn Dyeing Techniques

There’s a myriad of yarn dyeing techniques that offer different results and cater to varied levels of expertise and creativity.
Hand Painting: For those seeking control and precision, you can apply dye directly with a brush. This offers the ability to put color exactly where you want it on the yarn.
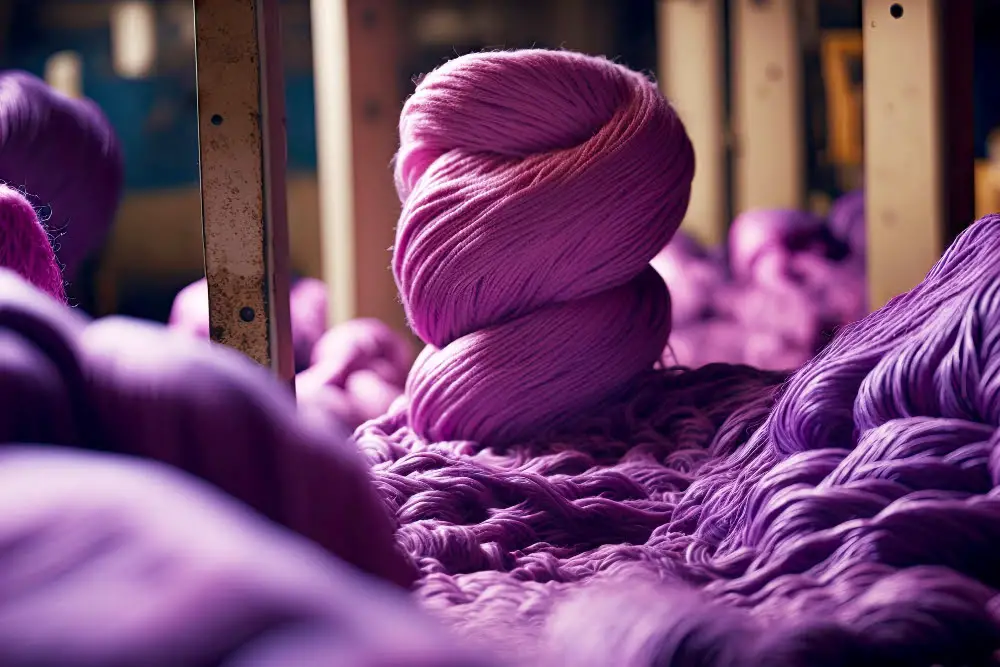
Dip Dyeing: Achieves a dramatic, multi-tonal effect. The yarn is partially submerged in dye, absorbing more color at the ends, and lesser at the middle – perfect for ombre effects.
Kettle Dyeing: This process involves placing the yarn in a large pot “kettle” of dye and letting the color softly blend in. It often results in variegated yarns with a more random distribution of color.
Speckle Dyeing: Offers a fun and unique way to add color ‘splatters’ to yarn using dye powder.
Immersion Dyeing: Involves submerging the whole yarn in a dye bath, allowing the fibers to absorb the dye evenly. It typically gives you a uniformly colored yarn.
Resist Dyeing: Incorporates various materials like rubber bands, clamps, or plastic wrap to block dye from certain areas of the yarn creating striking visual effects like tie-dye.
Remember, the type of technique chosen heavily affects the outcome and can offer interesting patterns or effects on the yarn. Experiment and find out which methods resonate most with your crafting style.
Preparing the Yarn: Pre-soaking and Mordanting
Before beginning the actual dyeing process, the yarn must be prepared through pre-soaking and mordanting.
Pre-soaking the yarn is essential to ensure that the dye is accepted evenly across the fibres. Immersing your yarn skeins in lukewarm water, with a touch of dish soap, for at least 20 minutes will make it ready for dye absorption.
Once pre-soaked, the yarn must undergo a process called mordanting. A mordant is a substance that aids in binding the dye to the fibre, aiding colour longevity and uniformity. Aluminium sulfate is a common mordant for protein-based fibres like wool or alpaca, while cellulose fibres such as cotton or linen utilise aluminium acetate.
To mordant your yarn, submerge it in a solution of your chosen mordant and water, following the mordant’s specific ratio directions. Simmer this mixture for approximately an hour and then allow the yarn to cool naturally in the solution.
Rinse the mordanted yarn in cold water to remove excess mordant before moving on to the dyeing phase. This process will prepare your yarn for a successful and vibrant dye job.
Be sure to remember safety precautions. Always use gloves and masks when handling mordants and keep your dyeing utensils separate from your food preparation tools.
How to Hand Dye Yarn: Step-by-Step Process

Firstly, prepare your workstation by covering it with a plastic sheet to protect the surface from staining. Ensure good ventilation for your safety as dyeing yarn may involve chemicals.
Before dyeing, soak the yarn in warm water for about 30 minutes, this allows the fibers to absorb the dye evenly.
While the yarn is soaking, prepare the dye bath. Dissolve the dye powder in a little warm water, stirring until there are no lumps. Fill your pot with enough warm water to fully submerge the yarn and then add the dissolved dye to the pot, mixing well.
Transfer the wet yarn from the soak bath to the dye bath. Stew the yarn at a gentle simmer, taking care not to boil as this could felt the yarn. Stir gently and occasionally with a stainless steel spoon to ensure even distribution of color.
Keep in mind the length of time the yarn remains submerged will affect the final color. The longer it simmers, the deeper the hue will be.
After achieving the desired color, allow the yarn to cool naturally in the dye bath. Once cooled, remove the yarn and gently squeeze out excess dye.
Rinse the dyed yarn in lukewarm water until the water runs clear. Lay it flat on a clean towel, roll it up and gently press to remove excess moisture. Do not twist or wring the yarn as it can damage the fibers.
Lastly, hang the yarn up to air-dry. Ensure the yarn is completely dry before winding it into a ball for storage or use. Avoid direct sunlight when drying to prevent potential color fading.
The process may seem daunting initially, but once you get the hang of it, you’ll find yarn dyeing gives you the possibility of creating truly unique projects.
Creating Solid Dyed Yarn: Technique and Tips
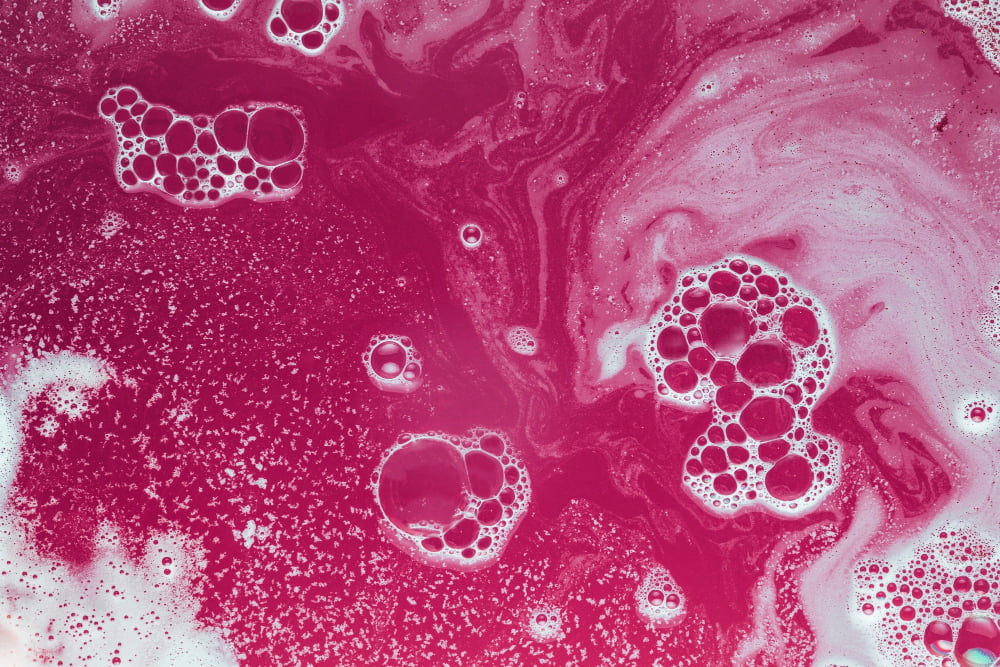
Begin by preparing your dye bath, mixing your chosen dye in hot water until thoroughly dissolved. Ensure that the quantity of dye is proportionate to the weight of yarn for achieving the desired color intensity.
Next, soak the clean yarn in warm water for at least an hour before dyeing for even color absorption.
When transferring yarn to the dye bath, distribute it evenly in the solution to prevent uneven dyeing. Maintain a low simmer throughout the process to ensure the dye penetrates the yarn fibers completely. Stir gently but regularly to allow dye saturation evenly.
Avoid rushing the dyeing process, leave the yarn in the dye bath until the water runs clear. This indicates that the yarn has fully absorbed the dye.
Finally, rinse the dyed yarn under lukewarm water gently to remove any excess dye. Never wring out the yarn as it could distort the fibers. When drying, lay the yarn flat on a clean towel, gently fold it over and press to help absorb any remaining water.
For vibrant solid colors, be liberal with the quantity of dye. Test with a small yarn sample before dyeing the entire skein if unsure. Remember that the color of the yarn when wet is darker than the color once dry.
Two important factors greatly affecting dye absorption rates are yarn fiber type and dye type, so always consider these before starting. Generally, animal fibers like wool and alpaca take acid dyes very well, while plant fibers like cotton and bamboo are better suited to fiber reactive dyes.
Applying Semi Solid or Tonal Dye
To achieve a semisolid or tonal dyed effect, variation in depth of color is the key. Unlike solid dyeing, tonal dyeing doesn’t aim for complete color uniformity. Instead, it enhances the yarn with subtle shifts in color.
Begin by preparing a dye bath following the specifications of your chosen color. Immerse your pre-soaked yarn into the dye bath, ensuring it is fully submerged. This will yield the lightest shade in your tonal effect.
Next, remove a portion of the yarn from the dye bath at a predetermined interval. This will be the section with the lightest hue. The remainder of the yarn should stay in the dye bath for additional time.
Continue this process of removing portions of the yarn at set intervals to create gradations of color. The yarn left in the bath the longest will be the darkest.
Remember, tonal dyeing is an art, not an exact science. The aim is to create a visually engaging, dynamic yarn that provides an appealing variation of a single color. Experimentation with different intervals and dye strengths can lead to a wide range of tonal effects.
Finally, make sure to rinse the dyed yarn thoroughly until the water runs clear. This is a crucial step to ensure colorfastness and to remove any residual dye particles. Dry your yarn completely before winding it into a skein or ball for usage.
Creating Gradient, Gradated or Ombre Yarn
Begin with two or more skeins of yarn, each soaking in a separate bath. Lightly squeeze out the water from the first skein, but leave it damp. For creating gradient or ombre effect, the dye needs to be diluted in stages.
Prepare your dye pot and add the lightest shade of your dye, ensuring it completely dissolves. Once the dye bath reaches the simmering point, lower your damp yarn into it. To ensure even dyeing, gently move the yarn around in the dye pot without tangling it.
After the yarn has been immersed for the necessary amount of time, remove the yarn from the dye pot. Allow the yarn to cool before rinsing it in a water bath of the same temperature to avoid felting. Repeat the dyeing process again using the remainder of the dye to create the next shading level on a new skein.
Remember to manipulate the depth of the color gradient by adjusting the length of time a skein stays submerged in the dye pot. The longer it remains, the deeper the dye penetrates. Alternatively, dilute the dye bath for the final skein to create an end shade that’s much lighter than the original.
Follow this incremental process until you achieve the desired gradient effect across all skeins. Allow all yarn to dry fully before using it for your project.
Last piece of advice: as the color change in gradient, gradated or ombre yarn is subtle, it’s essential to test the dyes and color transitions before dyeing a large batch of yarn. Always make a sample strand first.
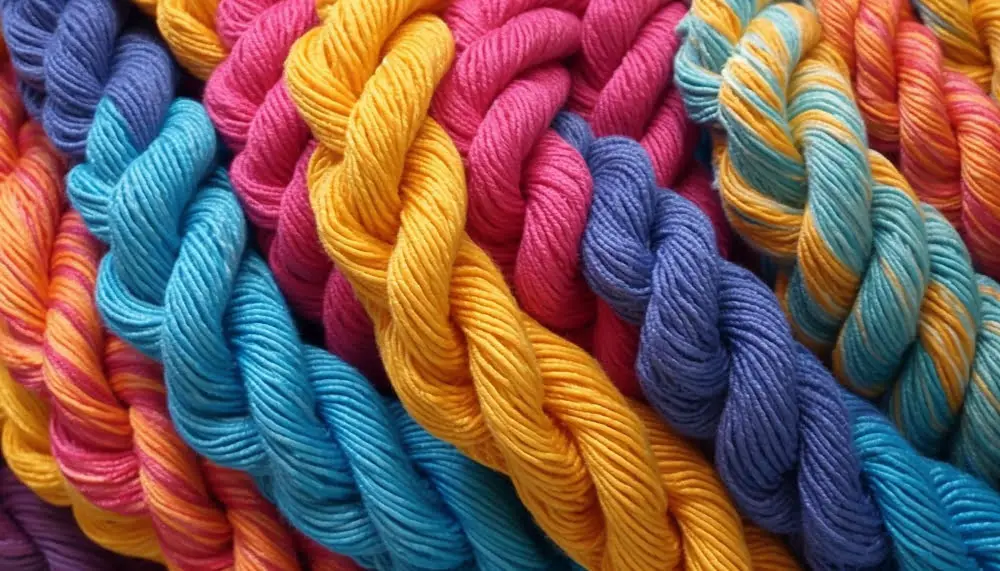
Steps to Dye Variegated or Multicolor Dyed Yarn
Begin by winding the pre-soaked and mordanted yarn into a large, loose hank. Be sure to refrains from tangling by securing it in a few places.
Choose the dyes carefully, mindful that a variegated yarn typically has two or more colors. So, using a compatible color palette is crucial.
Prepare the dye according to the manufacturer’s instructions. Remember, a small amount of dye goes a long way.
Start by slowly immersing sections of the yarn into the dye. You may use a squirt bottle for better precision and to prevent colors from bleeding into each other substantially.
For a versatile effect, let some parts of the yarn soak in the dye longer. This will result in a mixture of shades and intensities.
Allow enough space between the colors for the yarn’s original hue to show through; this will create a contrast, enhancing the multicolored effect.
After dyeing, rinse the yarn gently with a mild detergent until the water runs clear. Avoiding agitation will prevent unwanted felting.
Finally, allow the dyed yarn to dry completely before using or storing it. Laying it flat in a well-ventilated area away from direct sunlight prevents color fading and maintains yarn integrity.
Remember, patience is key, dyeing yarn is a form of art that requires practice and each time you do it, the results will improve.
Technique to Achieve Sprinkled or Speckled Yarn
Begin with thoroughly soaked yarn, wring out the excess water and lay it out in a single layer on a plastic wrap lined work surface. Prepare your dye in a spray bottle or pipette for a more controlled application.
Sprinkle the dye onto the yarn, creating small concentrated areas of color. Keep in mind, less is more when it comes to achieving a delicate speckled effect. The closer together your little dye dots, the more blurred and less speckled the finished yarn will appear.
Fold the plastic wrap around the yarn, encapsulating the skein to avoid color transfer to other areas of the yarn during the heat setting process. Provide ample time for the dye to set in.
Remember to flip the yarn and repeat the process on the other side to ensure fully covered speckles.
After the yarn has cooled, wash it gently with a mild detergent, rinse it thoroughly, and then allow it to air dry.
These steps will give you a beautifully speckled yarn, but experimentation is key to perfecting your ideal speckled effect. Each dye and each yarn will interact uniquely, so feel free to adjust your methods as learning takes place.
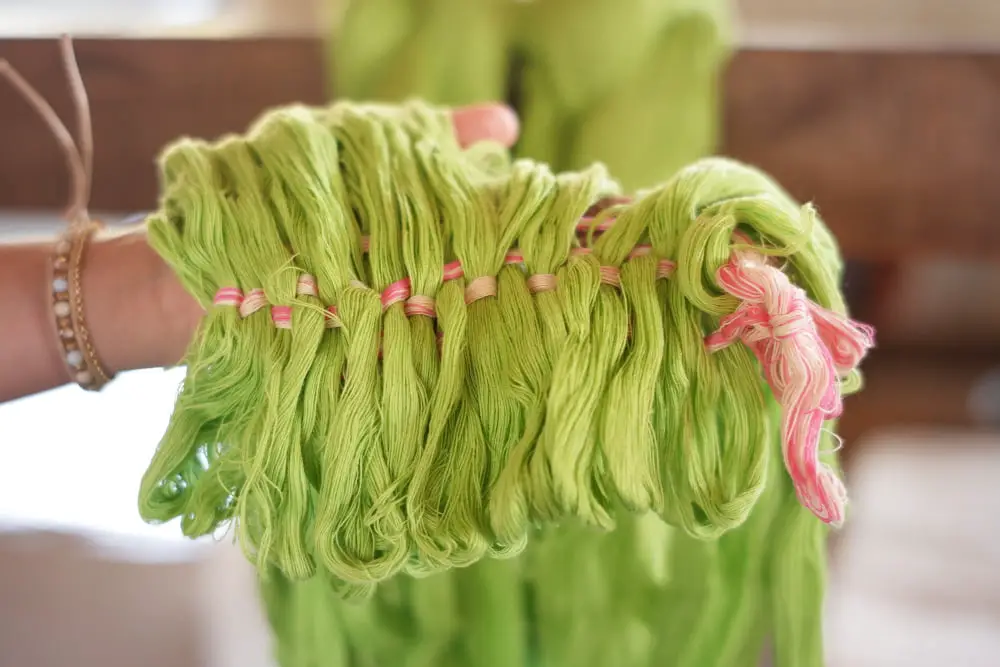
Creating Self Striping Yarn With Dye
To develop perfect stripes in your yarn, choose at least two colors and determine the length of each color run, bearing in mind that length will equal stripes.
You will need a long surface (like a clothesline or a very long table). First, wind the yarn into a colossal loop – the length of the color run (the longer the loop, the wider the stripe). Secure the yarn in several places to keep it from tangling.
Once the skein is prepared, apply the dye. Wet the yarn appropriately for the dye you are using and follow your dye’s mixing and application instructions, applying one color at a time.
When dyeing different sections in different colors, it’s crucial to keep the sections separate and prevent unwanted color bleeding. You could use plastic wrap to separate the sections or apply the dye carefully to ensure the colors do not mix.
After applying the dye, process it according to the dye’s instructions, which usually involves wrapping the yarn in a wrap and heat setting. Once the dye is set and cooled, rinse the yarn thoroughly until the water runs clear. Lastly, the yarn should be hung up or laid flat to dry completely before you wind it into a ball for knitting or crocheting.
Remember, it might take some practice to get the perfect stripes. Experiment with the length of the loops and the amount of dye to achieve the desired effect.
Fixing the Dye With Heat: A Crucial Step in Yarn Dyeing

Heat setting is a critical step in the yarn dyeing process. It helps in binding the dye particles onto the yarn fibers, ensuring that the color doesn’t fade or bleed over time.
For heat setting on animal fibers, such as wool or alpaca, gently squeeze out excess water from the dyed yarn and place it in a microwave-safe dish. Spread the yarn evenly, cover it lightly with cling film, but remember to leave a small opening for steam to escape.
Start with two-minute intervals on a medium heat setting. The yarn will become quite hot and generate steam, which is necessary for the heat setting process. Be careful not to overheat as wool can felt.
After each interval, let the yarn sit in the microwave for a couple of minutes to cool down a bit before restarting the process. Continue until the water in the dish runs clear, revealing that the dye is fully set.
For plant-based fibers like cotton or linen, the process differs slightly. Instead of microwaving, you’ll need to steam these fibers for a longer duration, generally up to an hour.
The dyed yarn can be rolled in a towel, placed in a steaming basket and covered. Allow it to steam over a pot of simmering water. The towel will protect the yarn from any water splashes, which could create white spots.
Always remember to let the yarn cool completely before rinsing, as changes in temperature can shock the fibers and cause them to felt. Never twist or wring the yarn, and always press gently to remove excess water. Providing the dyeing process with the right finishing touch will ensure vibrant, long-lasting colors on your homemade yarn.
How to Set Wool Dye in Yarn
After applying dye to the wool yarn, it is crucial to set the dye to ensure the color lasts and doesn’t bleed during use. Here’s how:
Your dyed yarn must be thoroughly rinsed under cool water until the water runs clear. This step removes excess dye that can bleed later.
The next stage involves immersing the yarn in a dye fixative solution, commonly made from vinegar and water. The acidic environment helps set the dye into the wool fibers.
Remember to gently move the yarn around in the fixative solution to ensure that dye is locked into every fiber, paying particular attention to thicker or twisted areas.
Following immersion in the fixative solution, the yarn should be slowly heated. This can be done in a dye pot on the stovetop, bringing the temperature up gradually to just below boiling. It’s crucial not to agitate during the heating, as this can cause wool to felt.
The yarn should be allowed to cool naturally in the dye pot. This can take several hours, but patience is key to ensuring the dye is set properly.
Finally, the yarn should be rinsed one last time under cool water, then gently wrung to remove water, or rolled in a towel and pressed before being hung up to dry away from direct sunlight.
Bear in mind, the process for setting wool dye slightly varies depending upon the type of dye used, so always refer to the manufacturer’s instructions.
Tips for Dyeing Multiple Skeins of Yarn Consistently
To ensure a consistent color across multiple skeins of yarn, consider the following helpful tips:
Keep an Accurate Record: Always document your mix ratios, dye colors, and timing for each step. This comes in handy when trying to replicate the results.
Use Ample Amounts of Dye: When you’re dyeing more than one skein simultaneously, you will need more dye than with a single skein. This is because each skein requires a certain quantity of dye to achieve a given shade.
Batch Dyeing: It is best to dye all the skeins you need for a project in the same batch. This ensures that the same dye quantity and method are applied to all.
Stir the Yarn Regularly: While in the dye bath, intermittently stir the yarn. This ensures equal distribution of dye.
Rotate Skeins: Another method to ensure even dyeing is to rotate the skeins within the dye bath. The skein at the bottom should be moved to the top halfway through the dye process.
Twist Skeins: If dyeing smaller quantities, twist the skeins before putting them in the dye pot. This ensures more color variation and helps achieve a more even result.
Remember to Rinse Well: After dyeing, it is crucial to rinse the yarn thoroughly but gently until the water runs clear. This removes any excess dye and helps maintain consistency.
By adopting these strategies, you can produce multiple skeins of yarn with a uniform and consistent color.
FAQ
What kind of dye do you use for yarn?
The type of dye used for yarn depends on its material: Acid Dyes are used for wool or animal-based yarns, while Fiber Reactive Dye is used for plant-based yarns.
Can you dye any yarn?
While you can dye any yarn, optimal results are achieved with cotton or wool yarn, and synthetic yarn requires the use of specific products like Rit DyeMore for Synthetics, with color outcomes depending on the initial color of the yarn.
What is the process of hand-dyeing yarn at home?
Hand-dyeing yarn at home generally involves soaking the yarn in water, using a dye mixture to color it, and allowing it to dry for a vibrant, custom color blend.
Which yarn materials absorb dye the best: wool, cotton, or acrylic?
Wool yarn absorbs dye the best among wool, cotton, and acrylic.
What safety precautions should be taken when dyeing yarn at home?
When dyeing yarn at home, it’s important to wear protective gear such as gloves, apron and goggles, work in a well-ventilated area to avoid fume inhalation, and never use food utensils for dyeing purposes to avoid cross-contamination.


