Discover the different types of yarn twist testers, essential tools for accurately measuring and analyzing the twists in various yarns to ensure quality and consistency in textile production.

Are you a yarn enthusiast who loves to experiment with different types of yarns? Do you ever wonder how the twist in your yarn affects its quality and durability? If so, then you might be interested in learning about yarn twist testers. These handy tools can help you determine the twist level of your yarn, which can be crucial when it comes to choosing the right type of yarn for your project.
In this blog post, we will explore some of the different types of yarn twist testers available on the market today and how they can benefit your crafting endeavors. So grab a cup of tea, settle into your favorite chair, and let’s dive into the world of yarn twist testers!
Yarn Twist Tester Types

Yarn twist testers come in different types, each with its unique features and functions. The most common type of yarn twist tester is the mechanical or manual one, which uses a spindle to measure the twists per inch (TPI) of a yarn sample.
This type of tester is easy to use and requires minimal maintenance.
Another popular type of yarn twist tester is the electronic or digital one, which uses sensors to detect and measure TPI accurately. This type of tester provides more precise results than mechanical testers but can be more expensive.
There are also specialized types of yarn twist testers designed for specific applications such as high-speed testing for industrial production lines or portable handheld devices for on-the-go testing.
Choosing the right kind depends on your needs and budget.
Yarn Twist Testing Method

This can be done by holding a length of yarn between two fingers and twisting it slightly. If the fibers move away from each other, then you have an S-twist; if they move towards each other, then you have a Z-twist.
Next, adjust the distance between clamps on your tester according to the thickness of your yarn. Mount a specimen onto one clamp and apply deadweight (usually 500g) on top of it.
Set counter meter reading at zero before rotating spur gear clockwise until all twists are removed from mounted specimen. Observe how many turns were made by spur gear during this process as well as any changes in appearance or texture that may occur due to untwisting action.
Apparatus Used
The most common tools include a yarn twist tester, yarn package, magnifying glass and needle. A Yarn Twist Tester is an essential tool for measuring the number of twists per inch (TPI) or turns per meter (TPM) in a given length of yarn.
It consists of two clamps that hold the ends of the specimen and rotate it at a constant speed while removing its twist.
A Yarn Package refers to any type or form in which spun fiber can be wound into such as cones, bobbins or spools. These packages are used for testing purposes because they provide uniform tension throughout their length.
A Magnifying Glass helps you see more clearly when examining your sample under different lighting conditions so that you can identify any irregularities easily.
Needles are also commonly used during testing procedures since they help remove excess fibers from samples before measurements are taken.
Yarn Twist Tester

It helps to ensure quality and consistency in textile production. There are different types of yarn twist testers available on the market today, each with its unique features and benefits.
One type of yarn twist tester is a handheld device that measures the number of twists per inch (TPI) or turns per meter (TPM). This type of tester consists of a small spindle that rotates when twisted around a sample lengthwise.
The number displayed on the dial indicates how many times it has rotated during this process.
Another type is an electronic machine used to measure TPI or TPM automatically by rotating two clamps holding both ends at constant speed while recording data through sensors attached to them.
The third kind involves using magnifying glasses, needles, and other apparatuses like counter meters mounted onto spindles which rotate as they remove twists from samples taken off packages before being weighed down under deadweight until all remaining torsion disappears completely from within their fibers’ structure – providing accurate readings about their level(s) thereof!.
Yarn Package

The package serves as a holder for the yarn specimen during testing and can come in various shapes and sizes, depending on the type of tester being used. Some testers require specific types of packages to ensure accurate results.
The most common type of package is a cone-shaped spool made from plastic or cardboard material. These cones are designed to hold large amounts of yarn while maintaining its shape and preventing tangling during transport or storage.
When using a twist tester that requires a specific type of package, it’s important to make sure you have the correct one before beginning your test. Using an incorrect or incompatible package can lead to inaccurate results, which could affect your overall production quality.
Magnifying Glass
This tool helps to identify the direction of the twist in the yarn specimen accurately. It also enables you to observe any irregularities or inconsistencies that may affect its quality and durability.
When using a magnifying glass, it’s crucial to ensure that it has sufficient magnification power for your needs. A 10x or 20x lens is typically recommended for most textile applications.
To use a magnifying glass, hold it close to your eye and focus on the yarn specimen while rotating it slowly with your other hand. Observe how each strand moves relative to one another as you rotate them; this will help you determine whether they are twisted together correctly.
Needle
It is used to hold the yarn specimen in place during testing. The needle should be made of a sturdy material, such as stainless steel or brass, to ensure that it can withstand repeated use without bending or breaking.
When using the needle, it’s important to position it correctly so that the yarn specimen remains taut and doesn’t slip out of place during testing. This can be achieved by inserting one end of the yarn into the eyelet at one end of the needle and then wrapping it around several times before securing it in place with a knot.
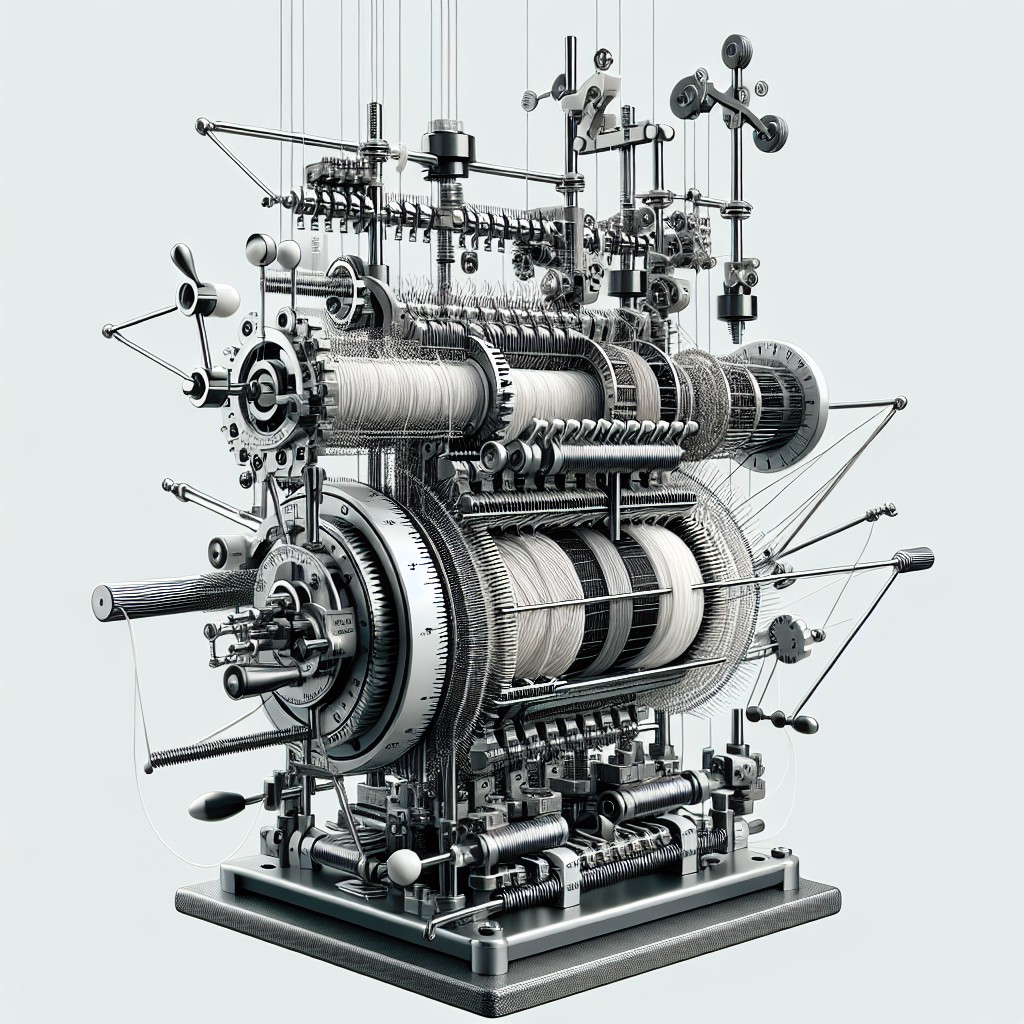
Structure of Yarn Twist Tester
It consists of two clamps that hold the yarn specimen in place, a spindle that rotates to remove the twist from the yarn, and a counter meter that measures how many turns are removed. The distance between the clamps can be adjusted depending on the length of your sample, and some testers come with magnifying glasses or needles to help identify which direction your yarn is twisted.
There are different types of testers available on the market today, each with its own unique features and benefits. Some models have digital displays for more accurate readings while others use analog counters or dials.
Regardless of which type you choose, having a reliable twist tester can make all difference when it comes to producing high-quality textiles.
Testing Procedure
The first step is to identify the direction of twist in your yarn specimen. This can be done by observing which way the fibers are twisted together.
Next, adjust the distance between clamps on your yarn package holder so that they match up with your specific sample size. Mount your yarn specimen onto one of these clamps and apply a deadweight to keep it taut.
Set your counter meter to zero before rotating spur gear at a constant speed for several revolutions until all twists are removed from one end of the mounted thread or fiber bundle.
Observe how many turns were removed during this process as well as any other changes in appearance such as color or texture variations caused by twisting forces applied during testing procedures like tensioning devices used when winding bobbins onto spindles for weaving machines etcetera – these factors may affect final readings taken later on down line!.
Yarn Twist Direction Identification
This is important because it will determine how you mount your specimen on the testing apparatus. To identify the direction of twist, hold a length of yarn between two fingers and roll it towards yourself or away from yourself.
If the fibers appear to be twisting together as you roll towards yourself, then this is an S-twist (left-hand) yarn. If they appear to be untwisting as you roll towards yourself, then this is a Z-twist (right-hand) yarn.
It’s crucial that you correctly identify which type of twist your sample has before mounting it onto the testing apparatus; otherwise, inaccurate results may occur during testing procedures.
Adjusting Distance Between Clamps
This is an important step in ensuring accurate results from your test. The distance between clamps should be adjusted according to the length of your yarn sample and its thickness.
To do this, loosen both clamp screws and slide them along their respective rods until they are positioned at a suitable distance apart for your sample size. Once you have achieved this, tighten both clamp screws securely so that they hold the yarn firmly in place without damaging or breaking it.
It’s essential to ensure that there is enough tension on each end of your sample during testing as any slackness can lead to inaccurate readings. Therefore, make sure that there is no sagging or drooping of yarn between clamps before proceeding with further steps.
Mounting Yarn Specimen
To do this, take one end of your yarn and tie a knot around one of the clamps. Then, carefully wind your yarn around a needle or similar object until you have created a loop that is approximately 6 inches in diameter.
Next, slide this loop over both clamps so that it rests in between them. Make sure that there are no twists or kinks in your yarn before proceeding to apply deadweight.
It’s important to note here that different types of twist testers may require slightly different mounting procedures. Always refer to manufacturer instructions for specific details on how best to mount your particular model.
By properly mounting your yarn specimen onto the twist tester, you can ensure accurate readings and reliable results when testing for twists per inch (TPI) or turns per meter (TPM).
Applying Deadweight
The purpose of this weight is to remove any slack from the yarn and ensure that it remains taut throughout testing. The amount of weight applied will depend on various factors such as the type of yarn being tested, its thickness, and other specifications.
Typically, a standard deadweight ranging from 250g to 500g can be used for most types of yarns. However, some specialized tests may require heavier weights or even multiple weights depending on their requirements.
The deadweight should be carefully placed onto one end of your mounted specimen while ensuring that there are no twists in either direction before applying tension by rotating spur gear in clockwise direction until all twist has been removed from sample length under test.
Setting Counter Meter to Zero
This step ensures that you get an accurate reading of twist removal during testing. To do this, simply rotate the spur gear until it clicks into place at zero on your counter meter.
It’s important to note that different types of yarn twist testers may have slightly different methods for setting their counters to zero. Be sure to consult your specific model’s instructions before beginning testing.
By taking these precise steps in using a yarn twist tester, you can ensure consistent quality in your textile production and crafting projects alike.
Rotating Spur Gear
It helps to measure the number of twists per inch in a given length of yarn by rotating the specimen at a constant speed. The gear’s rotation causes the untwisting and removal of all twists from the sample, which can then be counted using an attached counter meter.
The rotating spur gear works by gripping one end of the yarn specimen with its teeth while allowing it to rotate freely around its axis. As it rotates, any twists present in that section are removed until there are none left, and this process continues until all sections have been tested.
It is important to note that different types and thicknesses of yarn require varying speeds for accurate testing results; therefore, adjusting gears’ rotational speed may be necessary depending on your specific needs.
Observing Twist Removal
This is done by rotating the spur gear in a clockwise direction until all of the twists are removed from your yarn specimen. You can then take note of how many turns were made on your counter meter during this process.
It’s important to be patient and careful during this step, as rushing or being too forceful with your movements could result in inaccurate readings. Take your time and make sure that you’re observing each turn carefully before moving on to the next one.
Once all of the twists have been removed from your yarn specimen, you can take a final reading and observation using both visual inspection and measurements taken with a micrometer or other measuring tool. This will give you an accurate picture of how much twist was present in your yarn sample before testing.
Final Reading and Observation
The counter meter will display the number of twists removed from the yarn sample during testing. This value can be used to calculate other important parameters such as twist per inch (TPI) or turns per meter (TPM).
Observations should also be made regarding any changes in appearance or texture of the yarn after testing. If there are any irregularities, such as broken fibers or uneven twisting, this could indicate a problem with either production processes or material quality.
It is essential that these final readings and observations are recorded accurately for future reference and analysis purposes. By doing so, manufacturers can ensure consistent quality control measures throughout their textile production process.
Using a yarn twist tester is an effective way to measure and analyze various types of yarns’ twists accurately.
The Importance of Twist in Yarn
It refers to the number of turns per inch (TPI) or centimeter (TPC) of the fibers in a strand of yarn. The amount and direction of twist can affect how well the fibers hold together, how much stretch or elasticity they have, and even their appearance.
For example, if you’re making a sweater with loosely twisted yarn, it may not hold up as well over time compared to one made with tightly twisted yarn. Similarly, if you’re creating lacework with highly twisted thread-like material such as crochet cottons like Aunt Lydia’s Crochet Thread Classic Size 10 , then it will be more durable than using low-twist threads.
Yarn manufacturers use various methods for measuring twist levels in their products to ensure consistency across batches. Yarn testers are essential tools used by textile industries worldwide for testing different types of fiber materials before production begins.
What Is Twist in Yarn?
Before we dive into the different types of yarn twist testers, let’s first understand what twist means in yarn. In simple terms, the twist refers to the number of turns per inch (TPI) that a strand of fiber has been twisted together to form a single ply or multiple plies.
The amount and direction of twists can significantly affect how your finished project will look and feel. For instance, if you’re making a scarf with loosely spun yarn that has low TPI or not enough twists per inch, it may end up looking limp and lacking structure.
On the other hand, tightly spun yarn with high TPI can result in stiff fabric that lacks drape.
Therefore understanding how much twist is present in your chosen type of yarn is essential for achieving desired results when crocheting or knitting projects.
Yarn Twist Test Method
The first step is understanding the yarn twist test method. This involves identifying the direction of the twists in your yarn and adjusting the distance between clamps on your tester accordingly.
To begin, mount a small section of your yarn onto two clamps on either end of a spindle or bobbin holder. Apply a deadweight to one end while rotating another until all twists are removed from that section.
Next, set the counter meter to zero and rotate spur gear at least 20 times in opposite directions before observing any remaining twists removals with magnifying glass or naked eyes.
Take note of any observations made during testing such as number of turns required for complete untwisting and overall quality assessment based on industry standards like ASTM D1422-07(2013) Standard Test Method for Twist in Single Spun Yarns by Direct-Counting.
FAQ
What are the methods of twist testing?
Methods of twist testing include measuring twist per unit length of yarn using an instrument while untwisting and then imparting twist back onto the yarn, and utilizing a tension-type twist tester that operates on the principle of twist contraction in the untwist and retwist method.
How do you check yarn twists?
To check yarn twists, insert two fingers through the final loop of the "braid" and count the number of full 360° rotations needed to bring both ends to parallel.
What are the different types of twist yarn?
Answer: The two different types of twist yarn are S twist and Z twist.
What is the instrument used for yarn twist?
The instrument used for yarn twist is the EleTwist, an electronic yarn twist tester designed to accurately measure different yarn twists in single, plied, or OE yarn using the single and triple untwist-retwist and direct-counting methods.
What are the factors affecting the accuracy of yarn twist testing?
The factors affecting the accuracy of yarn twist testing include yarn type, test method, pretreatment, sample length, and environmental conditions.
How does the twist measurement technique vary between single and plied yarns?
In twist measurement technique, the variation between single and plied yarns lies in the process of measuring the twist per unit length in single yarns, and twist per unit length and ply twist in plied yarns.
What are the common errors to avoid while performing yarn twist testing?
Common errors to avoid while performing yarn twist testing include improper sample preparation, inconsistent test speed, and inaccurate measurements.


