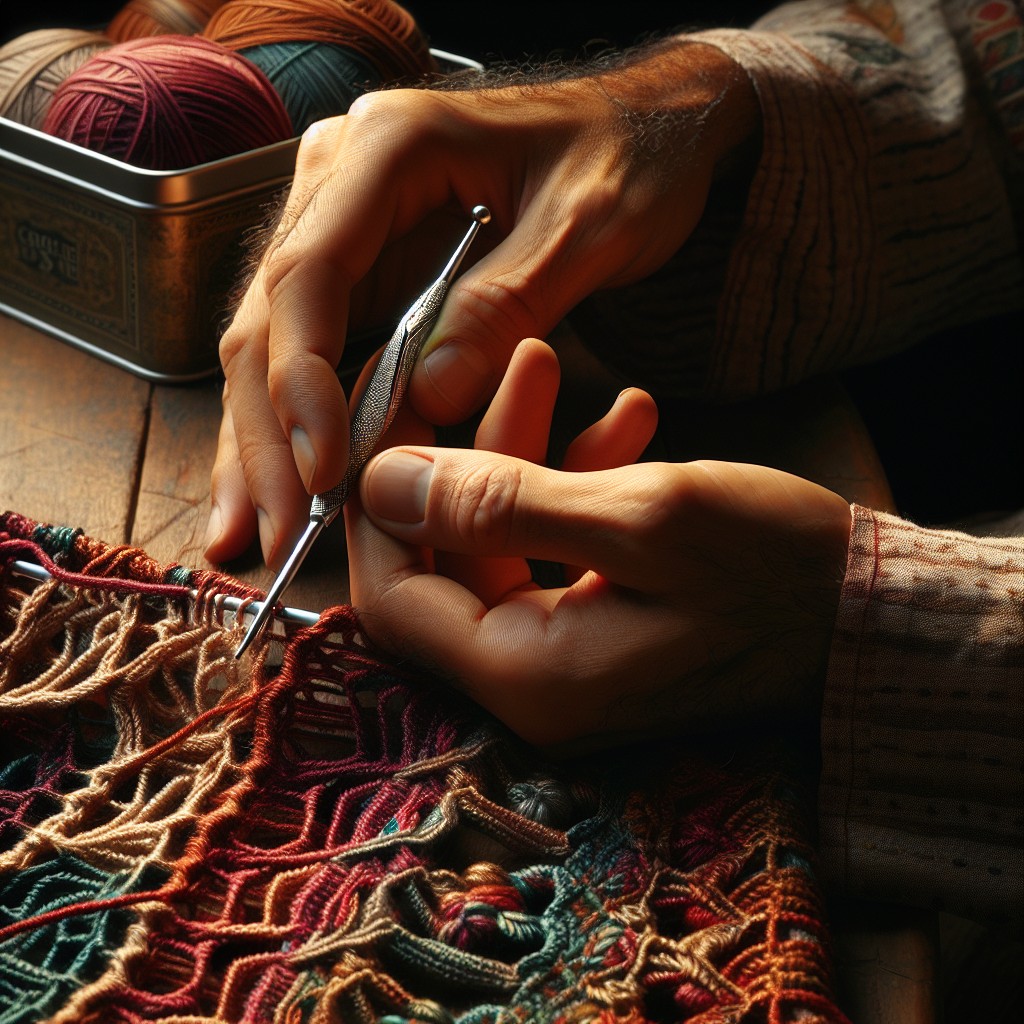
Learn the straightforward steps to securely fasten off your crochet project, ensuring your stitches stay put and your work looks polished.
Key takeaways:
- Fastening off is a crucial step in crochet projects.
- Leave a 6-inch yarn tail for weaving in later.
- Snip the yarn and pull the tail through the last loop.
- Give the tail a tug to secure the stitches.
- Think of fastening off as tying the ribbon on a present.
What Does Fasten Off in Crochet Mean?

Fastening off, also known as binding off or finishing, is a fundamental technique in crocheting that secures the last stitch of your work so that it doesn’t unravel. Think of it as tying up loose ends both literally and figuratively.
Imagine crocheting as a long train of interlocking loops. If you stop crocheting and do nothing to secure the last loop, the whole thing could untether like a pulled thread on a sweater. That’s where fastening off comes in. You essentially close the loop, keeping your hard work intact.
This is the final touch that transforms your project from a work-in-progress to a complete masterpiece. Whether you’ve crafted a cozy blanket or a cute amigurumi, knowing how to properly fasten off will make sure your stitches stay put long after your hook has been set down.
How to Fasten Off Crochet
When you’re wrapping up your crochet piece, completing the final stitch is like crossing the finish line. You’ve hooked and looped your way through, and now it’s time to secure everything neatly. Snipping off the working yarn might feel like saying goodbye to a good friend, but leave a healthy length of a yarn tail for weaving. About 6 inches should do the trick. With your scissors at the ready, snip and breathe out—you’re almost there!
Now, draw that yarn tail through the last loop on your hook. Give it a tug to snug it up—think of it as tying the ribbon on a present. Your work is now safe from unraveling, like a ship securely anchored in harbor. This little knot is the unsung hero of your crochet work, holding everything in place and keeping the fruits of your labor intact.
Next step? Weave in those ends to keep your work looking as dapper as a penguin in a tuxedo—more on that soon!
Step 1: Complete the Last Stitch
Finishing your last stitch is akin to the final note in a symphony – the setup for a grand finale. Give this stitch the same care as all the others. Whether it’s a single crochet or a treble, keep your tension consistent. There’s no rush for the curtain call. Once you’ve pulled the yarn through the last loop as usual, you’re ready to bring it home. A smooth last stitch paves the way for a clean and secure finish. This is where you tie the knot on your crafted piece, ensuring the work doesn’t unravel and stands the test of time—and use!
Step 2: Cut the Yarn Leaving a Tail
Grab your scissors because size matters here — and by size, I mean the length of the yarn tail you’re going to leave. Aim for about six inches. This gives you plenty of room to weave in the end later without playing a game of thread-the-needle with too short a piece. Snip your yarn with confidence, but don’t go too close to the hook. That’s the crochet equivalent of a high-wire act without a safety net! Leaving a generous tail prevents your hard work from unraveling like a mystery without a conclusion. Just remember: a little extra length is your friend.
Step 3: Pull the Yarn Through the Last Loop
Once you’ve snipped your yarn and you’re ready to bid farewell to your project, simply yank that tail end through the loop on your hook. Give it a nice tug to cinch it up. Imagine you’re tying a neat little bow on a gift; that’s how satisfying finishing off should feel.
Just remember, the tightness of this final act isn’t about giving it all your might. It’s about securing your work so it doesn’t unravel and ensuring all those precious hours you’ve spent don’t go poof into thin air. Like turning the key to lock your door, a little twist goes a long way to keep everything safe.
In essence, think of this loop as your project’s last stand against the perils of coming undone. It’s the guardian of your stitches, so pull through with confidence and care.
