Learn how to crochet an adorable penguin with this step-by-step guide that includes all the tips and tricks you’ll need.
Ready to crochet an adorable little penguin that’s sure to waddle its way into your heart? You’ve landed in the right icy spot! We’ll guide you stitch by stitch, from its cute head to its tiny toes, making sure every detail is on fleek. Grab your yarn and hooks, because by the end of this project, your penguin will be ready to slide into your collection with charm and cuddles.
Key takeaways:
- Grab necessary materials: yarn (black, white, orange), crochet hook, safety eyes, tapestry needle, stuffing, scissors
- Learn crochet abbreviations and stitches: sc, inc, dec, ch, sl st, magic ring
- Follow instructions to crochet the head and body, shaping the head and stuffing
- Crochet wings and feet, ensuring they are the same size and stitch them onto the body
- Crochet belly, beak, and assemble all parts to bring the penguin to life
Materials
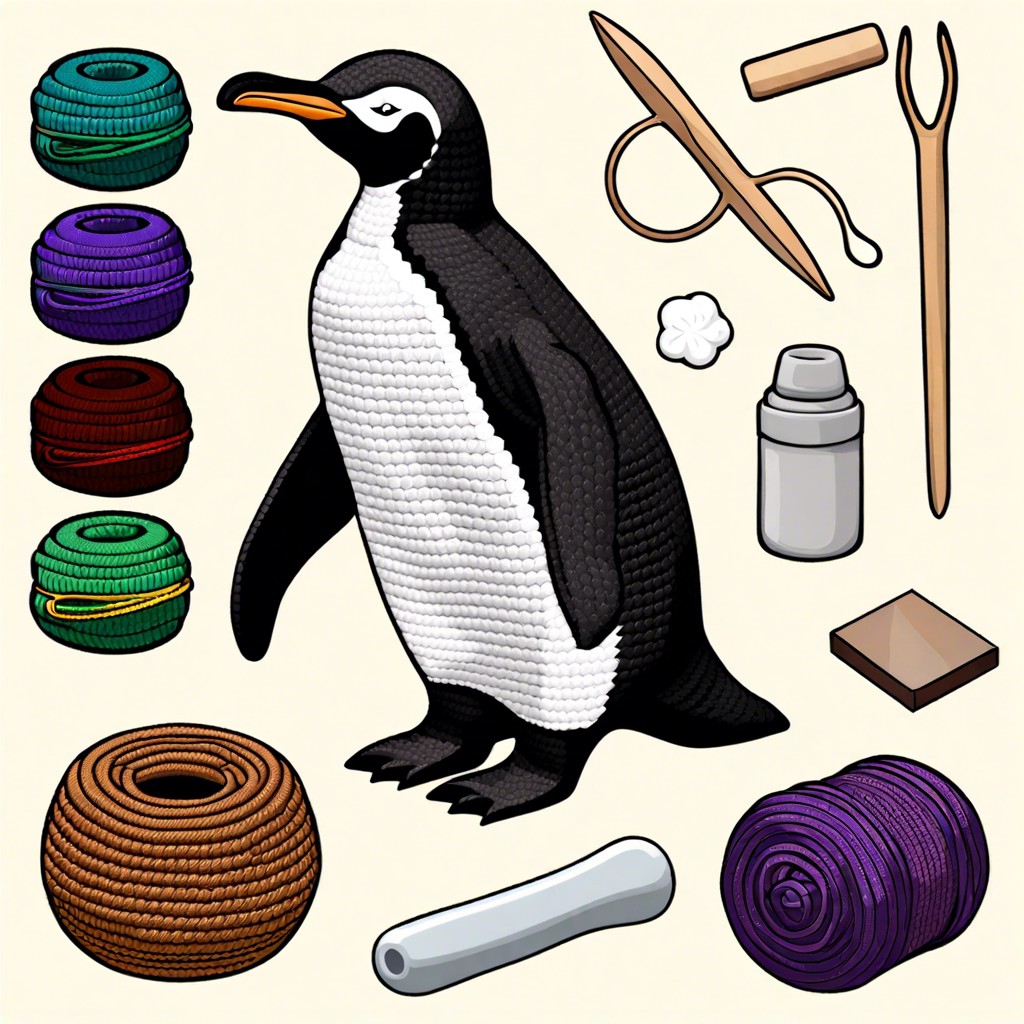
Grab some yarn in black, white, and orange. The standard worsted weight yarn works wonders. Get a crochet hook, size G/4.0 mm is your trusty sidekick here. Don’t forget those safety eyes; after all, you want your penguin to have vision, right?
You’ll also need a tapestry needle for assembly and weaving in ends (the yarn equivalent of dotting your i’s and crossing your t’s). And of course, a bit of stuffing. Full-bodied penguins are the goal, not flat pancakes.
Lastly, keep a pair of scissors handy. Snip-snip your way to penguin perfection!
Abbreviations and Stitches
First off, you’ll need to decode the crafty lingo. It’s like learning a secret language. Here’s a quick breakdown:
Sc – Single Crochet: The bread and butter of crochet stitches. Insert hook, yarn over, pull through, yarn over, pull through again. Voilà!
Inc – Increase: More penguin, less problem. Simply put, work two single crochets into the same stitch.
Dec – Decrease: Time to slim down. Crochet two stitches together to reduce the stitch count.
Ch – Chain: Think of it as the start of everything. Yarn over, pull through the loop. Rinse, repeat.
Sl st – Slip Stitch: The sneaky sneaky of stitches. Just insert your hook, yarn over, pull through both loops in one go. Easy-peasy.
Magic ring – The magic happens here. Create an adjustable loop that pulls tight, ending in a wonderfully neat center. Perfect for penguin heads!
Now you know the secret code, you’re ready to crochet some penguin magic. Grab your yarn, and let’s get noodling!
Head and Body
Start with a magic ring, also known as a yarn sorcery circle. Only the bravest proceed.
Single crochet six times into this magical portal. Pull the loop tight. Boom! You’re now in business.
Increase by single crocheting twice in each stitch around. You’ll now have 12 stitches, and possibly a swollen sense of pride.
Continue increasing. On the next round, single crochet once in the first stitch, twice in the second. Repeat around. Now you’re at 18 stitches.
For the body, continue with subsequent rounds. Each round expands the circle. Fan out like a crochet warrior.
- Round 1: Single crochet in next two stitches, then two in the third. Measured growth: 24 stitches.
- Round 2: Single crochet in next three stitches, then two in the fourth. Count: 30 stitches.
Keep going until you reach a comfy diameter for your chilly friend. City council of stitches approves 42-48 for a dapper penguin.
To shape the head, abandon increases and single crochet in each stitch around. Repeat ‘til you can imagine the penguin nodding.
Before you finish, place safety eyes to give it a soul. Stuff the head and body with the softest fluff. Move over, Pixar—this penguin’s alive! Finally, decrease your stitches as if you’re tapering off, just a few at a time, until there’s a teeny opening. Fasten off. Admire your handiwork.
Wings and Feet
Start by crocheting two wings from black or dark blue yarn. These tiny flippers are basically small oval shapes. Work in the round so they look nice and smooth, then set them aside for later.
For the feet, grab your orange or yellow yarn. These paddles are much the same as the wings, just a little shorter and a bit wider. Think duck feet but cuter.
Make sure both pairs are the same size. No one wants a penguin with mismatched appendages—it’s too eccentric even for a penguin.
Count your stitches carefully to ensure uniformity. It’ll make your penguin look super neat and professional.
When all pieces are ready, stitch them neatly onto the body and do your best to hide your yarn tails. Too many hanging threads make your penguin look like it’s having a bad hair day.
Belly
This little buddy’s belly is nothing but a cozy oval of white yarn. You’ll want to use the same hook size as the rest of the penguin for consistency. Start with a magic ring – don’t worry, it’s not actually magic, just yarn wizardry.
- Work in rounds. The first one’s always a circle, like a tiny pizza – but for penguins.
- Increase stitches evenly each round until you reach the desired size. Think of expanding your tiny pizza until it’s a personal pan pizza.
- Remember, this little white patch should fit snugly on the penguin’s front, like a sweater that hugs all the right places.
Keep it flat and neat; no one wants a lumpy penguin belly. When you’ve got the right size, fasten off and leave a tail for sewing.
Beak
The beak is a tiny but mighty part of our crocheted penguin. So, let’s tackle it with gusto.
Start with orange or yellow yarn. It’s like giving our penguin a little sunshine for a smile.
- Create a magic ring with 5 single crochets.
- Increase in each stitch around. Now you have 10 stitches. It’s growing!
- Single crochet in each stitch around for the next two rounds. It’s like you’re building a little cone.
Fasten off and leave a tail for sewing.
Now, position the beak right between those beady little eyes you’ve already placed. Sew it securely and weave in the ends. Oh, and don’t worry—if it looks a tad crooked, it just adds personality. Perfectly imperfect!
Assembly
Time to bring your penguin to life! Grab your yarn needle and let’s get started.
First, attach the wings to each side of the body. Position them slightly above the middle for that cute, waddling look. Secure with a few stitches.
Next, sew the belly onto the front of the body. Make sure it’s centered because no one likes a lopsided penguin. Use a whip stitch for neatness.
Feet go at the bottom, of course! Place them side by side, and stitch firmly. These little ones have to hold up all that cuteness.
Now, for the beak. Attach it right in the center of the head, under the eyes, after you’ve positioned those. A few strong stitches and voila!
Finally, weave in any loose ends. A tidy penguin is a happy penguin.
Keep an eye on symmetry—your penguin might take flight, but we want it to look balanced first!
Related Posts
 Easy Crochet Gnome Pattern Free: Transform Yarn into Whimsical Friends
 Crochet Star Blanket: A Stellar DIY Guide
 How to Crochet Slippers for Beginners Step by Step with Pictures: Cozy Feet Awaits
 Adjustable Ring Crochet: Master the Magic Circle
 How to Crochet Without a Hook: Hands-On Creativity