Braiding yarn creates visually impressive craft items because of its unique versatility and textural aesthetics, and learning this technique can significantly infuse more creativity into your yarn crafts.

Braiding yarn is a simple yet versatile craft technique that can be used to create a variety of projects, from embellishments for knitwear to standalone items like bracelets or bookmarks. The process involves intertwining three or more strands of yarn in a systematic pattern to create a plaited structure.
This article provides a step-by-step guide on how to braid yarn, covering all the necessary details, from selecting the right type of yarn to securing the braid. So whether you’re looking to add a unique touch to your knitting projects or just exploring new ways to use yarn, this guide will equip you with the knowledge you need.
Key takeaways:
- Use bulky yarn for a sturdy and pronounced braid.
- Secure the ends of the cut yarn before starting.
- Follow the steps for a 3-strand, 4-strand, or 5-strand braid.
- Maintain even tension and strand thickness for a clean braid.
- Practice and experiment to enhance your braiding skills.
Preparing Your Yarn for Braiding

Always begin by selecting an appropriate type of yarn. Bulky or thick yarn is generally recommended to achieve a sturdy and pronounced braid. Remember, the color and texture are your personal choice and can add variations to your project.
Next, measure and cut the yarn to the desired length. Always keep in mind that any type of braid with yarn will shorten the final output so it’s wise to add extra length.
The length and number of strands will be driven by your braid type. If you’re doing a common 3-strand braid, you’ll need three strands of equal length. For more complex braids like 4-strand or 5-strand ones, more strands will be needed.
Before starting the actual braiding, ensure all strands are untangled and lie smoothly side by side. This will ensure a neat final output without any visible lumps.
Lastly, secure the ends of the cut yarn. This can be done using a knot or a clip (like a binder clip or paperclip). A secure start-off point is crucial as it will assist in holding the strands while you create the braid.
Materials Needed for Yarn Braiding
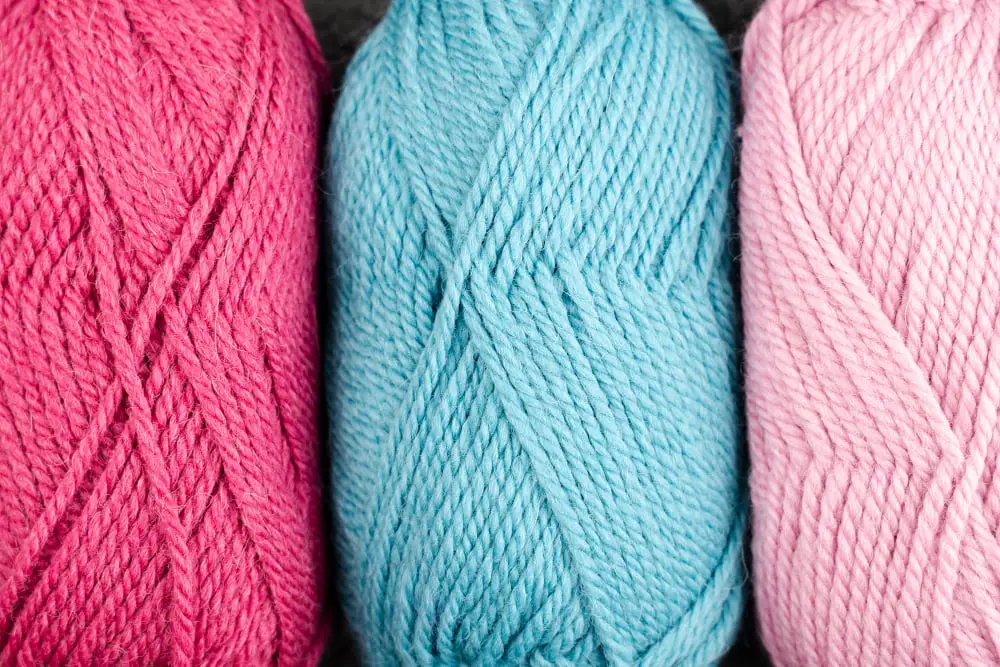
Gathering the right materials is the first step in the yarn braiding process. At its most basic, all you’ll need is yarn. The thickness, texture, and color is entirely up to you. However, you will ideally need three skeins — one for each part of your 3-strand braid.
For the braiding process to be smoother, you’ll also need a pair of sharp scissors to cut your yarn, measuring tape to ensure all strands are uniform in length, and a clip to secure your braid as you progress.
While not essential, you might also want to consider a yarn needle. This tool can help you to weave in any loose ends neatly, resulting in a finished look for your braid. Remember, quality tools contribute to a quality finish, so choose wisely!
DIY Yarn Braids
To begin, select and cut lengths of yarn to the desired length of your finished braid. Consider using different colors for a more personalized touch.
Once your yarn is prepped, follow these key points to create your own braid:
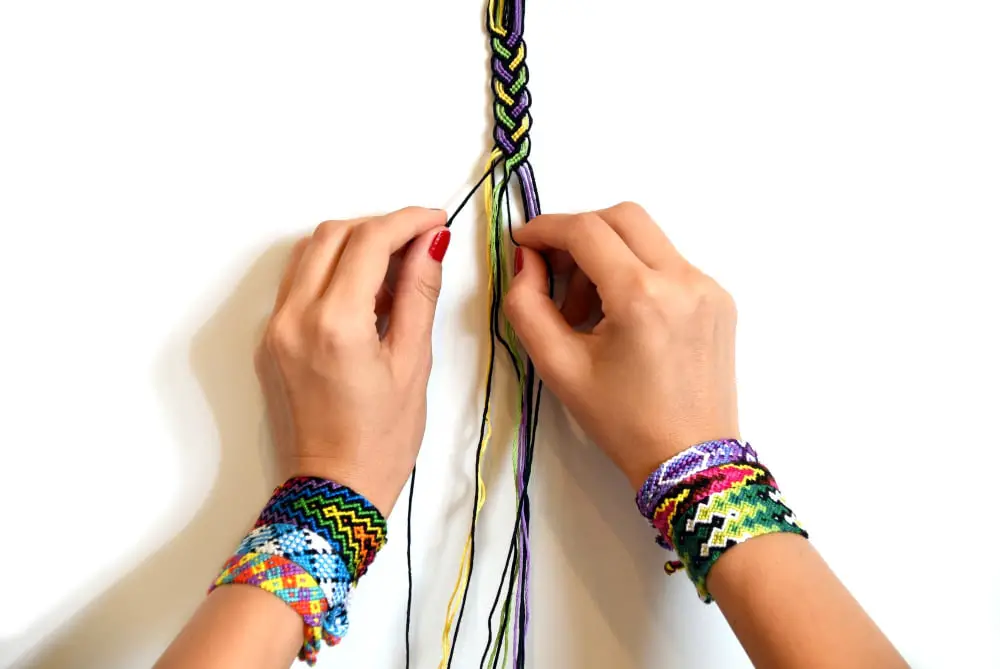
- Gather three or more strands of yarn together at one end. Secure this end with a knot or clip to prevent the strands from separating during the braiding process.
- Cross the right strand of yarn over the middle strand. The right strand will now become the middle strand.
- Take the left strand and cross it over the new middle strand. Now the left strand will be the middle strand.
- Continue these steps until you reach the end of your yarn. The process is simple, one strand over another sequentially and repetitively until your braid is complete.
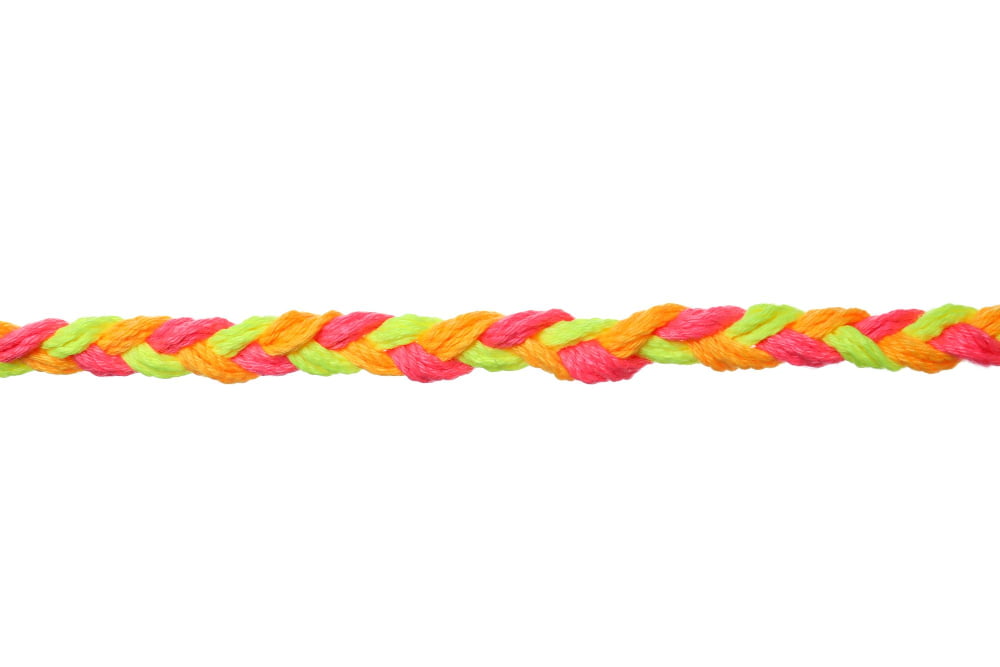
Ensure that your braids remain even and uniform for the best results. You can always undo and correct any mistakes before securing the finished end. With just these basic steps, you can create a multitude of beautiful and unique yarn braids.
Making a Basic 3-Strand Braid With Yarn
First, separate your yarn into three equal sections. Keep the sections loose at the top for easy handling.
Grab the right section, cross it over the middle one, effectively making it the new middle strand. Then, take the left section, cross it over the new middle strand and continue this alternating pattern.
To secure the braid, make a knot at the end or use a hair tie. Remember to apply equal tension throughout the process to keep the braid balanced.
Lasty, practice your technique. Braiding may look simple, but it takes time to master the process. Practice makes perfect!
Creating a 4-Strand Braid With Yarn

Begin with sorting out strands to make sure there are no tangles. Essentially, you will be operating with pairs of yarn strands – ‘Strand Pair 1’ (SP1) and ‘Strand Pair 2’ (SP2).
1. Position SP1 to the left and SP2 to the right hand.
2. Cross SP1 over SP2, forming an “X” shape.
3. Now, separate the strands in each pair. Let’s call the left strand in SP1, ‘L1’, and the right strand, ‘R1’. Similarly, in SP2, name the left strand as ‘L2’, and the right as ‘R2’.
4. Begin braiding by crossing L1 over R1, but underneath L2.
5. Next, cross R2 over L2, and beneath R1.
6. Repeat steps 4 and 5 until you have achieved the desired length of braid.
Remember, a smooth rhythm while crossing strands will result in a neat, even braid. So, take your time until you master the coordination.
Doing a 5-Strand Braid With Yarn
Start by cutting five equal lengths of yarn. You might want to use different colors to simplify the process. Secure the strands at one end and spread them out for easy access.
The five-strand braid involves a simple repeat pattern, once you’ve got the hang of it, it becomes quite rhythmic. Let’s number the strands from left to right as 1-5. Here’s a quick rundown of the steps:
- Shift Strand 5 over Strand 4 and under Strand 3.
- Shift Strand 1 over Strand 2 and under Strand 3.
- Repeat these moves until your braid reaches the desired length.
Attaining an even braid involves regular tension. Apply the same force to each strand as you move it over and under the others. This controlled tension prevents any loose or tight spots throughout your braid.
Always remember to hold the unused strands securely to avoid tangles. Post-braid, you may choose to secure your ends with a knot or add a decorative touch like beads or a tassel. Try practicing this technique with thicker yarn first, as it increases the ease of handling and visibility.
Expert Tips for Braiding Yarn
1. Consistent Tension: It’s crucial to maintain an even tension whilst braiding to prevent your strands from being too loose or too tight, ensuring a clean, well-structured braid.
2. Equal Strand Thickness: When preparing your stands of yarn, ensuring each strand is the same thickness will result in a clean, balanced braid.
3. Securing the Ends: Fastening your yarn ends with a knot or a clip can prevent the braid from unraveling as you work.
4. Braiding Surface: Working on a flat surface can help in neatly aligning your strands and minimize entanglement.
5. Unravel Prevention: If dealing with a longer braid, winding your loose yarn into balls will help in preventing them from getting tangled.
6. Practice, Practice, Practice: As with any craft, the more you practice braiding, the better your technique will get.
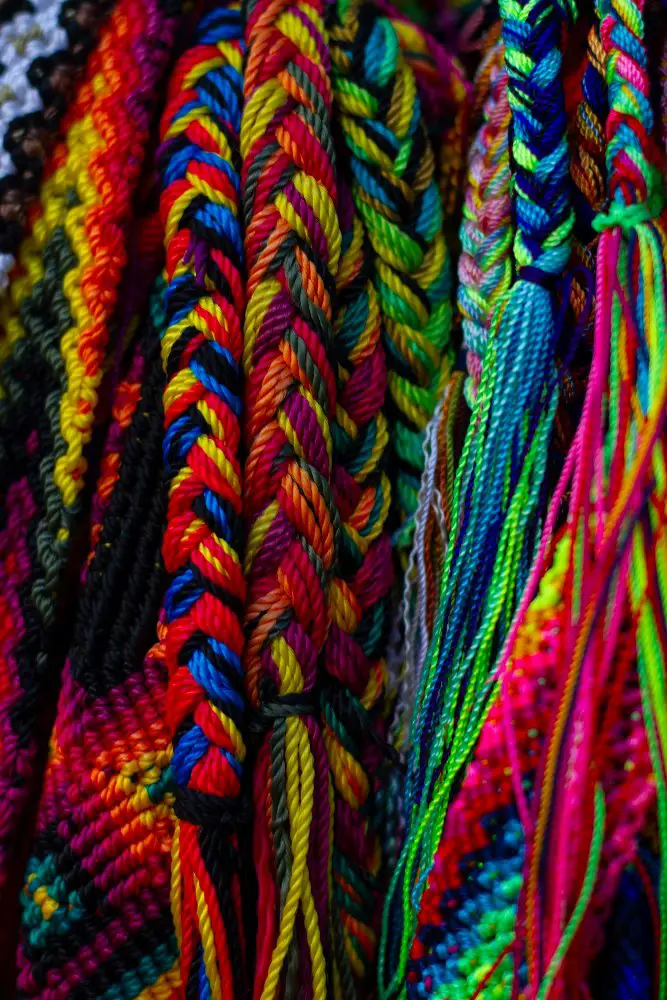
7. Experiment: Once you’ve mastered the basic technique of yarn braiding, feel free to experiment with different types of yarn, textures, or even braid styles. This will add versatility and depth to your craft projects.
FAQ
What are the necessary steps to create a four-strand braid with yarn?
To create a four-strand braid with yarn, one needs to line up four strands, take the far-right strand over the two middle strands, under the left one, then take the far-left strand under the two middle strands and over the right one, and continue this pattern until the braid is formed.
How can one add beads or other decorative elements to a yarn braid?
One can add beads or other decorative elements to a yarn braid by threading them onto the yarn before braiding, then pushing up a bead when desired in the sequence and incorporating it into the braid.
What are different pattern variations one can create in braiding yarn?
Pattern variations in braiding yarn can be created by varying the number of yarn strands, swapping colors, using knots and loops, and incorporating elements like beads or embellishments.


