Understand how to make yarn thicker for knitting because it opens up a new world of texture and dimension in your projects.
Looking to add more volume to your knitting projects by making your yarn thicker? You’re on the right track. This article will guide you through the process of doubling or tripling your yarn to give it more bulk, or using specific techniques like the Navajo ply method to thicken your yarn.
It will also cover the use of different types of yarns that naturally have more heft to them. Continue reading to explore all the details about how to make your yarn thicker for knitting, ensuring your projects have the desired texture and fullness.
Key takeaways:
- A heavier yarn produces bulkier knitted pieces.
- Yarn thickness affects the number of stitches per inch.
- Different thicknesses are suitable for different types of projects.
- Heavier yarns have a more pronounced stitch definition.
- Thicker yarns usually require larger knitting needles.
Understanding the Concept of Yarn Thickness
Yarn thickness, also commonly referred to as yarn weight, essentially describes the diameter of the yarn strand. There are various standardized categories ranging from lace (the thinnest) to jumbo (the thickest). The thickness determines how fine or bulky the end knitted fabric will be, and how quickly a project can be completed, with thicker yarns working up faster.
Here’s the scoop:
1. The heavier the yarn, the thicker the strand. This produces bulkier knitted pieces and is ideal for projects such as warm blankets or cozy scarves.
2. The thickness influences the number of stitches per inch (also known as the ‘gauge’), a crucial factor when following knitting patterns.
3. Different thicknesses are suitable for different types of projects and the expected end result. For instance, lace weight yarn is perfect for delicate shawls, while worsted weight is often used for sweaters and blankets.
4. Heavier yarns tend to have a more pronounced stitch definition, making textured patterns like cables really stand out.
5. Finally, thicker yarns usually require larger knitting needles, which have advantages such as helping beginners knit more comfortably or speeding up the knitting process.
So, understanding yarn thickness can greatly influence the success and quality of your knitting projects, from selection of the yarn, to execution, texture, and the overall appeal of your final piece.
Benefits of Thicker Yarn in Knitting
Using thicker yarn can dramatically speed up your knitting projects given that fewer stitches are needed. This attribute makes it a popular choice for beginners practicing their first stitches.
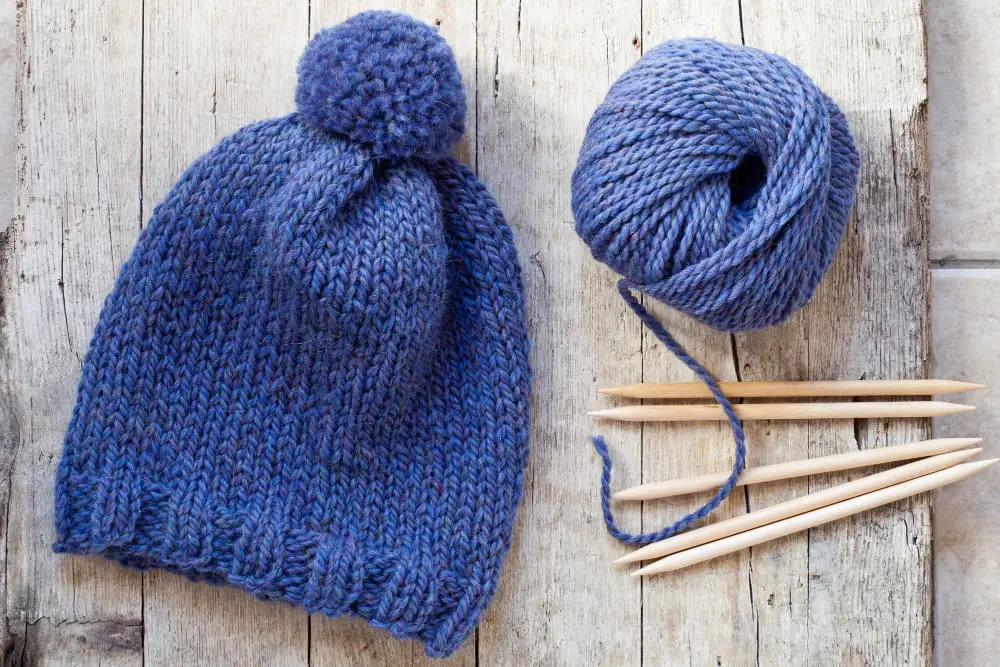
Thick yarn is also known to provide greater warmth, owing to its dense texture, which makes it ideal for crafting winter accessories like scarves, hats, or sweaters.
Additionally, projects knitted with thick yarn tend to have a cozy, structured look and a plush feel, resulting in a high-quality finish.
Lastly, thick yarn makes mistakes more visible, allowing you to correct your technique early on. A great example is tension issues which are easier to spot and rectify when knitting with thicker yarn.
Materials Needed to Make Yarn Thicker
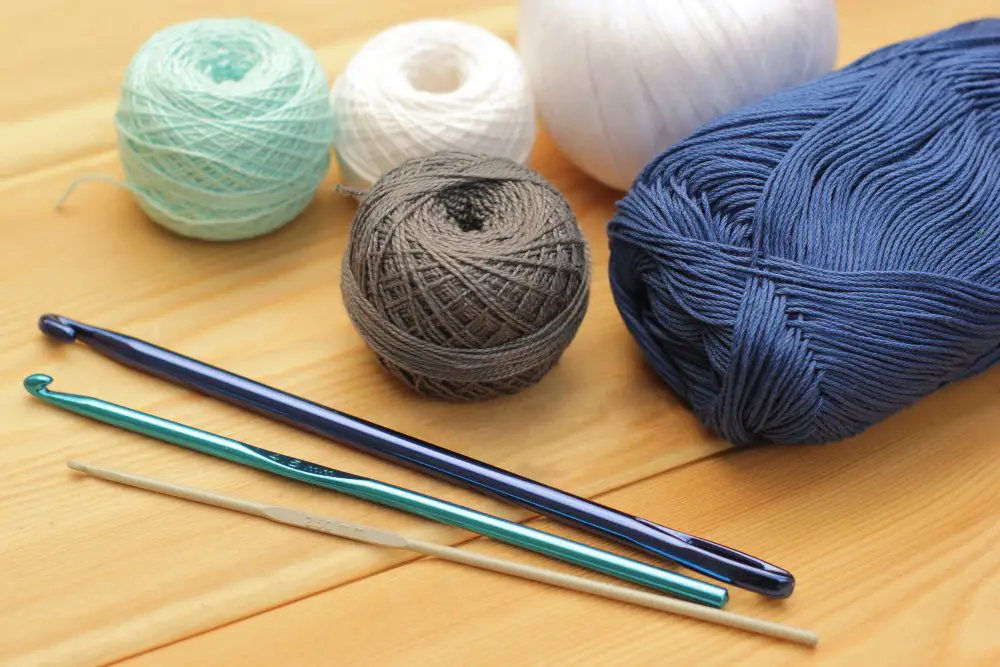
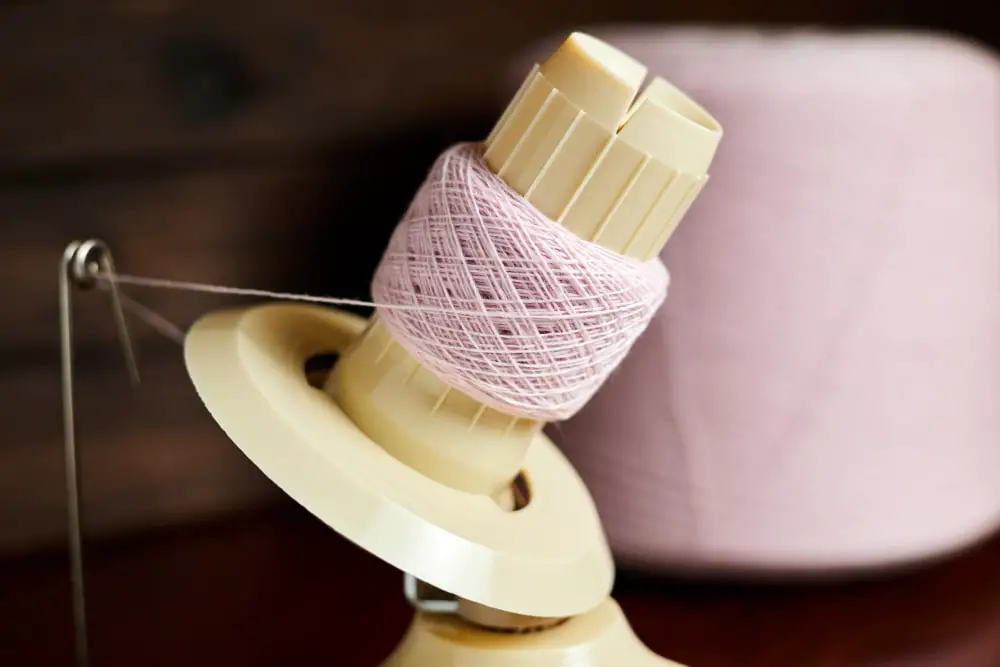
First and foremost, to embark on this task, gathering the right materials is vital. You would require two different forms of yarn, namely standard yarn and any other yarn type, either heavier or textured. Stitching with two threads rather than one doubles the thickness. An alternative approach would be to use a yarn winding tool, a great asset for managing your yarn and maintaining even thickness.
Don’t forget your knitting needles. The size to select would depend on the end thickness of the yarn. As a general rule, the thicker the yarn, the larger the needle size should be. Precise measurements are needed for consistency, thus a ruler or tape measure would also be necessary. It’s also beneficial to have a pair of scissors on hand to cut the yarn when necessary.
A yarn bowl is another useful tool to contain your yarn while working, preventing it from rolling away and unraveling. It can also help in maintaining a consistent tension, resulting in evenly thick yarn throughout your project. Lastly, if you are planning to add colour variety, having extra colours of yarn within reach could be quite handy. With these tools set, you’re ready to proceed with the process.
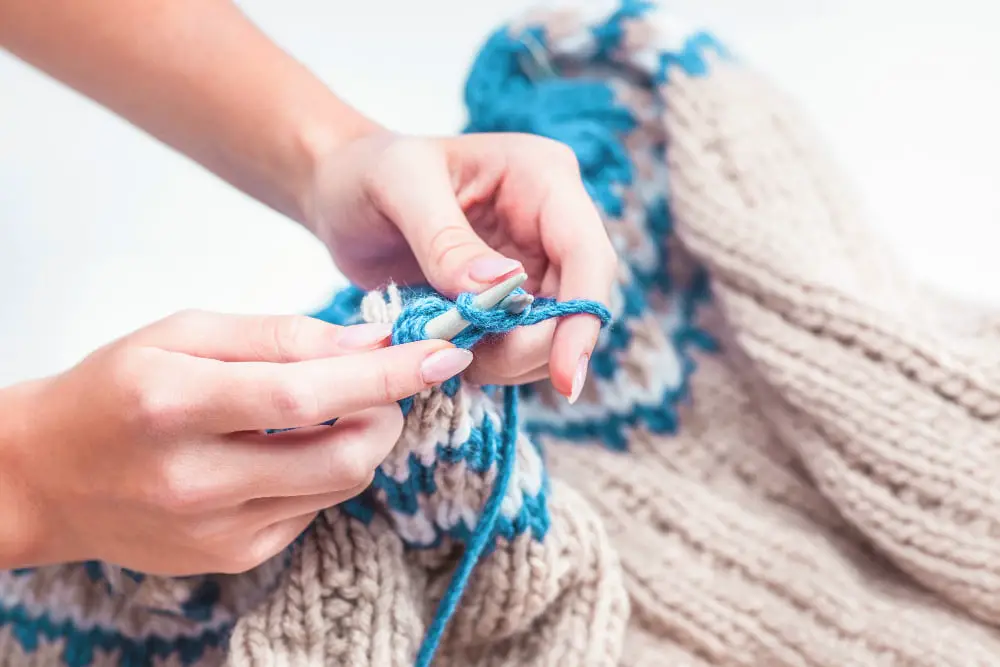
Tying a Slip Knot
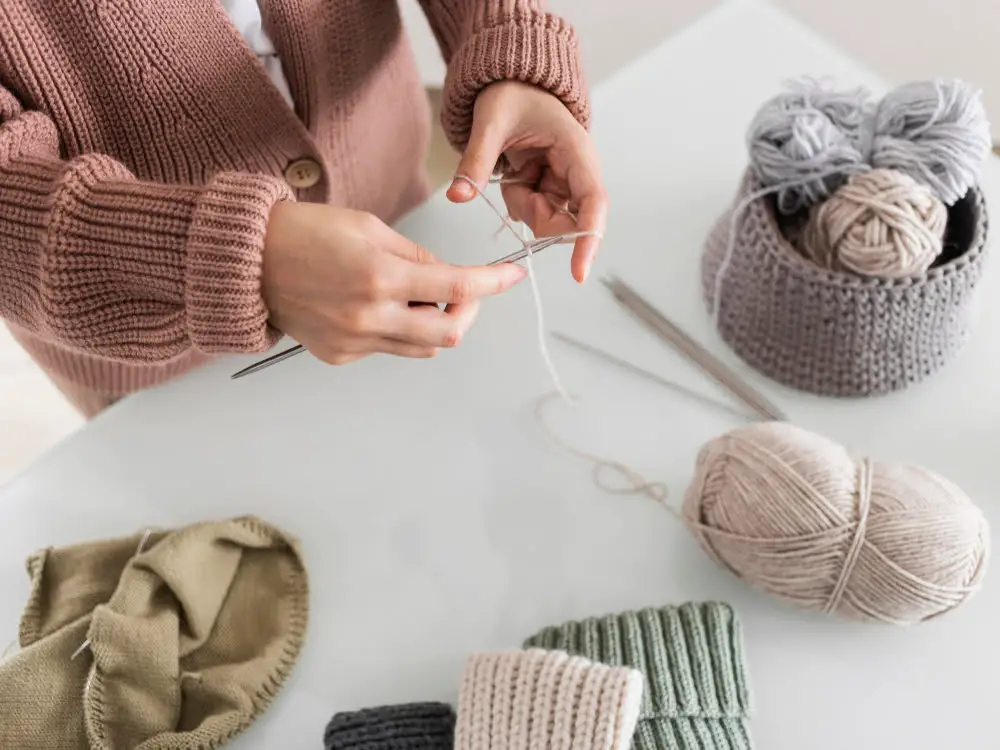
First, secure the end of the yarn on your pinky finger, then wrap it around your fingers to form a loop. Gently remove this loop from your fingers. Take the other end of the yarn – the one attached to your ball – and lead it through the loop. Securely holding both ends, slowly pull to tighten, creating your knot.
Now, slip the knot onto your knitting needle, adjusting until it fits snugly but can still slide easily up and down the needle. This is the foundation of your thicker yarn structure.
Pulling Through and Repeat
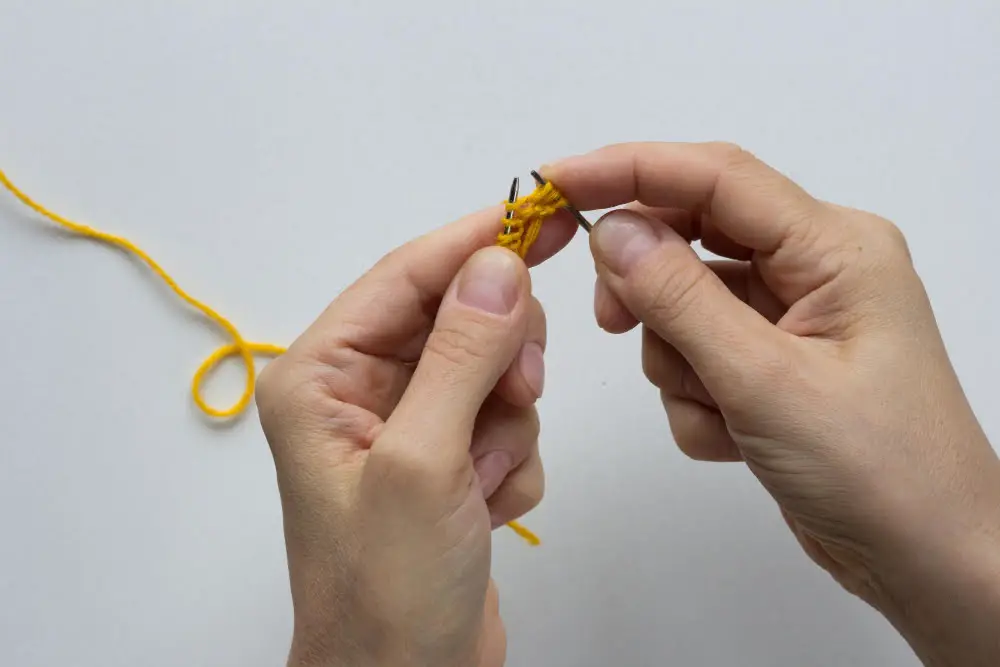
After preparing the slip knot, you are ready to continue with the thickening process. Start by allowing the long end of the yarn or tail to hang down. Then, insert your fingers in the loop of the knot, grab the tail, and pull it through. This action creates a new loop. Carry on with this process: insert, grab, and pull. Remember to keep the loops loose to manage thickness more effectively.
Ensure you don’t rush. Swift movements may accidentally tighten the loops making it problematic to maintain consistency. If you happen to produce an overly tight loop, gently tug on it to loosen.
Also, don’t forget, with practicing, this process will become second nature. Your loops will be more uniform, and your thickening will be consistent, giving your knitting project the professional look you aim for.
One key point is to control tension. The firmness or flexibility of your yarn is directly proportional to the tension employed during this process. Hence, knowledge about managing tension will be beneficial.
If you want a temporary interruption, no problem! Just pull a large enough loop and leave it. When you return, tighten the loop and continue the process. However, remember to secure your crafting area from pets or kids who might unravel your hard work.
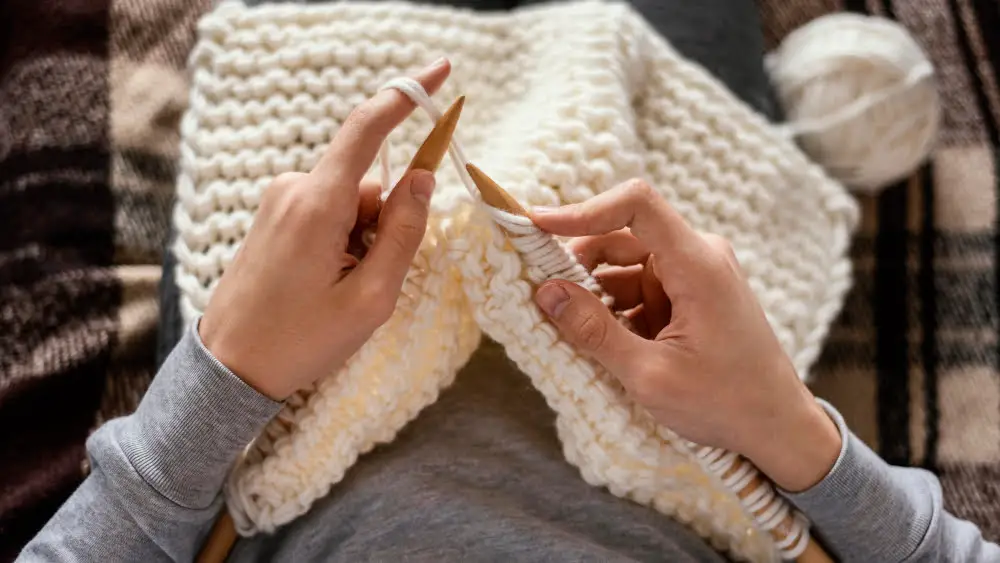
Starting the Yarn Winding Process
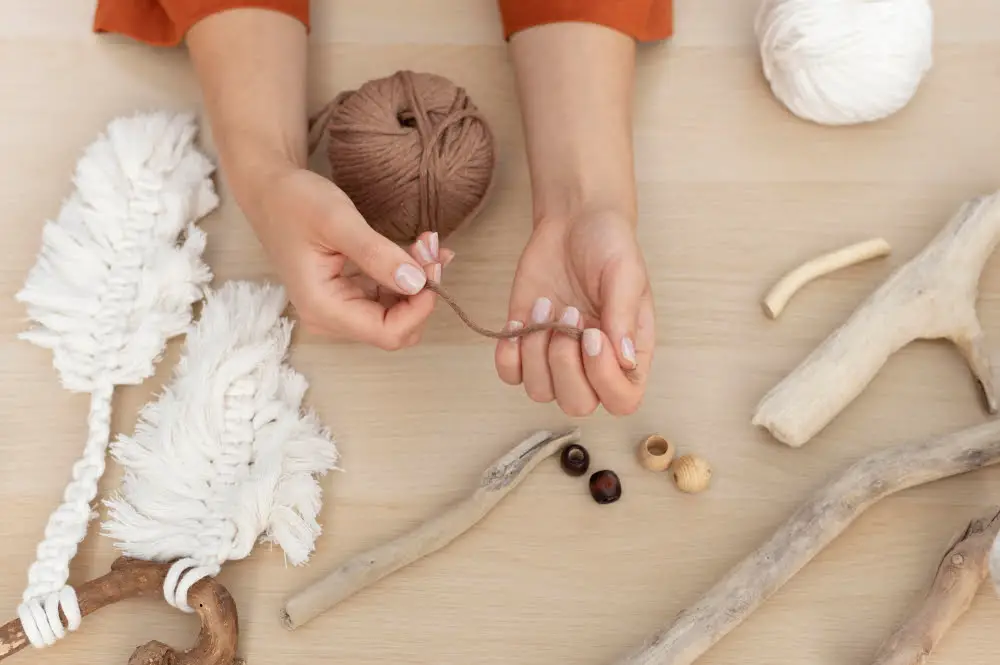
To start on the winding process, hold the tail end of the yarn with your non-dominant hand and the working end – the end attached to the yarn skein – with your dominant hand. Initiate the winding by loosely wrapping the yarn around your non-dominant hand’s thumb. Ensure to hold the yarn tail against your palm with the same thumb.
Keep the wraps as consistent as possible to maintain an even yarn thickness.
Note, the thickness of your yarn will be determined by how many times the yarn strand is wound around the thumb. For a thicker yarn, you might want to wind the yarn around the thumb multiple times. However, remember to not pull too tight; it could affect the yarn’s loft and elasticity, which can influence the end result of your knitting work.
The goal here is to maintain consistency throughout the winding process. These steps might take some practice, but with time, you’ll see improvement in maintaining a uniform yarn thickness.
Next, pull the yarn tail through the loop you’ve created on your thumb. You’ve now formed your first yarn ‘winding.’ This will be your fundamental repetition to create a thicker yarn strand. This process, executed consistently, will turn a thin yarn into a thicker one that’s ready for your knitting project.
Lastly, remember to take your time in this process. The goal is not speed, but consistency. Taking a slower pace will ensure an evenly thick yarn that will contribute to a beautiful, uniform knitting project.
Maintaining Consistent Yarn Thickness
While mastering the art of yarn thickness, it’s essential to keep the loops uniformly dense. Follow these pointers for unwavering consistency.
1. Maintain Tension: Whether winding or knitting, consistency in tension will help achieve uniform thickness. This might take some practice, but it’s key to this craft.
2. Systematic Wraps: Wrapping the yarn around two fingers will guide you towards maintaining its thickness. Switch to three if you prefer a thicker yarn.
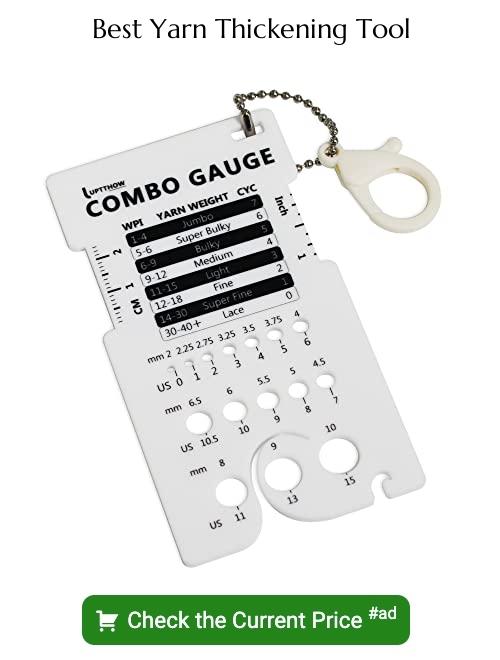
3. Use Measuring Tools: A Wraps Per Inch (WPI) tool or even a simple ruler can indicate the yarn’s thickness, helping to maintain a standard.
4. Regular Checks: Don’t wait until the end to gauge your work. Regularly compare the thickness of your yarn with the original to keep a check on any deviation.
5. Adjust: If the yarn begins to vary in thickness, adjust your winding method or tension immediately.
6. Practice: Like all crafts, achieving consistent yarn thickness comes down to practice makes perfect. Don’t rush, enjoy the process.
Remember that adjusting yarn thickness isn’t just about the looks – it’s a crucial factor that affects the feel, weight, and longevity of your knitted piece. Carry out these pointers with care, and each row of your knitted project will boast consistency.
Evaluating the Thickness of Your Yarn

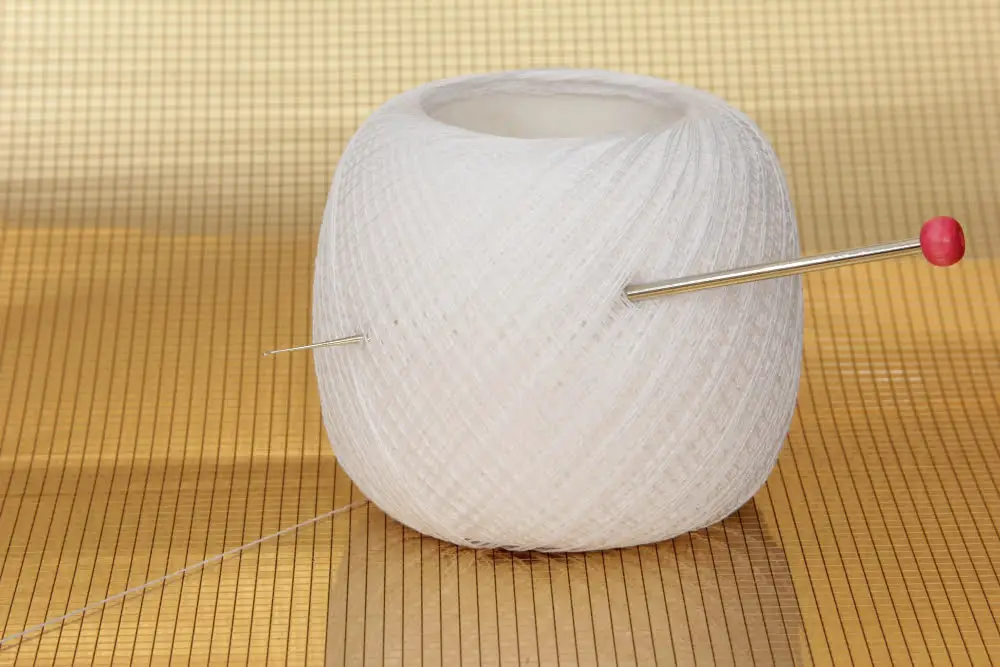
Every knitter knows precision matters. Measuring the thickness of your dyed and dried yarn is a crucial step to ensure uniformity throughout your project.
Use a ruler or a yarn gauge tool to measure the wraps per inch (WPI). To do this, wrap the yarn around the tool or ruler, ensuring not to overlap or stretch the yarn. Count the number of wraps within an inch. Less wrappings indicate a thicker yarn.
A yarn with a lower WPI is considered chunky or bulky and more suitable for heavier winterwear like hats, scarves, and blankets.
Knowing this measurement will help you understand your pattern’s drape and fit better.
Switching Yarn Colors While Maintaining Thickness
When incorporating various hues into your knitting project, guaranteeing consistency in yarn thickness becomes crucial. Always aim to select yarns of similar thickness even when they are of different colors. This will help maintain an even texture and appearance in your final work.
Splitting thicker, multicolored yarn may lead to inconsistent results, therefore, avoid such methods. Instead, try lining up the separate colors together before winding to create your own unique, thicker, multicolored yarn.
When joining a new color, ensure that you’re overlapping a few inches with the end of the old color. This ‘overlapping’ helps you secure the consistency in thickness during the color transition.
Remember, practice plays a significant role in perfecting this skill. So, don’t feel disheartened if you don’t get it right the first time, keep trying. The ultimate aim is to create something unique and beautiful with carefully maintained thickness.
Maintaining Yarn Thickness Throughout Your Knitting Project
Consistency is crucial for aesthetically pleasing knitted items. To maintain thickness, the tension applied to the yarn should be uniform throughout. Here are the points to help you achieve this:
- Practice Consistent Tension: Keeping the yarn’s tension even is fundamental. It shouldn’t be too tight, which can shrink the yarn, or too loose, which can leave gaps in your work.
- Utilize Knitting Tools: Specialized tools such as a yarn guide can help maintain a consistent yarn thickness.
- Double Check Work: Occasionally evaluate your work. By frequent check-ups, one can quickly spot and correct any inconsistency.
- Rest and Rejuvenate: Prolonged knitting might cause your hands to tire, impacting the tension you apply on the yarn. Regular breaks can alleviate this problem.
- Experiment with Techniques: Different knitting techniques can influence yarn thickness. Try several methods and stick with what works best for you.
- Work Around Knots: Knots can disrupt uniformity. It’s best to avoid them, but if they’re unavoidable, try working around them without altering yarn tension.
- Mind the Temperature: Yarn tends to expand in heat and contract in cold. If you’re knitting in varying temperatures, note how it may affect your yarn’s thickness.
These strategies will significantly help in maintaining a consistent yarn thickness throughout your project. Patience and practice are equally essential.
Creative Pattern Suggestions for Knitting With Thick Yarn
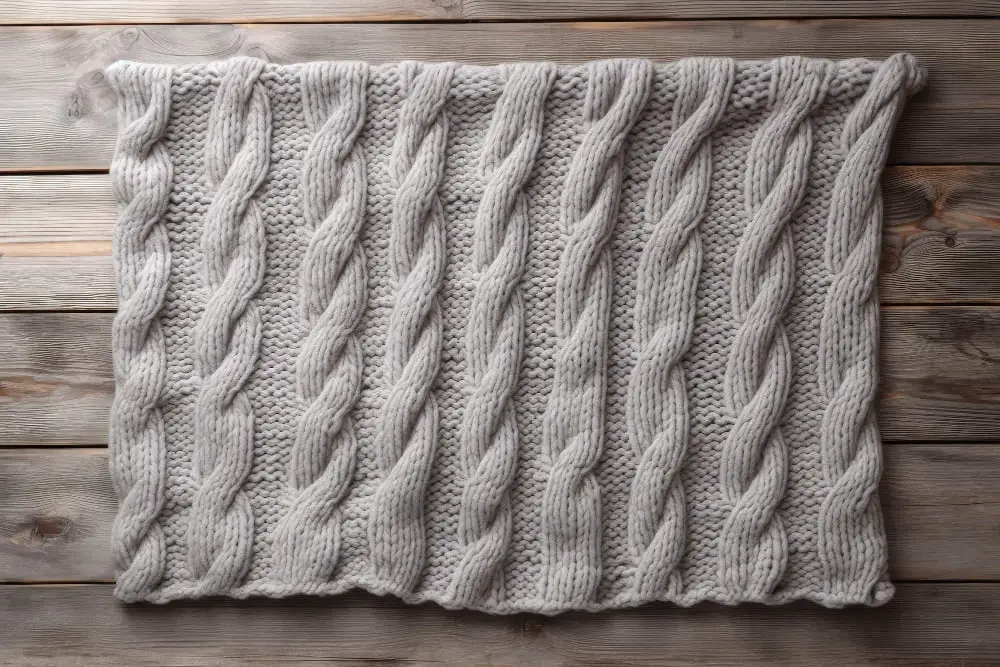
Moving on to the fun part, let’s explore some patterns that work exceptionally well with thicker yarn. The first one that comes to mind is definitely the classic cable knit. The bulky texture of the yarn brings out the intricate loops and twists in this pattern, making it perfect for warm sweaters or cozy blankets.
Next up is the basketweave pattern. The high relief characteristic of this design is heightened by the use of thicker yarn, thus providing a richly textured end product. This pattern is excellent for items like pot holders or mats that need an extra layer of visual interest.
The seed stitch is another great match for bulky yarn. Despite its simplicity, this pattern produces a beautifully textured fabric that’s reversible, ideal for scarves or dishcloths.
Finally, garter stitch, one of the simplest knitting patterns, is excellent with thick yarn too. It creates a perfectly squishy and warm fabric, perfect for winter hats or snuggly afghans.
Remember that the thicker the yarn, the bigger the needles you will need. This will ensure your knitted fabric stays loose and comfortable to wear or use. Experimentation is key in finding the perfect match between yarn thickness and patterns, so don’t hesitate to try out various combinations!
FAQ
What are the practical techniques for doubling up yarn to achieve thicker strands?
To double up yarn for thicker strands, you can use either the two-strands-held-together method where two yarns are used as if they were a single strand, the magic knot technique for joining yarns seamlessly or the Navajo plying technique, which involves creating loops with a single yarn strand to simulate a triple-strand effect.
Can different types of yarn be combined to create a thicker variant?
Yes, it is possible to combine different types of yarn to create a thicker variant.
How does the thickness of yarn impact the final product in knitting?
The thickness of yarn significantly affects the size, texture, and warmth of the final knitted product, with thicker yarn generally resulting in bulkier, warmer, and more textured items.


