Exploring how to make your own yarn can unlock a new level of creativity in your knitting or crocheting projects because it allows you to customize color, texture, and thickness for truly unique pieces.

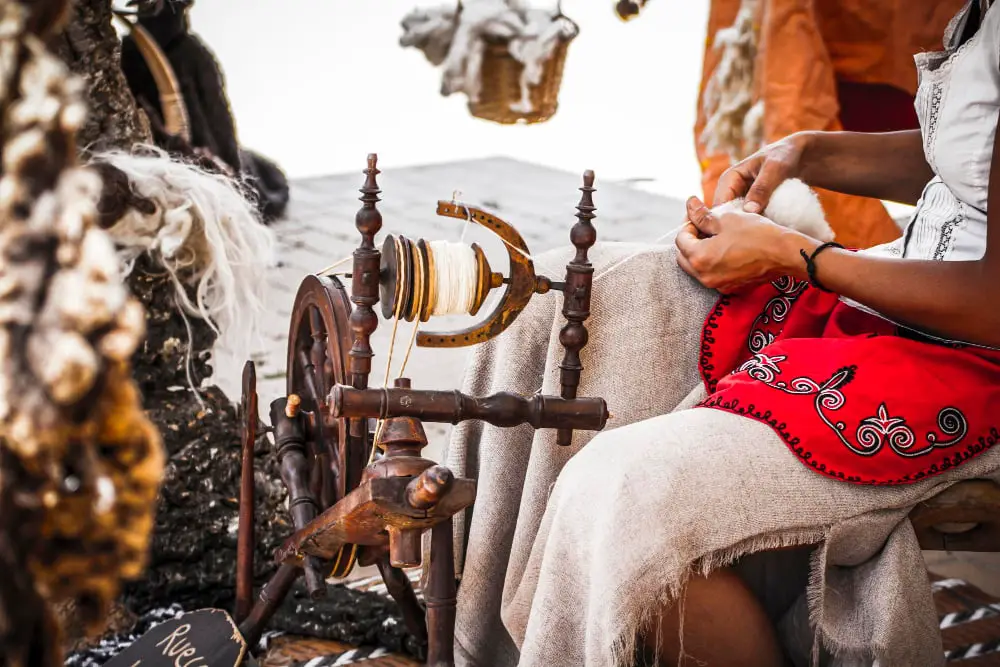
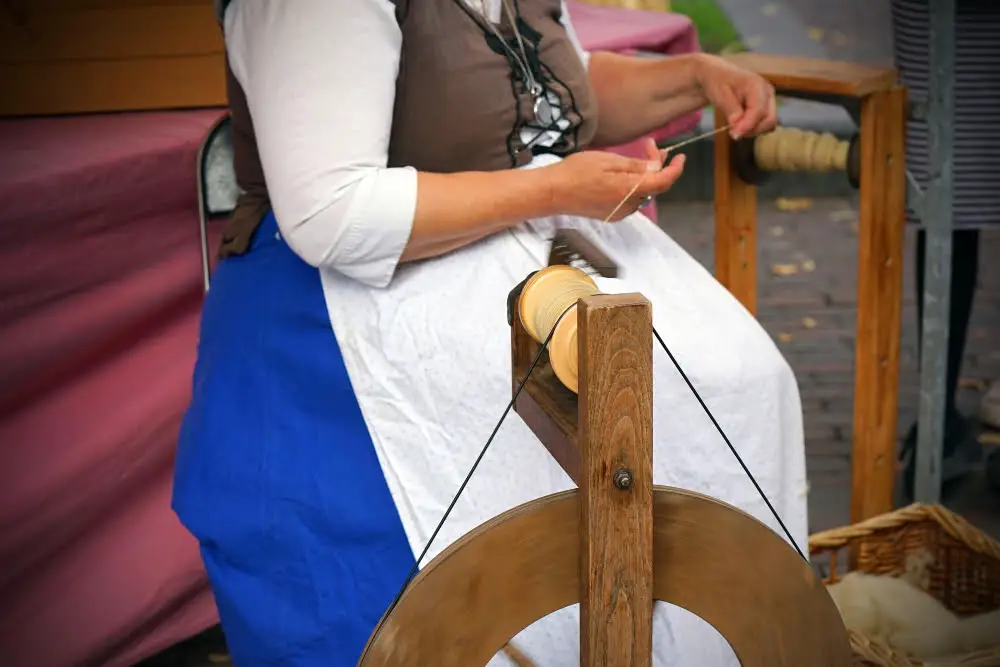
Creating your own yarn brings a unique touch to your knitting and crocheting projects. This process, known as spinning, involves transforming raw wool or other fibers into a continuous strand of yarn. With the right tools and techniques, you can easily spin your own yarn at home.
This article will guide you through the steps of choosing the right fiber, preparing it, spinning it into yarn, and finishing your hand-spun yarn properly. Whether you’re a beginner or an experienced yarn crafter, you’ll find valuable insights and tips to elevate your yarn-making skills.
So, let’s dive into the fascinating world of spinning your own yarn.
Key takeaways:
- Choose between top or bottom whorl for spinning tool.
- Pre-draft fibers and spin with consistent direction.
- Practice park & draft technique for easier spinning.
- Secure twist and wind yarn for a perfect finish.
- Properly store handspun yarn for longevity.
Understanding Basic Yarn Spinning Terminology
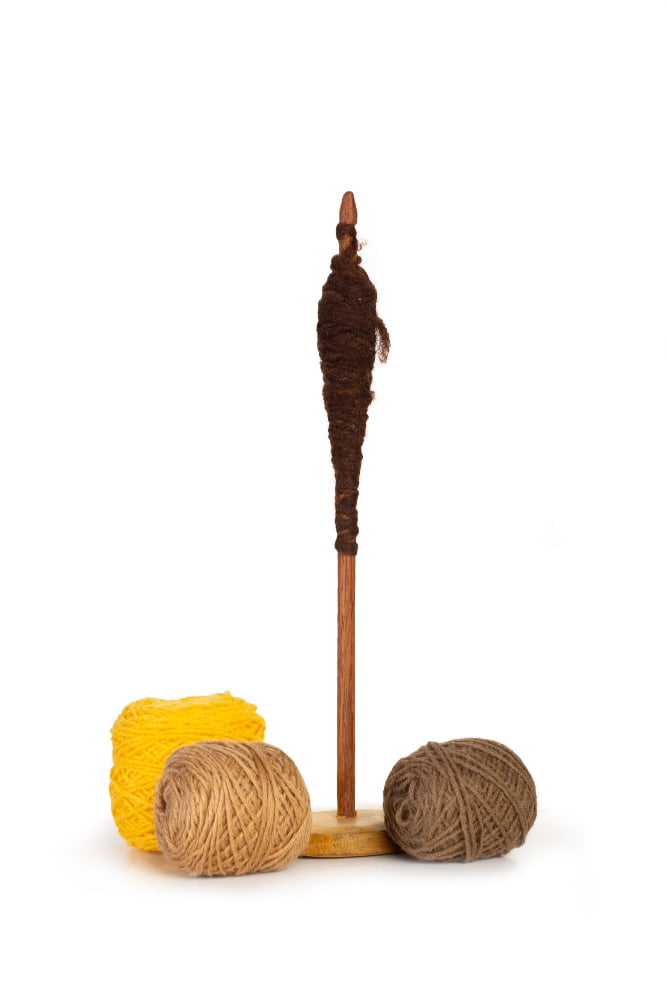
Diving straight into the crux of the matter, several terms are central to grasp when working with yarn spinning. “Spindle” refers to the tool used for twisting the fibers. These come as top or bottom whorls, referencing the positioning of the weight in the spindle.
“Drafting” denotes the process of pulling the fibers to the desired thickness before spinning. “Twist” describes what holds the fibers collectively, essentially making them into yarn. You create twists by spinning the spindle.
“Plying” is the process of spinning two or more threads collectively to create plied yarn, often offering more resilience compared to singles yarn, which is a yarn strand only spun once.
Lastly, “whorl” is the circular weighted portion of the spindle, aiding in the rotation. A clear comprehension of these terms proves crucial for every aspiring yarn spinner.
Choosing Your Spinning Tool: Top or Bottom Whorl
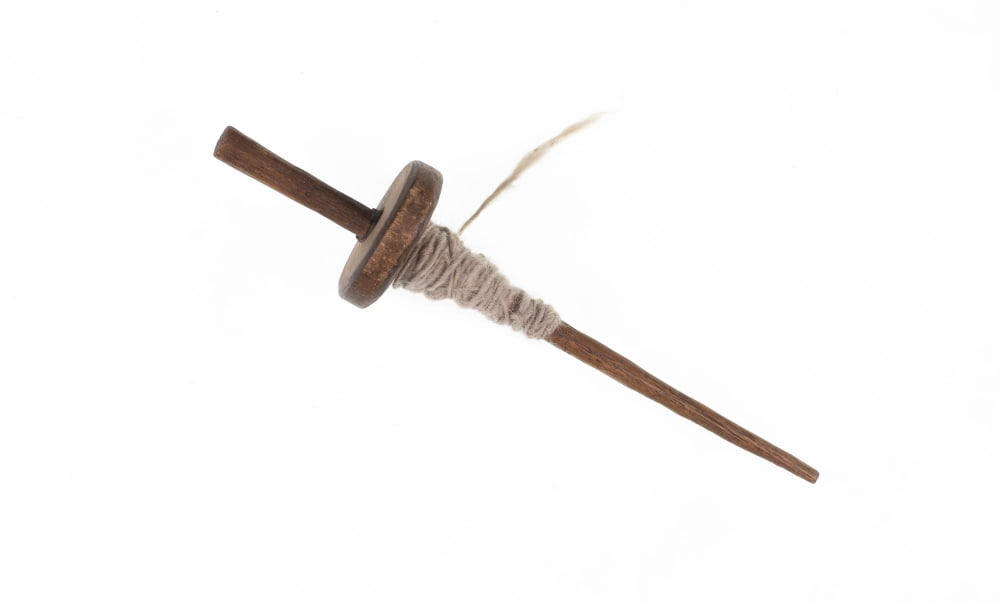
A spinning tool—also referred to as a drop spindle—is critical in the yarn-making process. Understanding the structure of this tool is essential. Generally, there are two types: top whorl and bottom whorl.
1. Top whorl spindles have their weight or whorl located near the top of the spindle, offering more momentum, making them ideal for spinning thin, tight yarns. They are also easier to rotate, making them an excellent choice for beginners.
2. Bottom whorl spindles have the whorl located at the bottom. This type is more suited to heavier yarns. Although they take more effort to start, bottom whorl spindles spin longer, providing more twist over time.
Your choice comes down to the type of yarn you want to spin and your comfort level with the tool. Experimenting with both may help decide what you prefer.
Getting Started With Spinning: Steps and Tips
Getting the hang of spinning can seem intimidating at first, but start with these simple steps and you’ll be producing your own yarn in no time.
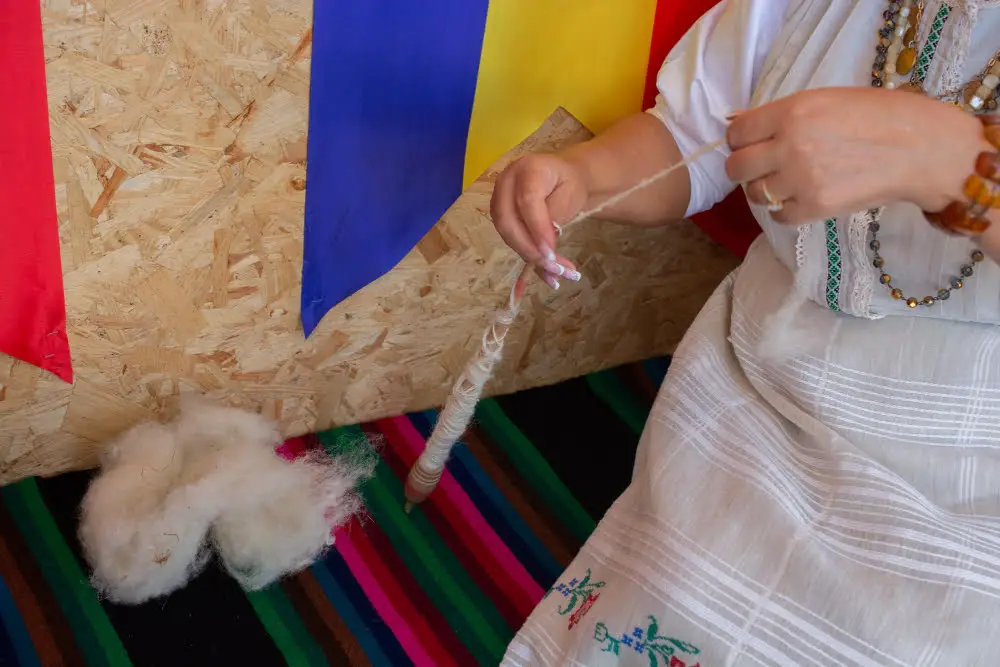
1. Pre-Draft Your Fiber: Prepare the fibers by gently pulling them apart. This makes spinning smoother and easier.
2. Attach Your Fiber: Securely tie a small amount of fiber to your spinning tool.
3. Spin Your Tool: Give your tool a gentle whirl. Note the direction you spin, as this should remain consistent.
4. Slowly Draft Out Your Fiber: Hold the fiber supply with one hand, lightly pulling away while maintaining control.
5. Let The Twist Travel: Allow the twist to move into the drafted fiber, creating yarn.
6. Wind Your Yarn: Once enough yarn is made, wind it onto the spindle.
Here are some helpful tips to improve your spinning:
- Practice with a more accessible fiber like wool, it’s forgiving for beginners.
- Maintain a relaxed grip on the fiber. A tight grip makes drafting more difficult.
- Take breaks. Spinning is a skill that takes patience and practice. Don’t push yourself too hard, allow your hands and mind to rest.
- Remember, consistency comes with time. Developing a steady spinning rhythm will result in more even yarn.
Keep trying, and cherish the process. Making your own yarn is a magical transformation of loose fibers into a wonderfully usable thread. And with each twist and turn, you’re creating something beautifully unique.
Park & Draft Technique in Yarn Spinning
This technique is quite beginner-friendly, reducing the complexity of spinning by splitting the process into two stages. Firstly, the ‘park’ stage involves securing the spindle, which allows for the building up of twist in the leader yarn without the need of maintaining a constant spin.
Then, there’s the ‘draft’ stage. You slowly pull or ‘draft’ the fiber out, allowing the twisted leader to catch and spin the newly exposed fiber. These two steps grant more control over the yarn thickness and the intensity of the twist.
Remember, mastering this technique relies heavily on practice. Starting slow and gradually increasing your speed will see you able to do both the park and draft stages simultaneously, without the need to pause between steps.
Adding Fiber and Winding: Step-by-Step Guide
First, extend your hand holding the roving. As your other hand twists the spindle, it creates the tension necessary for the fiber to catch and begin to twist into yarn. This is a delicate balance: too much fiber left too loose won’t hold together, but too little fiber too tightly gripped will result in thin, frayed yarn.
Second, once the yarn has attached, stop the spindle from spinning and carefully wind the yarn around the base of the spindle, just above the whorl. This is known as winding on. However, do leave enough yarn extended (the “leader”) to begin the next round of spinning.
Third, repeat these steps until you’ve used all your prepared fiber, or the spindle is as full as you’d like it to be. It’s crucial to consistently add fiber and wind on periodically to prevent the spindle from becoming too heavy or unwieldy.
Last, remember, practicing these steps will help you gain a feel for the right balance of tension and releasing the fiber. With time, adding fiber and winding will become an instinctual process, each round kneading into the next seamlessly.
Setting the Twist for a Perfect Yarn Finish

Once your yarn is fully wound, you’ll need to secure the twist. This is crucial for the longevity and functionality of your handspun masterpiece. To set the twist, follow these simple steps:
1. Begin by filling a basin with warm water. Ensure the water isn’t too hot to avoid felting the fiber. Add a small amount of wool wash.
2. Submerge your yarn and let it soak for at least fifteen minutes. Resist the urge to stir or agitate as this can also cause felting.
3. After soaking, gently squeeze out the excess water. Refrain from wringing the yarn, as this can cause unnecessary stress on the fibers.
4. Roll the damp yarn in a towel and press to remove more moisture.
5. Next, in an area free of drafts, hang your yarn to dry. To help remove any over-twist, add a light weight to the bottom while drying.
Remember, perfecting the art of setting the twist may take some practice. Don’t be dissuaded by any initial imperfections, but enjoy the process, learn from each experience, and keep spinning.
Proper Storage of Handspun Yarn
After investing your time and effort into spinning, ensure your handspun yarn enjoys longevity through proper storage techniques. Following a few key guidelines can help preserve its quality.
1. Air Circulation: Let the yarn breathe. Store it in a location with good air circulation to help prevent mold and mildew. Mesh bags are a great way to achieve this.
2. UV Protection: Prolonged exposure to sunlight can fade and damage fibers. Always store your yarn away from direct sunlight.
3. Pest Control: Some natural fibers are susceptible to moth damage. Cedar chips or lavender sachets can deter these pests, but avoid direct contact to prevent fiber stains.
4. Tension: Avoid stretching or straining the fibers. Wind the yarn into a loose ball or hank rather than pulling it tight.
5. Humidity & Temperature: Yarn can absorb moisture, leading to damage or mold. Aim for a dry, cool storage area.
6. Environment: To prevent dust accumulation or accidental spills, storing yarn in a dry, clean space is crucial. Consider using plastic bins with lids, but ensure there is room for airflow.
By adhering to these principles, you’ll safeguard the quality and lifespan of your homemade yarn, ready for your upcoming creative endeavors.
FAQ
What do you need to make yarn at home?
To make yarn at home, you’ll need basic supplies such as a spindle, fiber, a spinning wheel, DIY tools like a Niddy Noddy, wool combs or a hackle, and a swift.
Is it hard to make your own yarn?
Making your own yarn is relatively easy, requiring only a stick and some form of fiber for spinning.
What materials are used to make yarn?
Yarn is made from a variety of materials including natural substances like cotton, wool, silk, and cashmere, as well as synthetic ones such as polyester, nylon, acrylic, and spandex.
What is the step-by-step process of spinning fibers into yarn at home?
The step-by-step process of spinning fibers into yarn at home involves preparing the fiber, attaching it to a spindle or a spinning wheel, twisting it continuously to form a single strand, and finally, winding the spun fiber into a ball or skein of yarn.
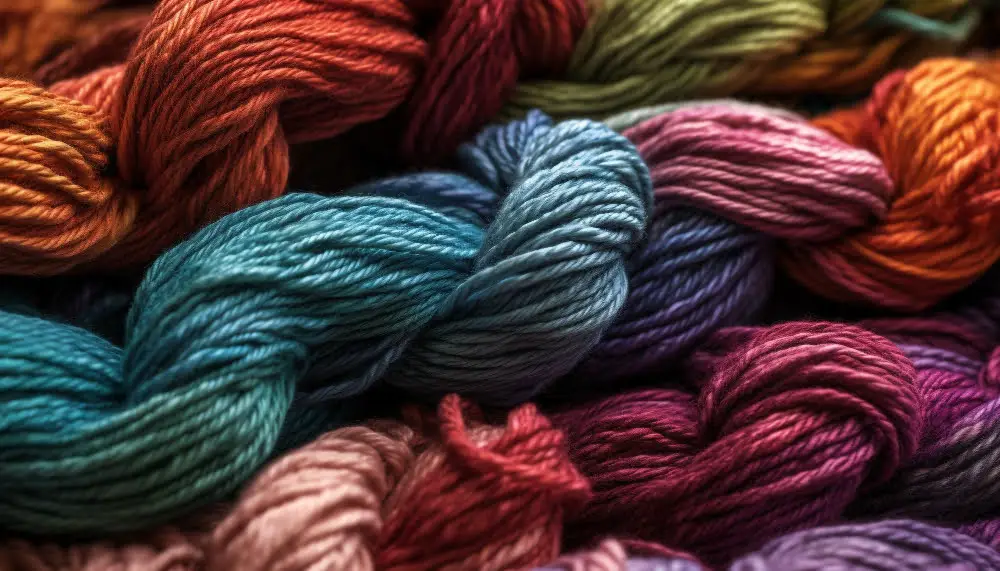
How can you add color or dye to homemade yarn?
To add color or dye to homemade yarn, one can utilize either natural food-based dyes such as berries, turmeric, and spinach, or commercial fiber-reactive dyes specifically designed for textile use.
What are the different methods of preparing fibers for yarn-making?
The different methods of preparing fibers for yarn-making include retting, scutching, hackling or combing, carding, roving, and spinning.


