Master the art of changing yarn color in knitting and add a vibrant twist to your creations with this comprehensive guide.
Changing the color of yarn in knitting is a simple process that can greatly enhance the visual appeal of your project. Whether you’re working on a multi-colored scarf, a vibrant sweater, or a playful baby blanket, knowing how to correctly switch between different yarn colors is crucial.
This article will guide you through the steps of changing yarn colors, ensuring your transitions are seamless and your final product is as stunning as you envision. Dive in to explore the intricacies of yarn color changes, from the basic technique to more advanced tips for perfecting your craft.
Key takeaways:
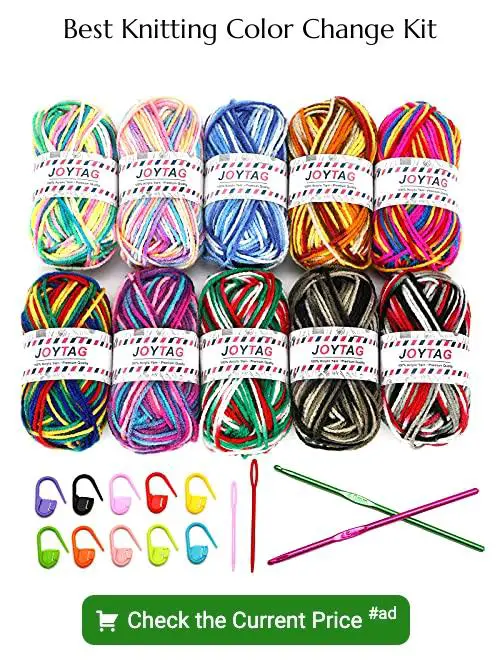
- Gather materials: new color yarn, appropriate knitting needles, crochet hook, yarn bowl.
- Use simple methods: drop old yarn, switch to new yarn stitch by stitch, avoid twisting.
- Weave as you knit for seamless color changes, careful tension management.
- Back join method: knit with new color, overlap old and new yarns, create knot.
- Alternate stitches for color variation, hold colors together, create checkerboard pattern.
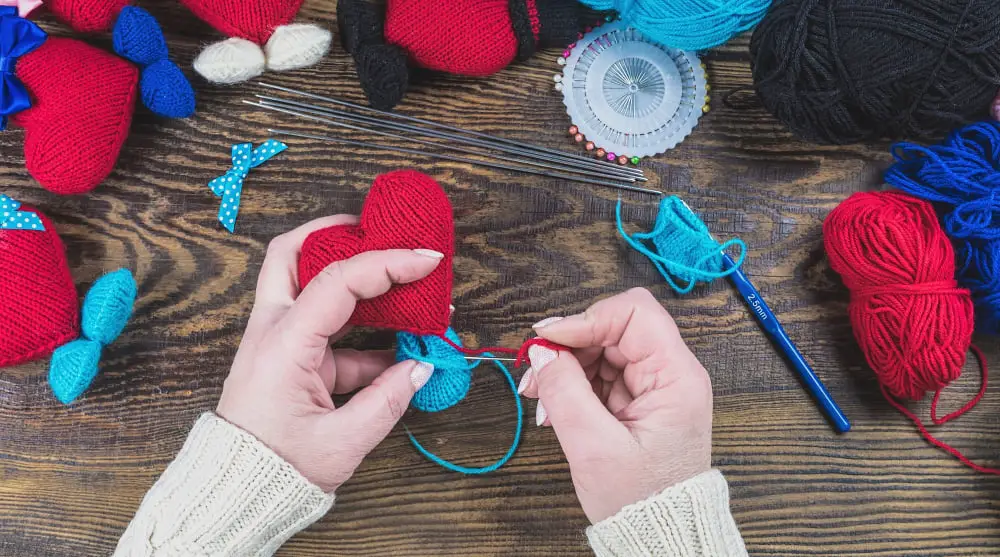
Material Requirements for Color Change in Knitting
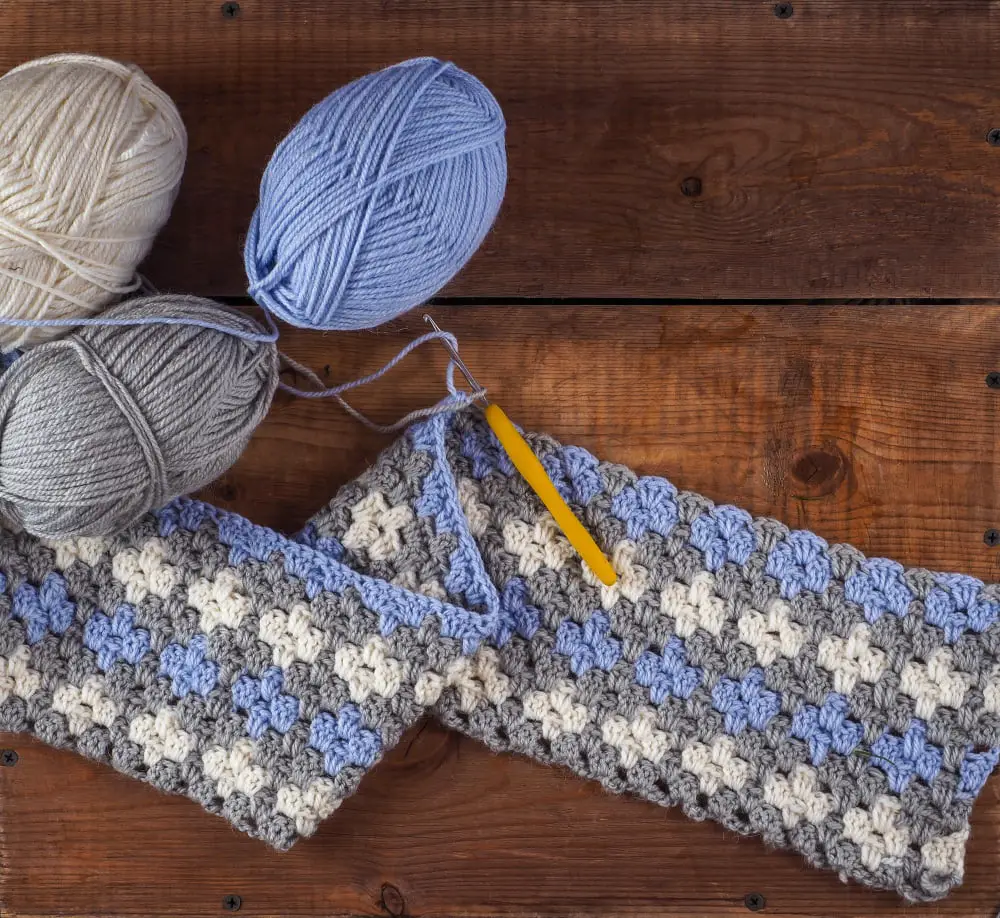
To prepare for a yarn color change, certain materials should be gathered upfront. The first item to obtain is the new color yarn that complements the initial color and suits the knitting project. Thick, warm yarns like wool, or lightweight options like cotton or cashmere, all work, depending on what the pattern demands.
Additionally, it’s crucial to have a pair of good-quality knitting needles, sized appropriately for the yarn and the project. The right knitting needles ensure that stitches are neither too tight nor too loose.
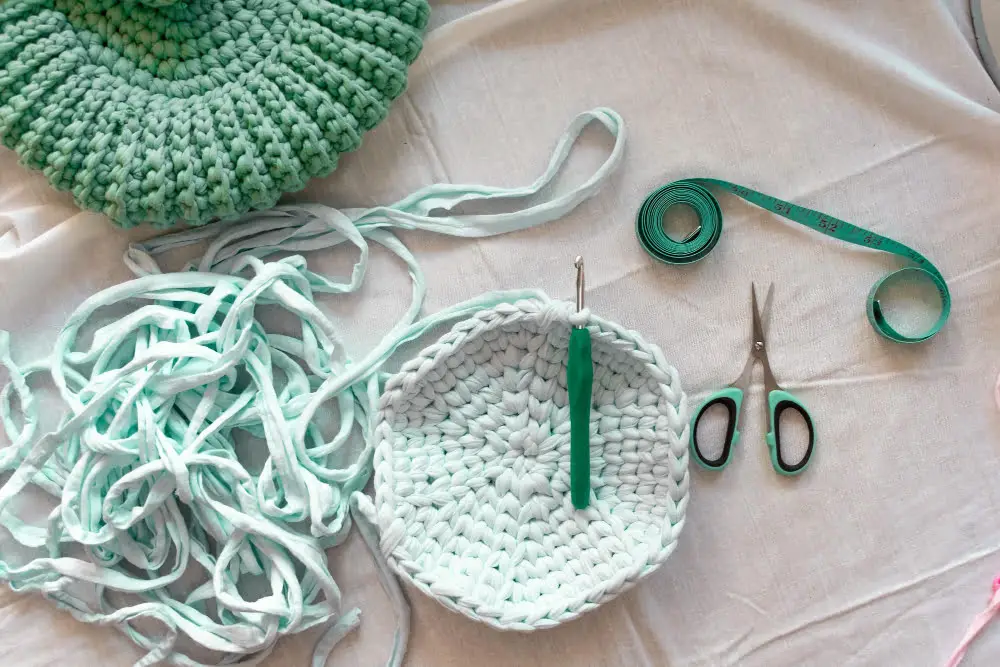
For executing more advanced methods of color change, a crochet hook may also be needed. A crochet hook comes in handy for weaving in the ends of the yarn.
To maintain a clean workspace and to keep yarn from tangling, a yarn bowl could be beneficial. It helps in holding the yarn while knitting and also contains the yarn ends securely.
Remember, the quality and nature of these materials can have a significant impact on the outcome of the knitting project. Therefore, take your time in making these decisions, taking into account the vision of your finished product.
Tools Needed for Effective Yarn Color Change in Knitting
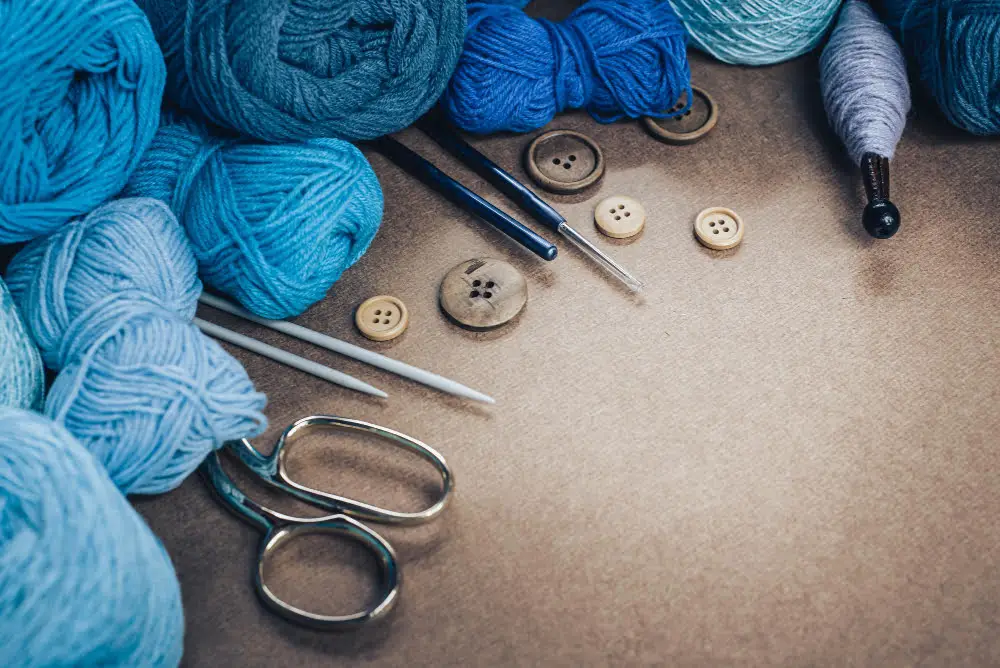
For a smooth yarn color transition, having the right set of tools at your disposal is crucial. These may include the new color yarn that you have chosen for your knitting project. Always ensure these new yarns match in weight to your current ones to avoid uneven work.
Another essential item is a pair of comfortable knitting needles appropriate for the yarn weight. The use of blunt pointed needles in color-switch knitting aids in preventing splitting of threads.
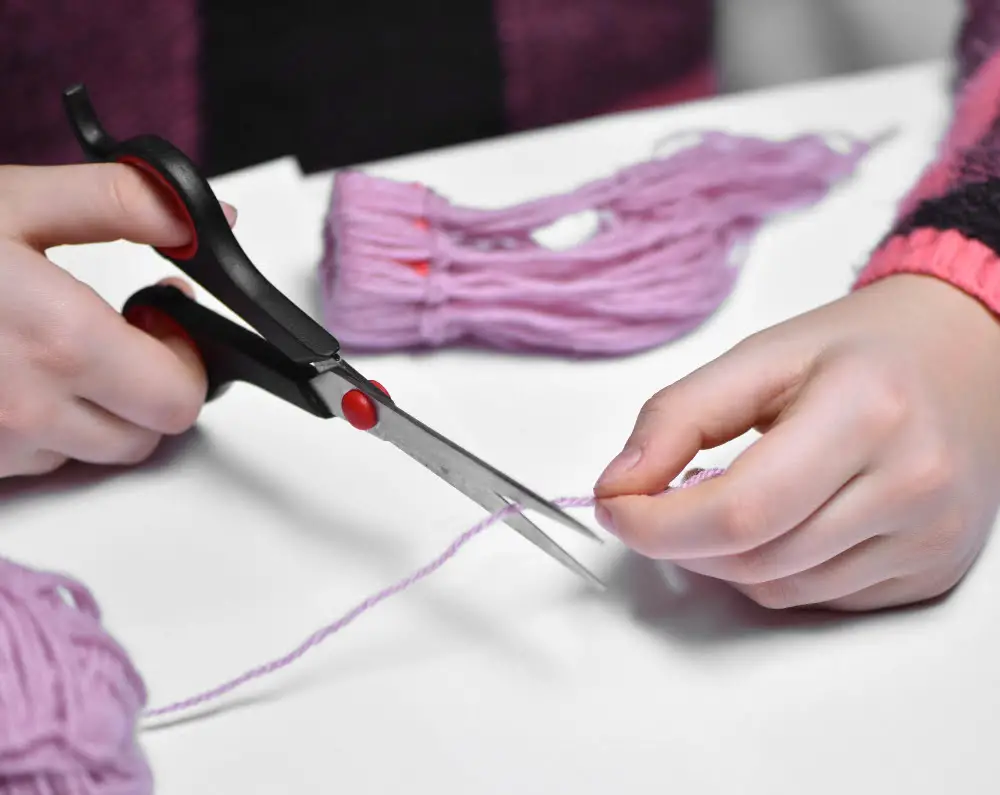
Some knitters might also prefer to have a yarn cutter or a pair of scissors handy. This tool is particularly useful when you need to cut and secure your yarn after executing the color switch.
Lastly, a yarn needle is crucial for weaving in the ends of the yarn colors you’re ceasing to work with, providing a neater finish to your knitted item. Remember, these tools not only facilitate but greatly influence the overall yarn changing process and the final look of your knitting project.
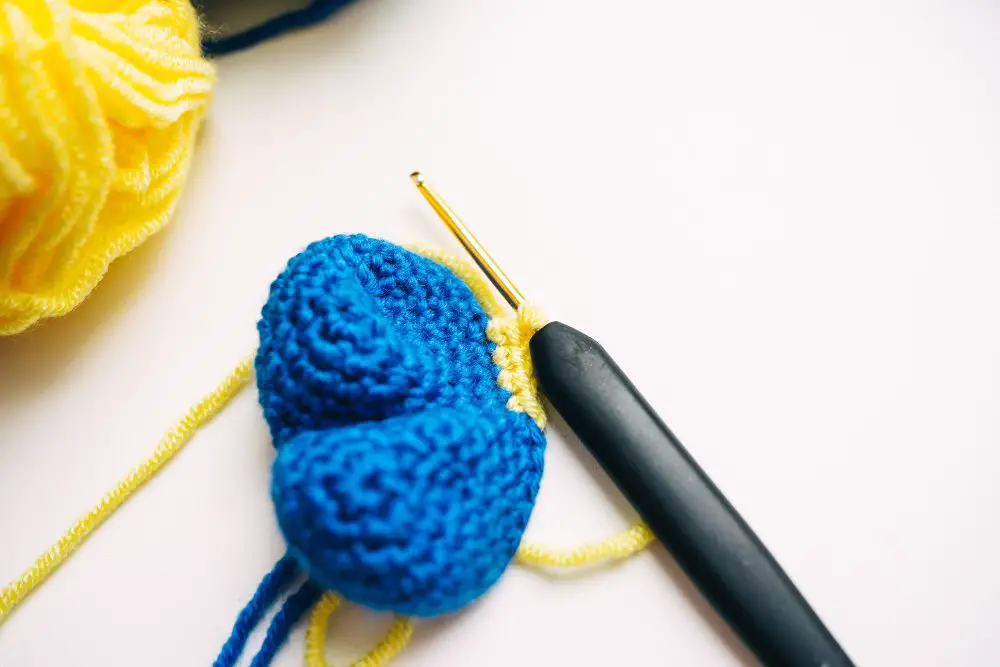
Simple Methods to Change Colors in Knitting
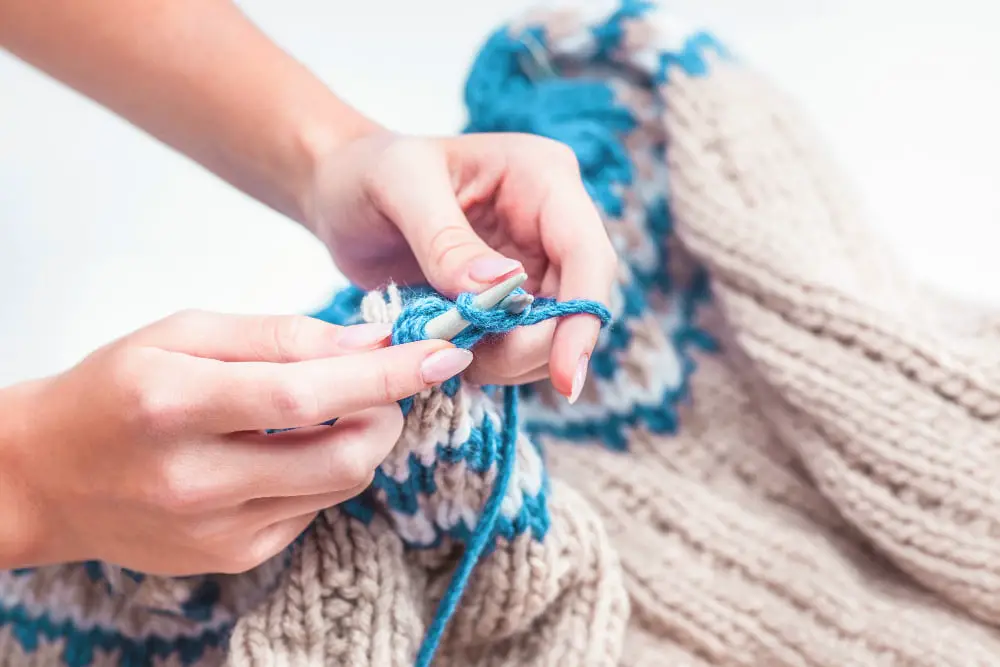
To effectively manage knitting color changes, success lies in the initial placement and follow-through of the new yarn. The first step involves knitting your last stitch with your current yarn, then simply dropping it, ensuring not to snip the yarn if planning on using it later. The introduction of the new yarn color comes next. This can be done by simply laying it over your needle, leaving about a 6-inch tail.
Crafted tension holds the key to maintaining color changes in knitting. Being delicate to not pull strongly, but keeping it secure enough to stay in place, is important. Another fundamental aspect is the transition to the new yarn, one stitch at a time. This method allows for seamlessness.
Keeping the carried yarn neat and avoiding unintentional twisting is essential in this method. To accomplish this, consistently pick the new strand of yarn from under the one you are dropping. It ensures neat transitions between colors and also assists in preventing tangles.
Post transition, the yarn end can either be cut off right away or woven in after the completion of the knitting. This depends on whether you plan to reintroduce that color within your knitting piece. Furthermore, always remember to deal with the yarn tails at the end of your project so they don’t interfere with the finishing touches.
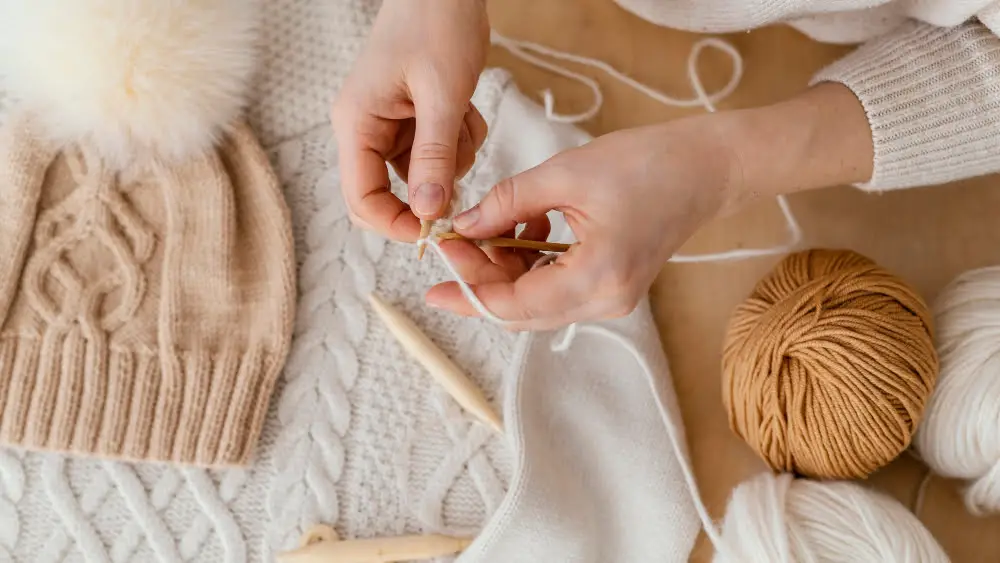
Weaving As You Knit to Switch Colors
While knitting your row, position the new color of yarn on the left needle. Carry the old yarn with you as you knit a simple stitch. With every two stitches, loop the old yarn over the new, holding them together. Continue this pattern, ensuring the switch is seamless and unnoticeable.
Careful management of tension is crucial to prevent the fabric from bunching or sagging. Equally, make sure the weaving is consistent across the row to maintain the pattern. This method promotes a clean colour change, and prevents loose ends from occurring within the fabric.
Once comfortable with this technique, experiment with weaving at different intervals, or advancing to more complex stitches. The weaving technique provides versatility and creative freedom when knitting.
Instructions On Executing the Back Join Method for Color Switch
First, lay the new color yarn on top of the work and start knitting with it. While holding the old color yarn down, knit the next two stitches of the new color. Then, place the end of the new color yarn and the old color yarn side by side, ensuring they overlap. Grab both yarns and knit the next stitch, keeping both yarns in place.
Following this, split the new color yarn and pull the old color through it to create a loop. Run the new color yarn through this loop and pull it tight, which should form a knot. Discard the old color yarn. Proceed to knit normally with the new color yarn.
Please note, during the change, your knitting may get a little tight due to the knot formed, but this will ease out with subsequent stitches. To maintain the consistency of texture, it’s crucial to ensure you keep an even tension throughout this process. Avoid pulling the yarn too tight or keeping it too loose as this can affect the final result of your project. At the end of the process, you should observe a seamless color transition in your work.
Remember to always cut the old yarn at the knot after you’ve woven in the ends to avoid unravelling. If at any point, you wish to revert to the initial color, simply repeat the steps outlined above.
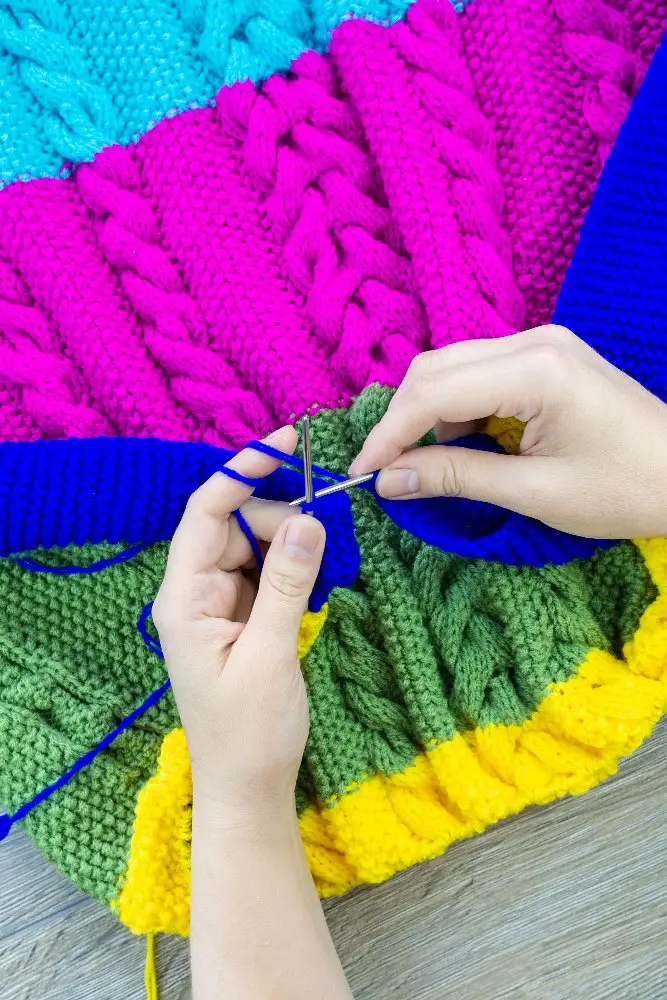
Alternating Stitches for Color Variation in Knitting
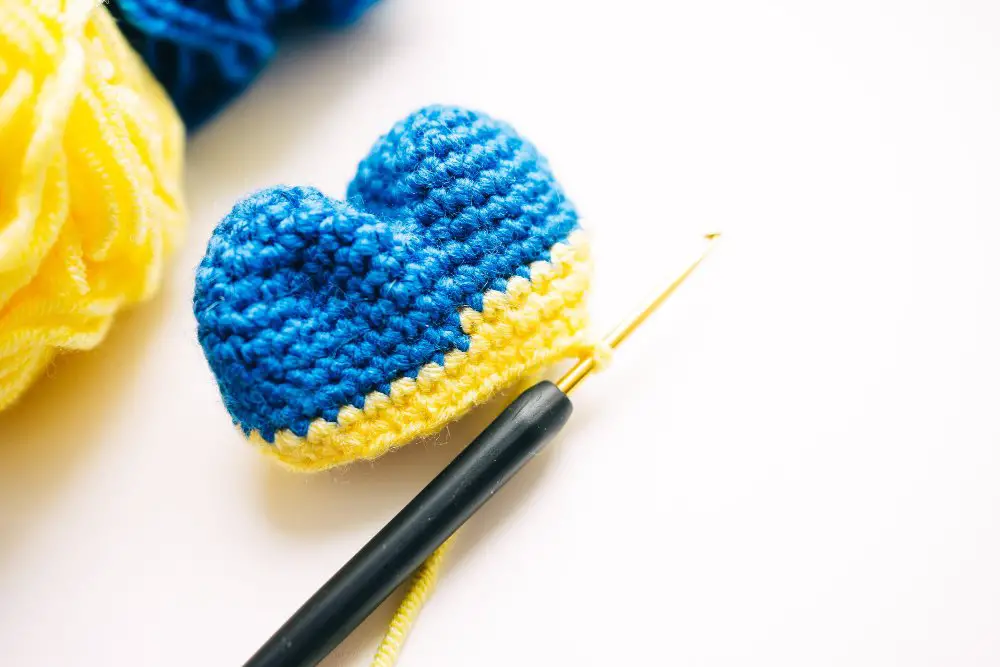
When aiming for a color variation pop, alternating stitches in knitting becomes your go-to strategy. For this, first, ensure both color yarns are available to use. To kickstart, knit one stitch from the first color, followed by one stitch from the other color. This creates a checkerboard pattern as you continue the process.
Consider the following steps for best results:
- Hold both colors of yarn together but use one at a time per stitch.
- When switching colors, always pick up the new yarn from under the old yarn.
- Continue with this pattern, always knitting one stitch from one color and the next stitch from the alternate color.
As the pattern progresses, it creates an effect of intertwined colors, producing stunning visual depth in the knitted piece.
To spice things up, you could vary the sequence and number of color stitches. For instance, knitting two stitches from one color followed by one stitch from the other color adds a twist to your pattern. Keep in mind that the goal is to combine the colors in a pleasing way to the eye.
Rounds of practice will yield finesse, blending your colors seamlessly in your knitting projects. It’s important to remember that patience and practice are key to mastering this skill, as it can be tricky when you’re starting off.
Changing Colors While Knitting in the Round
To successfully modify yarn color while knitting in the round, consider the following steps:
Begin by identifying the exact point where the color change is needed. This point usually falls at the beginning of a round, to promote an even look.
Next, take the new yarn color and leave a tail length of around 6 inches. This is to ensure there’s sufficient yarn to weave into the project at the end.
Now, place the new yarn on the needle and start the new round. Note that the stitches should be knitted in the same manner as normal but using the new yarn color.
When knitting the first few stitches, hold the tails of both the old and new yarns together. This will secure the new color and prevent any gaps from appearing in the project.
After a few stitches, drop the tail of the new yarn, continuing the round with just the new color.
Ensuring a smooth transition, carry the unused yarn up the inside of the work but be careful not to pull too tight – it needs to have enough slack to stretch with the rest of the fabric.
Remember, after the color change, to trim the old yarn leaving a 6-inch tail.
How to Drop the First Color and Introduce the Second Whilst Knitting
To transition smoothly from your initial yarn to the new one, you’ll first have to release the yarn that you are currently working with. This can be done by simply letting it fall loosely. There’s no need to cut the yarn immediately, as it allows for more flexibility during potential adjustments.
Next, pick up the new yarn color. It’s essential to leave a tail of the new yarn long enough to weave in later, about six inches should suffice. While holding the tail with your fingers, knit a stitch. This stitch should be made in the same way as all other stitches, just with the new yarn.
As you continue to knit, ensure the new yarn is carried along the wrong side of your work. This will result in a clean finish on the right side, preventing any loose thread issues.
Remember not to pull the new yarn too tight as this can distort the stitches. Conversely, don’t keep it too loose either, as this could create gaps in your work. A balanced tension is the key to impeccable color-changing knitting.
You are now ready to continue your knitting with the new color. Remember to maintain a consistent rhythm and soon the art of yarn color change in knitting will become second nature.
When it’s time to switch back to the original color or introduce a new one, just repeat these steps.
Instructions On Knitting the First Stitch With the New Color
To knit the first stitch with the new color, two main steps are typically involved.
Firstly, hold the old color out of the way (to the left if you’re right-handed), and leave a tail of the new color yarn you can weave in later. Hold these in the left hand, then insert the right needle into the first stitch where you’ll be adding the new color, as if to knit.
Secondly, with your right hand, loop the new color over the right needle, bringing it under and over the left needle. Then, pull the new color through the stitch on the left needle, and slide the old stitch off the left needle.
And there you have it! You’ve successfully knitted the first stitch with your new color. Keep in mind that the tails of the old and new colors will need to be secured later on, to ensure there are no loose ends. Always remember to hold the yarn in a way that is comfortable for you.
Keep the Carried Yarn Smooth When Changing Colors
As you switch between yarn colors, it is crucial to maintain a smooth tension with your carried yarn. This will prevent any unwanted bunching or loose stitches, which can distort your knitting pattern. Minding the following steps will help ensure a seamless transition.
Start by keeping your carried yarn snug yet unstrained against your work. To do this, you should continue to carry it along on the wrong side of your knitting. Keep in mind that this carried yarn doesn’t need to be as tight as it normally would be while knitting, and it should slightly slack off to allow for proper tension.
The next step involves ensuring your stitches remain even. If a stitch becomes tight or loose compared to its neighbors, readjust it using your knitting needle. This alteration can also be done on the next row if needed.
Another essential point is never to carry yarn over long distances. Instead, interlock the two colors at least every five stitches in intarsia knitting or every other row in Fair Isle knitting. This action creates an even distribution of tension across the piece.
Remember, smooth and even tension is vital for flawless color change in knitting. Make small adjustments as you go to maintain this tension, ensuring your final work is seamless and visually impeccable.
Returning to Initial Colors After Yarn Change in Knitting
Once you’ve completed the portion of your knitting project in your new color, it’s time to switch back.
First, cut your current yarn, leaving a tail of about six inches. Similarly, prepare the initial yarn in the same manner, leaving a tail of around six inches. Ensure the knitting needles are in the right hand and both the ends of the yarn are also on the right side.
Take the initial color’s cut end and wrap it anticlockwise around your right index finger while knitting. Continue to knit in this way until you are satisfied with the color transition.
Once you’re content, drop the secondary color, and continue your project with the initial color. It’s crucial to note that you need to knit the first stitch with both yarn ends of the initial color.
Then, proceed to knit using the long end of the initial yarn. Knit a few stitches in this manner, and later, drop the short end of the yarn.
Finally, ensure the carried yarn is secure but not tight. This prevents the knitting project from bunching up, ensuring a smooth and professional finish. At the end of the project, trim any excess initial yarn, leaving a slight bit to weave it into your finished work securely.
By keeping these in mind, you can smoothly return to your initial color in knitting. It’s a simple and effective method that requires a bit of practice but certainly adds a wonderful dimension to your knit projects.
How to Weave in the Ends of the Yarn After Color Change
Begin by cutting your yarn with a bit of extra length, about six to eight inches. This gives you ample room to operate. Next, thread this tail end through a wool needle.
Pass the needle through some of the stitches on the wrong side of your knitting work, weaving it under and over to secure the thread in place. Aim for about two inches of weaving to ensure a neat and secure end.
After weaving, pull the yarn through. Check the correct side of your work to make sure the stitches aren’t distorted by the weaving action on the reverse side. If satisfied, you can trim off the excess yarn.
However, don’t slash it right against the weave. Instead, leave a small tail that’s likely to shrink back into your knitting with use and washing, disappearing from view.
Be mindful not to sew through to the right side. Always verify that your weaving is solely on the wrong side. After a few practice tries, you’ll gain confidence and the process will become second nature.
When switching from one yarn color to another, repeat the process. Always secure the old color and new color ends with weaving to ensure a neat, professional look to your knitting projects.
FAQ
Do you cut yarn when changing colors?
When changing colors in a knitting project, it is not necessary to cut the yarn; instead, you can carry the old skein up the side of the project, particularly if color changes are frequent, to avoid weaving in too many ends.
Can you change the color of yarn?
Yes, the color of yarn can be changed at any point in a project, specifically by introducing the new color in the final pull-through of the stitch before the color transition, to create the top of the stitch in the new color.
How can you tie off yarn when changing colors in a knitting project?
To tie off yarn when changing colors in a knitting project, you should cut the current yarn, leaving a few inches, then simply begin knitting with the new color yarn, later weaving in the loose ends for a seamless transition.
What methods can be used to weave in ends after changing yarn color?
After changing yarn color, ends can be woven in by using methods such as back weaving, needle weaving, or using a crochet hook to draw the yarn through existing stitches.
What are some strategies for choosing coordinating yarn colors for a multicolor knitting project?
When choosing coordinating yarn colors for a multicolor knitting project, it’s beneficial to use a color wheel to identify complementary colors, consider the tone and intensity of the colors to ensure balance, and experiment with different color combinations using swatches before making a final decision.


