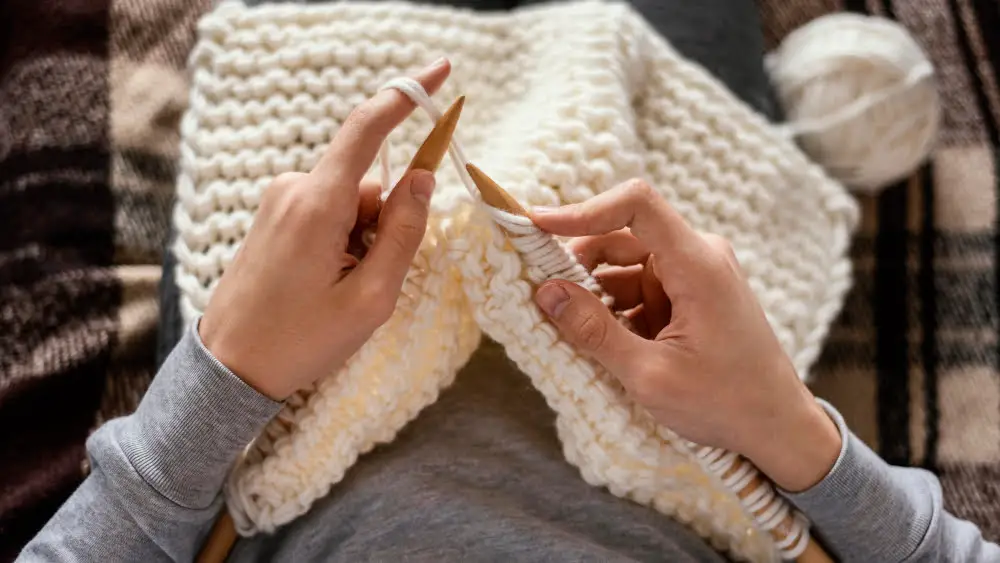
In this article, you’ll learn the simple steps to effectively change yarn while knitting.
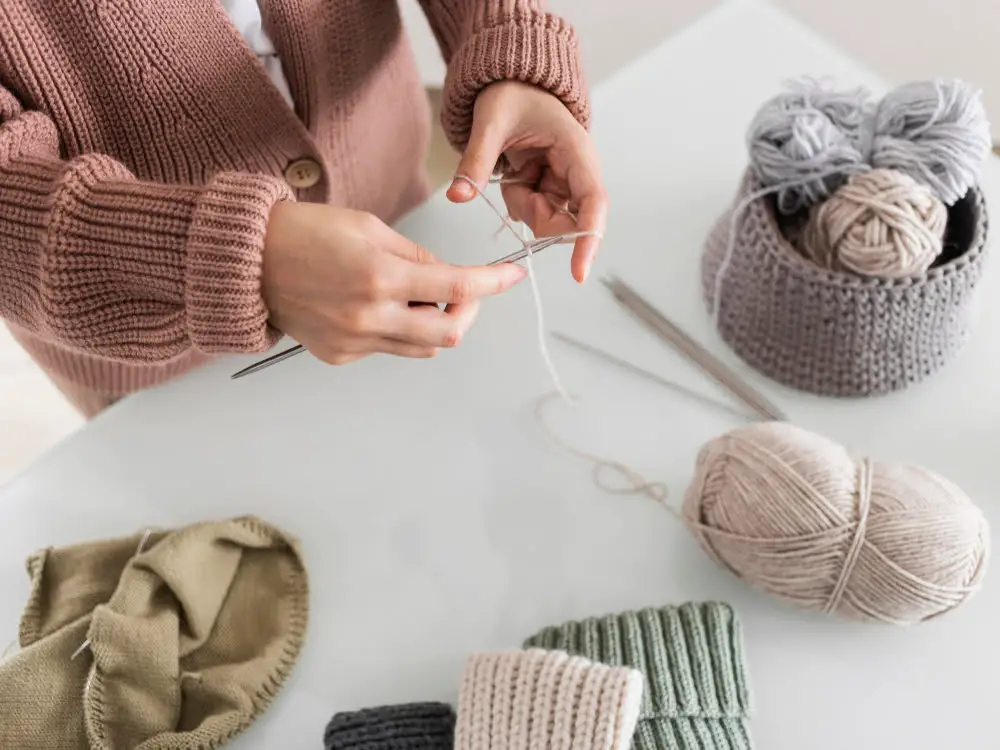
Changing yarn when knitting is a simple process that every knitter, from beginner to expert, should master. It’s an inevitable part of the craft, whether you’re adding a new color for a pattern, or simply running out of your current skein.
In this article, we’ll break down the steps for a seamless yarn change. We’ll cover various techniques like the basic tie, the Russian join, and the magic knot. Additionally, we’ll offer tips on how to choose the best method for your project, ensuring a smooth transition and a beautiful end product.
So, whether you’re knitting a multi-colored scarf or a cozy blanket, you’ll have all the knowledge you need to change your yarn like a pro.
Key takeaways:
- Changing yarn allows for variety in color and texture.
- Select the right yarn based on the project’s requirements.
- Change yarn when you run out, want to add a new color, or need to correct a mistake.
- Follow specific techniques to smoothly add new yarn.
- Maintain consistent tension and weave in ends for a polished finish.
Understanding the Importance of Changing Yarn in Knitting
Changing yarn in knitting is often necessitated by different circumstances – running out of a yarn skein mid-project, adding a new color, or changing yarn type for creating different textures or patterns. Doing it correctly ensures smooth transitions, unnoticeable changes, and a professional finish.
A large knitting project may require several skeins of yarn. Running out of yarn necessitates a change to a new skein.
Some knitting projects utilize multiple colors. Changing yarn allows for the introduction of these diverse colors.
Different yarns create unique textures. Swapping the yarn can enable the achievement of a variety of textures in a single piece.
In knitting, we sometimes decrease stitch density in certain areas. Changing to a thinner or thicker yarn can help in managing the stitch density.
The critical aspect is knowing when and how to introduce the new yarn, ensuring consistent tension, smooth transitions, and a neat, seamless finish.
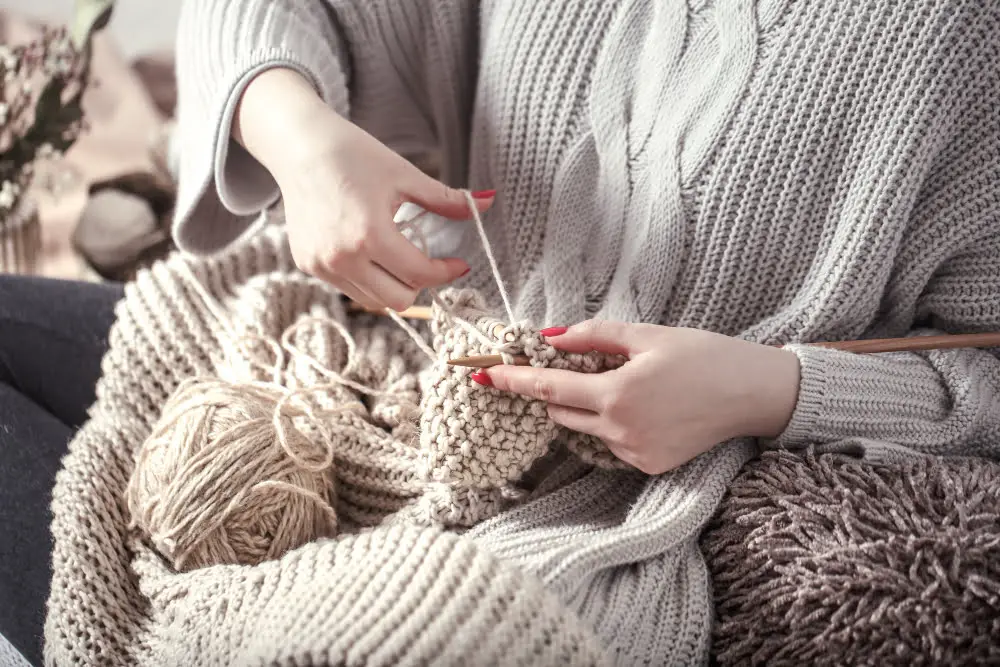
Choosing the Right Yarn for Your Knitting Project

Selection of yarn is fundamental to any knitting project as it largely determines the final look and feel of your work. Taking into account the desired product – for example a baby blanket or a winter scarf – you need to choose a yarn that will deliver on both look and function.
Consider the following factors:
The type of yarn: Wool is a popular choice for knitting due to its warmth and durability, while cotton is selected for its lightness and softness – perfect for summer knits. A wide variety of synthetics are also available that can combine the best qualities of both.
The yarn thickness: A thicker yarn will knit up faster, but a finer yarn can bring more detail to your work. Remember though, your yarn thickness needs to match with the recommended needle size for best results.
Color and dye lot: To ensure consistency, purchase enough yarn of the same dye lot to complete your project.
Yarn texture: From smooth and silky, to rough and thick, choose a texture that fits your project.
Throwing in a contrasting yarn for variety: Adding a different type or color of yarn can create an interesting visual element.
Checking for allergies: Especially for clothes and wearable items, make sure the yarn doesn’t consist of any materials the wearer might be allergic to.
By paying careful attention to these factors, you can ensure you select the right yarn for your knitting project.
When to Change Yarn in Your Knitting Project
Timing is key when it comes to changing yarn in a knitting project. Several situations may prompt this necessity. Most commonly, the first skein of yarn is almost used up but the project is not complete yet. In this scenario, adding a fresh skein of yarn makes the most sense.
Adding a new color or a different type of yarn for texture or design purposes is another reason to change yarn. This allows for adding variety and creativity in the pattern.
It’s often helpful to change yarn when correcting a mistake. For instance, if a previous section of knitting is incorrect, but the mistake is too far back to easily undo, cutting the yarn and rejoining it after the error can be an efficient solution.
Finally, if there are knots or weak sections in the skein of yarn being used, it might need to be cut out and a new section joined in order to maintain the integrity of the finished product.
How to Add a Skein of Yarn At the End of a Row in Knitting
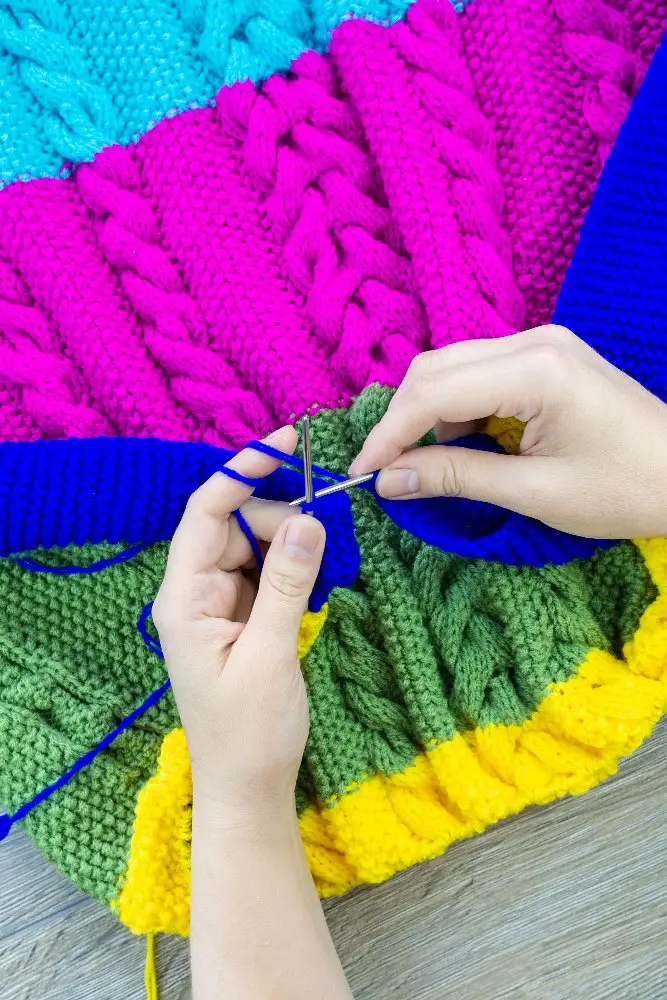
Begin with your work facing the correct side and finishing the last stitch of the row. Once finished, leave the old yarn hanging and pick up your new skein of yarn. Leave a tail length of approximately 6 inches of the new yarn.
Hold the new yarn with the old yarn in your right hand, leaving the new strand hanging just below the knitting needle. While holding both strands secure, knit the first stitch of the new row with the new yarn.
After knitting that first stitch, drop the old yarn and knit the rest of the row regularly with the new yarn only. Make sure to pay attention to your knitting pattern and take extra care to maintain tension consistency.
Once you’re on the next row, pull the knots to secure the old and new yarn tails at the beginning and continue with your knitting pattern as usual. Remember, the tails should be kept unknotted until the end of the project for weaving in.
For a better finish, instead of just cutting the old yarn, weave it into the stitches. This can be done with a crochet hook or a yarn needle. Weaving in the ends hides the loose ends of the yarn and offers a better aesthetic finish as well as a secure bind.
Introduce New Yarn Into Your Knitting Project
To incorporate new yarn into your project, there are a few simple steps that need to be implemented.
Firstly, continue knitting to the point where you want to introduce the new yarn, make sure it is the last stitch of the row.
Secondly, instead of wrapping the old yarn around the right-hand needle for the next stitch, you’ll use your new yarn. Hold the end of the new yarn along the left-hand needle, leaving a tail of about 6 inches trailing at the back of your work.
Then, with your right-hand needle, knit the next stitch, pulling the loop of the new yarn through while holding onto the tail end.
Make sure to maintain a gentle tension as you continue so the new yarn is securely knitted into the fabric.
Lastly, you may want to loosely tie the new and old yarn ends together to prevent the first new stitch from loosening. However, this step is optional.
As you continue knitting, this new yarn will get securely worked into the fabric and you’re ready to proceed with the rest of your project. This way, you can seamlessly introduce new yarn into your knitting project.
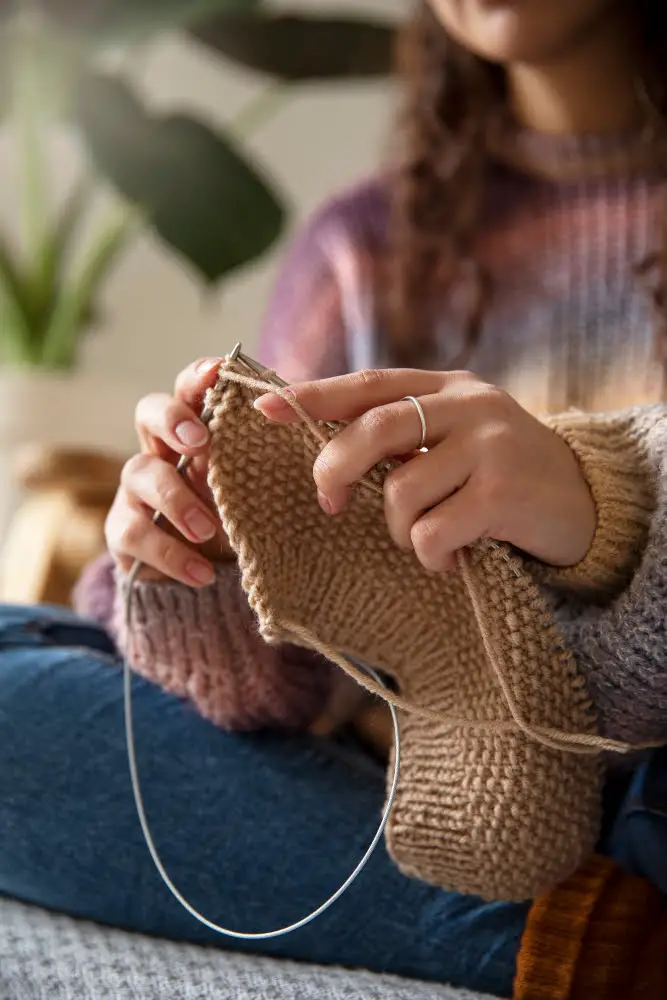
Knitting With the New Yarn
Once the new yarn is introduced, you’re ready to get down to knitting with it.
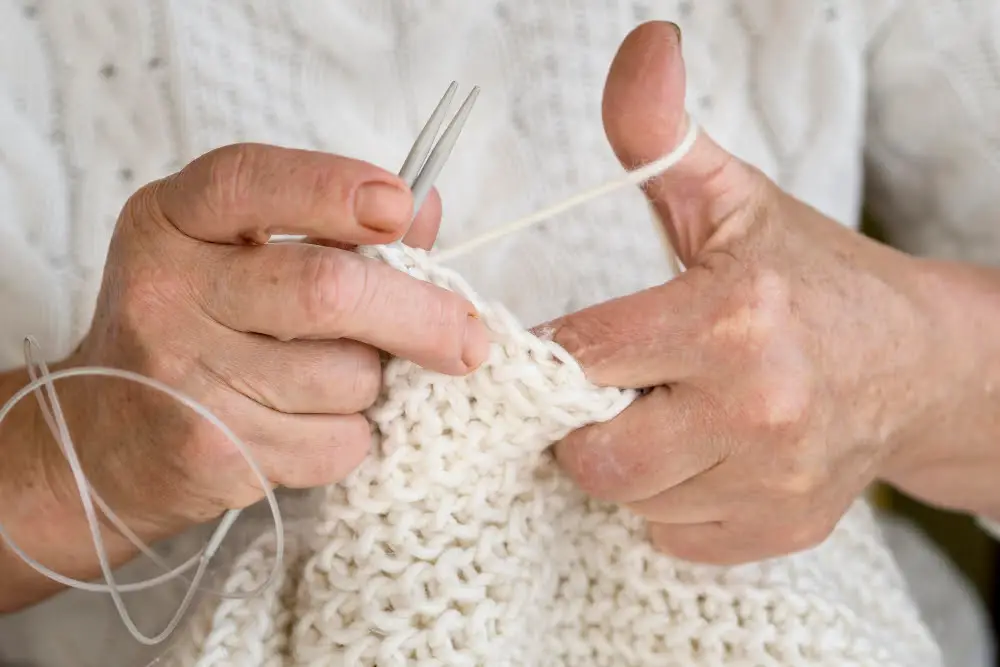
Start knitting with the new strand, leaving the old one behind. It’s important to remember to keep both strands close in this initial stage, this will help to prevent any unwanted gaping.
Next, ensure the first stitch with the new yarn is pulled tight. Not too tight to deform the stitch, but enough that it won’t unravel or create a gap. As you knit the first few stitches with the new yarn, you may have to adjust the tails to ensure the tension is consistent.
At this point, you may notice that the two yarns are not yet secure. To keep them in place, after knitting a few stitches, you can tie the ends together in a non-slip knot.
Carry on with your knitting, ensuring that you’re now only working with the strand of new yarn. The transition point will probably be visible, but this will lessen as you continue to knit and will practically disappear once the project is finished and the ends are woven in.
Remember that the loose ends of the old and new yarn should be woven in to the wrong side of the work to secure them, this can be done when you’ve completed your knitting project.
Continuing Knitting With the New Yarn
Once the new yarn is securely fastened, you can carry on with your knitting project similar to how you were working with the original yarn.
Here are some key points to remember:
- Include the old and new yarn in the stitch for the first few stitches to reinforce the connection.
- Continue your knitting pattern as you usually would. It will be a seamless transition from old to new yarn if done correctly.
- Make sure that your yarn tension remains consistent. An abrupt change may cause your stitches to be either too tight or too loose, ruining the overall appearance and quality of your knitting project.
- Bear in mind the color of the yarn if the change includes a color shift. The color changes should be in line with your knitting pattern or design.
- Remember, the old yarn’s loose end should be left hanging. This will be taken care of later in the project when all knitting is completed.
- Ensure not to pull the old yarn end; this could cause the join to untangle, thus loosening your stitches. Keep focusing on creating consistent, evenly-tightened stitches.
- Gradually stop knitting with the old yarn as you progress further. Once you’re confident that the new yarn is firmly attached, you can drop the old yarn and continue knitting with the new one alone.
Cutting and Weaving in Old Yarn Ends
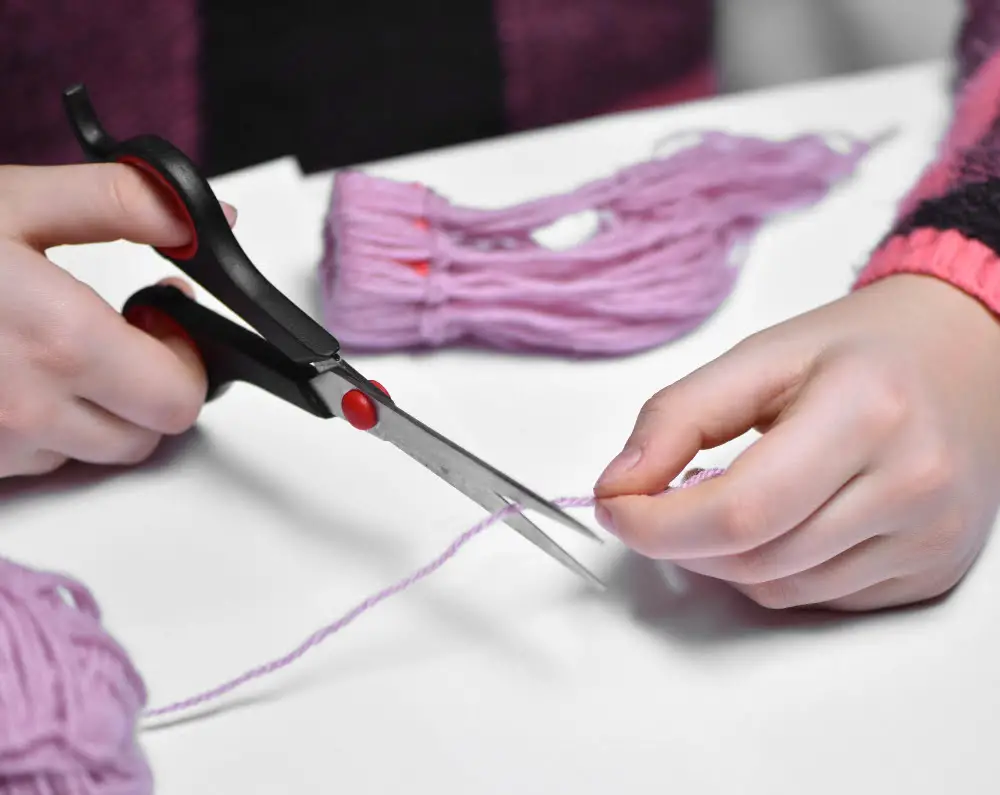
After you’ve knitted a few stitches with the new yarn, you’ll notice the tail end of the old yarn dangling from your work. It’s important to neatly secure this loose end to maintain a clean look.
To do this, first, trim the old yarn, leaving a 6-inch tail. Be careful not to distort your knitting by pulling too hard on the yarn end. Then, begin weaving — use a tapestry needle to thread this tail end into the stitches at the wrong side of the work. Make sure you do this in one direction, then backtrack in the opposite direction to secure the yarn.
The method of weaving can vary slightly based on whether you’re working in a garter, stockinette or other stitch pattern. Regardless of the stitch pattern, the goal is to hide the tail end within the loops without creating lumps or distorting the knitting fabric. Also, remember to always weave ends in a section of the same color yarn to ensure that discrepancy in colors doesn’t stand out.
After weaving in, trim any excess yarn to neatness. This final touch prevents any stray ends from creeping out with use and wash. Once all these steps are followed, your old yarn would be well-secured and practically invisible on the right side of your work.
Knitting With Different Yarn Colors
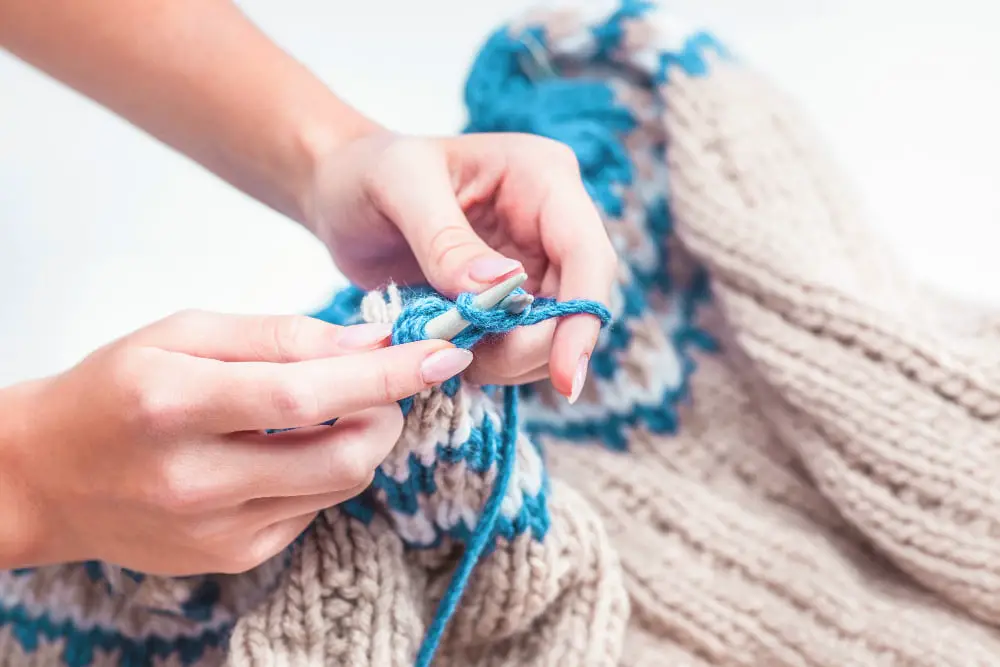
To diversify your knitting projects, introducing different yarn colors can be a fun and creative approach. The process is almost identical to changing to a new skein of the same color, but with some additional consideration for the color pattern.
Identify the sequence of colors based on your knitting pattern book or your own imagination. Remember, adjacent colors can either complement or contrast each other dramatically depending upon the selected hues.
Introduce the new color at the start of a new row to maintain consistency and neatness in the pattern. Just like adding a new skein, loop the new color onto your needle and continue knitting as per the pattern.
Ensure to manage loose ends wisely. Leave tails long enough to be woven in, but not so long that they interfere with your knitting process.
Consider the color dominance in fair isle knitting. If you’re working with multiple colors, the way you hold your yarn can make a difference in the finished design’s appearance.
Avoid carrying yarn across large spans of stitches. If you’re introducing a new color after knitting more than five stitches in your old color, it’s a good idea to ‘twist’ the yarns to avoid long, loose floats at the back of your work.
Remember that practice makes perfect. It can initially be challenging to manage multiple skeins of yarn, but with time and patience, you can create colorful, impressive designs with ease. It’s a creative way of making your knitting projects distinctly unique.
Tips for Smooth Transition When Changing Yarn in Knitting
Maintain the same tension on both the old and new yarn during the transition. This helps avoid loose or tight stitches that could potentially ruin your final piece.
Use stitch markers. These are effective tools when joining new yarn within a row. They can help you remember where you added the new yarn by marking the first stitch.
Try the Russian Join technique. This technique involves creating a loop with the end of the old yarn and the start of the new yarn, which are then interlocked, eliminating the need to weave in ends later.
Consider using the Magic Knot. Although it works best with similar types of yarn, this method is a secure way of joining yarns and cuts the need for weaving in any ends.
Utilize the Spit Splicing method. This works for feltable yarns like wool. It involves wetting the yarn ends and rolling them together creating a smooth transition.
If you’re changing colors, always keep in mind to switch at the end of a row or round. For patterns like stripes, this prevents the color bleed that can occur.
Always decide ahead of time which method you’ll use to change yarn. This lessens the chances of making errors during the knitting process.
Overall, the goal is to achieve a seamless look when transitioning from the old to the new yarn, ensuring that your knitwork’s aesthetic is not compromised.
How to Maintain Consistent Tension While Changing Yarn
Maintaining consistent tension when knitting is crucial, particularly during yarn changes. This ensures an even fabric with no unwanted tight or loose stitches. Here are some helpful strategies:
Master the technique of holding your yarn. Some knitters wrap yarn around their fingers, while others allow it to flow freely. Find the method that best helps you control tension.
Consider using a yarn guide. This tool can keep yarn in proper positioning to help manage tension when changing the yarn.
Keep your yarn at a consistent distance from your needles. The closer your yarn supply, the better you can control the tension.
Practice rhythmic movements. Consistency in your hand movements can help uphold even tension.
Avoid pulling too tightly on the yarn after a change. Allow it to naturally integrate into your work for the smoothest transition.
Use the same weight of yarn for both skeins. Different weights can greatly affect your overall tension.
Don’t rush the process. Tension tends to increase when you hurry. Pace yourself to let the tension remain constant.
Remember, maintaining uniform tension when changing yarns might take some practice, but eventually, it will become second nature.
Troubleshooting Issues When Changing Yarn in Knitting
Occasionally, while changing yarn in your knitting project, you may come across a few snags or issues. Here are some common problems and their solutions to ensure a smooth transition:
Loose stitches: This issue might arise when you aren’t maintaining a consistent tension. Make sure to keep the yarn tightly wound around your fingers to prevent loose stitches.
Color bleed: If you’re using different colored yarns, sometimes the dye can bleed on the lighter colors. Before you start your project, soak a small piece of the darker yarn in warm water. If the water changes color, it may bleed when washed.
Mismatched dye lot: This problem can occur if your yarn balls are from different dye lots. Always check the dye lot numbers on the labels before purchasing. Dye lots that don’t match can create obvious color changes in your work.
Double knitting with two yarns: This happens when the new yarn and old yarn are not separated properly. To avoid this problem, note which string is connected to your project and which string is the tail of your old yarn.
Texture inconsistency: This may occur if your new and old yarn have different textures. To avoid noticeable changes, select a yarn of similar weight and texture.
For all these issues, taking the time to align your yarn change with the end of a row is key. This makes it easier to manage tension, maintain color consistency, and minimize texture variation. Lastly, always remember to carefully weave in your yarn ends after the change to secure your stitches and present a neat finish.
FAQ
What is the best method to add a new yarn color in the middle of a knitting row?
The best method to add a new yarn color in the middle of a knitting row is to begin by knitting the first stitch with the new yarn, leaving a tail, then knitting over the tails of both the old and new yarn to secure them in place.
How can I avoid extra bulk when joining a new ball of yarn in knitting?
To avoid extra bulk when joining a new ball of yarn in knitting, use the “Russian Join” method which involves intertwining the ends of two yarns and weaving in tails.
Is there a way of weaving in ends as I knit to make yarn changes more seamless?
Yes, you can weave in ends as you knit by holding the tail of the new yarn and old yarn together and knitting them as one for a few stitches to make yarn changes more seamless.


